For the Splitcoast Inspiration Challenge (IC847) we’re visiting Annie Cloth & their Pinterest Board where I found THIS for my inspiration.
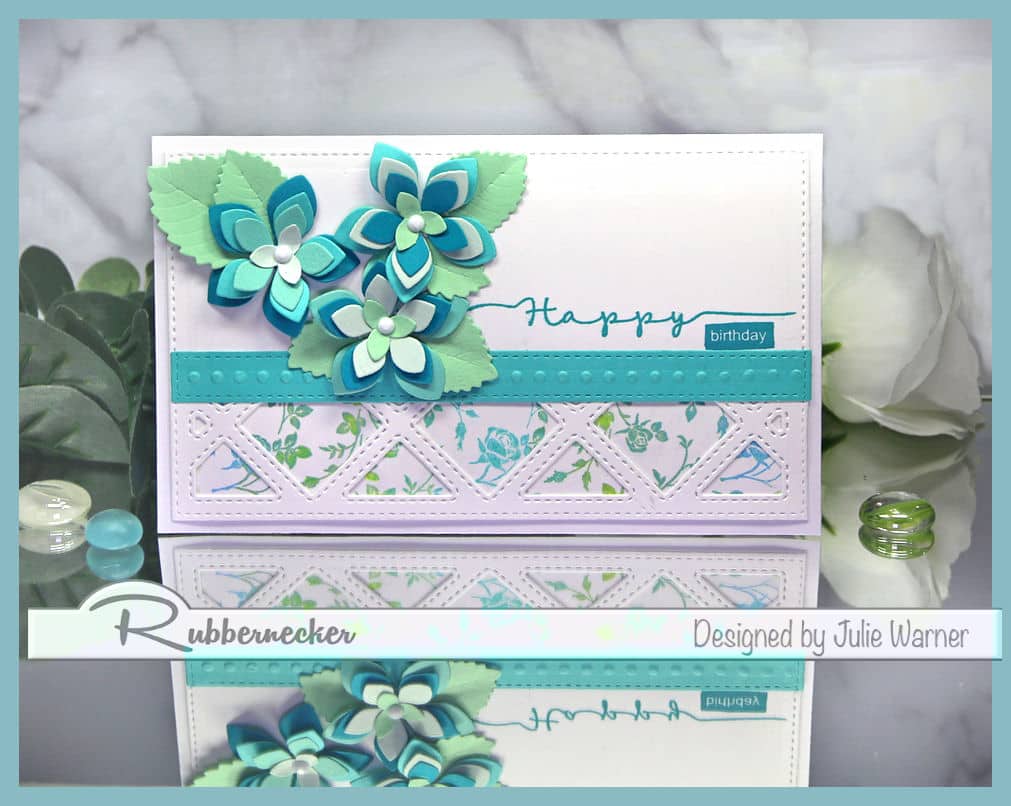
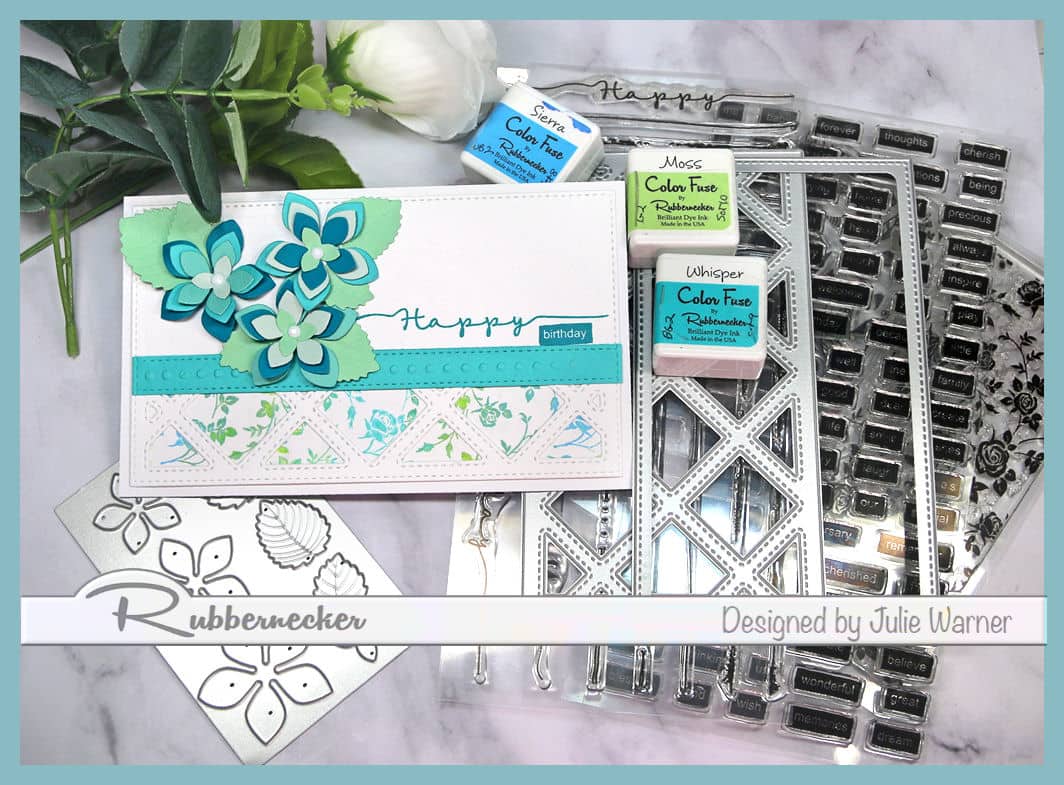
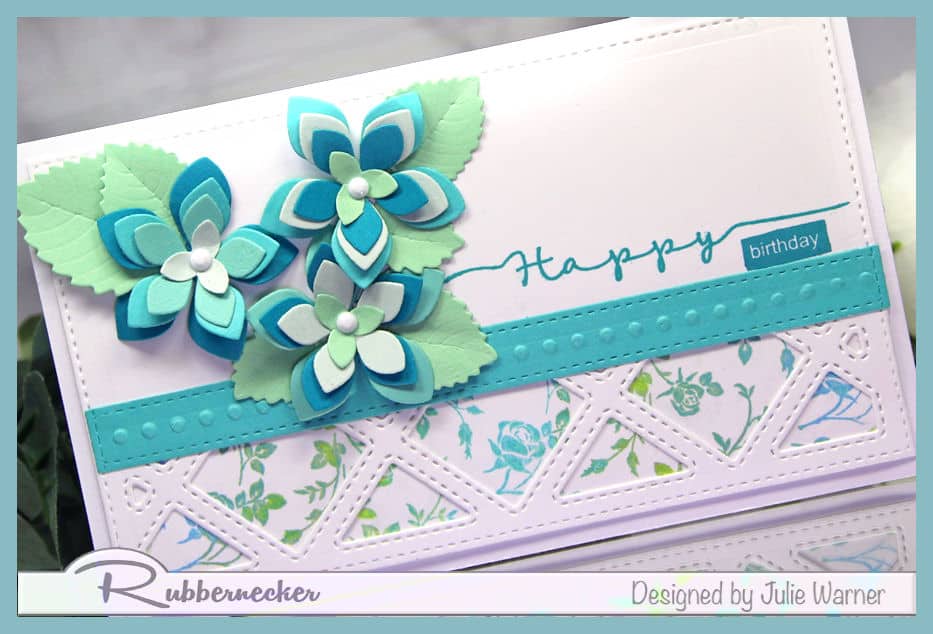
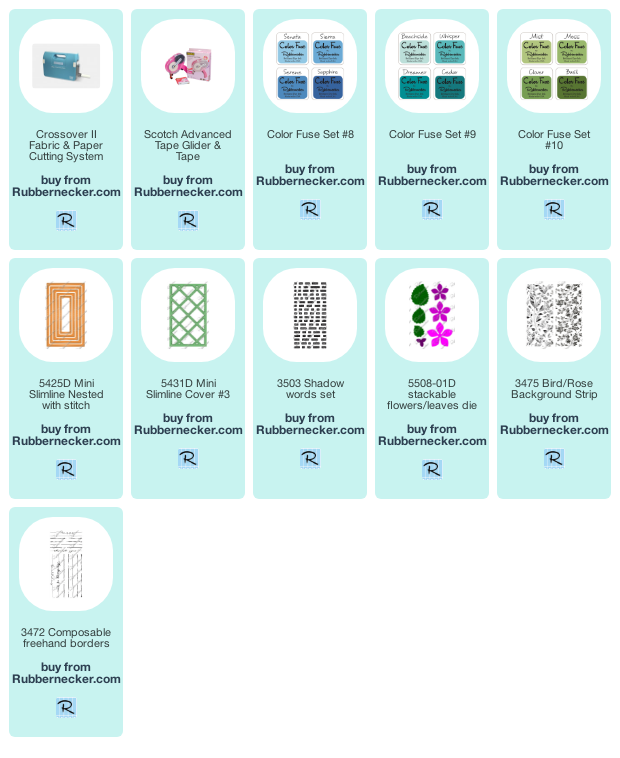
For my mini slimline birthday card, I started by die cutting the white panel first w/ the largest stitched die, then placing the cut panel in the lattice die & only cutting the lower portion. I did this by putting the edge of the top plate only as far as I wanted it to cut & letting the rest stick out so it wouldn’t be cut. You could easily do two panels & put them together, but I went this direction. A narrow lt teal strip was cut w/ the same stitched mini slimline die, I moved the opposite edge in & cut it on the top side to make the narrow strip. Then I used a Cuttlebug border folder to emboss the dots across it. For the lower panel under the lattice, I stamped a rose background strip w/ 3 colors of Color Fuse inks & attached it behind the lattice. I stamped the two birthday words (from different sets) using the oxide ink then put my strip on & attached to the card. The flowers were die cut out of several teal, aqua & lt green papers & assembled. Instead of putting them in alternate layers, I lined the layers up for a different look.
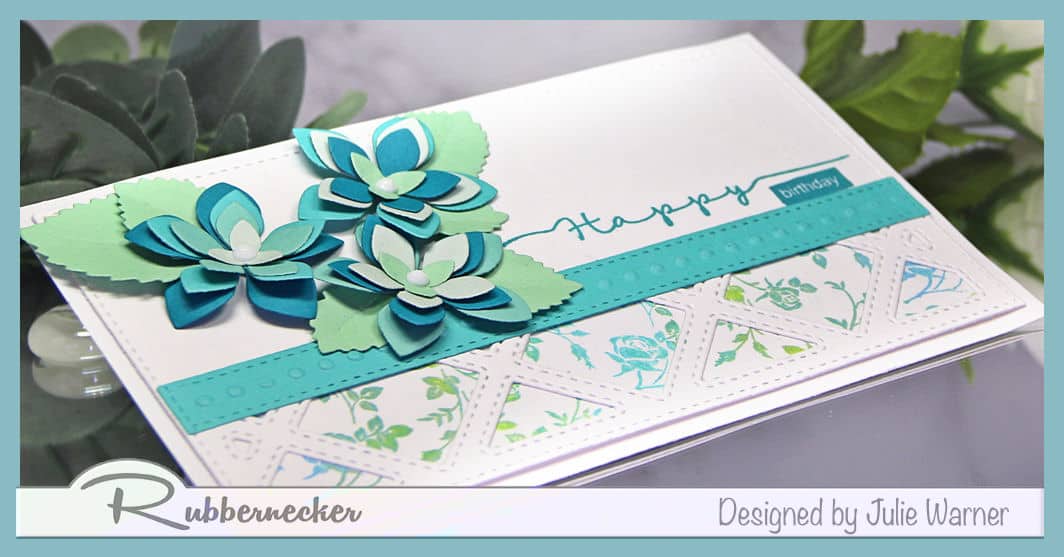
I only attached the flower layers in the centers in order to “fluff” the petals up a bit. Some small, white faceted gems were added to the flower centers.
Thanks so much for stopping by!

Supplies:
| Stamps: : Rubbernecker Stamps: Shadow Words set, Bird/Rose Bg Strip (new! avail 3/8). Composable Freehand Borders (new! avail 3/8) |
| Paper: Staples 110# white, heavy white, several scraps of teal, aqua, lt green, lt blue |
| Ink: Distress Oxide ink salvaged patina, Rubbernecker Stamps; Color Fuse sets #8, #9 
, |
| Accessories: Rubbernecker Stamps: Mini Slimline Stitch, Mini Slimline Diamond Cover, Stackable Flowers Leaves dies, Crossover II, Misti, gems |

|

|

|

|

|

|