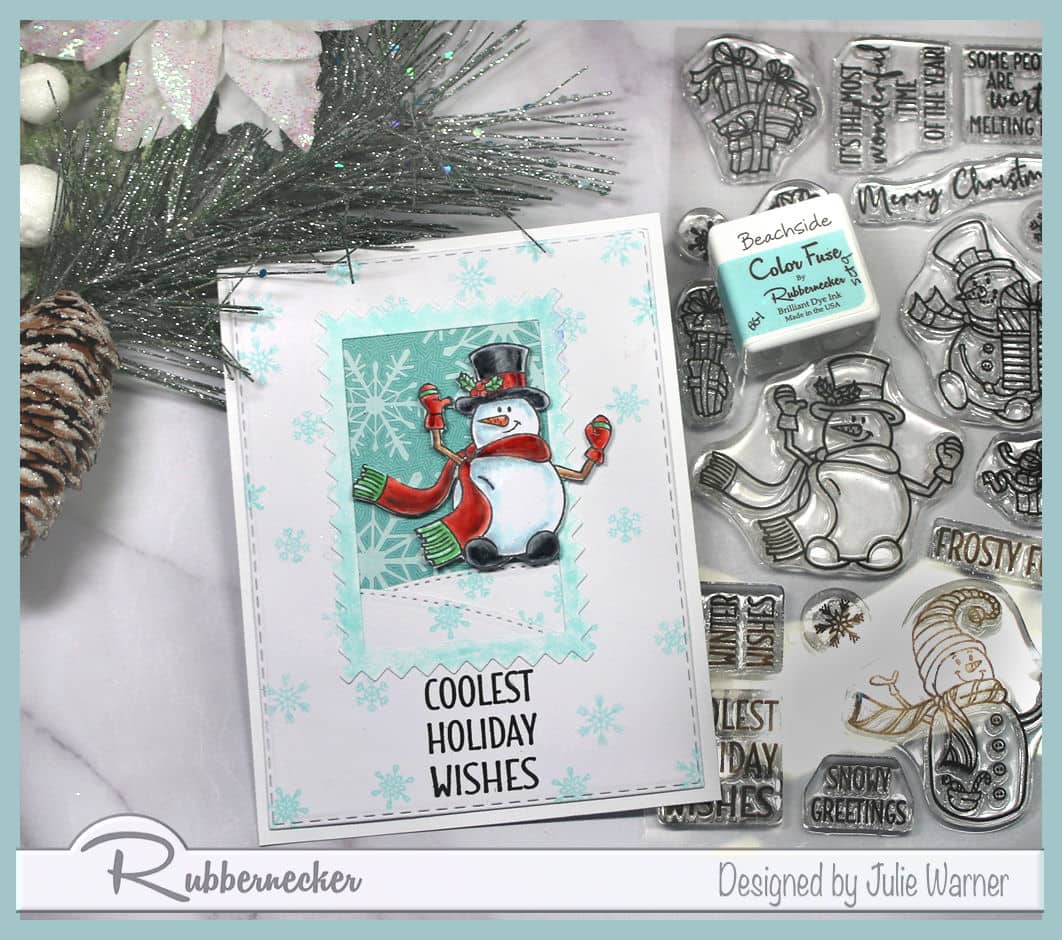
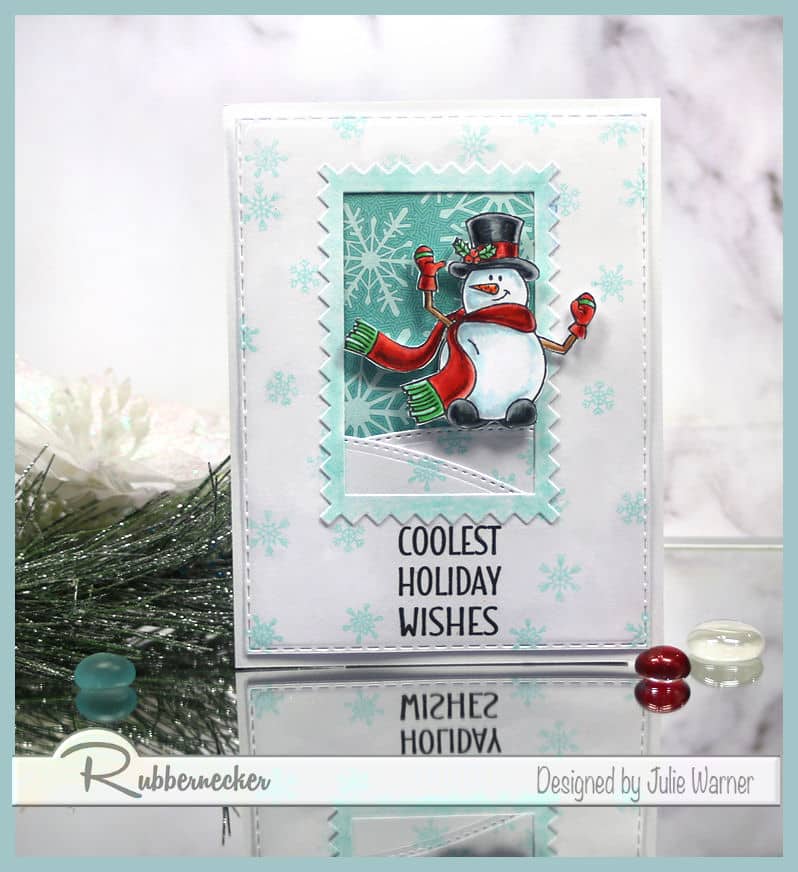
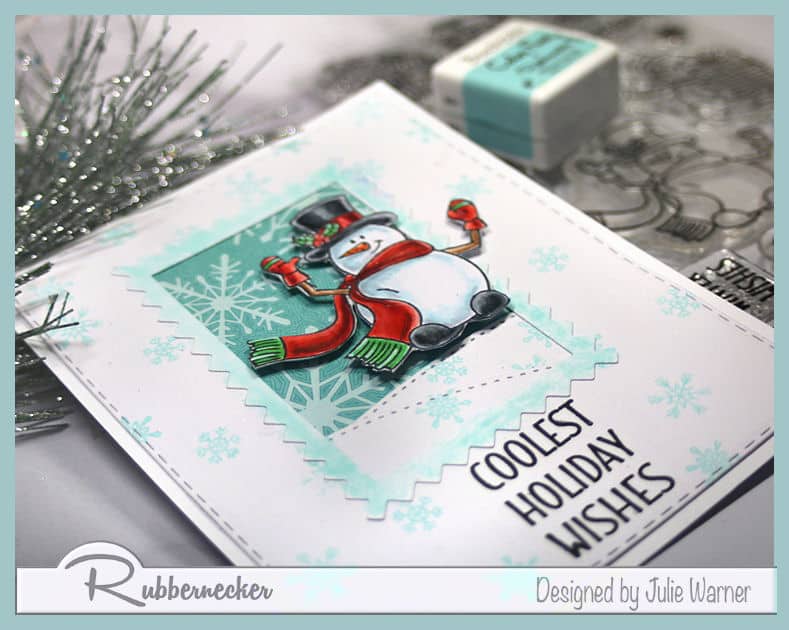
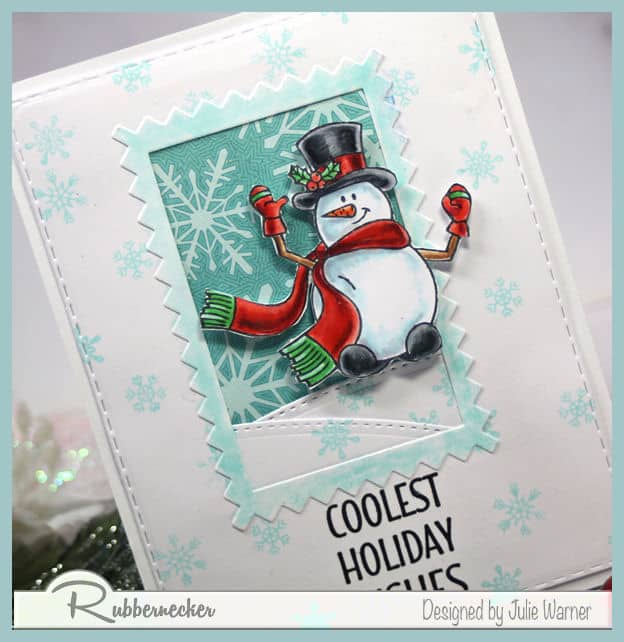
A big congrats to Leslie, the newest Featured Stamper (FS720) on Splitcoast! She has such a wonderful gallery & I chose THIS card to case. I kept the snowman & snowflakes but I used different images & dies & made a special window opening for my snowman. I also added a greeting.
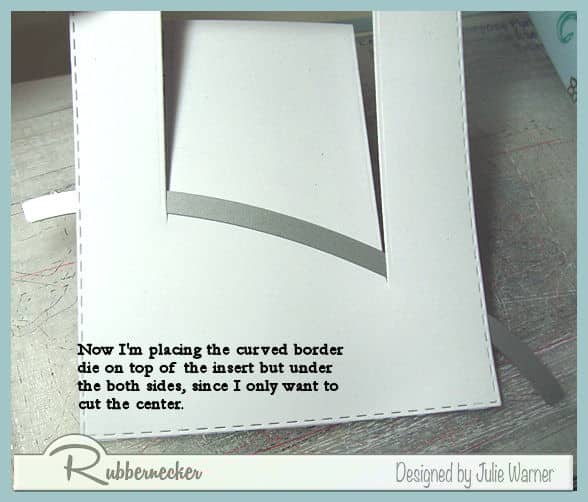
For my snowman, after coloring & cutting him out, I wanted to try a little something extra for the window I wanted to put him into. I took a smallish rectangle die but cut it on an angle & not all the way to the bottom (see the pics below for step by step).
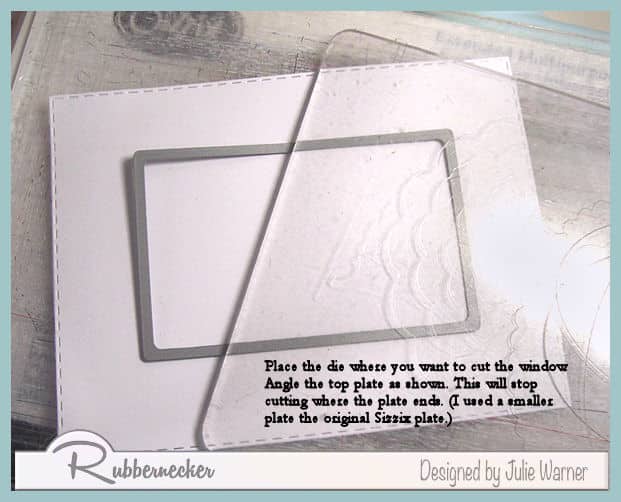
I wanted a stitched & curved border so this is how I did that.
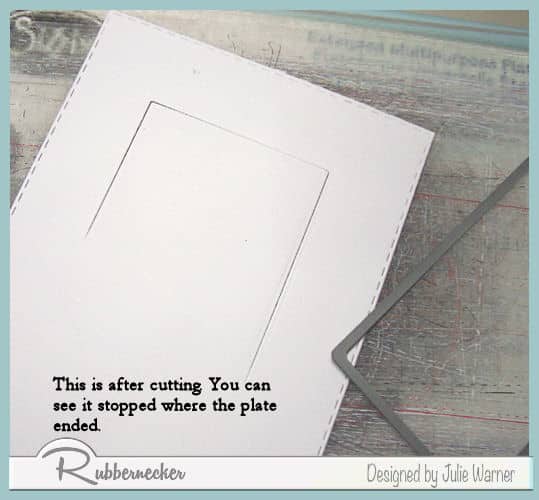
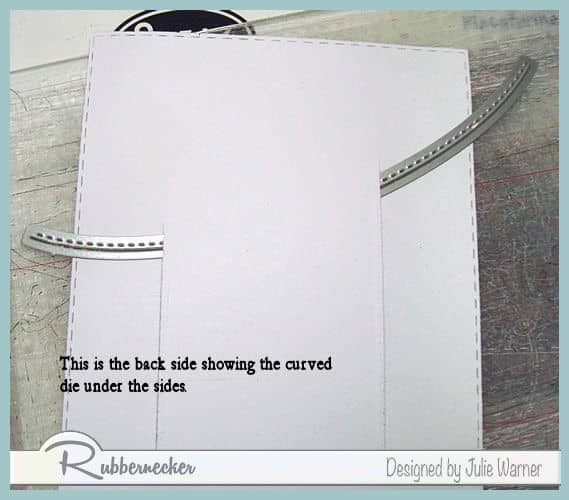
And the back side. The die is placed UNDER the sides so it won’t cut those.
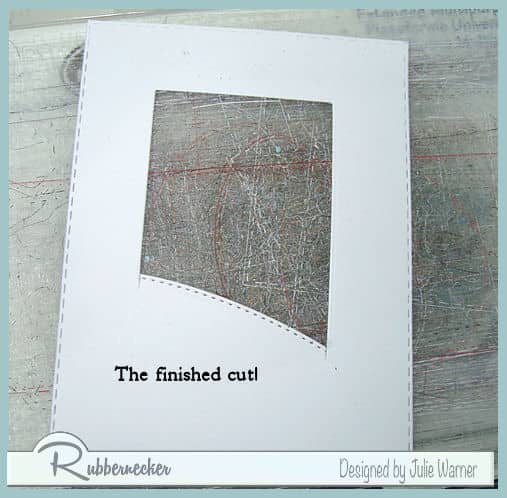
That worked really well! I cut another small piece of stitched hill & attached it behind this one. Then I had the (not so) brilliant idea to add the little zigzag frame. I like it, but you can’t really tell what I did w/ the angled cut now. Oh well! And then I dropped the BG10 marker on the frame, so I colored the whole thing w/ it. That part actually worked…now it shows up better. The snowman was popped up a bit & a small piece of snowflake paper was added behind him. Then the greeting was added & the snowflakes were stamped w/ the pale aqua ink.
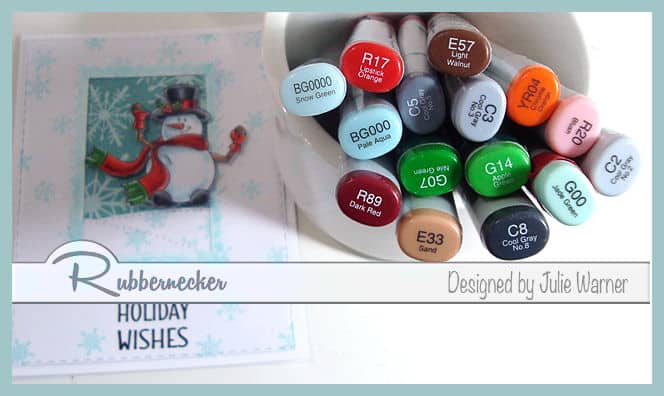
Here are the Copics I used on Mr. Snowman.
Thanks so much for stopping by!

Supplies:
| Stamps: Rubbernecker Stamps: Snowmen w/ Presents |
| Paper: Staples 110# white, dp (Crate Paper -Snow & Cocoa) |
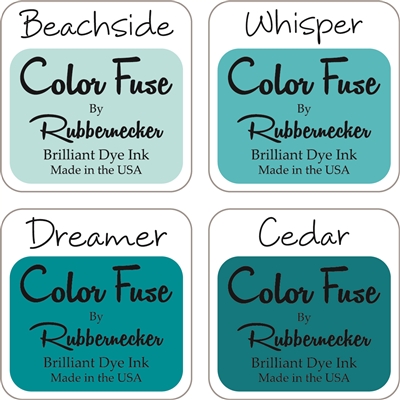
| Ink: Memento tuxedo black, Rubbernecker Stamps Color Fuse ink set #9 |
| Accessories: Rubbernecker Stamps: Rectangle Stitch,Snowmen w/ Presents, Borders 3 , Rectangle Combo #4 dies, Crossover II, Copic Sketch Markers, MISTI |

|

|

|

|

|

|

|
|

|

|

|

|