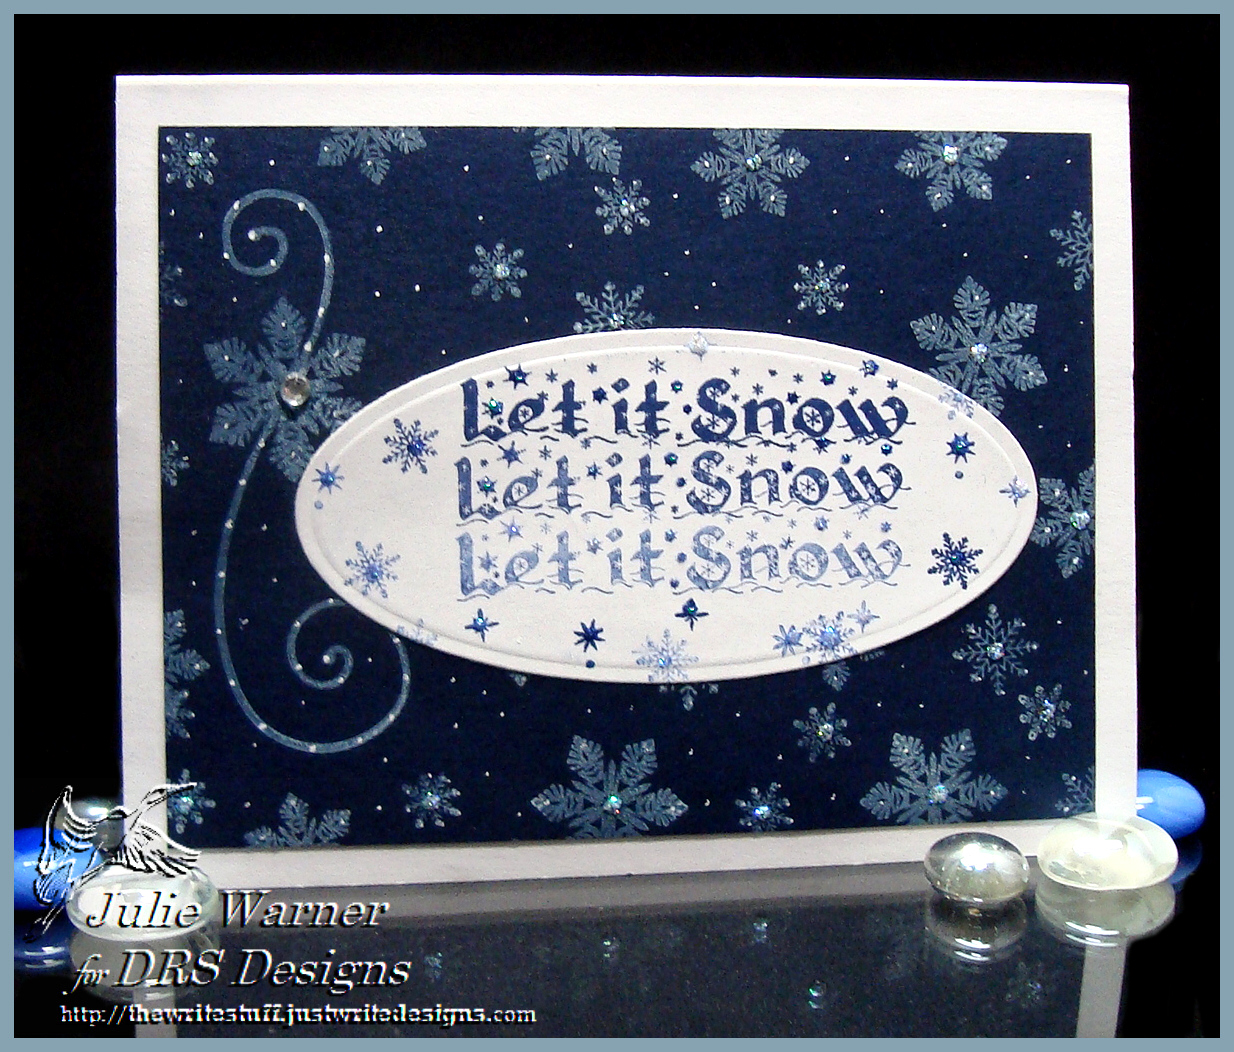
Well, it may not be snowing right now, but it is soooo cold here! This is the deep south, y’all! And as of 9:20 pm EST, it was 13 degrees! The water outside from the rain last night has long since turned to ice and we’re on our way to a predicted 6 degrees tonight (-10 with the wind chill).
So with the winter deep freeze around here, I have two cards to share…one for the CAS challenge today (Snowflakes CAS254) and the other for the Color Challenge tomorrow. The card above is for the CAS challenge and it was super simple. ..especially since I already had the white mega oval die cut in my stash. I stamped the greeting 3 times w/o reinking and added a few snowflakes on it.
The navy panel was stamped w/ the white chalk ink and I added some additional snow dots w/ a white gel pen. The finished card is 5.50 x 4.25.
Supplies:
| Stamps: DRS Designs –Let it Snow, 4 in 1 Snowflake, Snowflake Scroll, Snow Background |
| Ink: Memento Paris Dusk, Colorbox popcorn white chalk ink |
| Paper: white, navy |
| Accessories: Spellbinders mega oval die, white gel pen, stickles, rhinestone |
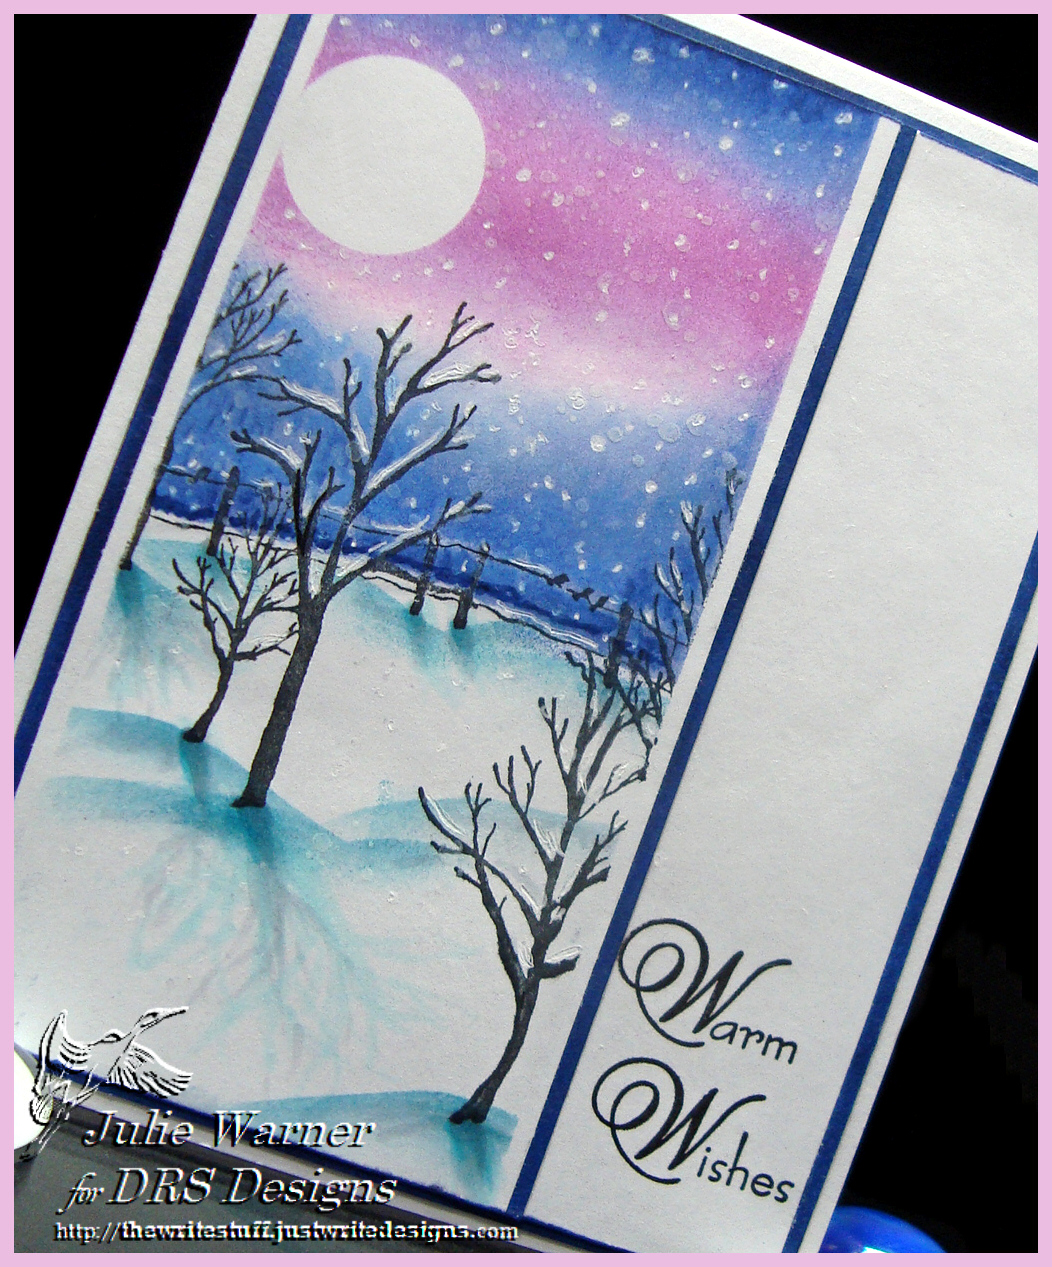
I was asked to be a guest designer for the Color Challenge on Splitcoast for the month of January! The colors for CC460, are Rich Razzleberry, Island Indigo and Night of Navy. I don’t have the exact colors, but I found some inks and Copics which are very close and they seemed like good winter colors to me, so that’s the direction I went
.

Best of 2014!
I’m so happy and honored to be a Guest Designer for the Color Challenge this month and no one was more surprised than me, lol! And along with the colors , I included the dessert of splatters.
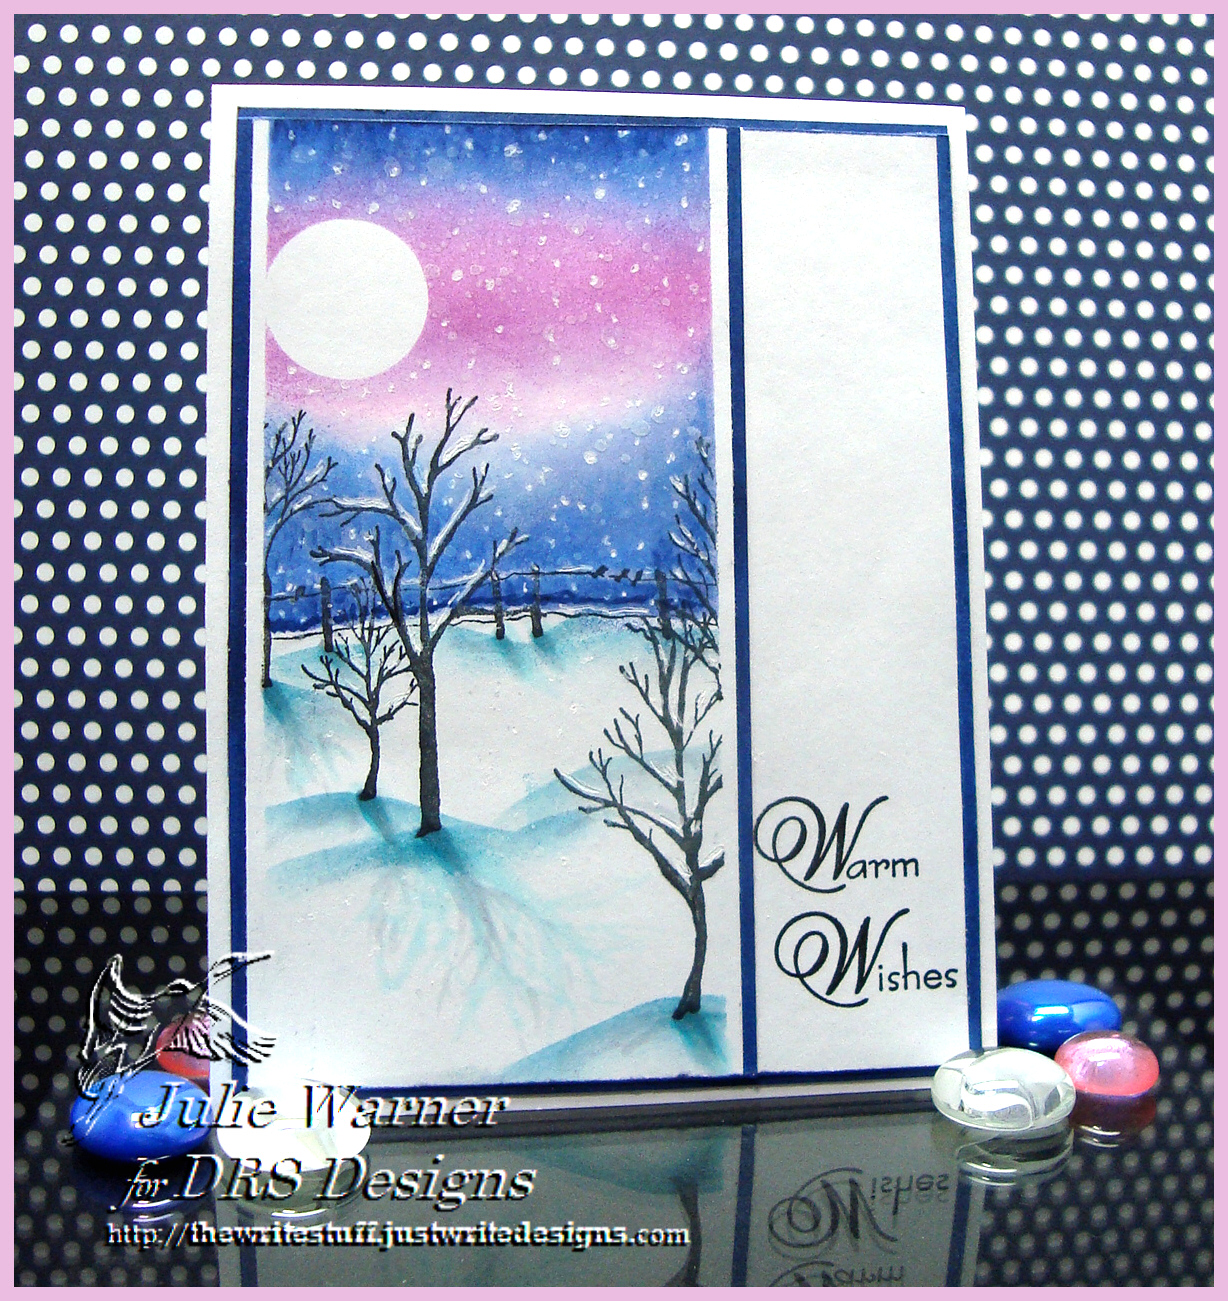
After masking a wide band, I stamped the winter trees in black and added a circle mask for the moon and used torn paper mask snow and sky areas. I sponged on the two inks for the night sky and and a little of the teal for the snow. I added some shadows and used the white ink and splatter background to add the snow. A white gel pen was used to bring out some of the splatters a bit more.
I added the narrow strips down the sides (colored navy with Copics) and the greeting in the lower right. The finished card is 4.25 x 5.50.
Supplies:
| Stamps: DRS Designs DRS Designs – Winter Tree Line, Warm Wishes, Splatter Background, Single Tree |
| Ink: Memento Paris Dusk, lilac posies, teal zeal, Colorbox popcorn white chalk ink, Versafine onyx |
| Paper: white |
| Accessories: Copic markers, white gel pen, 7/8 circle punch |
Thanks so much for stopping by!

Wow, you are so good with colour. I love, love, love this winter scene.
I love these cards but would like to ask how you do the shadows…I think it adds so much to the card! TFS
Thanks so much for your comment on my blog post, Marian! As for shadows on snow, I usually use Copic markers in the Cool Gray shades (C00, C1, C3, C5). Sometimes I’ll add a very light blue ( Pale Celestine B0000) or snow green (BG0000). Basically, you pick where your light source is coming from and angle the marker stroke away from the tree. The darkest shade of gray will be closest to the tree and it will fade to the lightest color the furthest away from the tree. The trick with shadows is to be consistent with the direction. On this particular card, the light source (moon) is in the upper left so the shadows from the tree will go from the tree trunk to the lower right (away from the tree). The shadows on the snow mounds were sponged using a torn paper mask and very light strokes of Memento Teal Zeal. Usually I would use Summer Sky (pale blue) but since the color challenge was to use this shade of teal, that’s what I used.
Hope this helps!
Julie
Thank you SO much for your reply. The shadows make the card look so “true”. I am going to give this a try 🙂