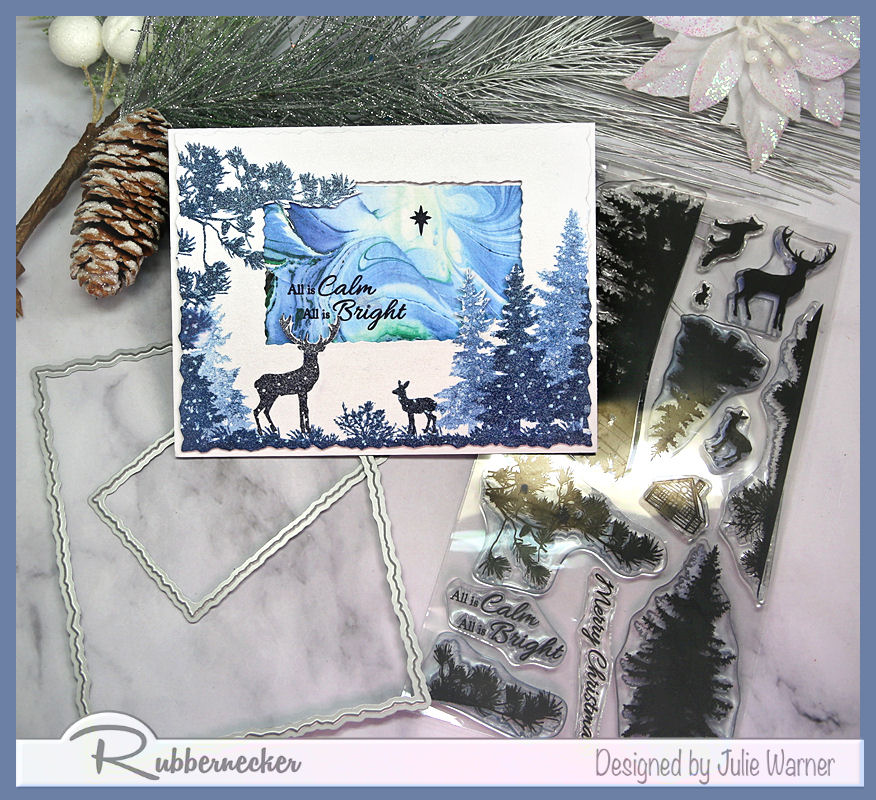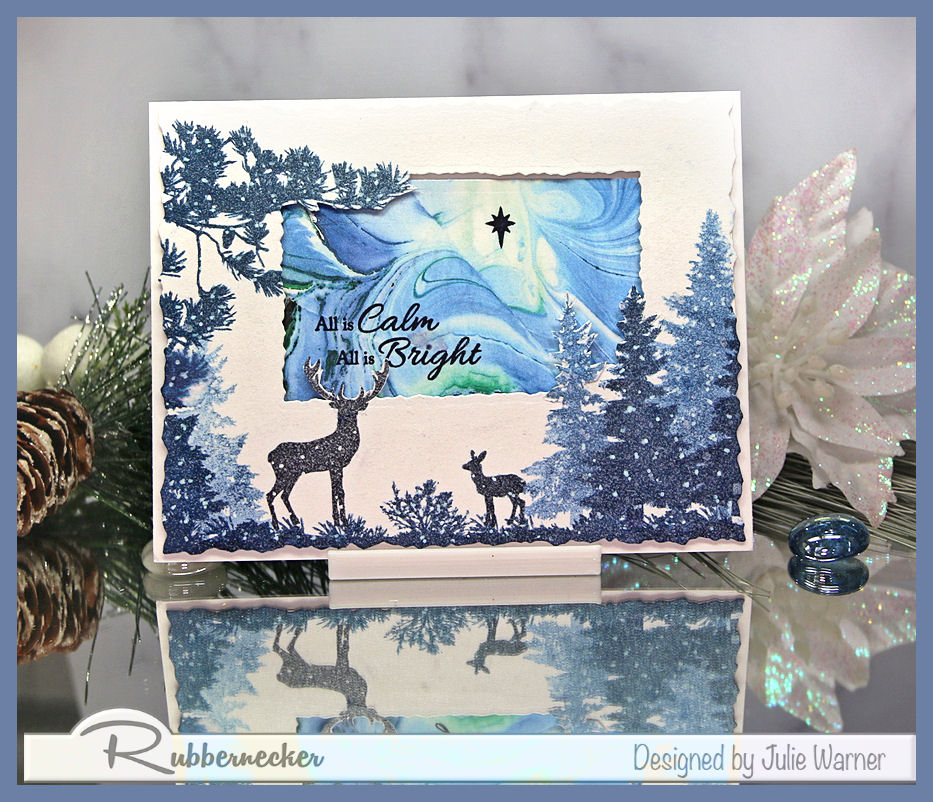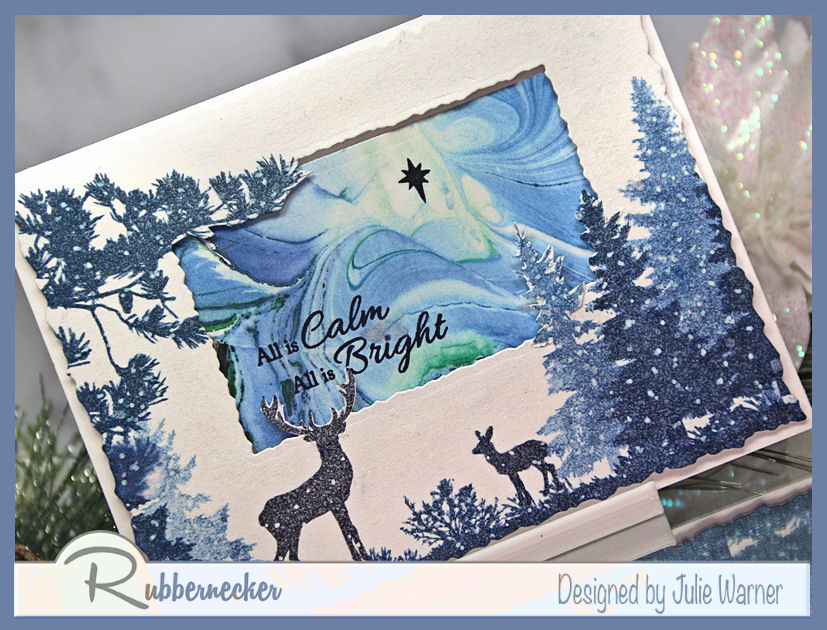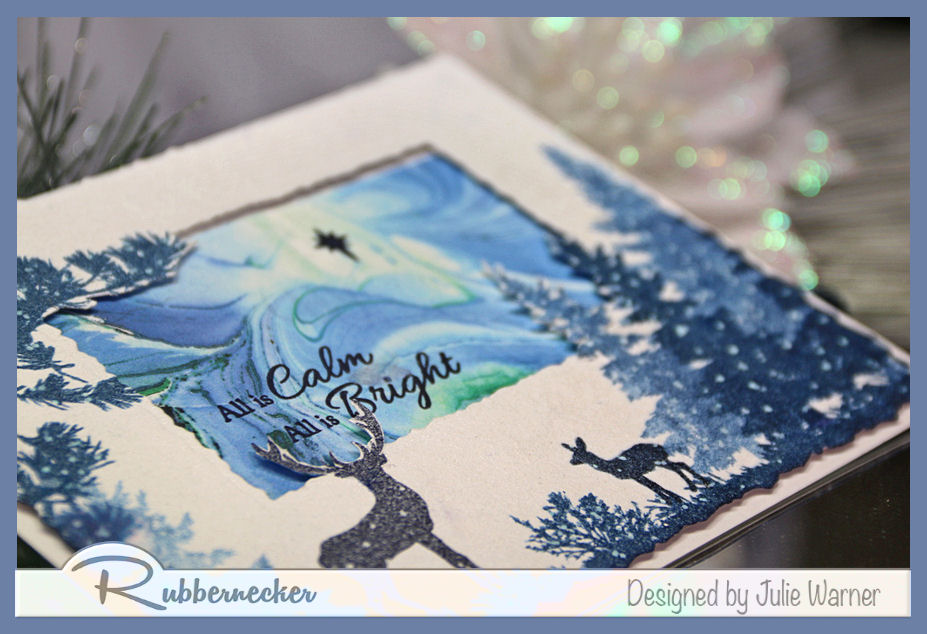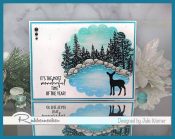
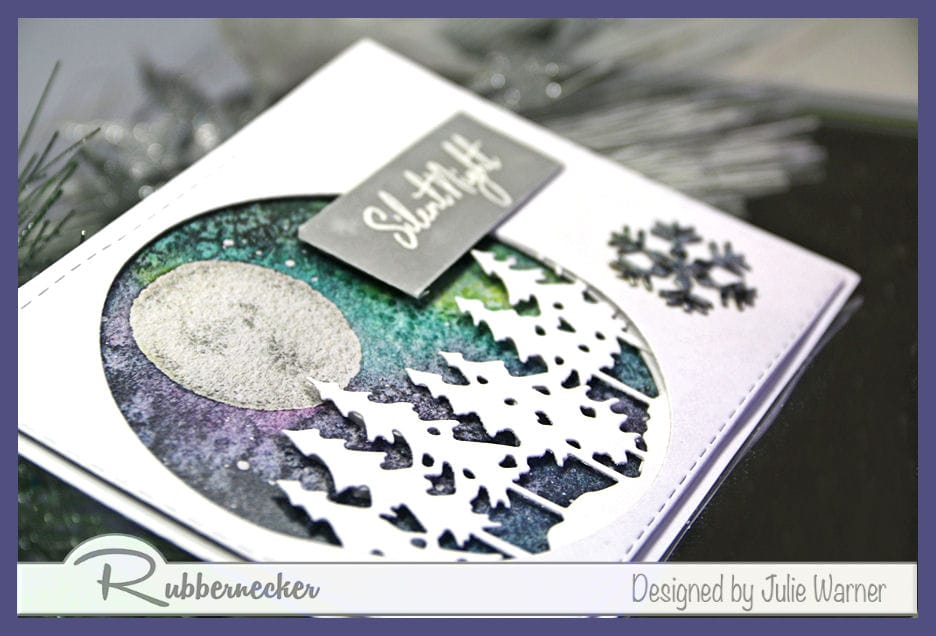
A simple to make Christmas card featuring some beautiful paper and some white die cut trees. The greeting is white embossed onto vellum for a soft look.

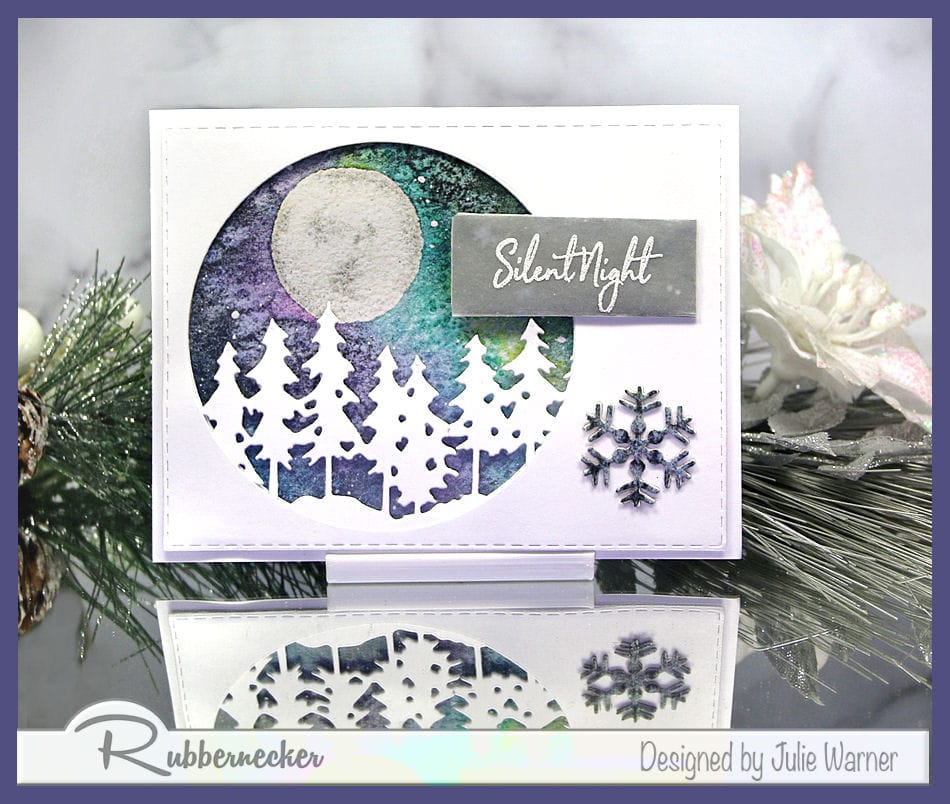
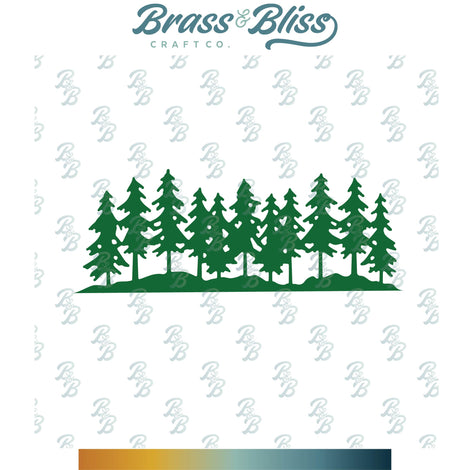
For the Inspiration Challenge we are visiting Ornamentally You & their Pinterest Board where I found THIS lovely picture. My version started w/ the pretty paper I used in the background. I die cut at white front w/ a circle cut out & elevated it off the paper bg. I added the trees behind the white top but also added another layer on top of them to give them depth. So there are two layers behind the trees and another on top of the trees before the white top was attached.
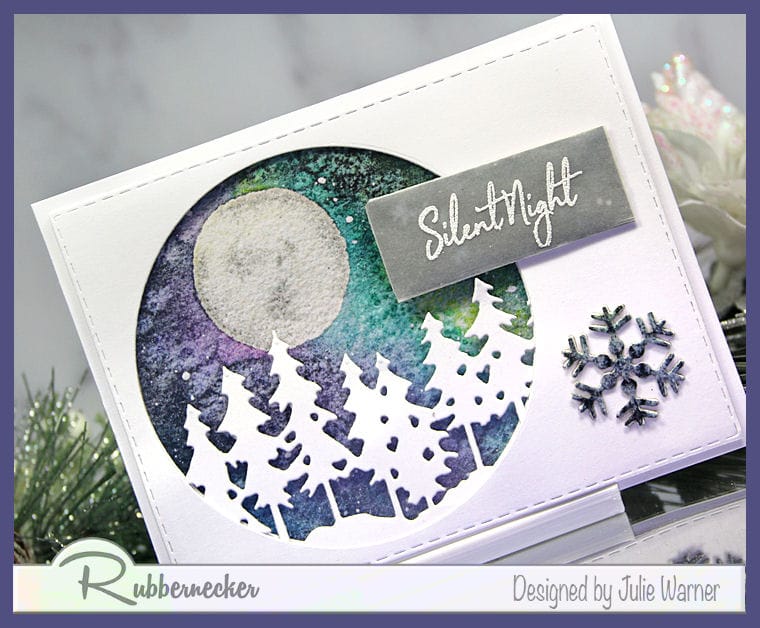
The greeting was white embossed onto vellum then I took a small rectangle of the same paper and folded the vellum around it before attaching. The single snowflake was die cut out of the same paper.
Thanks so much for stopping by!

Supplies:
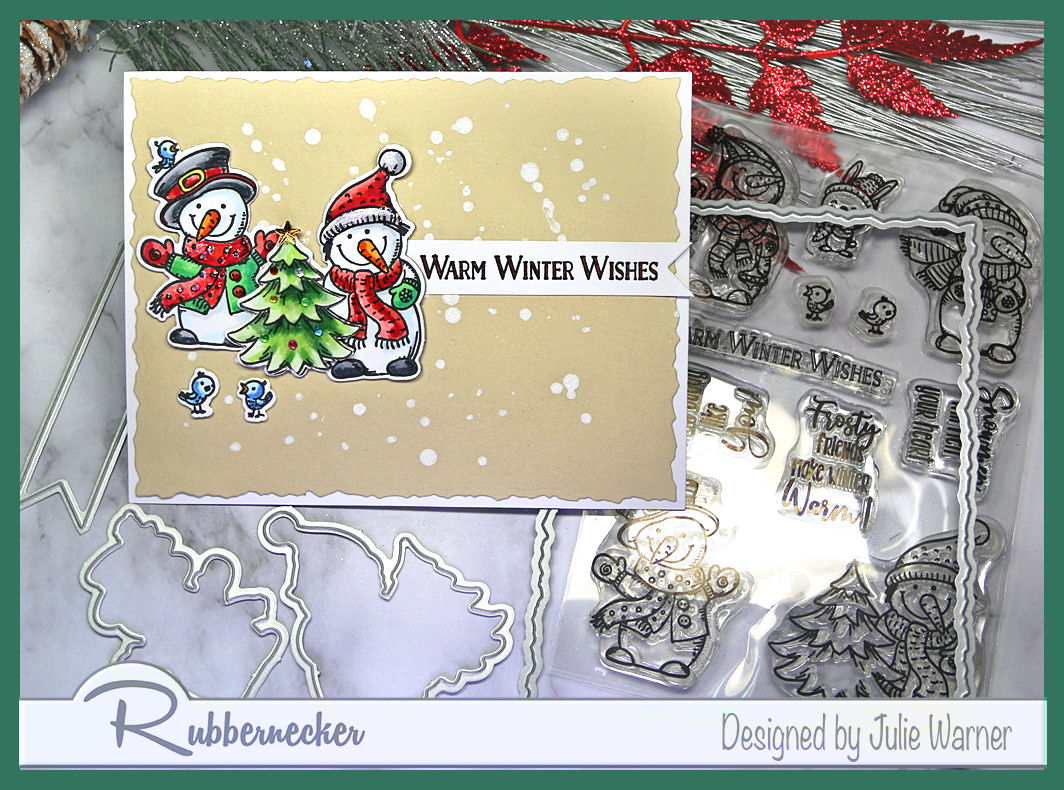
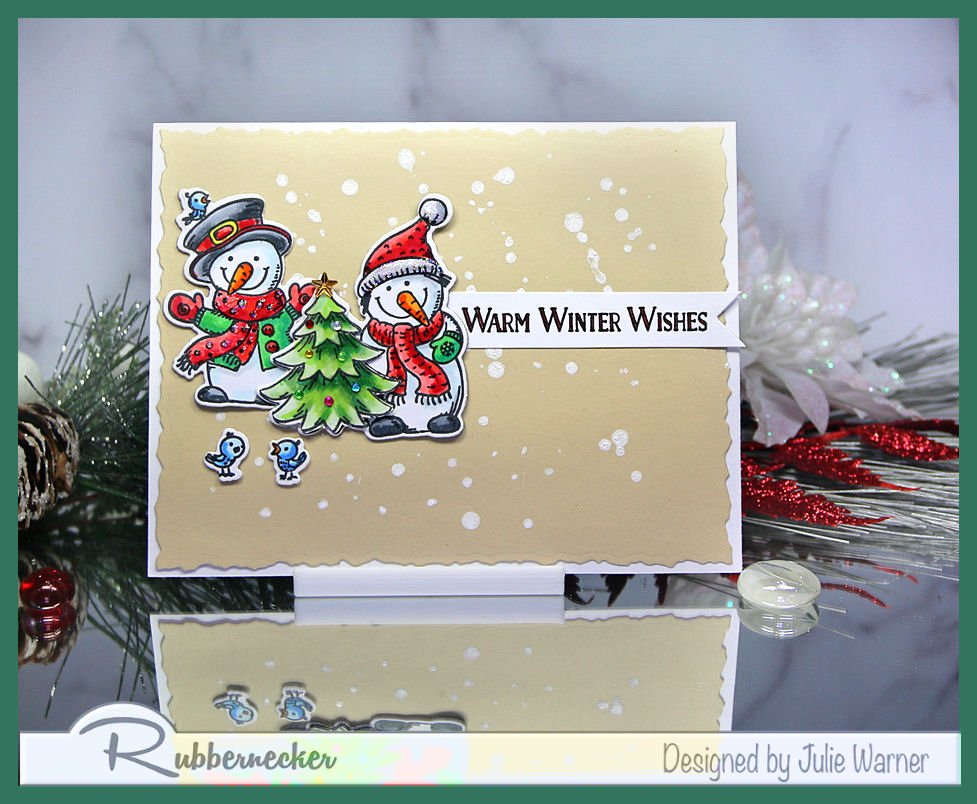
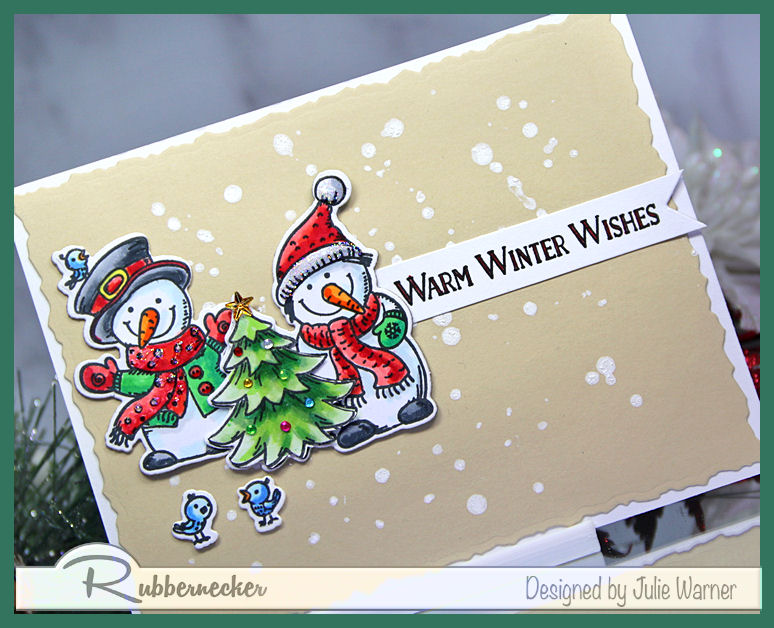
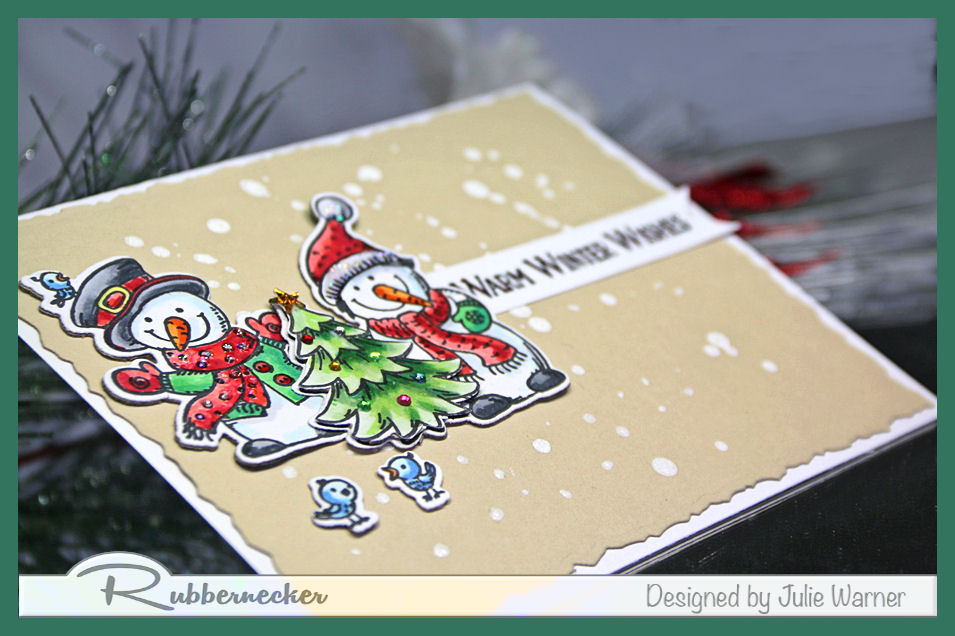
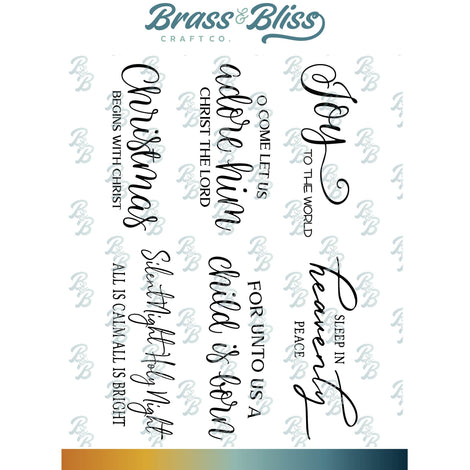
| Stamps: Rubbernecker Stamps: Reason for the Season |
| Paper: Staples 110# white, kraft |
| Ink: Hero Arts unicorn white pigment |
| Accessories: Rubbernecker Stamps: Stitched Rectangles, Stitched Circles, SnowflakesThree Trees Pine Forest dies, Crossover II, MISTI, white embossing powder |
|
|

|
|

|

|

|

|

|

|

|
|
You might also like: