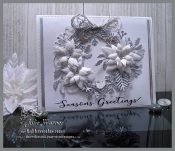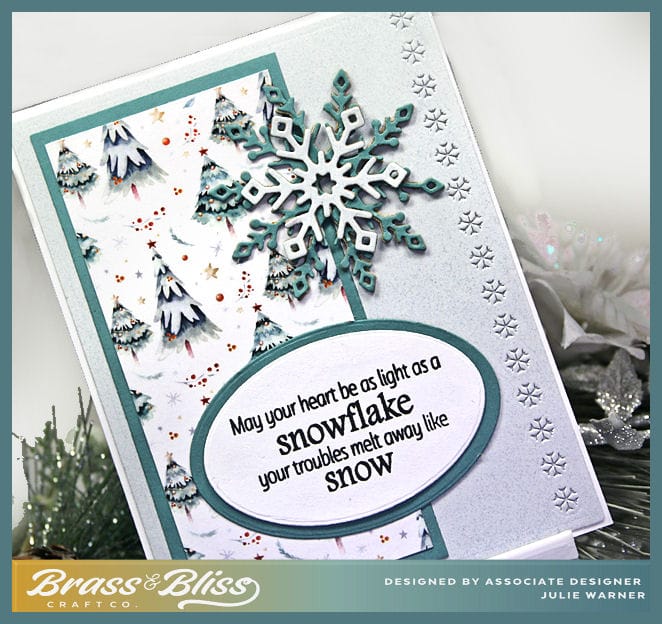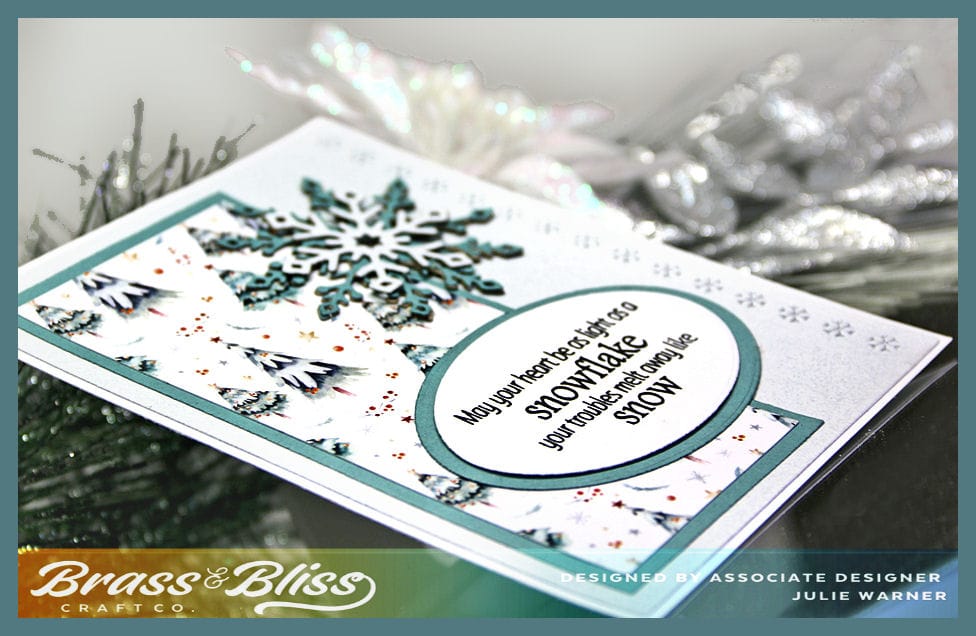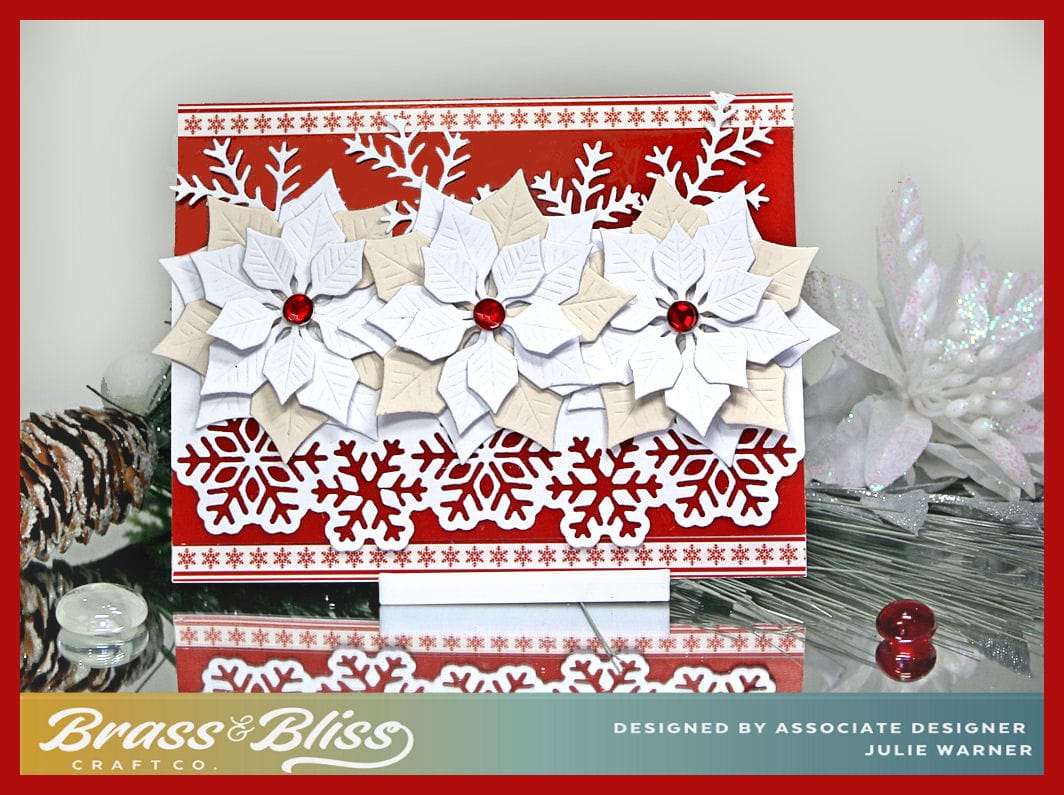
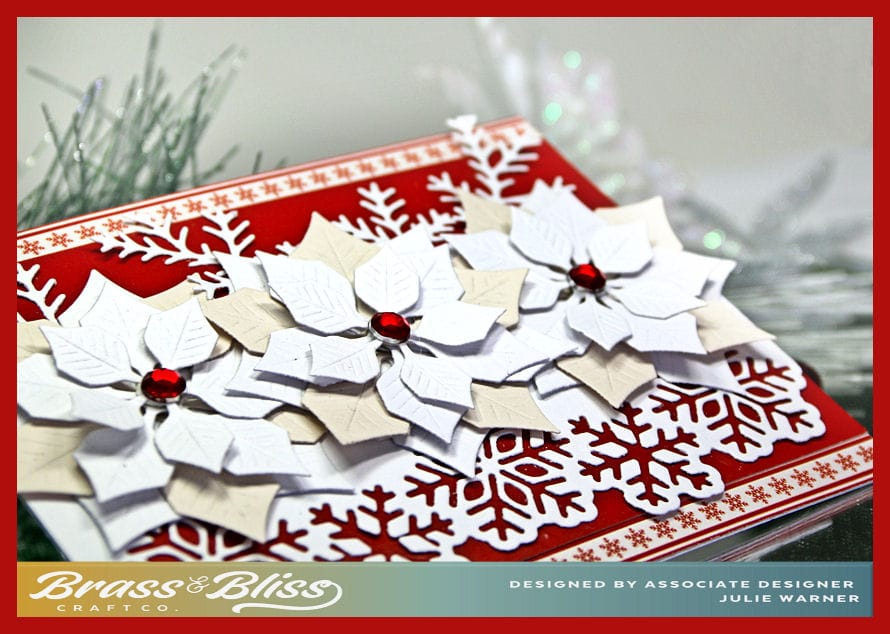
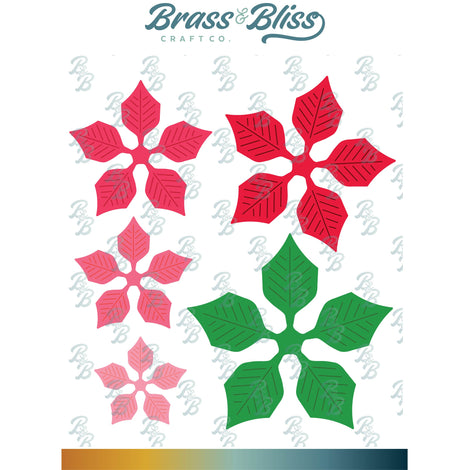
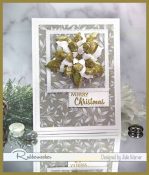
The new big, layered Poinsettia and Snowflake Edger dies make this card a breeze to put together. Elegant and not hard to make. There are 2 more larger layers to this Poinsettia set so you could opt to have one big bloom instead. Also easy to change up the colors and paper you use.
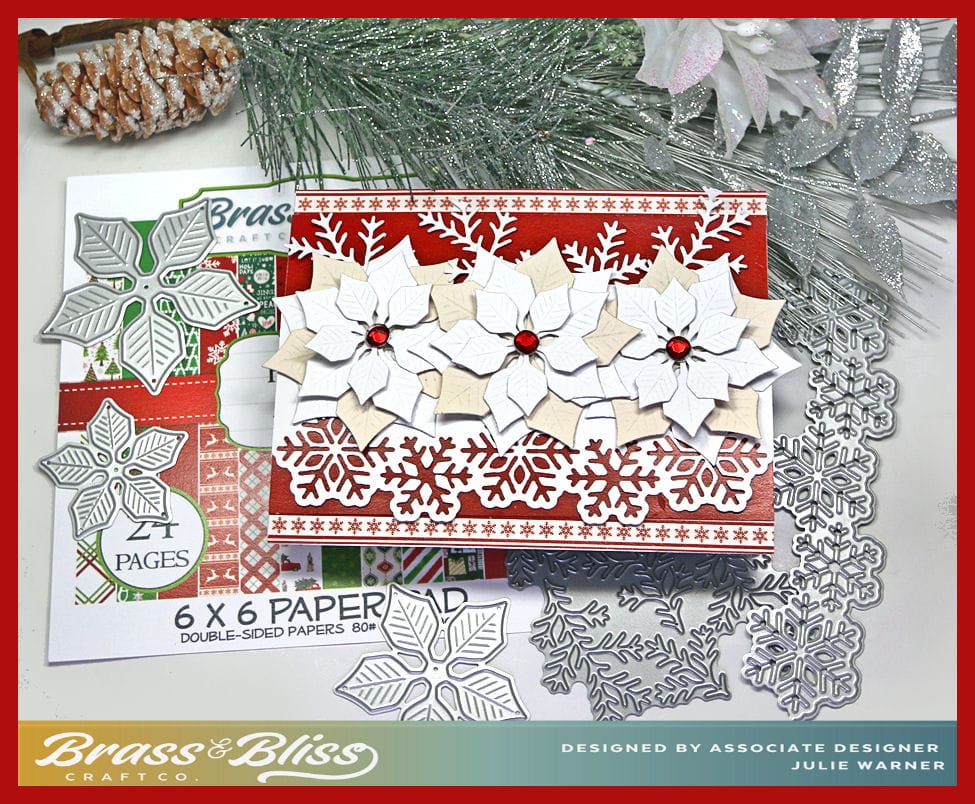
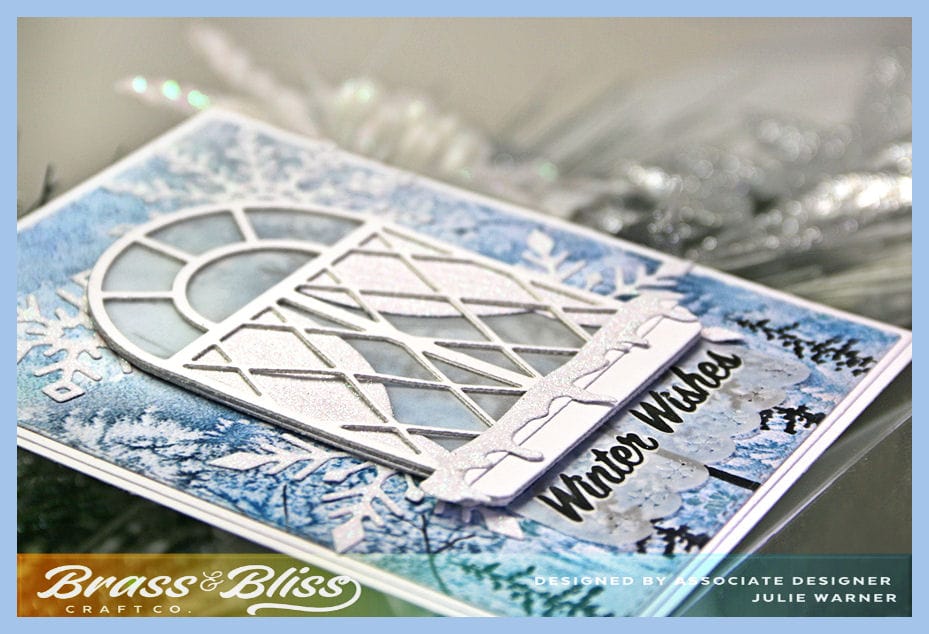
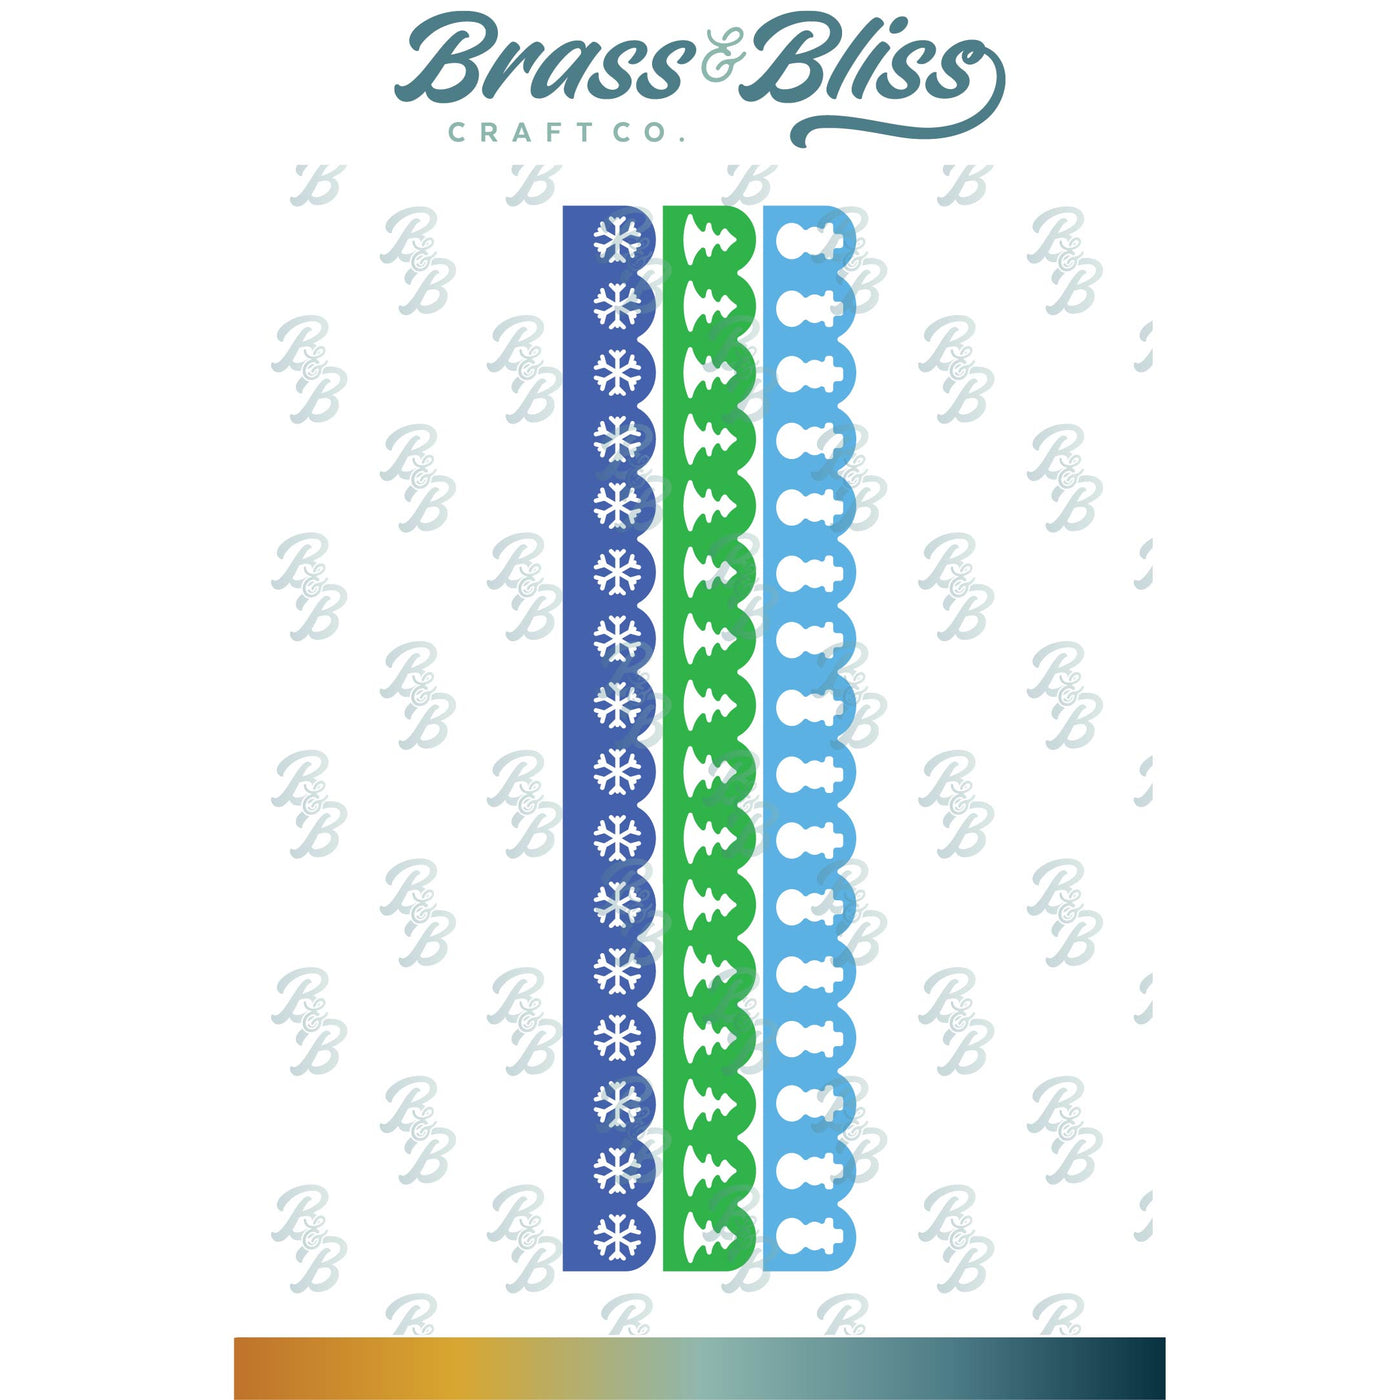
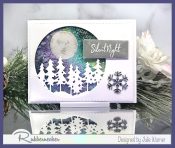
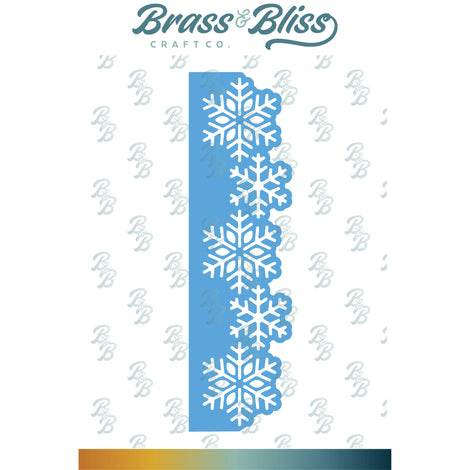
A big congrats to mazzybear, the newest Featured Stamper (FS914). She has a truly wonderful gallery & I chose THIS card to case. I kept the layout & poinsettias, but used different dies, paper & colors. Instead of a greeting across the bottom, I used a snowflake edger.
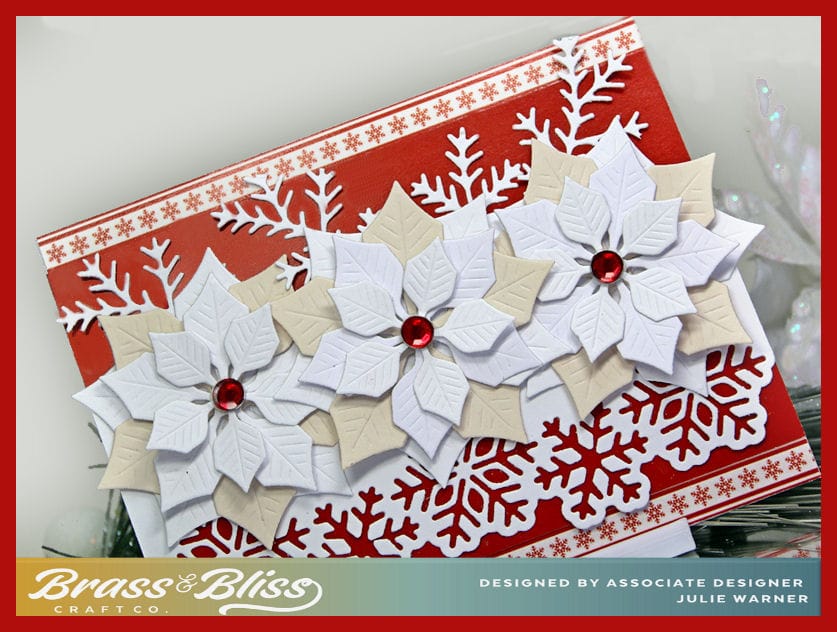
After die cutting the 3 poinsettia layers out of white, I die cut the largest of the three 3 times out of a vanilla color. I stacked the 3 sizes, offsetting the petals & also added some small circles of cardboard between the layers to give them a little dimension, Originally I had planned to use the Reindeer print paper on top, but it looked too busy to me, so I cut 2 of the snowflake strips from the paper & flipped it over to use the red side. The snowflake strips were attached at the top & bottom. The snowflake edger was used on a white piece, then trimmed down to end just where the poinsettias would be attached.
Thanks so much for stopping by!
(LinkDeli is no longer going to be used, but you can go directly to the items by clicking the name under the pictures below.)

Supplies:
|
|
|
|

|

|
You might also like:
![]()
![]()