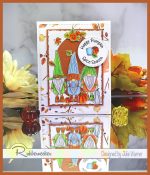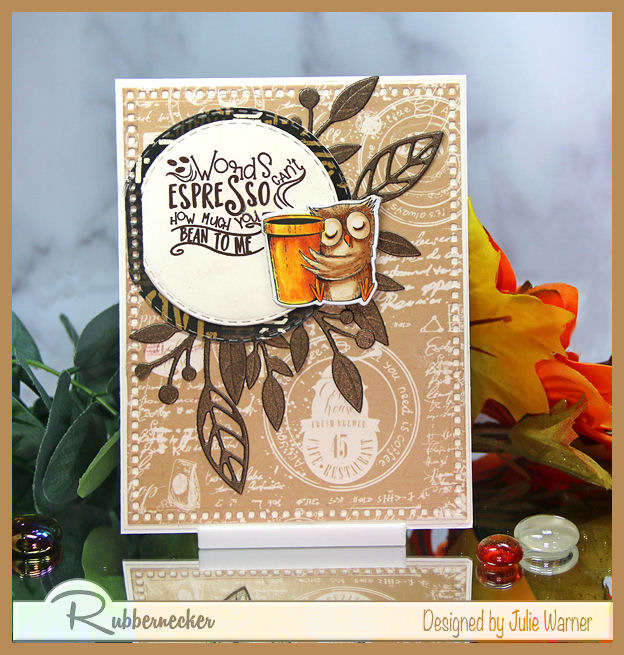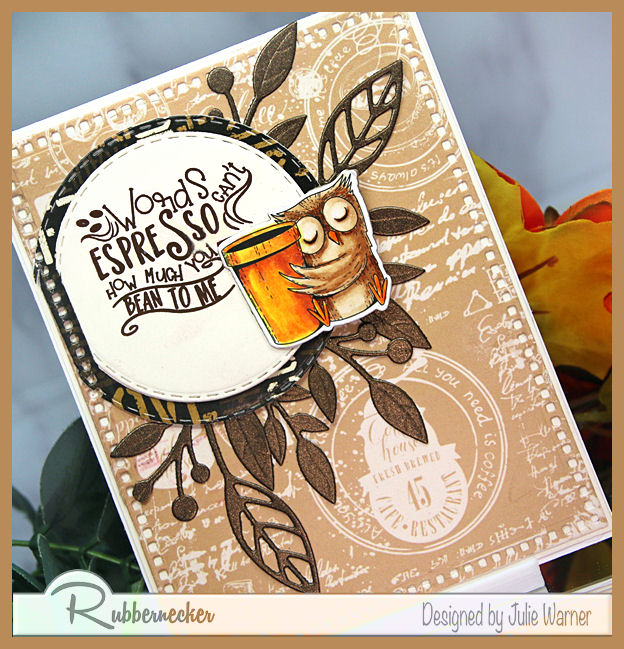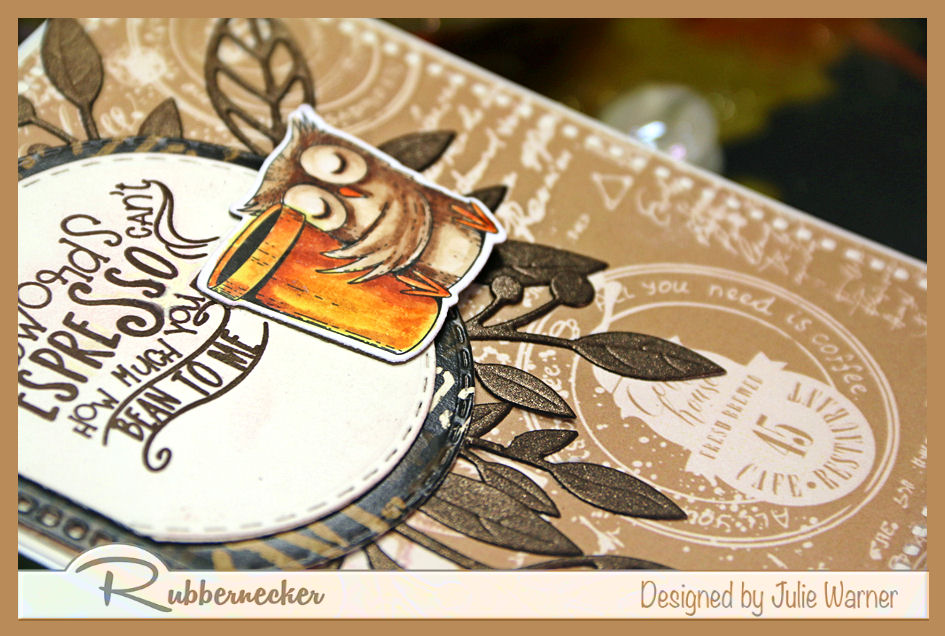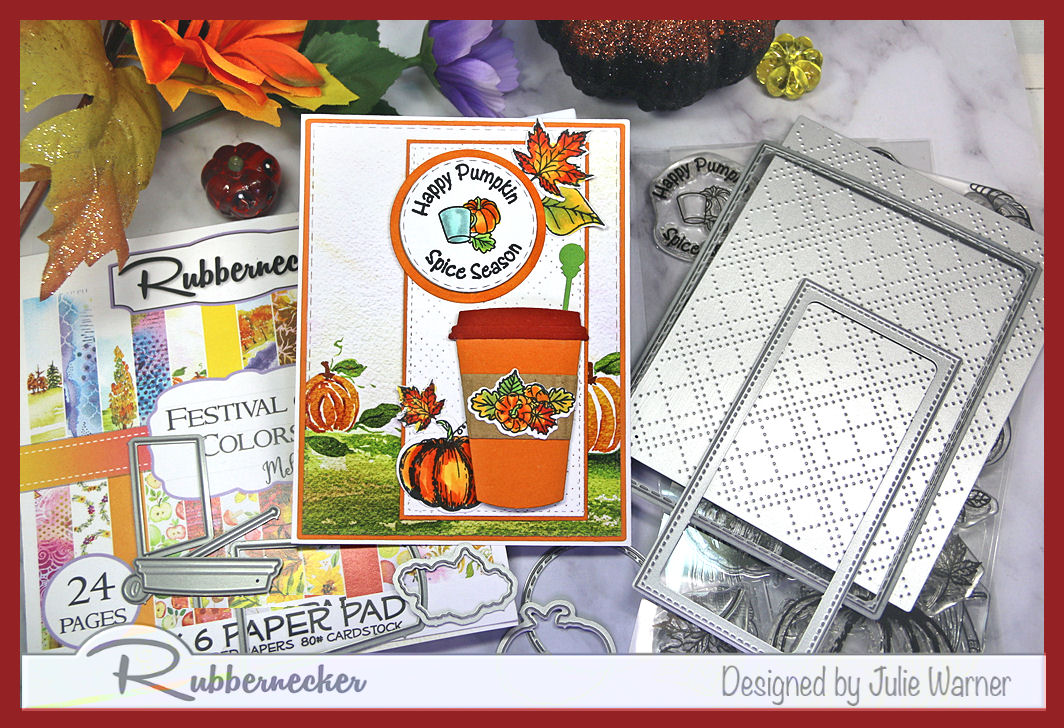
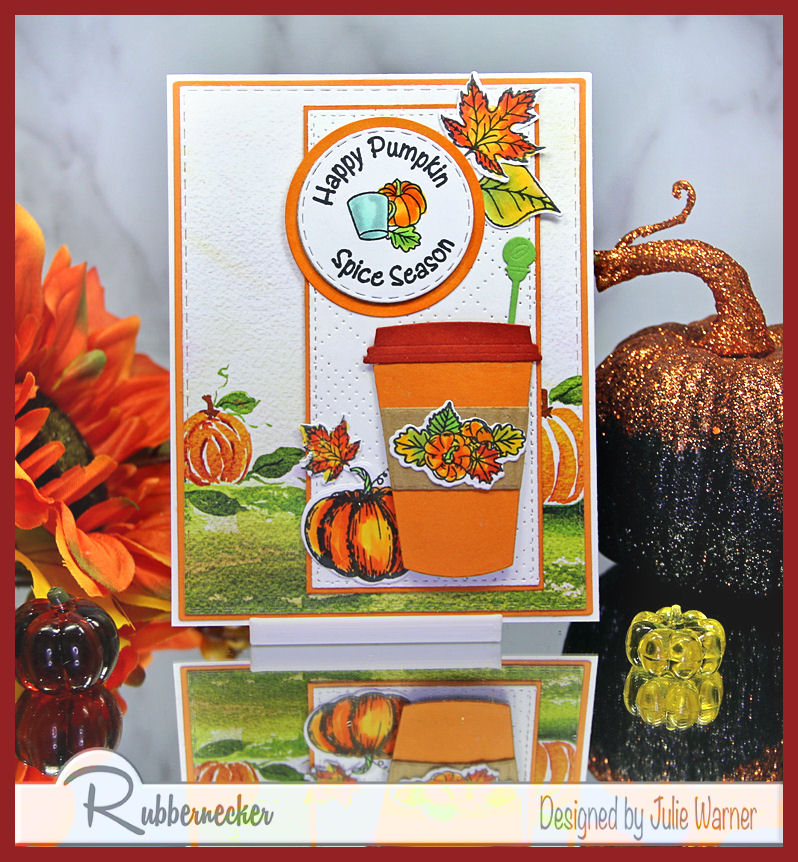
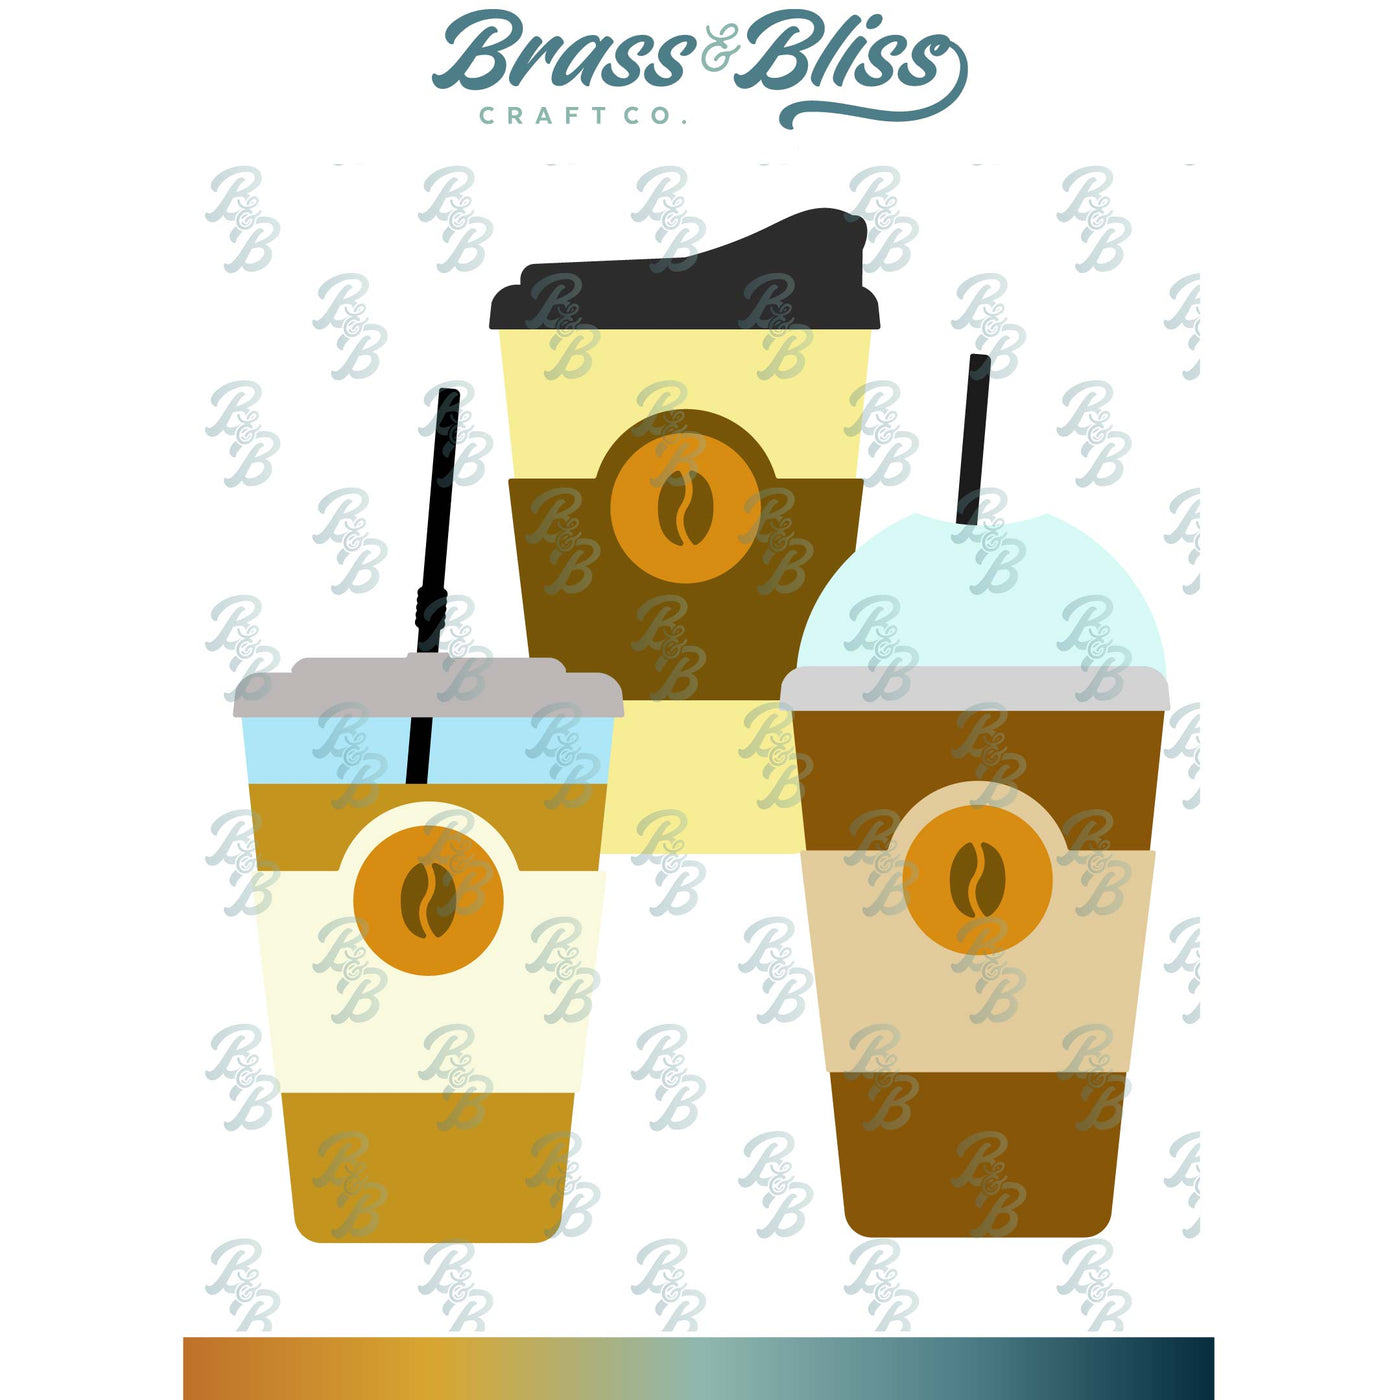
A pretty fall coffee card using a tall coffee go cup and some lovely fall paper for the background. Easy to make and perfect for a coffee lover who loves pumpkin spice and fall.

For the Inspiration Challenge (IC929) we’re visiting Loft & their Pinterest Board. I used THIS shirt for my inspiration.
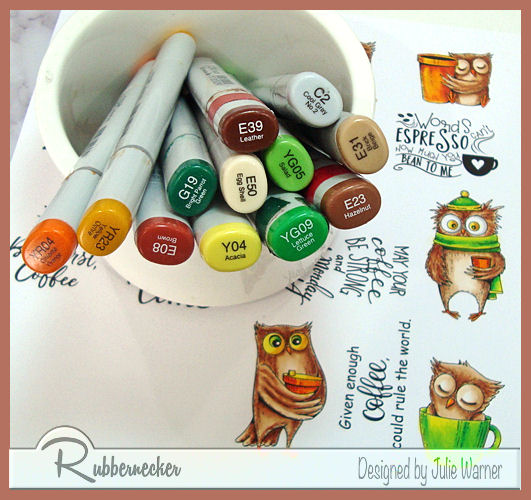
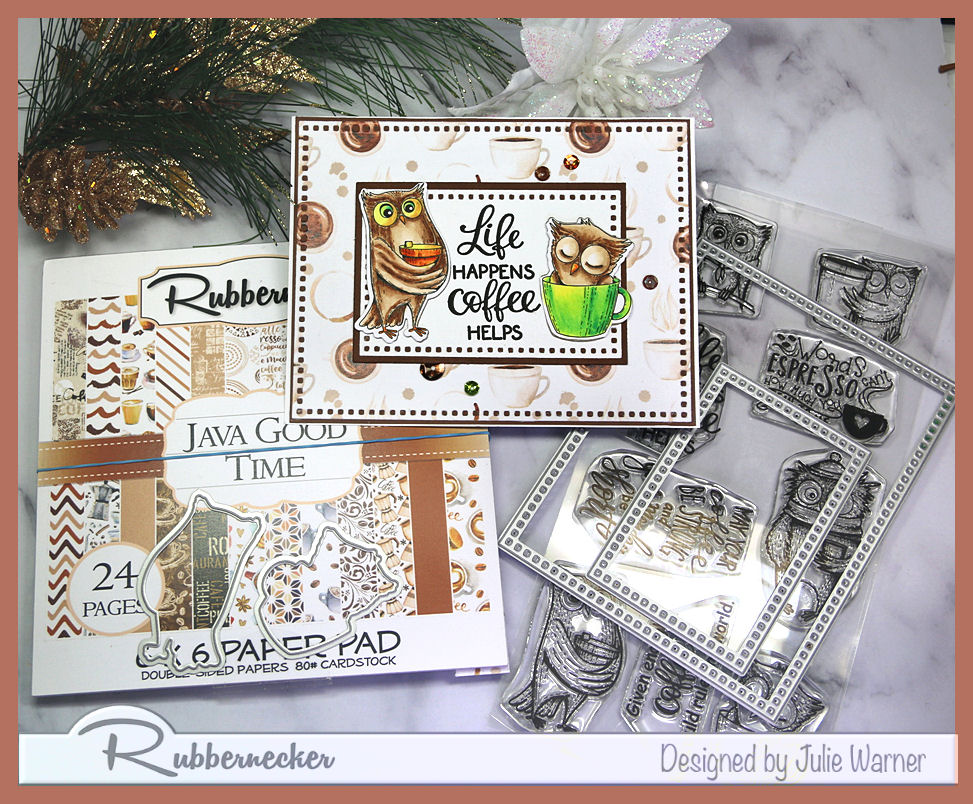
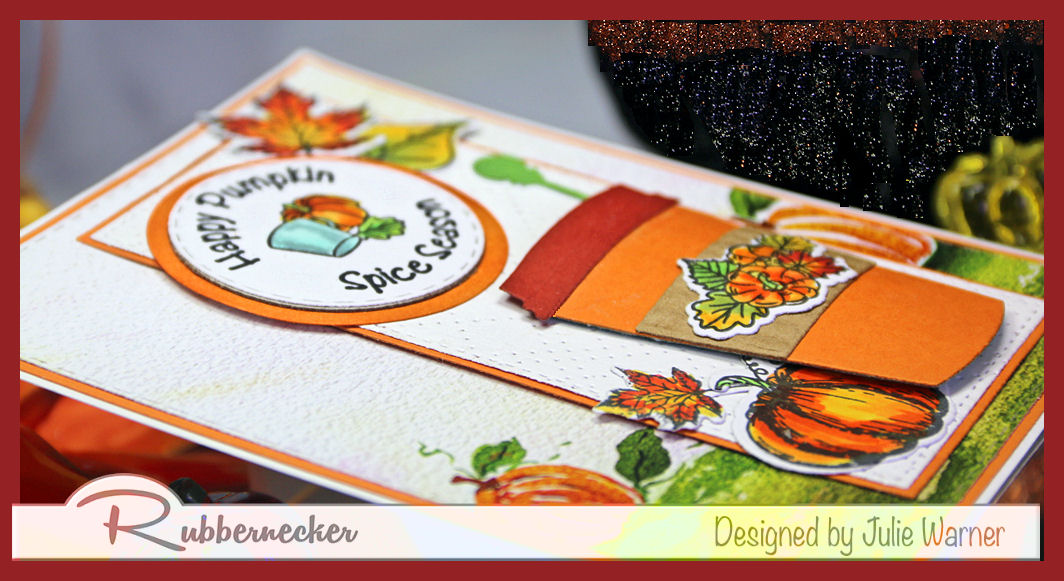
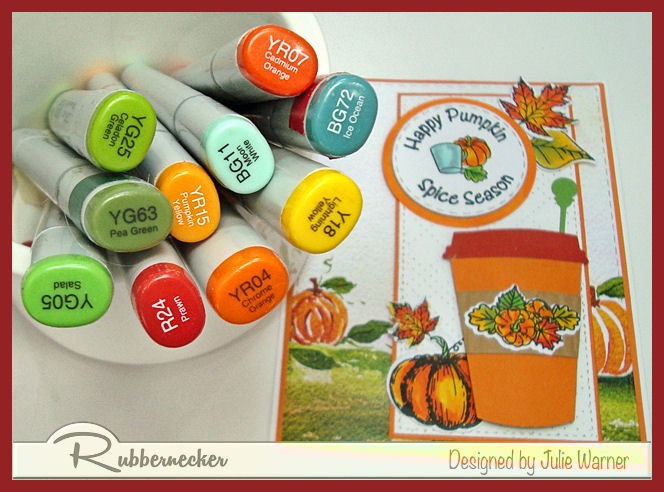
My card is pretty easy. After die cutting the go cup parts out of different colors, I ran the kraft colored sleeve part thru my crimper to give it the sleeve look. The little pumpkins & leaves spray was colored & die cut to attach on top of it. I used a smaller mini slimline die to cut the long panel behind it then used a plaid piercing cover die on top of it to give it some texture. The other pumpkin and some leaves were also colored & die cut. I used a stitched circle for the greeting & a leftover white circle (colored w/ a Copic to match) for the backing. The pretty paper (coming soon!) was die cut & I added a narrow pumpkin colored layer behind it & the slimline panel.
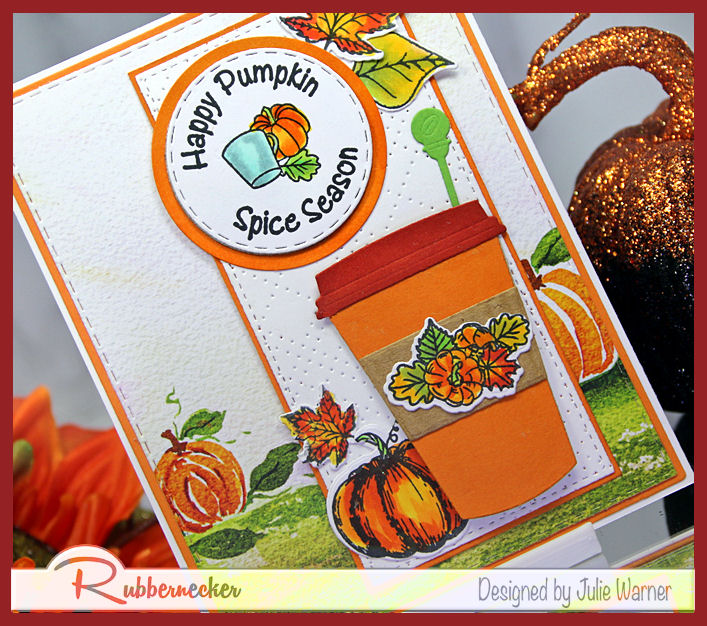
The go cup was shaped a little to give it that rounded look. To keep its shape, I ran a piece of cardboard thru the crimper & folded it a couple of times then attached it to the center part of the cup.
Here are the Copics I used:
Thanks so much for stopping by!

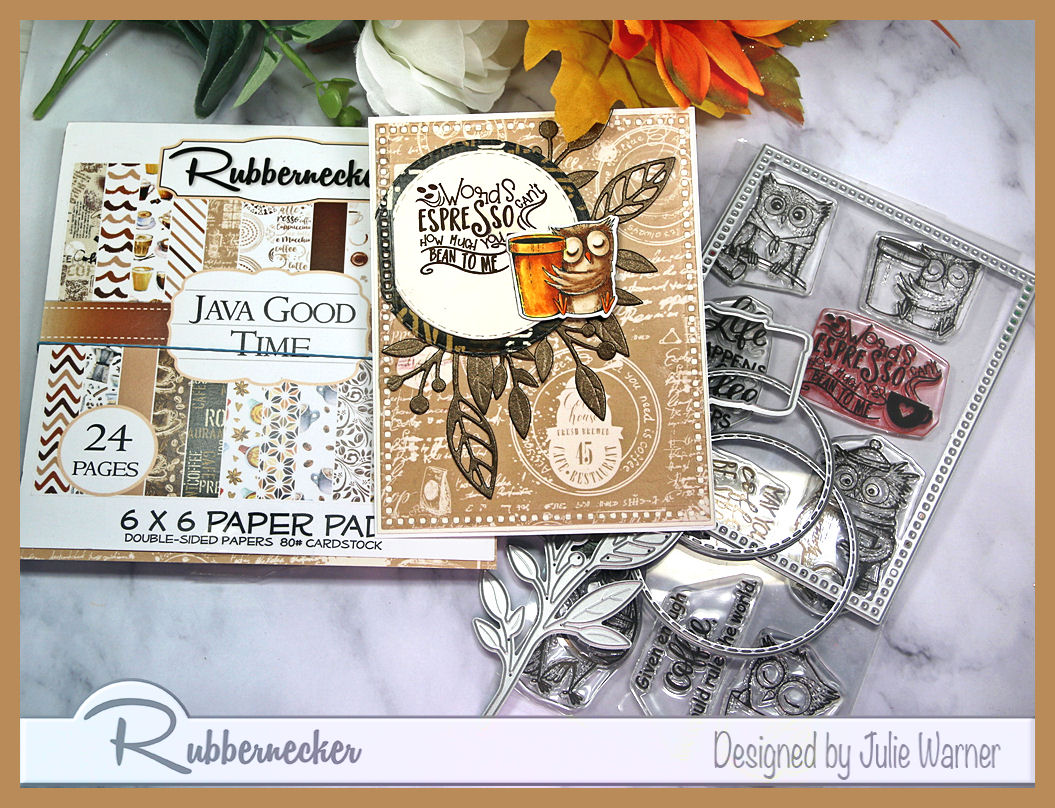
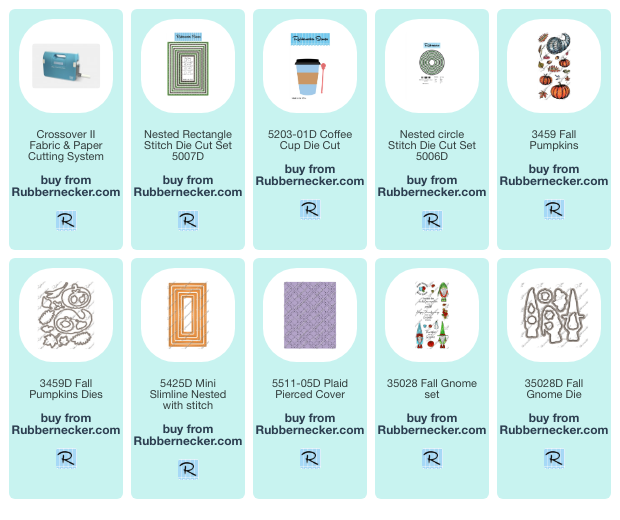
Supplies:
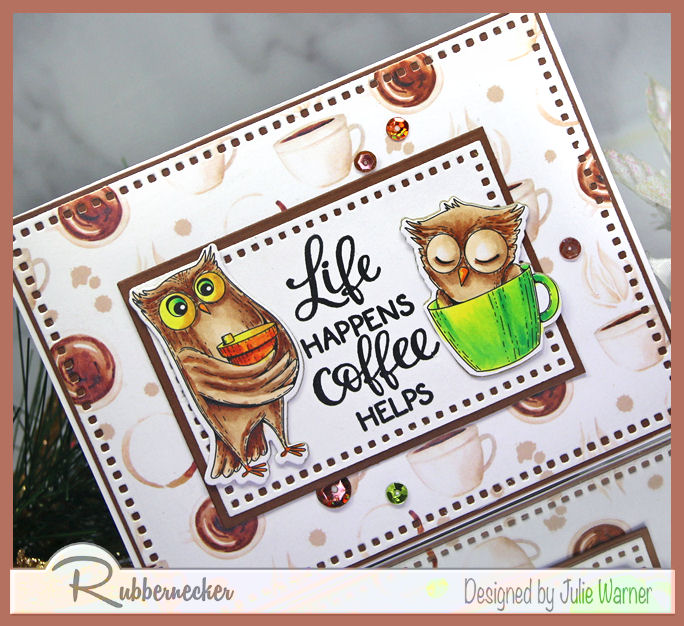
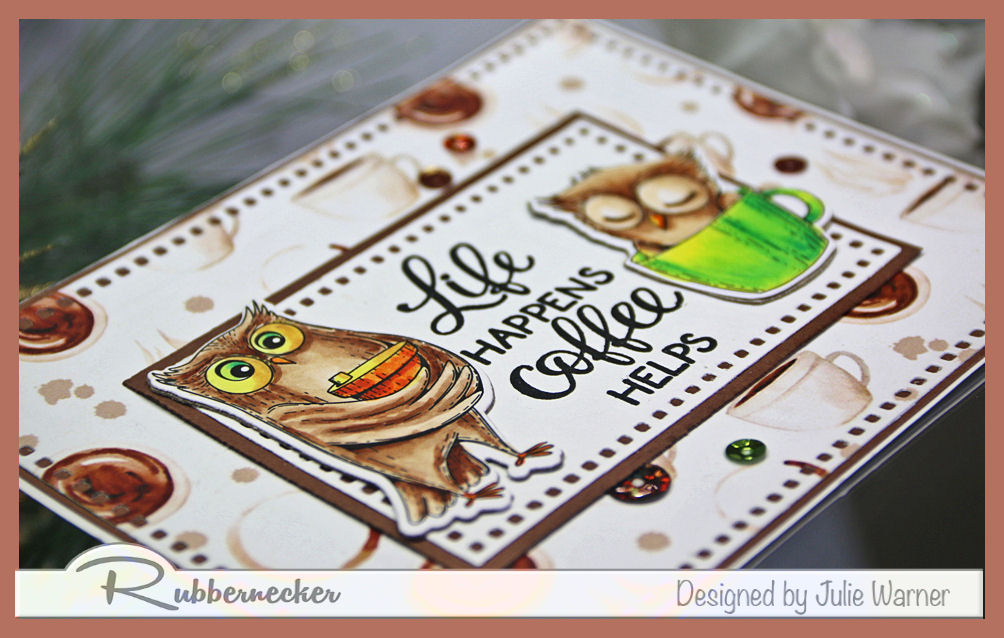
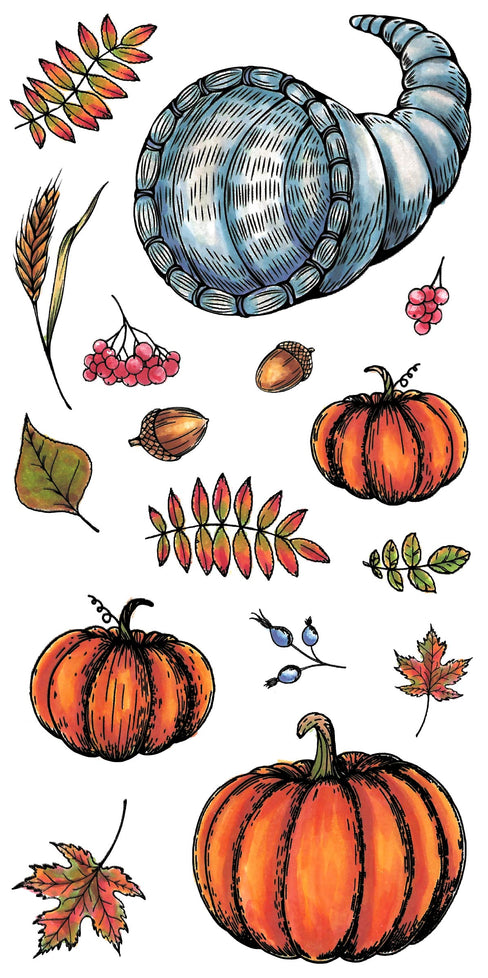
| Stamps: Rubbernecker Stamps – Fall Pumpkins |
| Paper: Staples 110# white, pumpkin, lt green, maroon, kraft |
| Ink: Memento tuxedo black |
| Accessories: Rubbernecker: Stitched Rectangles, Stitched circles, Fall Pumpkins, Coffee Cup, Mini Slimline Stitch, Plaid Pierced Cover dies, MISTI, paper crimper, Copic markers, Crossover II |
|
|
|
|
|
|

|

|

|

|

|

|
You might also like: