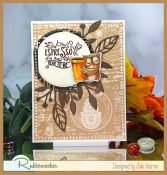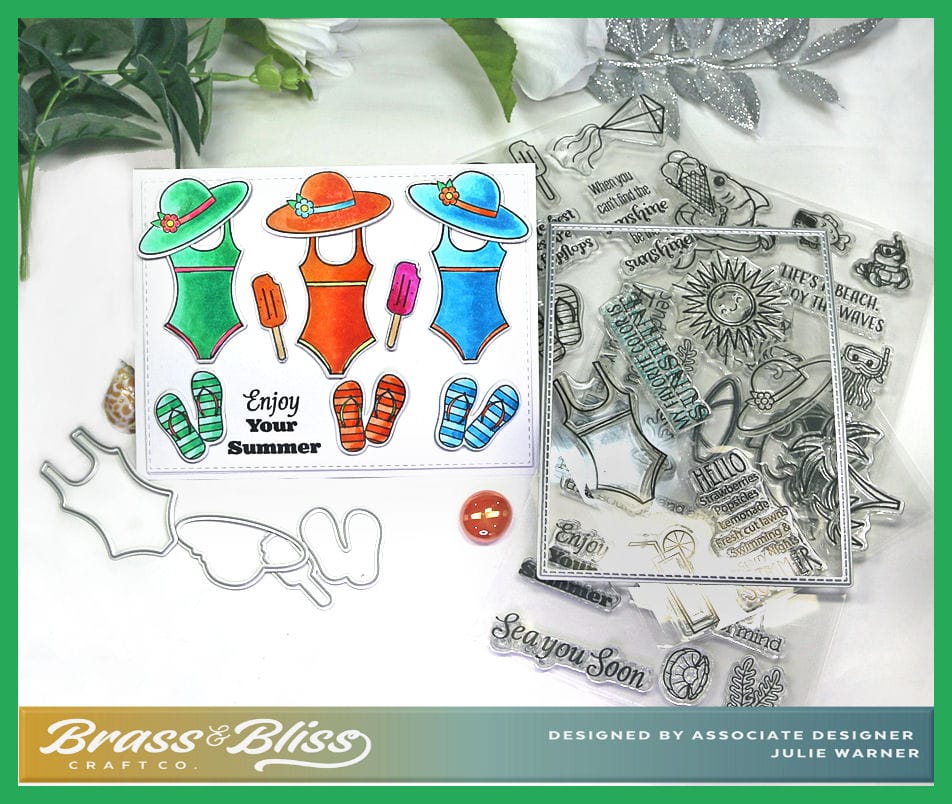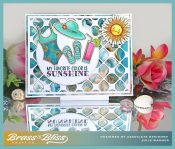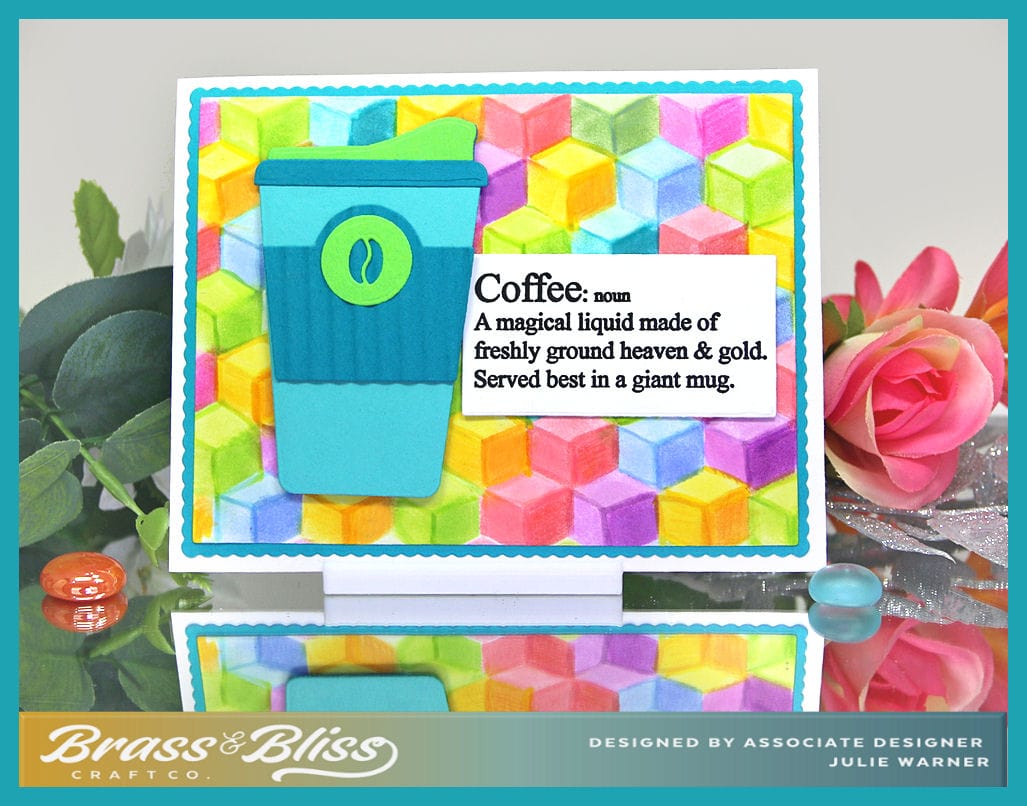
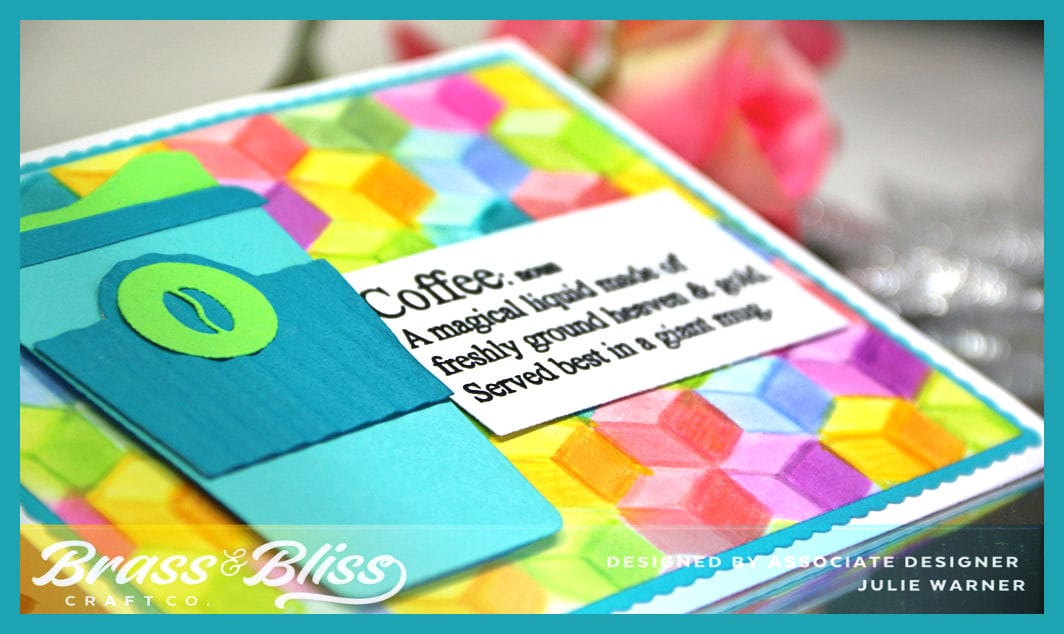
A bright, colorful card for your favorite coffee lover. Perfect for a “let’s get together soon” or an invite for a coffee date. I used a rainbow of bright colors but this is easy to change to your favorite colors or even a monochromatic coffee colored card. The 2 part stencil makes it easy to get that fun cubist background.
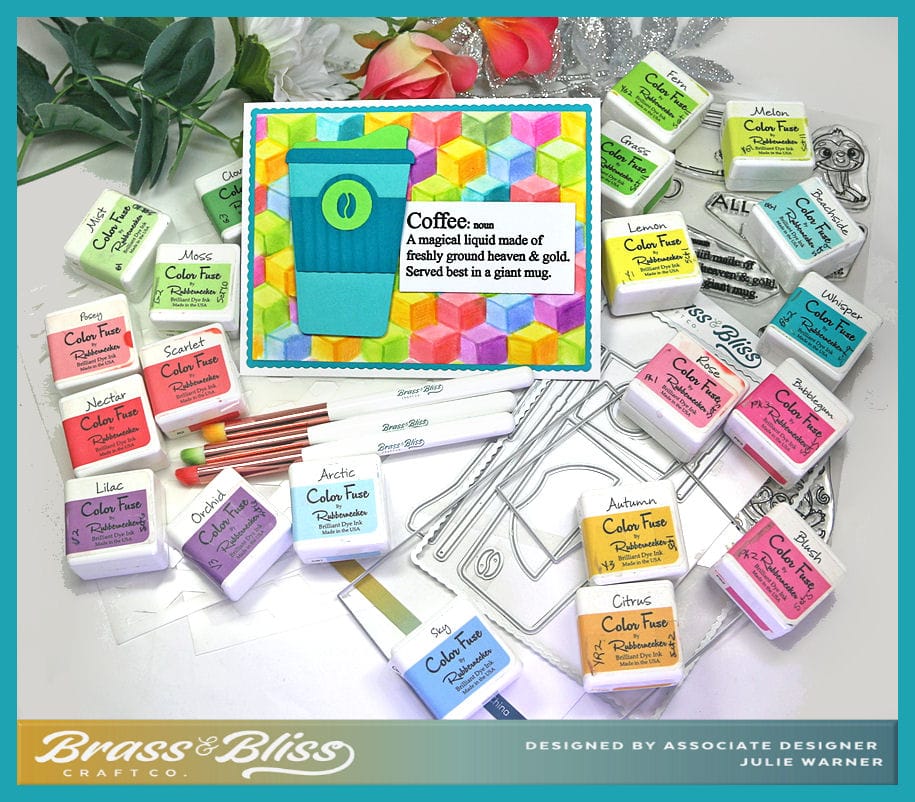
For the Inspiration Challenge (IC967) we are visiting Carla Bank Art & their Pinterest Board. I used THIS print for my inspiration. I knew I had the perfect stencil to make a background like this. And I used almost every color group of these inks to make it. I placed the first stencil over the paper & used the detail brushes to add the lightest color of each group. Then I took the second stencil & applied the next darkest ink of each group. For the last step, I turned the stencil over & applied the third darkest ink of each group. Hint: to see which side is which, place the stencil on top of the colored package. When it lines up, you have it correctly orientated.
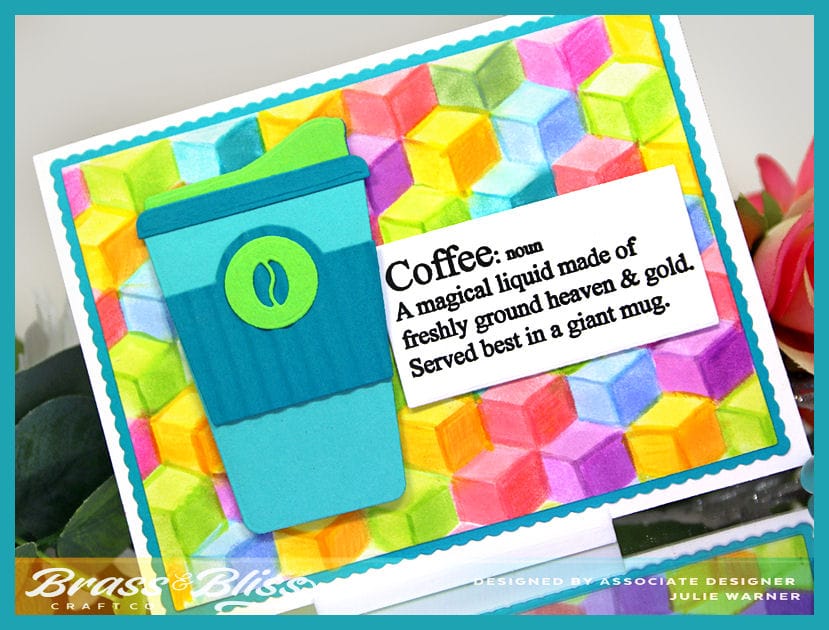
When I finished, the stenciled panel was die cut w/ the second largest of the plain rectangles & I used the largest scallop rectangle to cut a dark teal layer to back it. I did use a few Prismacolor pencils to sharpen the blocks a bit. A couple of teals & a lime green were used for the coffee go cup. Just for fun, I ran the teal coffee band thru my paper crimper then added the greeting. The coffee cup was popped up for dimension.
Thanks so much for stopping by!

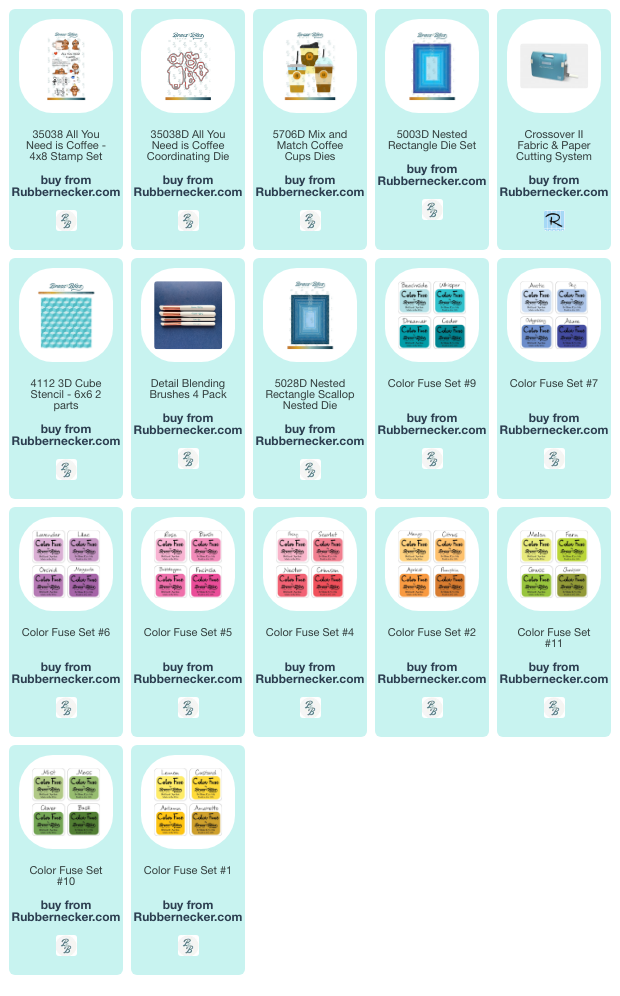
Supplies:
| Stamps: Brass & Bliss: All You Need is Coffee set |
| Paper: Staples 110# white, dk teal, lt teal, lime green |
| Ink: Memento tuxedo black, Brass & Bliss/Rubbernecker Stamps: Color Fuse inks set #1, Set #2, set #3, set #4, set #5, set #6, set #7, set #9, set #10, set #11 |
| Accessories: Brass & Bliss/Rubbernecker Stamps: All You Need is Coffee set, Rectangles, Mix & Match Coffee Cups, Scallop Rectangle dies, Cube Stencil, Blending Brushes, MISTI, paper crimper |

|

|

|

|

|

|
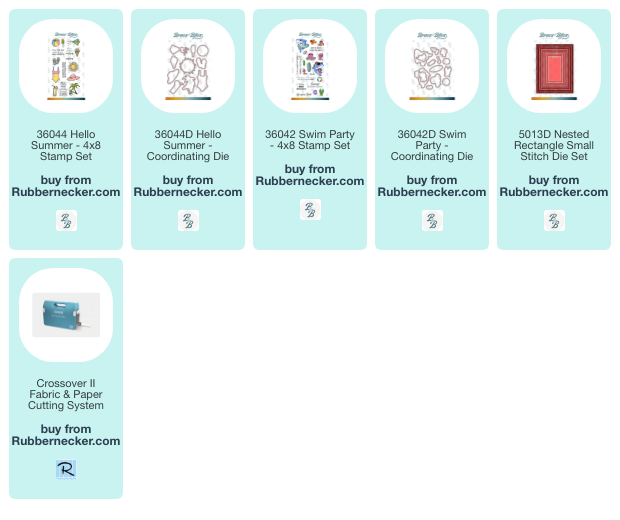
You might also like: