
Welcome to the Our Daily Bread designs June Release Blog Hop! We have some wonderful sets & fabulous dies for you this month, so sit back & enjoy!
Prize Information: –
Three randomly selected winners will each receive a $25 gift certificate to the ODBD Store, to be used toward the purchase of ODBD Stamps found in the “stamps column” of the website just for commenting on the Design Team cards! You have until June 2, 2016 at 9:00 p.m. EDT to leave your comments on the Designers Blogs for a chance to win! The Winners will be posted on the ODBD Blog on June 3rd, so be sure to check back there to see if you won!
First off, you’ll notice we have these fabulous new Stamp/Die Duo sets! You’re going to want to grab them because I know they’re going to sell like hot cakes. There’s a greeting for almost everything in these two sets & the coordinating die is fabulous!
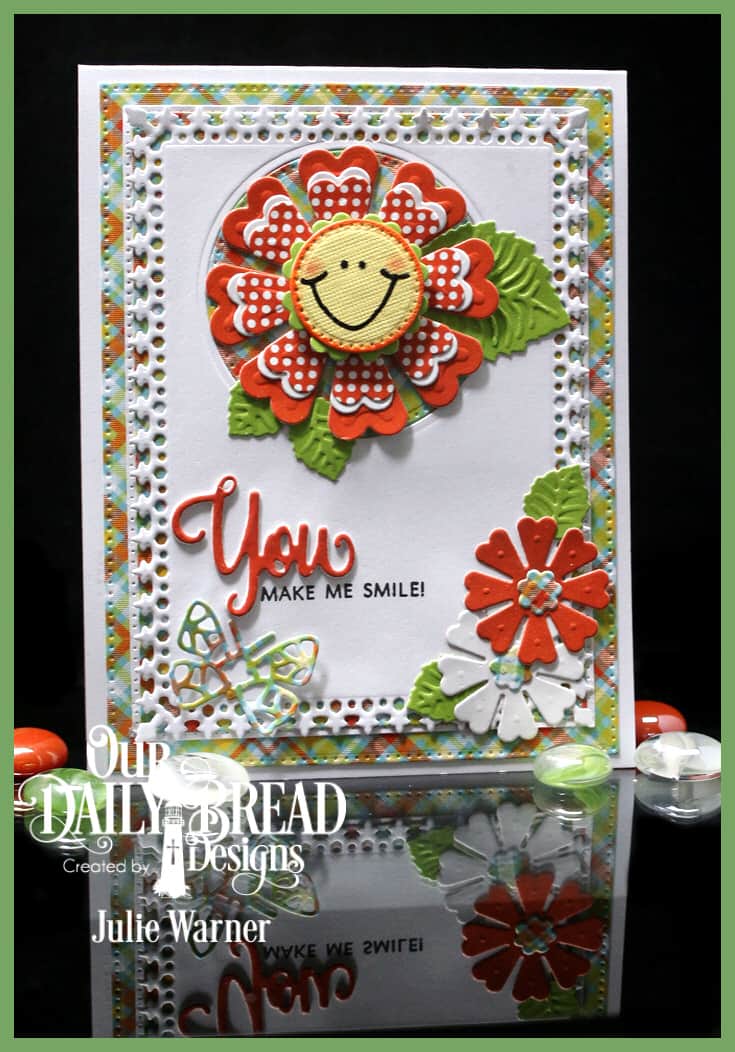
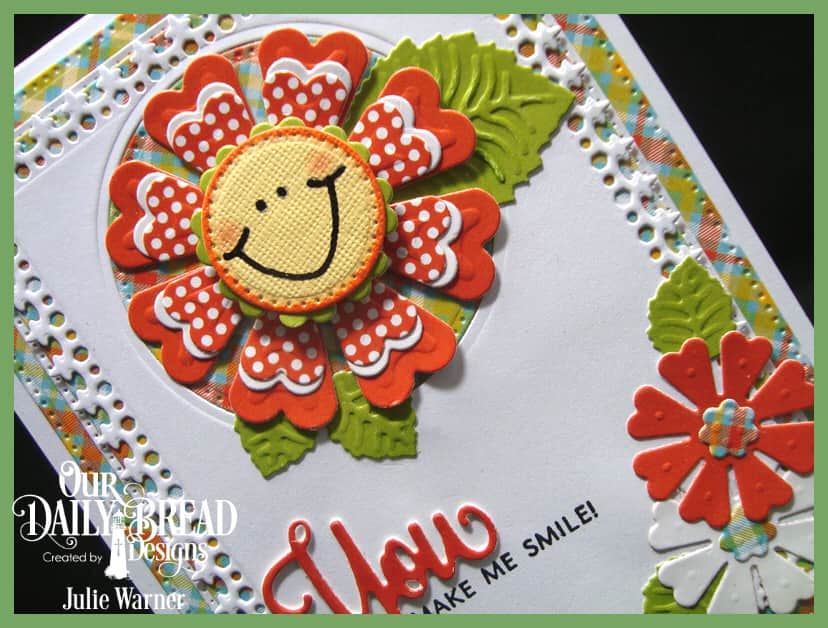
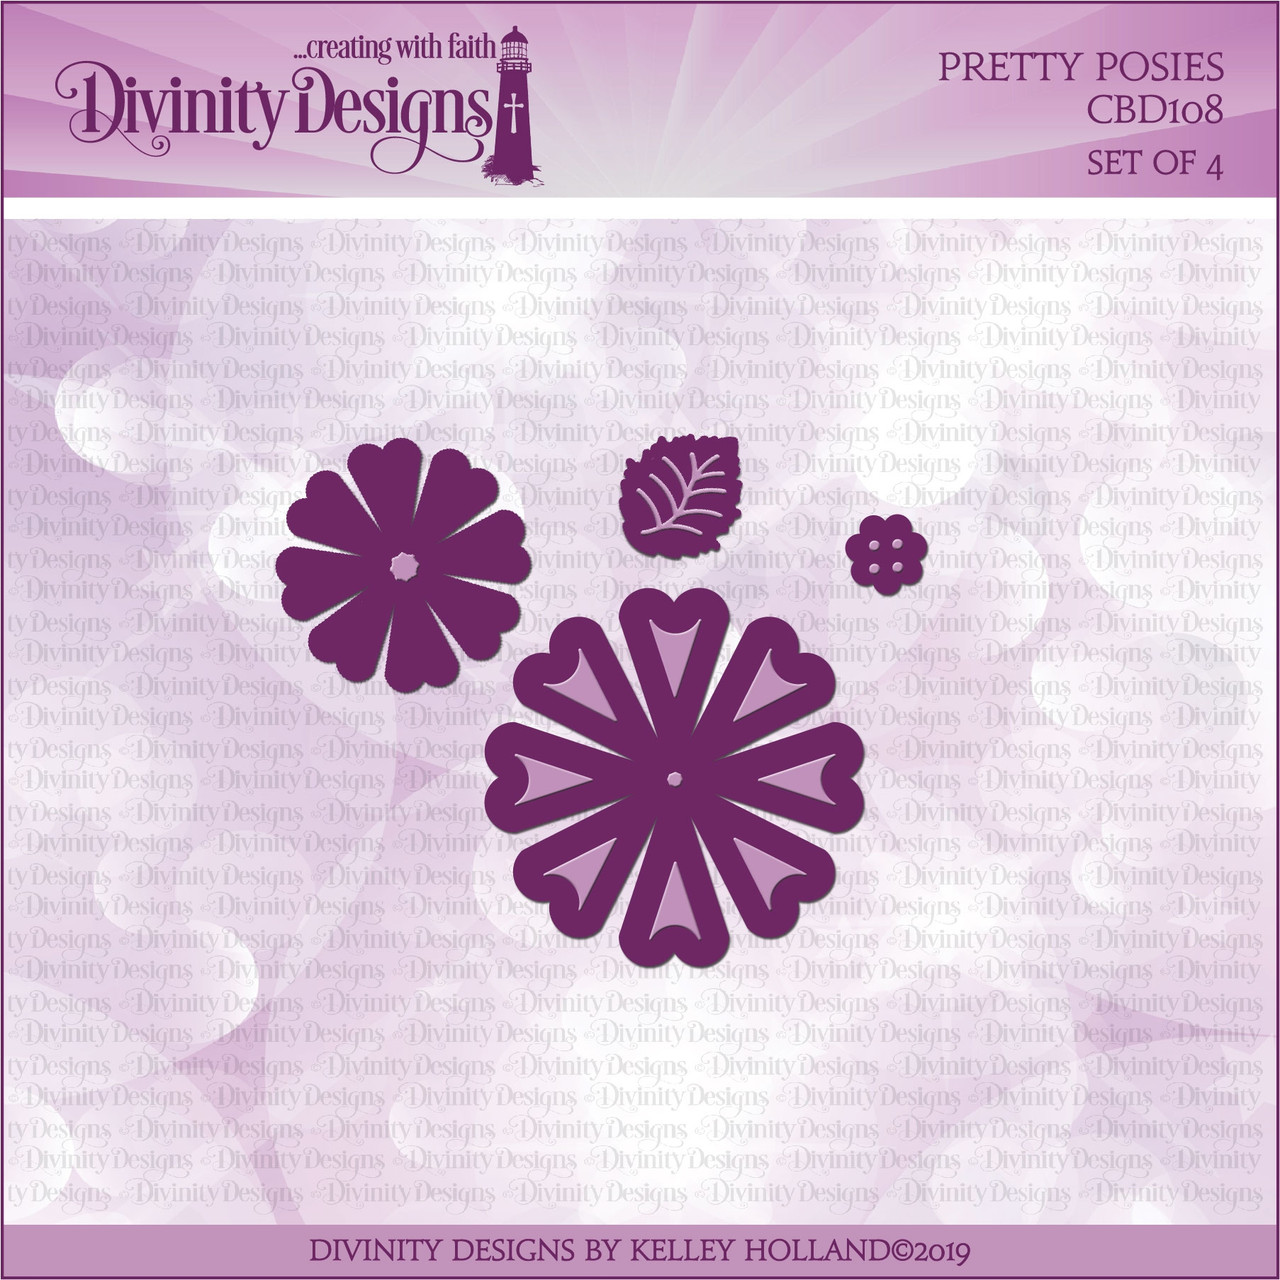
I’ve been combining die cut words w/ greetings for a while & these 2 sets make it so easy. On my first card, I used the You Bless Me So duo set. Don’t you love that smiley face? I thought it would be perfect as the center of a happy little flower. I die cut the white Lavish Layer & used a Pierced Circle to cut out the center. I used the same die on the patterned paper underneath, just for that something extra. After die cutting I large & 2 med Posies, I took the med white one & cut apart the petals to move them out just a tad from behind the polka dot layer.
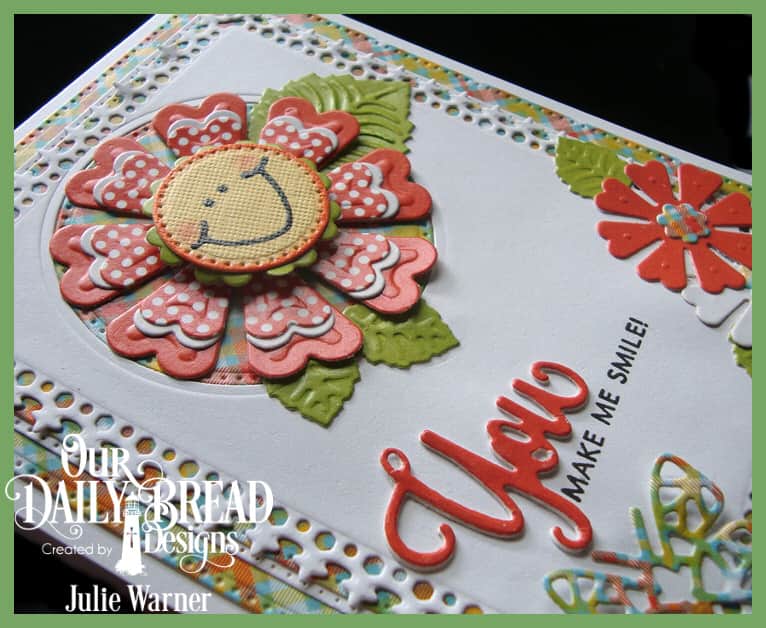
I added the die cut You & greeting below along w/ a Bitty Butterfly & a couple more flowers in the corner. The You was stacked on top of a thick white layer to give it a little dimension.
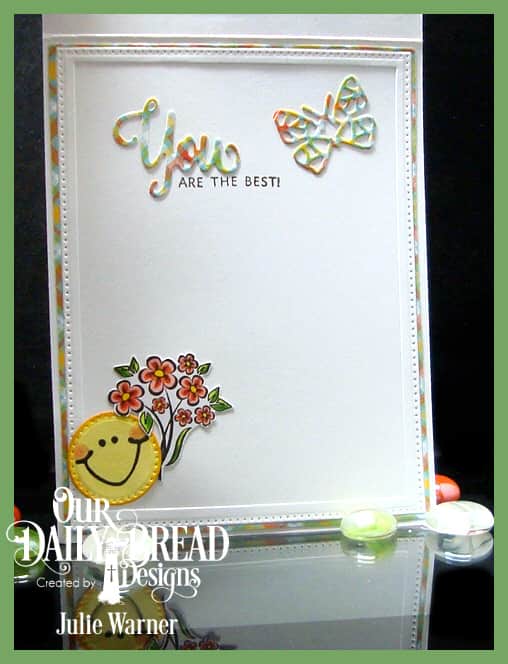
Here’s a look at the inside.
Supplies:
| Stamps: Our Daily Bread designs – You Bless Me So |
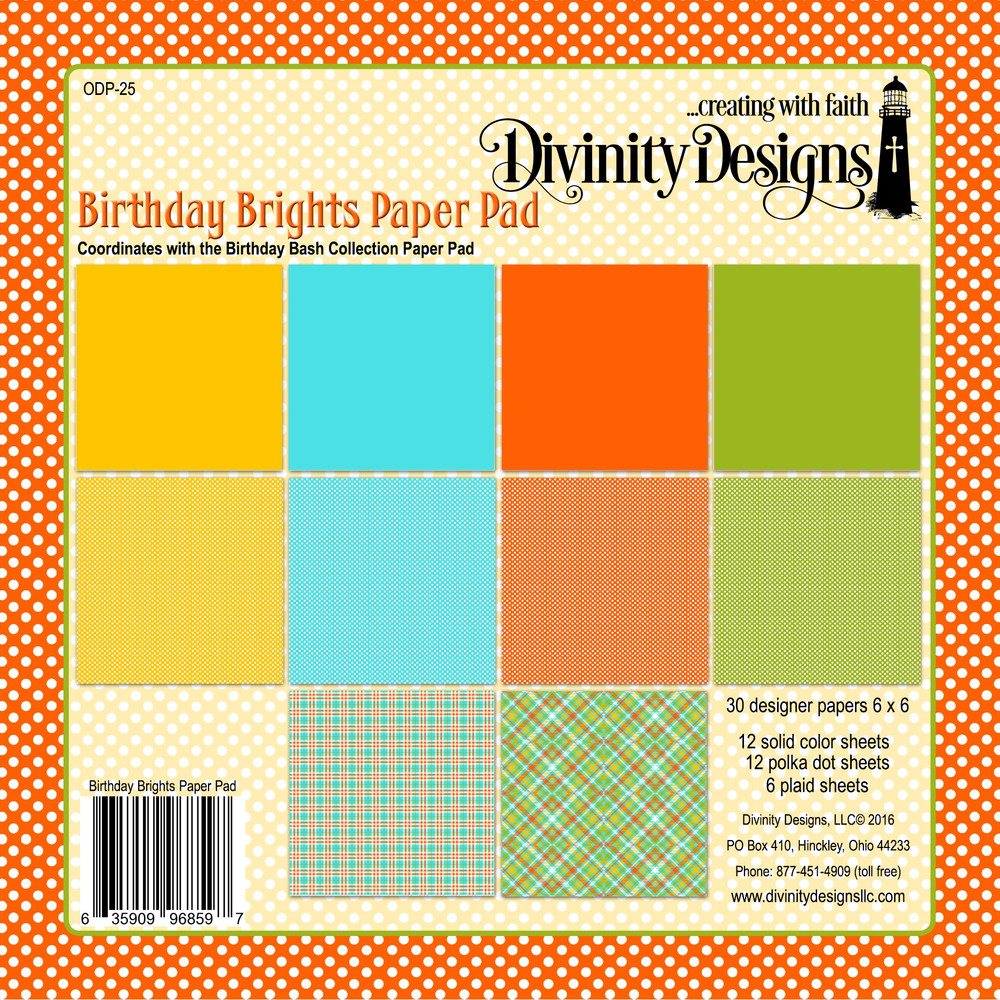
| Paper: Staples 110# white, dp (ODBD -Birthday Brights paper) |
| Ink: Versafine onyx |
| Accessories: ODBD Pierced Circles, Lavish Layers, Pierced Rectangles, Bitty Butterflies (retired), Pretty Posies dies, black Glaze pen ( to go over the smiley face), Copic markers (to edge the smiley face circle & flowers on inside) |
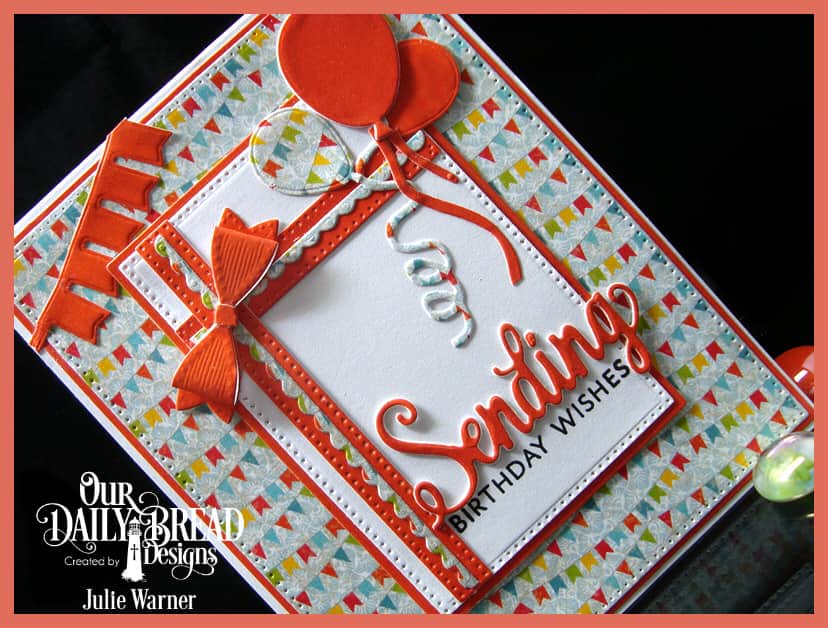
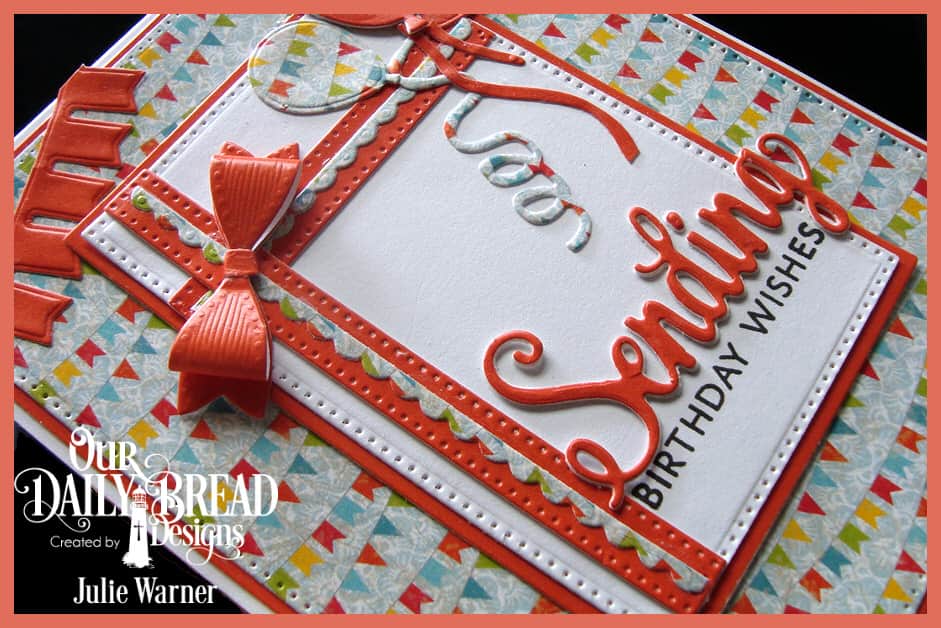
My second card features the Sending My Love duo set. Did I mention the greetings are clear sets? Makes it sooooo easy to see where to stamp it. I wanted a fun, festive card and these dies are PERFECT. I made the center white panel to resemble a wrapped package, using the the Bitty Borders as added trim & the Mini Bow to top it off. I also added a small balloon (from the Happy Birthday dies) to go along w/ the larger Balloons & Streamers I used.
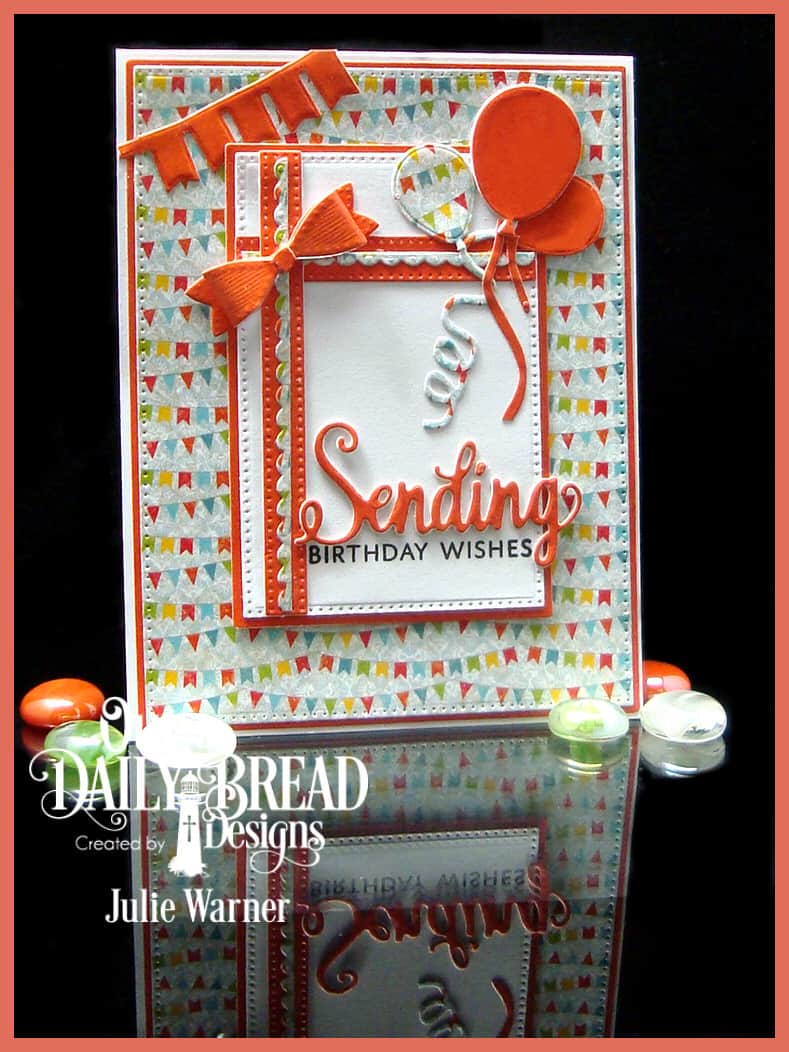
I added part of the banner across the upper left corner then added the stamped greeting w/ the Sending die cut above it. Did you also notice these fun, bright papers? These are so festive!
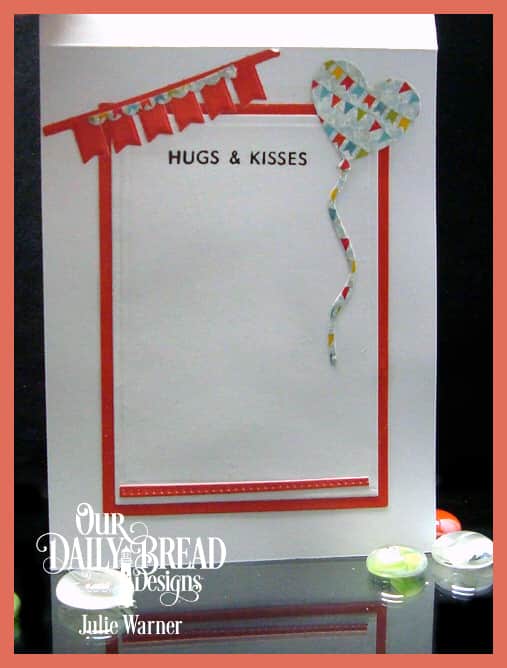
Here’s a look at the inside.
Supplies:
| Stamps: Our Daily Bread designs – Sending My Love |
| Paper: Staples 110# white, dp (ODBD -Birthday Brights & Birthday Bash papers) |
| Ink: Versafine onyx |
| Accessories: ODBD Pierced Rectangles, Bitty Borders, Balloons & Streamers, Mini Bow, Happy Birthday dies, Spellbinders A2 matting basics A dies |
Sandee * Cathy * Dawn * Lori * Robin
* Melissa * Julie * Sabrina * Diana * Angie
* Chris * Grace * Lisa * Jan (Guest Designer)

|

|

|

|

|

|

|
|

|

|

|
|

|

|

|


