
Welcome to the Our Daily Bread designs October Release! We have some beautiful images and dies for you this month…perfect for fall, Thanksgiving & Christmas.
Prize Information:
Three randomly selected winners will each receive a $15 gift certificate to the ODBD Store, to be used toward the purchase of ODBD Stamps found in the “stamps column” of the website just for commenting on the Design Team cards! You have until October 2, 2014 at 9:00 p.m. EDT to leave your comments on the ODBD Blog or the Participating Designers Blogs for a chance to win! The Winners will be posted on the ODBD Blog on October 3rd, so be sure to check back there to see if you won!
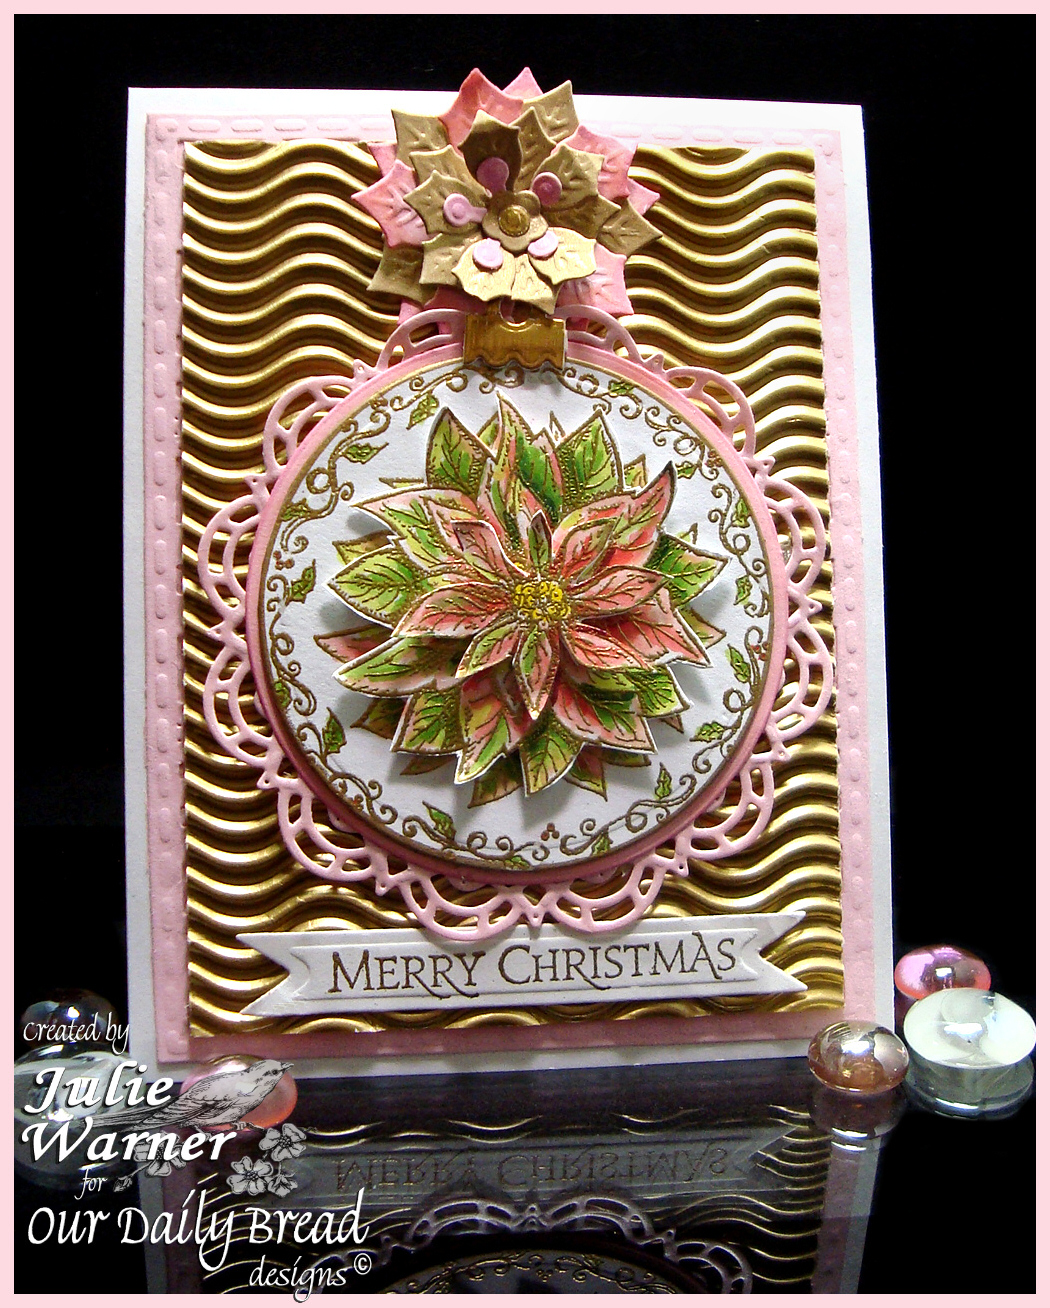
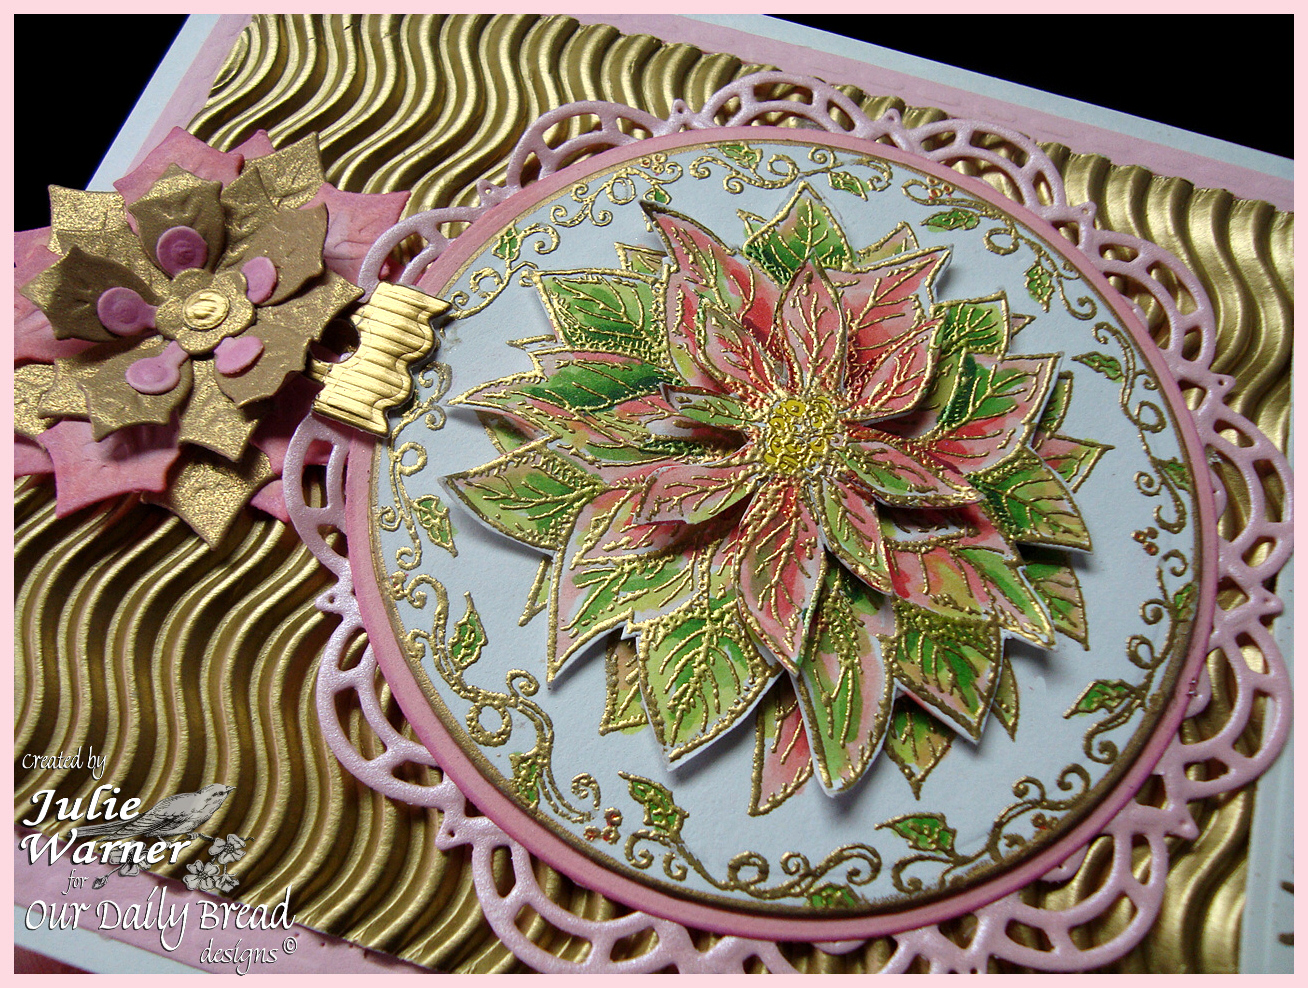
For my first card, I used the beautiful Poinsettia Ornament along with the Matting Circles dies, Peaceful Poinsettia dies, Circle Ornament dies, Doily dies, Vintage Flourish Pattern dies and the greeting from the Christmas Pattern Ornaments set. I gold embossed three poinsettia ornaments, carefully colored them with Copics, die cut one full ornament and fussy cut the poinsettias of the two others. A pink layer was die cut as well as a shimmer pink doily to back it. The ornament topper and some of the poinsettias were die cut out of gold and a couple more poinsettias out of pink.
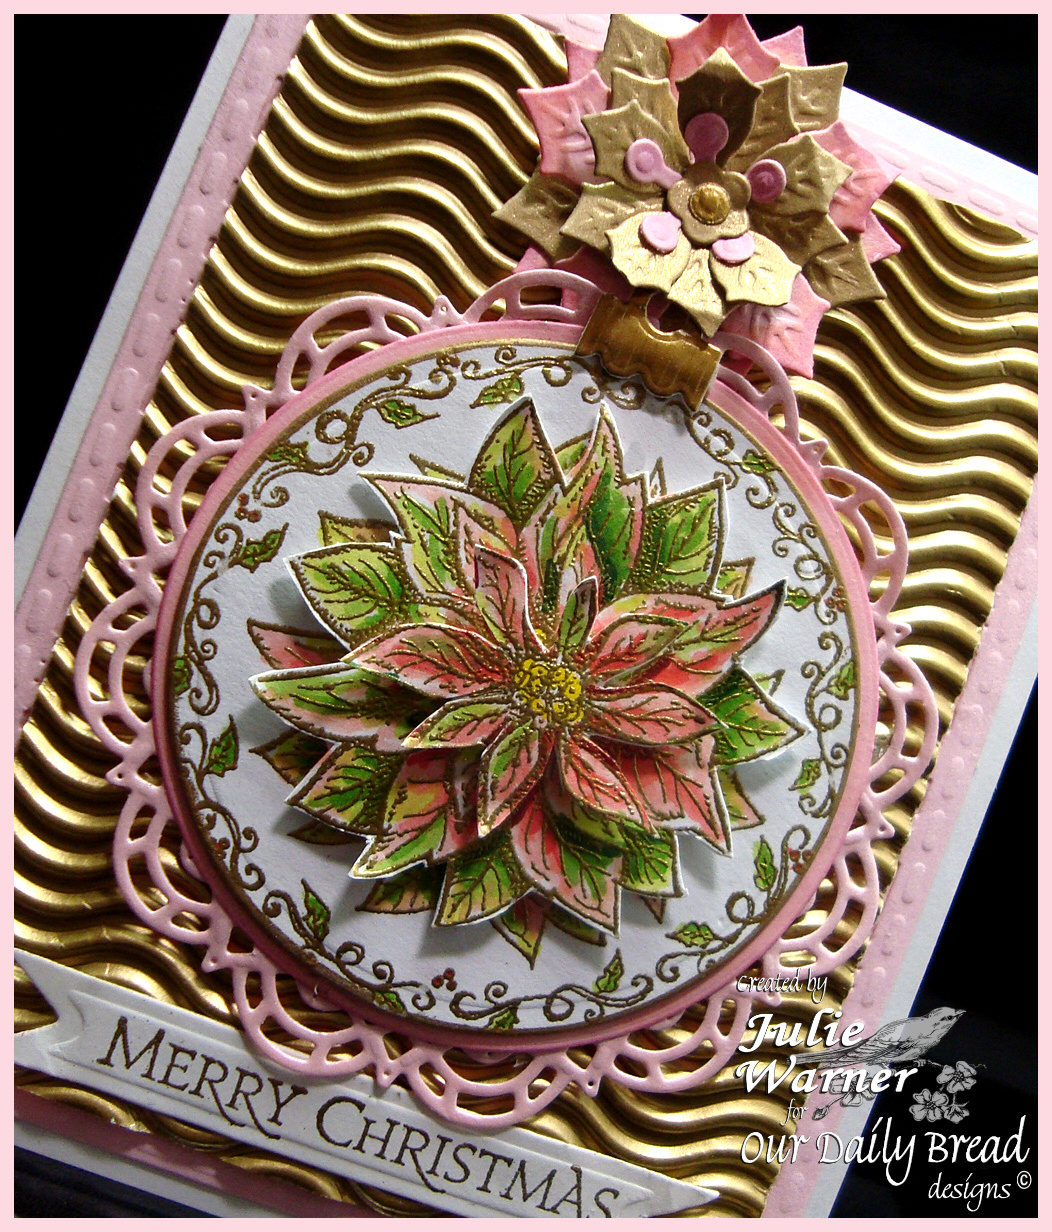
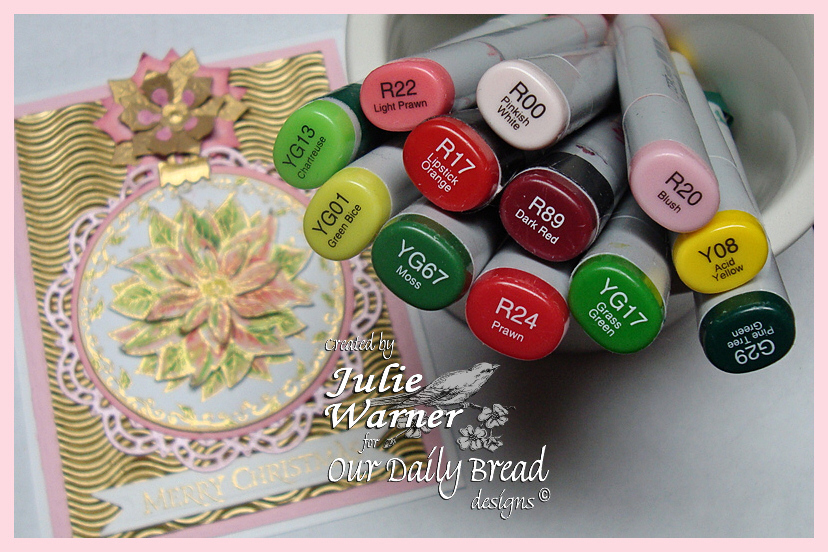
The greeting was also gold embossed, die cut and added under the ornament. The large pink layer was die cut out of pink using the Vintage Flourish Pattern die. Only the border shows, but I like the way the stitch pattern looks around the edges. The finished card is 4.25 x 5.50 and these are the Copics I used.
Supplies:
| Stamps: Our Daily Bread designs – Poinsettia Ornament, Christmas Pattern Ornaments (sentiment) |
| Paper: white, pink, gold corrugated |
| Ink: Encore ultimate metallic gold |
| Accessories: ODBD Circle Ornament dies, Matting Circle dies, Vintage Flourish Pattern dies, Doily dies, Peaceful Poinsettia dies, gold embossing powder, Copic markers, Spellbinders Nested Pennant dies |
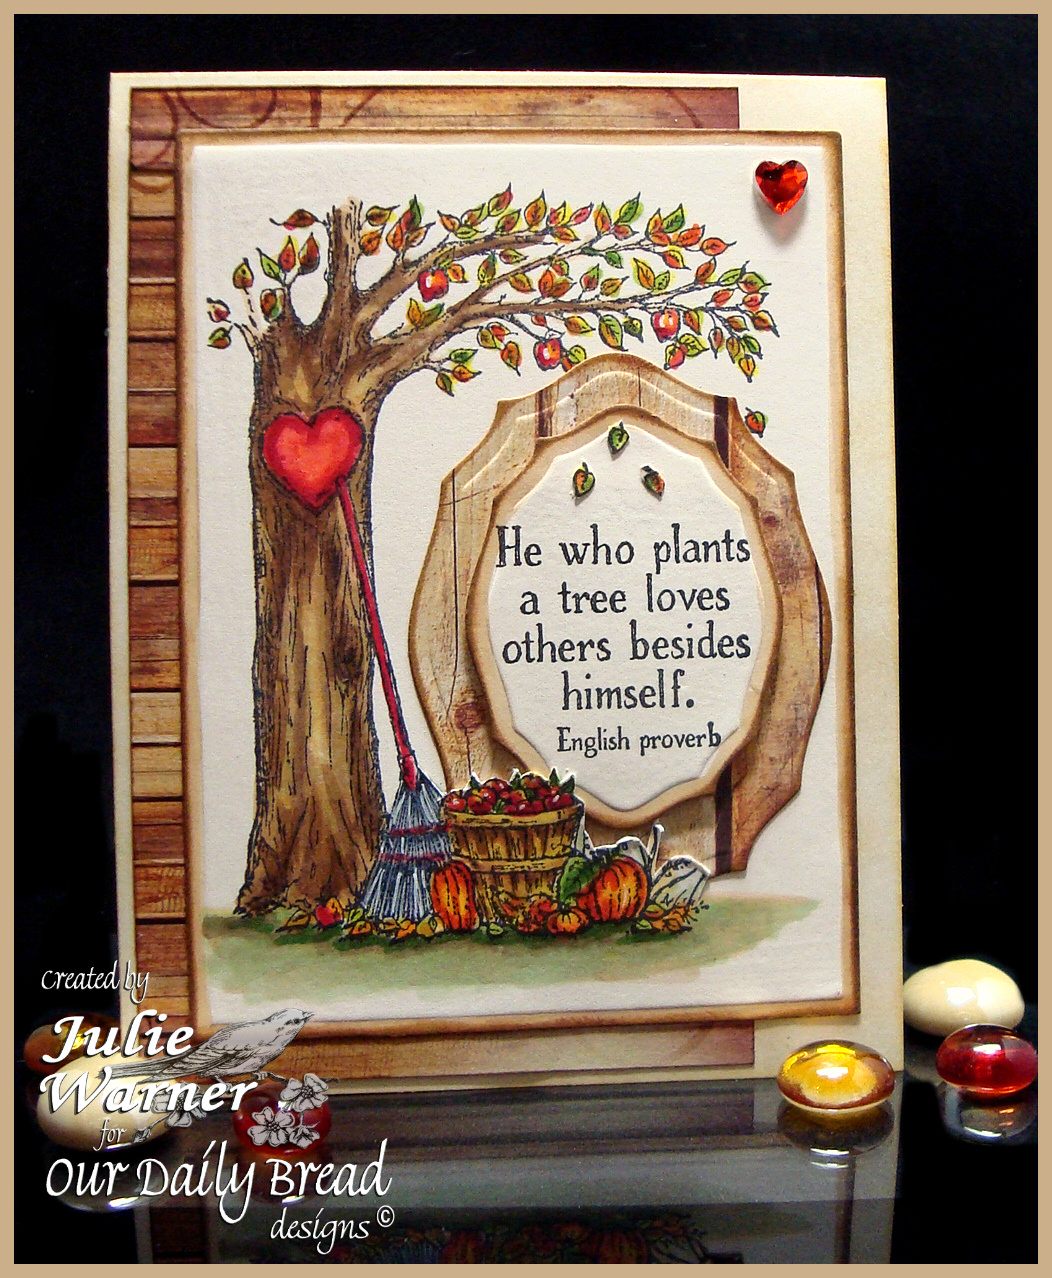
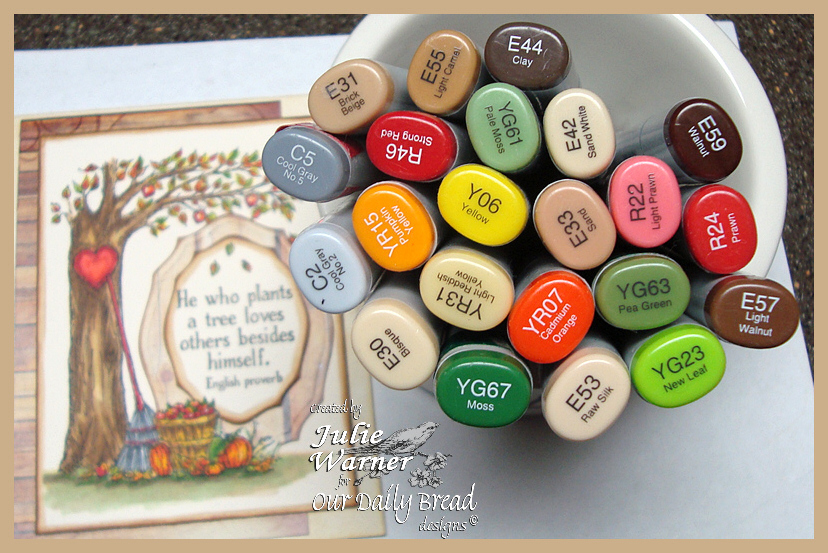
On my second card, I used the beautiful Autumn Tree set along with the Elegant Ovals dies and Rustic Beauty Paper. After stamping the tree on cream and coloring it, I die cut it and the greeting which was stamped on a separate piece of cream. A larger elegant oval die was used to cut the backing layer behind the greeting out of the rustic paper. I used a kraft knife to cut around the top of apple basket part of the image to insert the greeting layer. The edges were sponged & I also used a Copic to color the embossed edges.
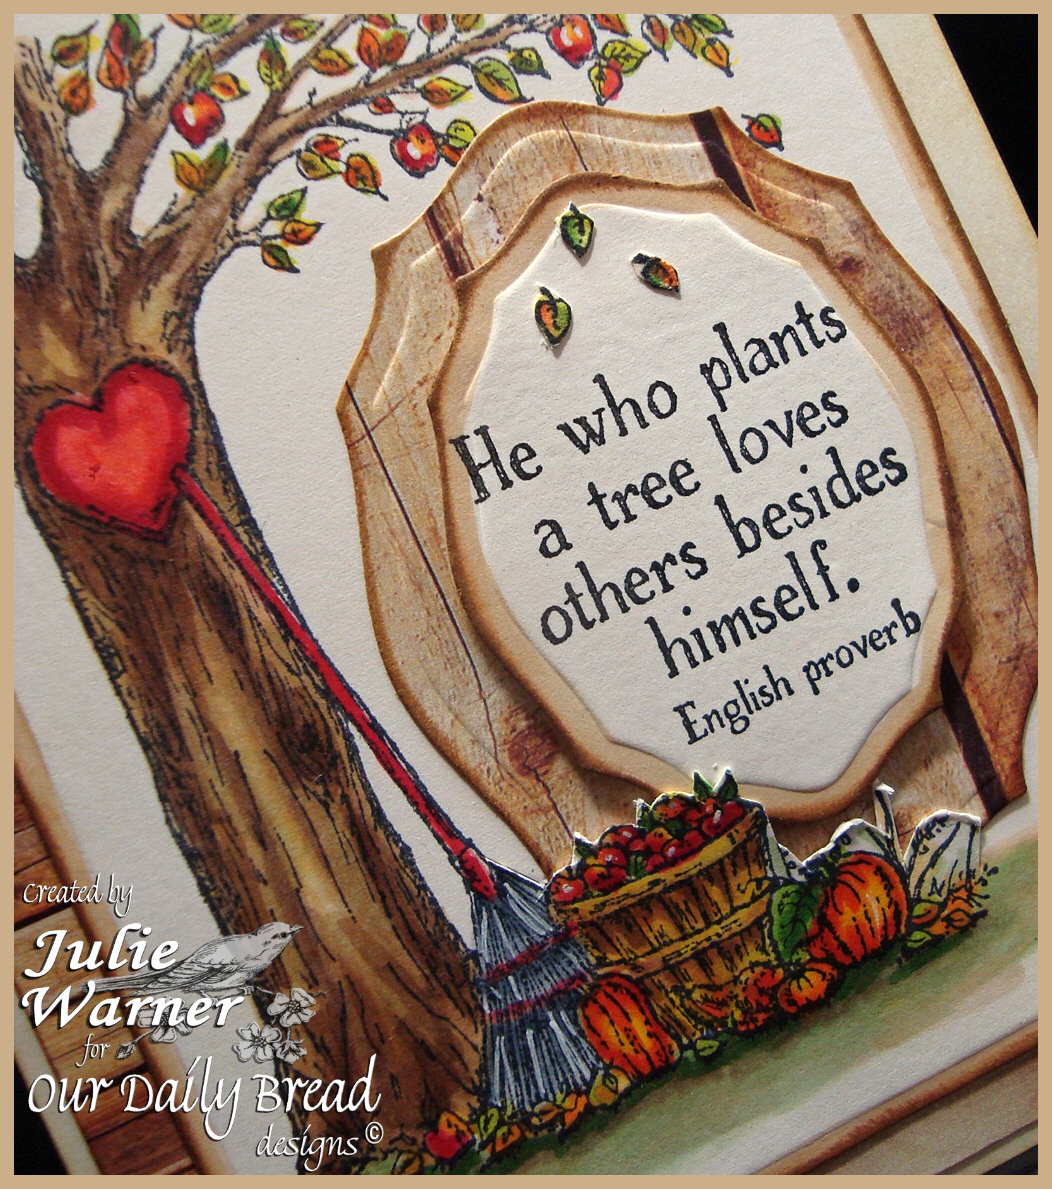
The finished card is 4.25 x 5.50 and these are the Copics I used.
Supplies:
| Stamps: Our Daily Bread designs – Autumn Tree |
| Paper: cream, ODBD Rustic Beauty paper collection |
| Ink: Memento tuxedo black, Distress ink vintage photo |
| Accessories: ODBD Elegant Ovals dies, Copic markers, red heart gem, Spellbinders A2 matting basics B dies |
Please be sure and visit all of the Design Team blogs for more inspiration and a better chance to win!
Thanks so much for stopping by!

