


Welcome to the Serendipity Stamps November Blog Hop! We are showing off some beautiful new winter images & dies! If you arrived here from Jenny’s Blog , you are in the right place..if not, you may want to head over there first.
Prize info:
- A $20 gift certificate is up for grabs and the winner will be chosen randomly from one of the blogs.
- Commenters have until Monday 11-17 to leave a comment. The winner wil be posted on Marys blog on 11-18.
- For a SECOND chance to win a $20 gift certificate you need to LIKE Serendipity Stamps and SHARE on Facebook.
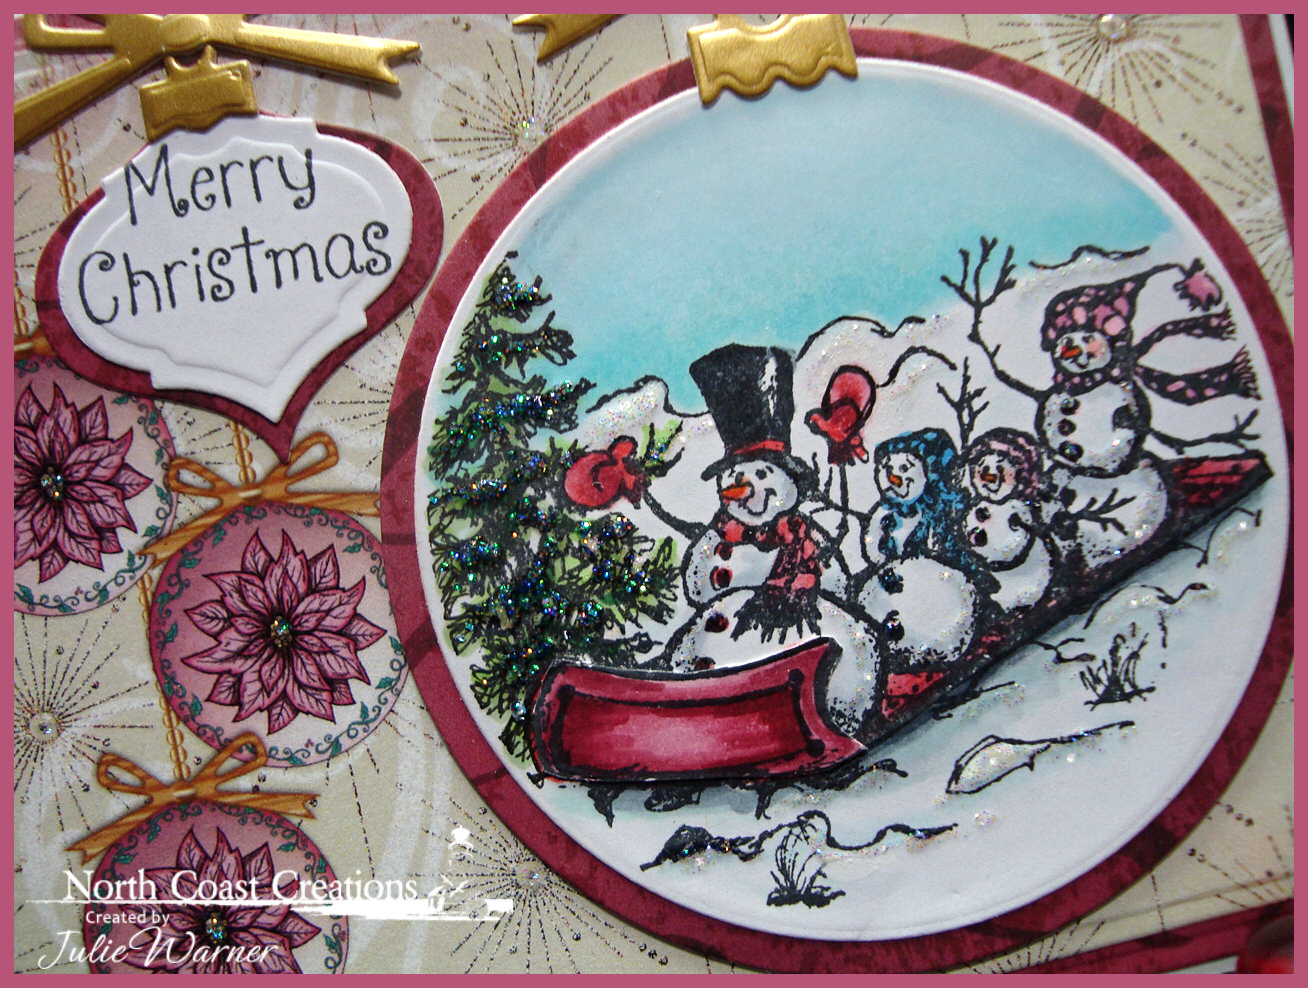
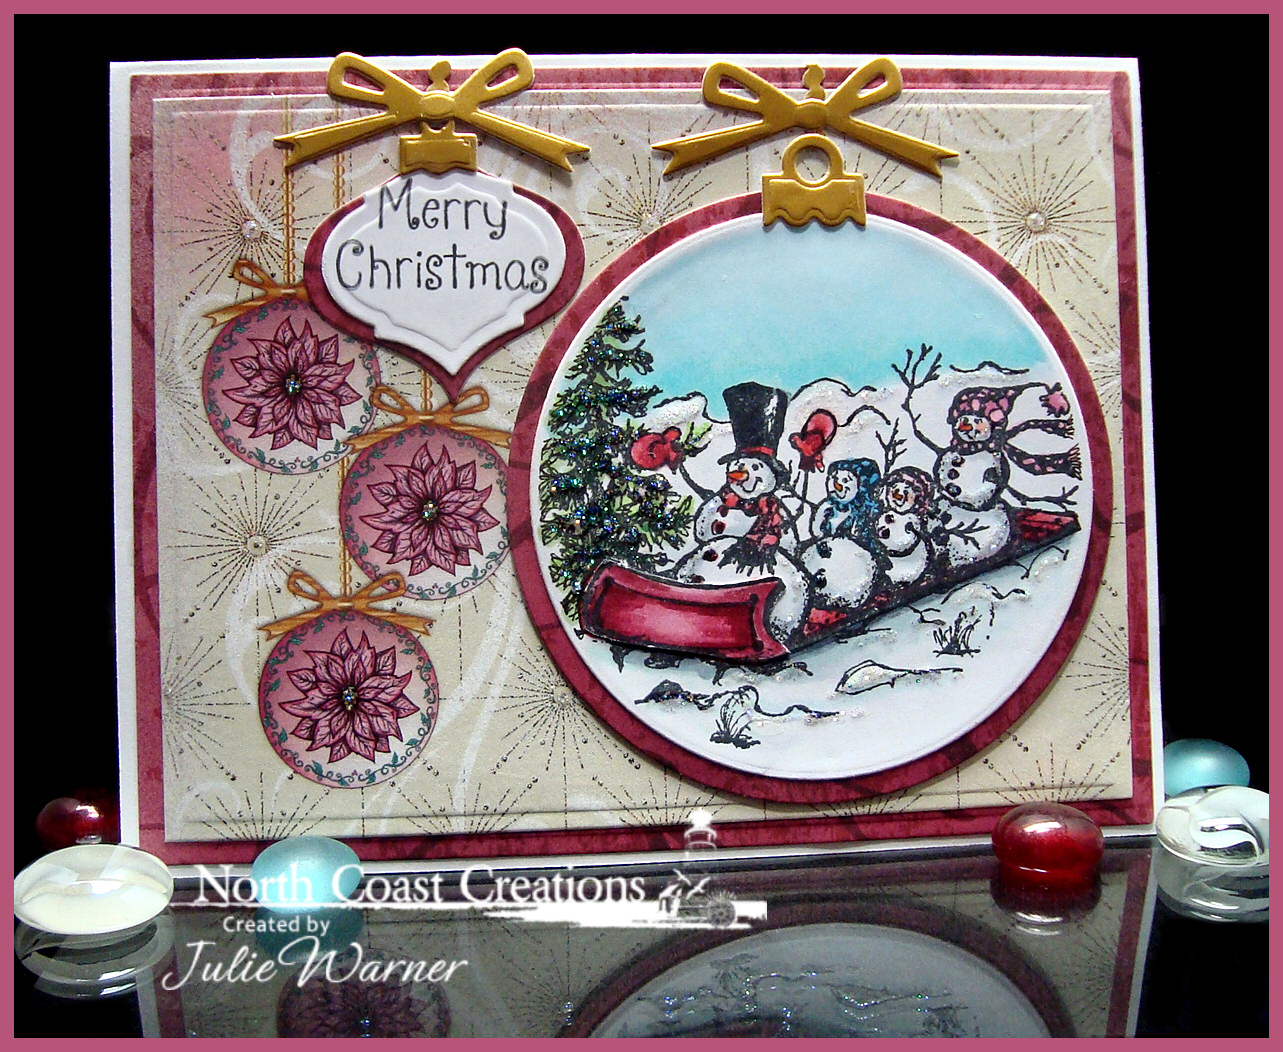
 For my Christmas card in non-tradiontal colors, I started with a piece of water color paper, a handful of Distress Ink pads, a teflon craft sheet & water spritzer. I started by pressing the pink inks onto the craft sheet, spritzing with water then dabbing part of the water color paper onto it. I dried it w/ a heat gun, then did the same with the teal, blue & greens…one at a time and drying in between colors. Dabbing here & there and drying in between colors keeps them from blending together and making mud. Then I stamped the Poinsettia Background on top w/ the Versafine and used an opaque cream marker to color in the centers & a black marker around the edge.
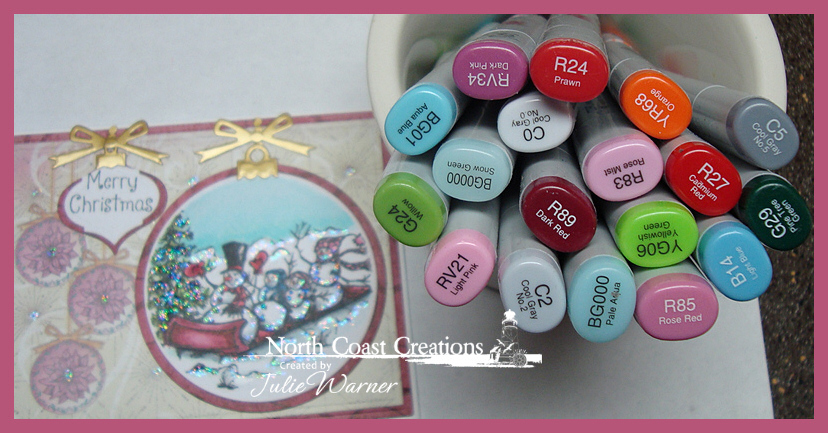
I used the Poinsettia & Leaf to stamp the big single poinsettia a couple of times on ivory, colored them w/ Copics & fussy cut them. The small poinsettia (from the big background image) was done the same way. I thought it looked a little too busy, so I added a narrow strip of blue vellum down the side before adding the poinsettias. The Joy die was die cut 3 times out of the cream and twice out of black to shadow it. The finished card is 4.25 x 5.50 and these are the Copics I used for the poinsettias.
 Thanks so much for stopping by! Please be sure to visit all the DT blogs! Here’s the order in case you get lost.
- Mary’s Blog
- Karen Amidon
- Marybeth Lopez
- Miriam Napier
- Vickie Zimmer
- Jeanne Jachna
- Jenny Gropp
- Julie Warner

Supplies:
| Stamps: Serendipity Stamps – Poinsettia Bg , Poinsettia & Leaf Outline , Wishing You |
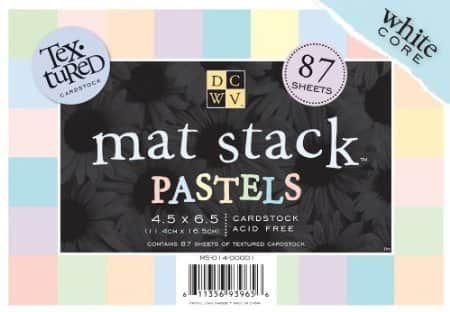
| Paper: water color, textured blue & cream (DCWV – pastel matstack), ivory, pale blue vellum, black |
| Ink: Versafine onyx, Memento tuxedo black, Distress Inks spun sugar, Victorian velvet, tumbled glass, evergreen bough, broken china |
| Accessories: Copic markers, Serendipity Joy die , Spellbinders A2 matting basics A & B dies, crystals, stickles, black Permapaque marker |

|

|

|

|

|

|

|

|
|
|

|

|

|
|

|

|