
Today we are taking another look at the Our Daily Bread designs March release! Such beautiful images, perfect dies & gorgeous paper for spring & Easter!
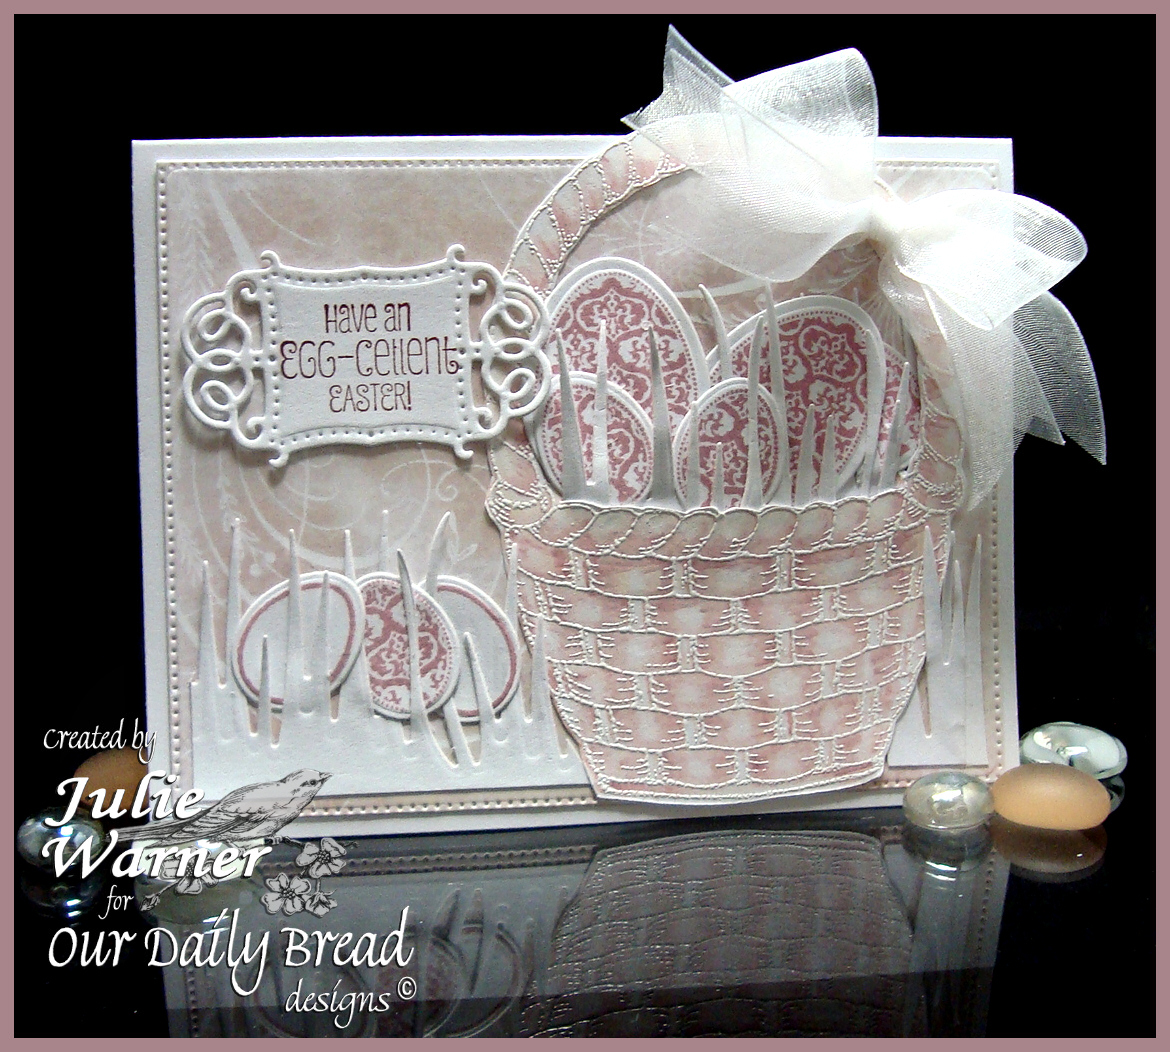
For my Easter basket card, I started with a piece of the beautiful Shabby Rose paper. I wanted a tone on tone sort of look so I kept the colors soft. The Victorian velvet ink is a good match for the paper & I only used a couple of Copics to color in my basket. Since generally, Copics & heat embossing don’t go together (the markers tend to “melt” the embossing), I had to go about it a little differently. I could have used water color paper & water based markers, but the texture of w/c paper doesn’t allow for smooth embossing. So here are a couple of pictures showing my work around for this conundrum. (Click to make any picture larger.)
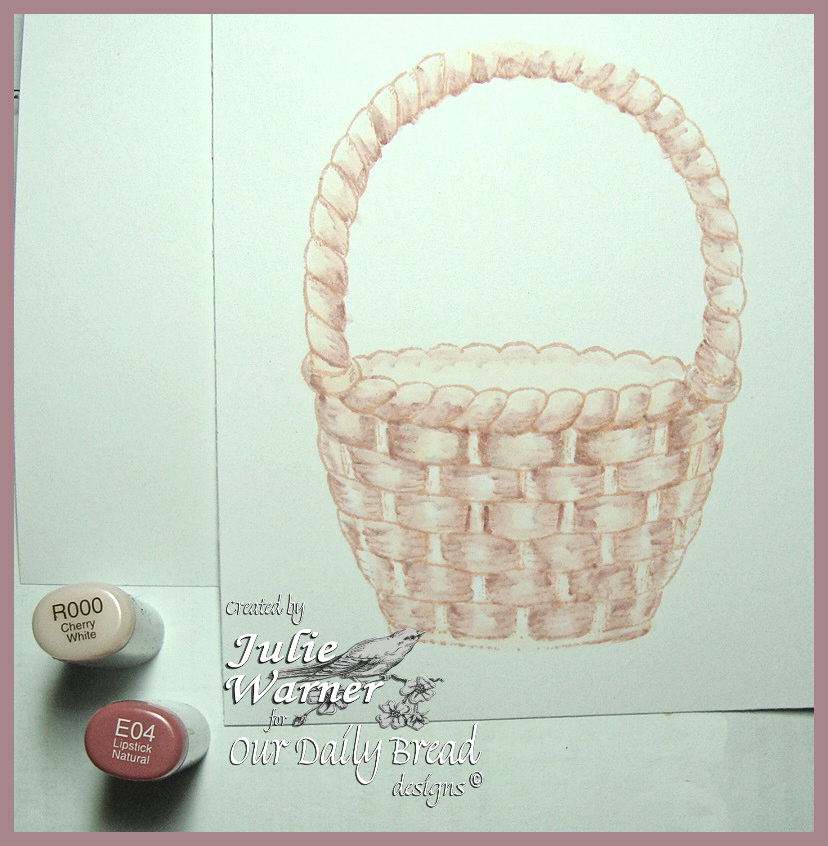
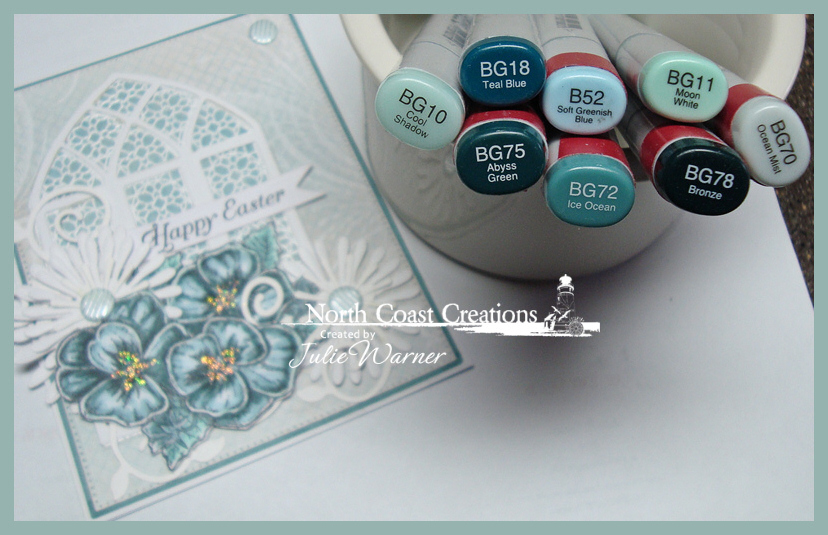
First, I stamped the basket w/ the Victorian velvet ink and used the two colors of Copics shown to lightly color it in. It looks pretty good like this…a no line coloring sort of look. But I really wanted it white embossed. So I used a stamp positioner to line it up again, stamped it with white pigment ink and heat embossed with white powder, as shown below.
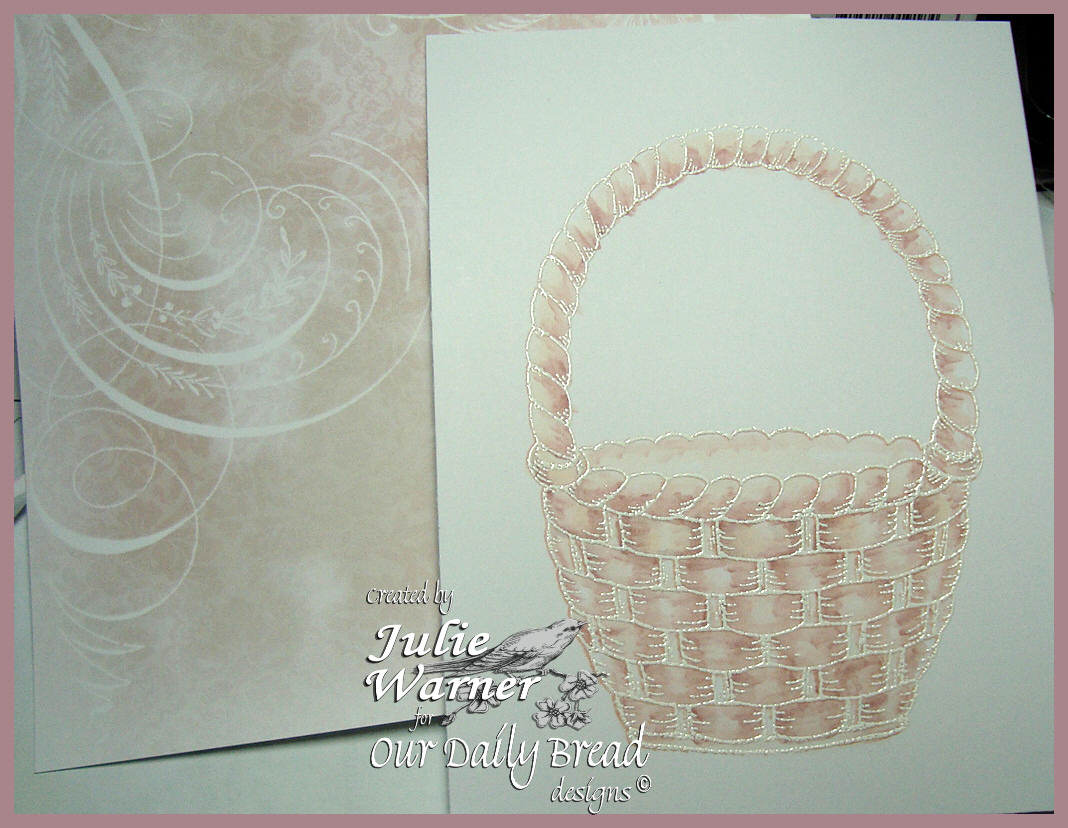
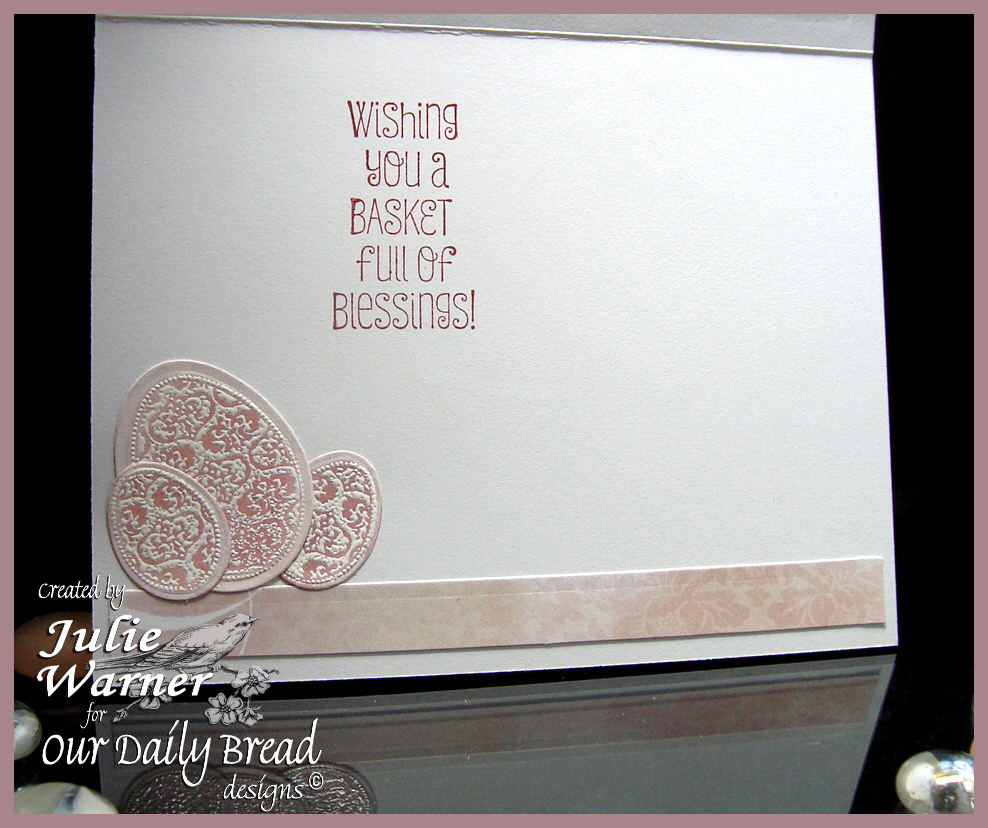
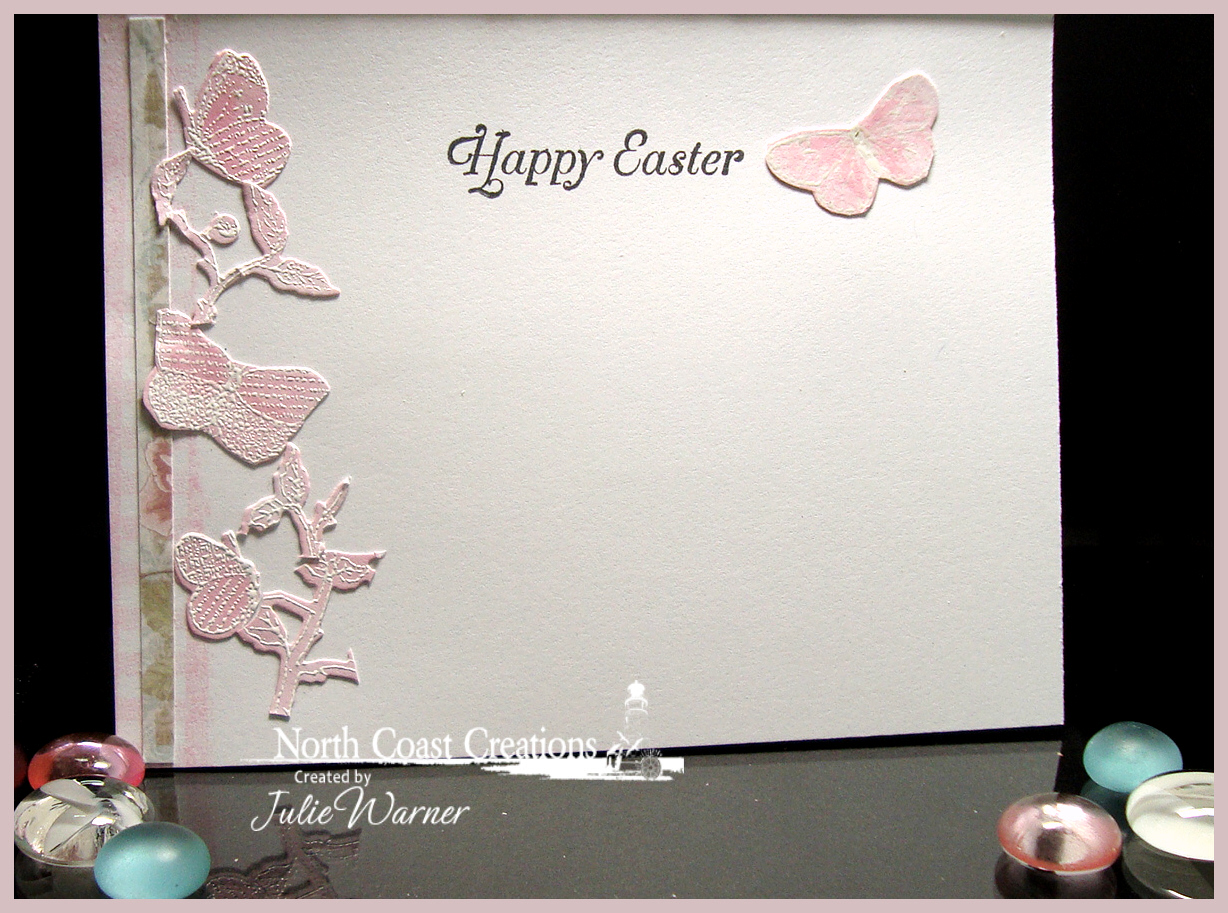
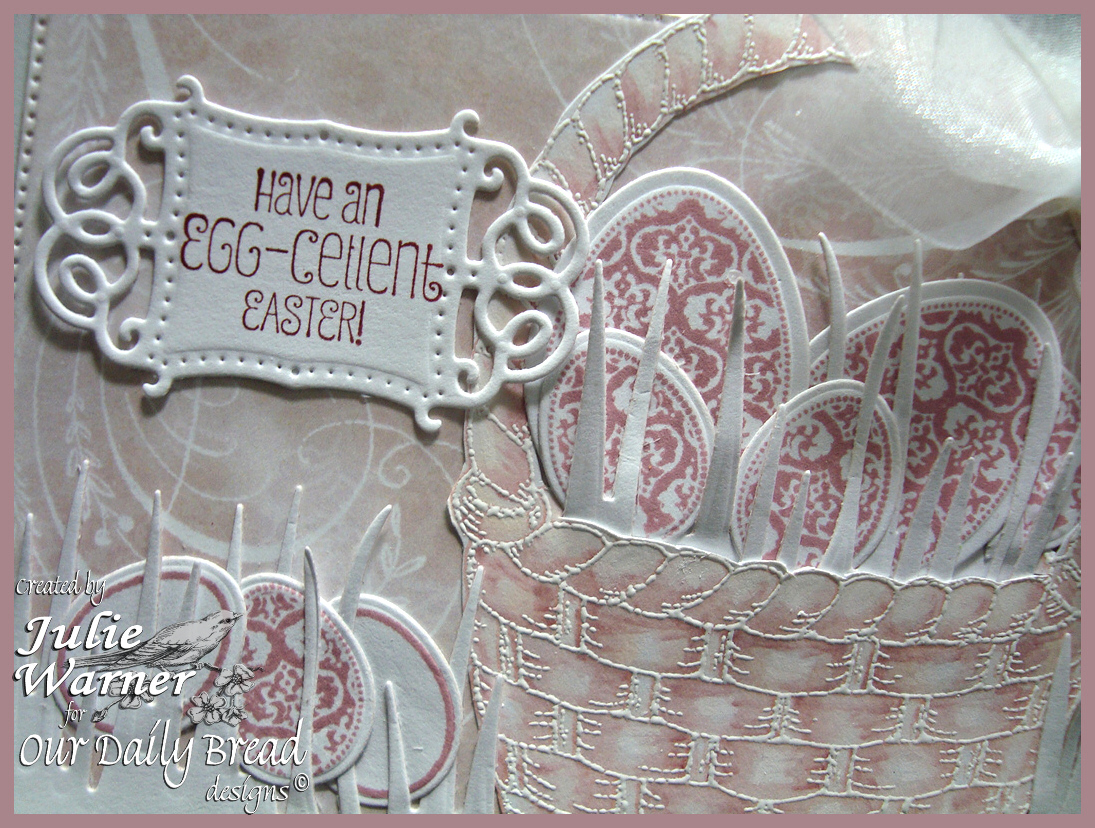
As you can see, the colors go with the paper just perfectly! I fussy cut the basket, stamped some of the eggs w/ the same Distress ink & die cut them with the matching dies. I added a die cut greeting and some white grass in and behind the basket. The finished card is 5.50 x 4.25 & here’s a look at the inside.
Supplies:
| Stamps: Our Daily Bread designs – Blessed Easter, Basket of Blessings |
| Paper: Neenah white, dp (ODBD Shabby Rose paper collection) |
| Ink: Distress ink Victorian velvet, Colorbox frost white pigment |
| Accessories: ODBD Vintage Flourish Pattern, Flourished Star pattern, Grass Border,Eggs dies, white detail embossing powder, Copic markers, sheer ribbon, mini bowdabra |
Please be sure to stop by all the DT blogs for more Spring & Easter inspiration!
Julie * Cathy * Lori * Dawn * Sandee * Wanda
Thanks so much for stopping by!

