• Tag Archives DRS Designs
  • Cupcake Love


    Cupcake Love2 cu 08322
    Weekly-Favorite
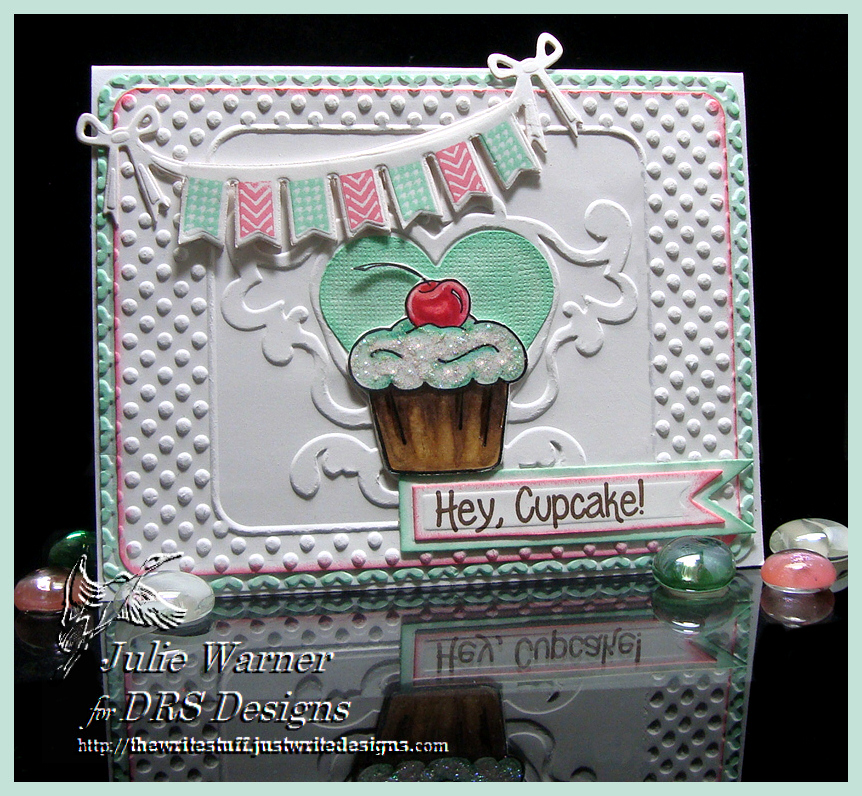
    My card today is a combo of the Clean & Simple (CAS361), Color (CC567), and Sketch (SC577) Challenges. The CAS is to make a sweet treat, the colors are mint, strawberry & espresso & my version of the sketch is a little morphed. Instead of the straight band mine is a curved banner & I had to move the greeting underneath.
    Cupcake Love2 08323
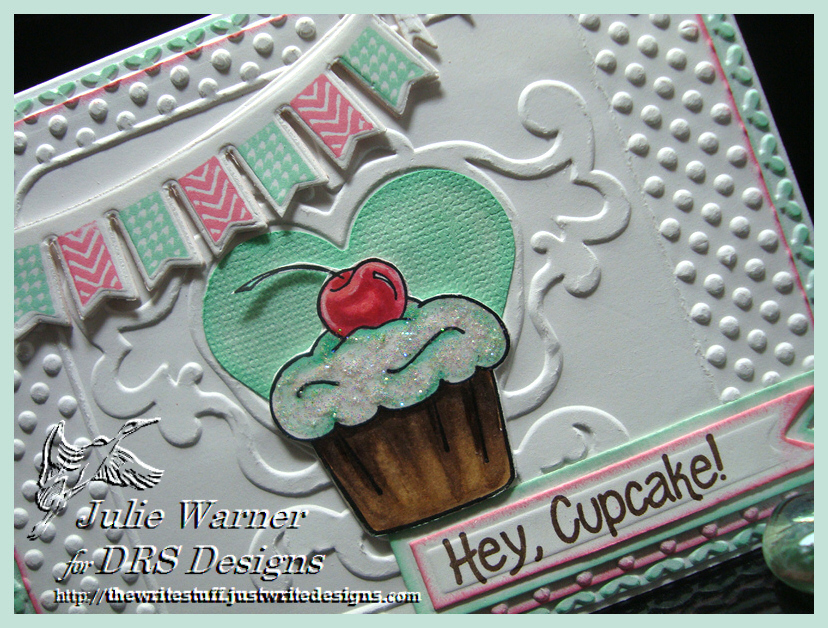
    So I stamped, colored & cut out the cupcake (my panel 3) & added some stickles to the icing. The white bg (my panel 2) was dry embossed & I had a big heart punch that fit inside the heart centerpiece almost exactly (my panel 5), so I sponged on green ink & put it behind the cupcake. The banner (my panel 4) was die cut & stamped using the pistachio & worn lipstick inks & I did remove a couple of the flags to make it shorter.  The larger layer (my panel 1)is actually just a frame that was sitting there, so I embossed it w/ frame folder & sponged the green ink over the top of it.

    These are the Copics I used to color the cupcake
    .Cupcake Love copics 08319
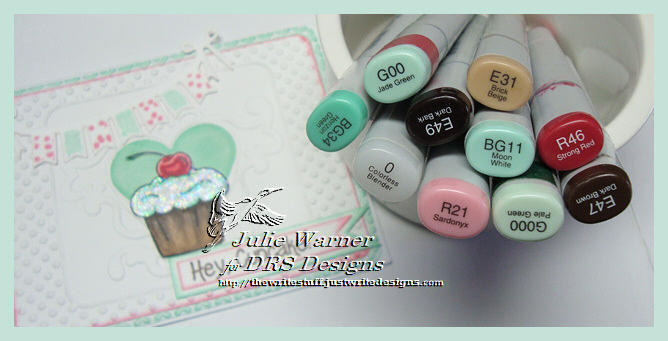
    Thanks so much for stopping by!
    Julie2 sig

    Supplies:

    Stamps: DRS Designs-  Cupcake, Hey Cupcake; Our Daily Bread designs: Pennant Swag Alphabet
    Paper: Neenah white
    Ink: Memento tuxedo black, Versafine onyx & sepia, Distress inks worn lipstick, cracked pistachio
    Accessories:  Spellbinders A2 matting basics A & B, Nested Pennant dies, Copic markers, ODBD Pennant Swag die, Marvy lg heart punch, stickles, Sizzix embossing folders (Love Set #3 & Folksy Fun Posey)

  • Valentine Ride

    Valentine Ride cu 08226
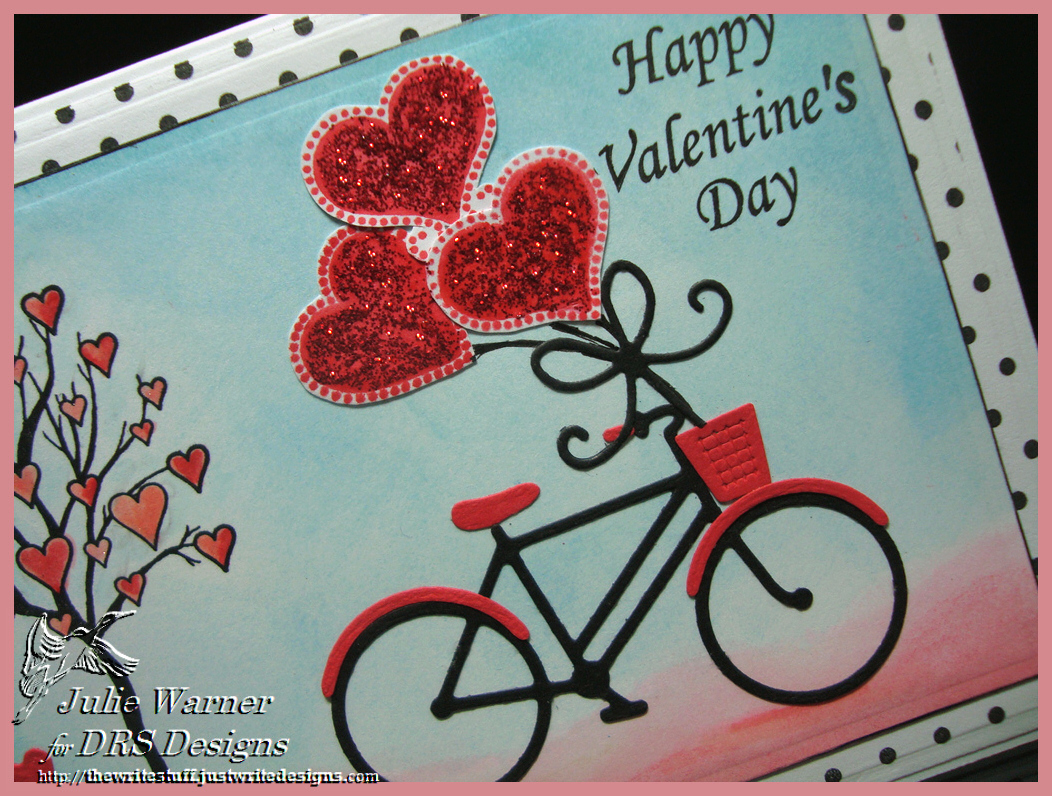
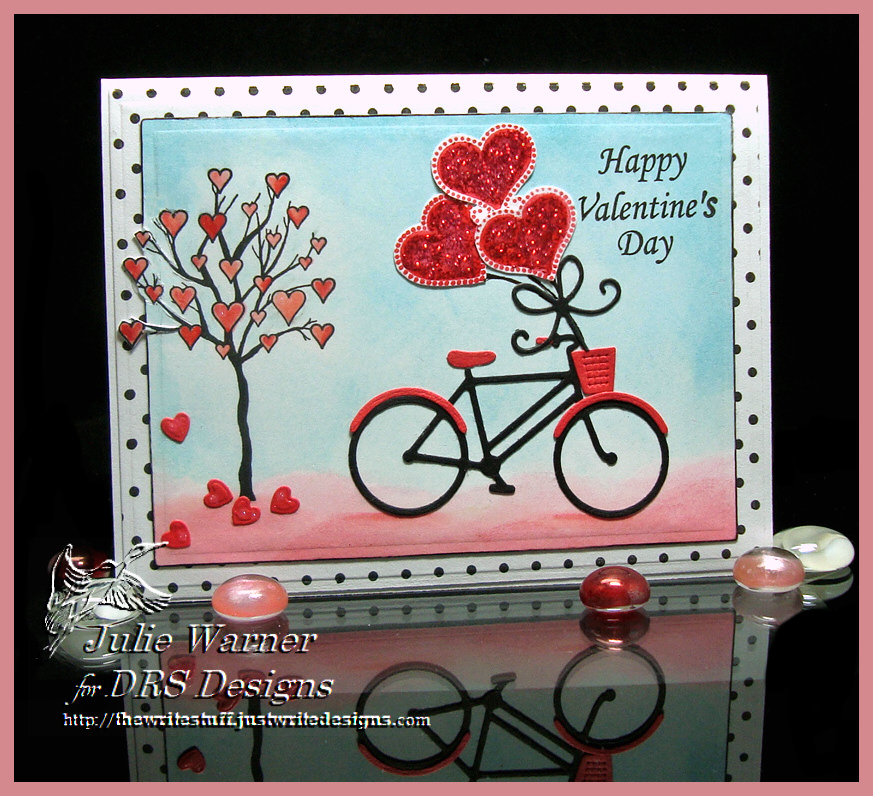
    Today’s Inspiration Challenge (IC529) is a site full of fun items. I saw THIS and thought the bicycle theme would make a cute Valentine. 
    Valentine Ride 08227
    The bicycle was die cut and added to a sponged background. I had already stamped the heart tree & masking it would have been a nightmare so I just carefully sponged around it & used a marker to fill in any blank spots. I did have to do a little out of the box on the left side of three before I added it to a polka dot stamped layer. The big solid hearts were stamped & fussy cut then I added red stickles to them & some Wink of Stella to the hearts on the tree.

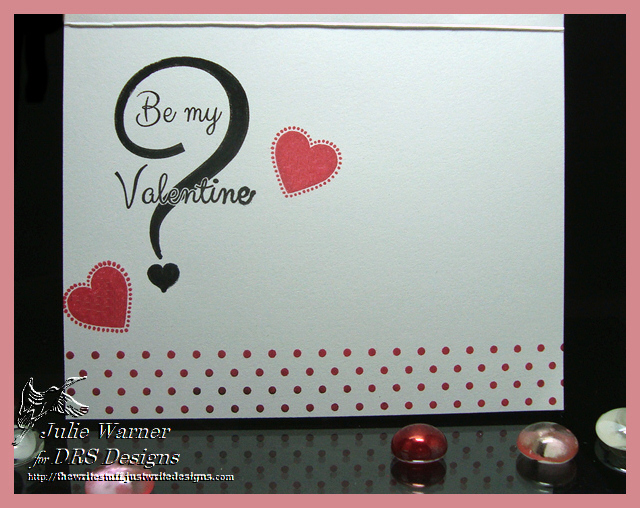
    Here’s a look at the inside w/ just some simple stamping.
    Valentine Ride inside08231
    Thanks so much for stopping by! If you haven’t, please head on over and check out the DRS Thursday Challenge..this week it’s a color challenge. DRS images are not required & there’s a nice prize up for grabs!
    Julie2 sig

    Supplies:

    Stamps: DRS Designs-  Valentine Tree, Triple Silhouette Hearts, Small Silhouette Heart, Happy Valentine’s Day, Polka Dot Bg,  (inside -Be My Valentine Question Mark )
    Paper: Neenah white, scraps of black & red (for bicycle)
    Ink: Memento tuxedo black, Versafine onyx, Distress inks spun sugar, worn lipstick, tumbled glass
    Accessories:  Spellbinders A2 matting basics B  dies, Lil’ Inkers stitched rectangles dies, Copic markers (for heart tree), Wink of Stella, red stickles, Bicycle die (Quickutz, Denmark collection), small bow (Memory Box Precious Stars die)

  • Let it Snowflakes

    Let it Snowflakes cu08237
    Weekly-Favorite
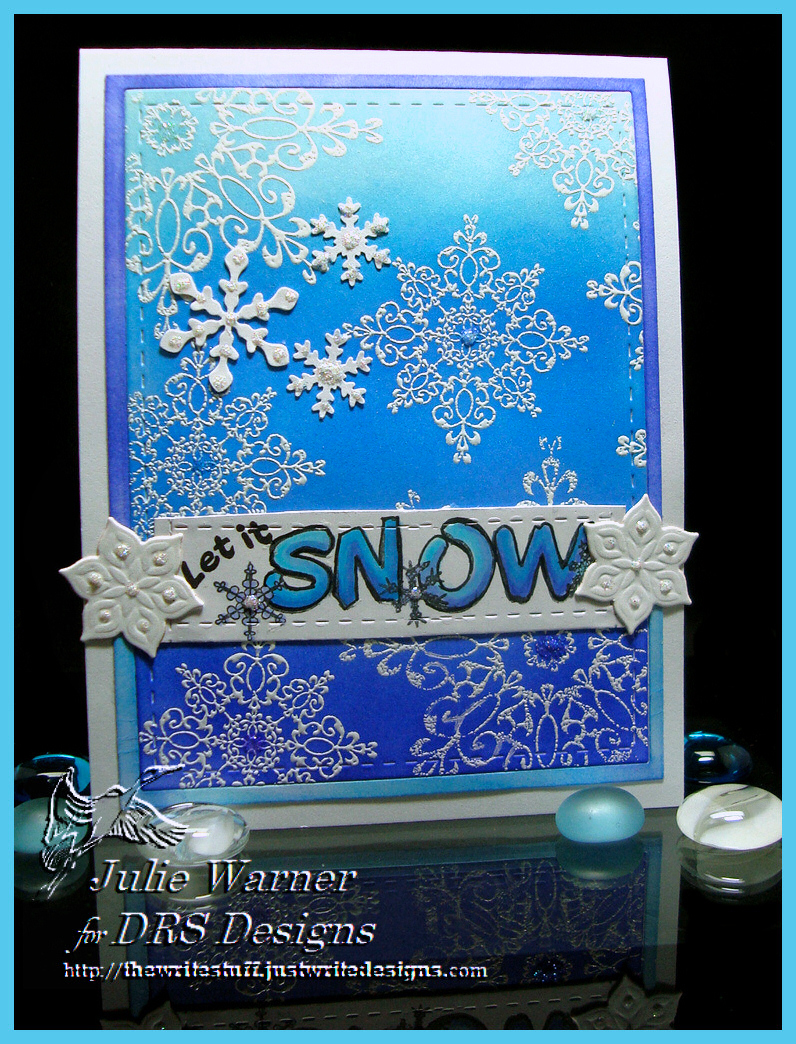
    Today’s Ways to Use It Challenge (WT567) is about how cold it is! It’s definitely been on the chilly side here…we had sleet most of the the afternoon & we’re supposed to have snow tomorrow afternoon & on into Sat. morning. Maybe it’s just me, but when it’s already that cold, just go ahead and snow. It’s much preferable to the frozen rain, sleet & ice. Those are just accidents waiting to happen! And besides…I would much rather see lacy, pretty snowflakes like these than frozen pellets of ice. 
    Let it Snowflakes2 08236
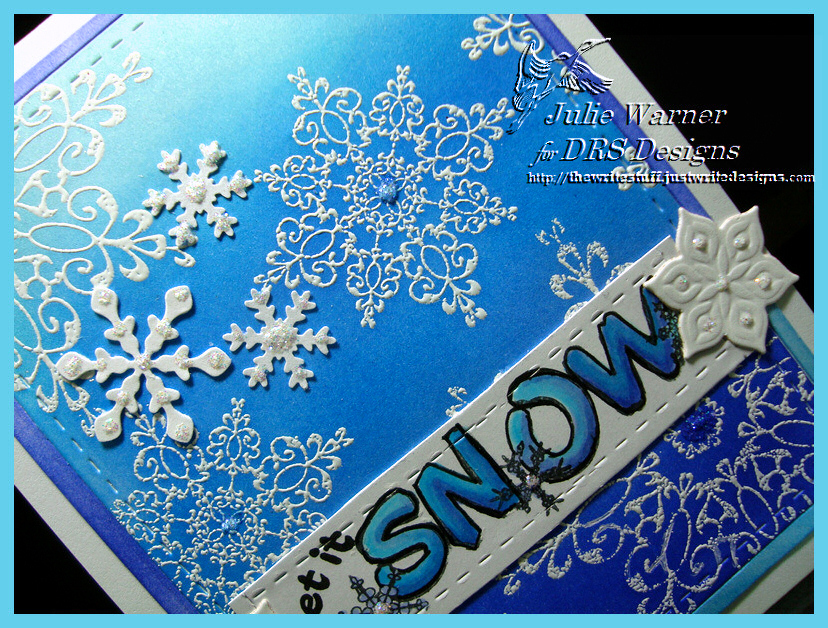
    To make my wintry blue card, I first die cut the largest layer, then die cut the smaller inset w/ a stitched rectangle.  Then I heat embossed the large & smaller snowflakes w/ white powder onto the smaller inset then sponged on the blue inks from the Kaleidacolor ink pad. I also sponged the larger frame but reversed the colors w/ the dark on top & light at the bottom. 

    The greeting took a bit of finagling. I used a stamp positioner & masking to rearrange the vertical SNOW into a horizontal direction & colored it w/ a few blue & blue-violet Copics. I added a couple of die cut shapes that reminded me of snowflakes, a few punched snowflakes & some stickles for a little sparkle.


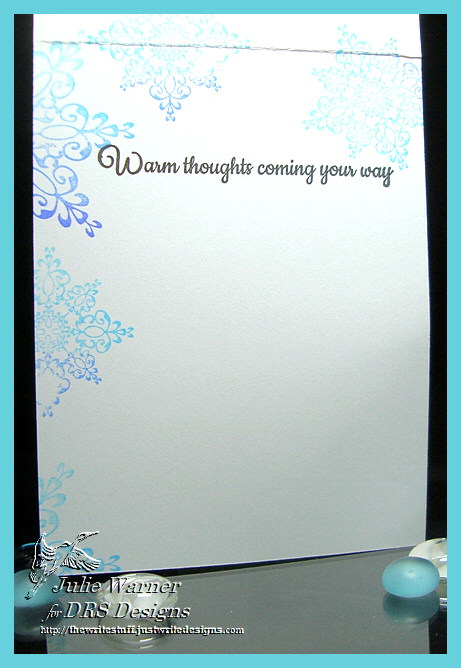
    Here’s a look at the inside..just some simple stamping.
    Let it Snowflakes inside 08239
    Thanks so much for stopping by! If you haven’t, please head on over and check out the DRS Thursday Challenge..this week it’s a color challenge. DRS images are not required & there’s a nice prize up for grabs!
    Julie2 sig
    Supplies:

    Stamps: DRS Designs – Med. Filigree Snowflake, Lg. Filigree Snowflake,Vertical Let it Snow,  (Warm Thoughts-inside)
    Paper:  Neenah white
    Ink:   Kaleidacolor blue breeze, Colorbox frost white pigment
    Accessories:  Spellbinders pierced A2 matting basics A , Persian Accents dies, Lil’ Inkers Stitched Rectangles, stickles, Copic markers, snowflake punches