Welcome to the August release blog hop! If you arrived here from the ODBD Blog, you are in the right place! If not, you might want to start at the ODBD Blog where you will see the entire list with links just in case any are broken along the way!
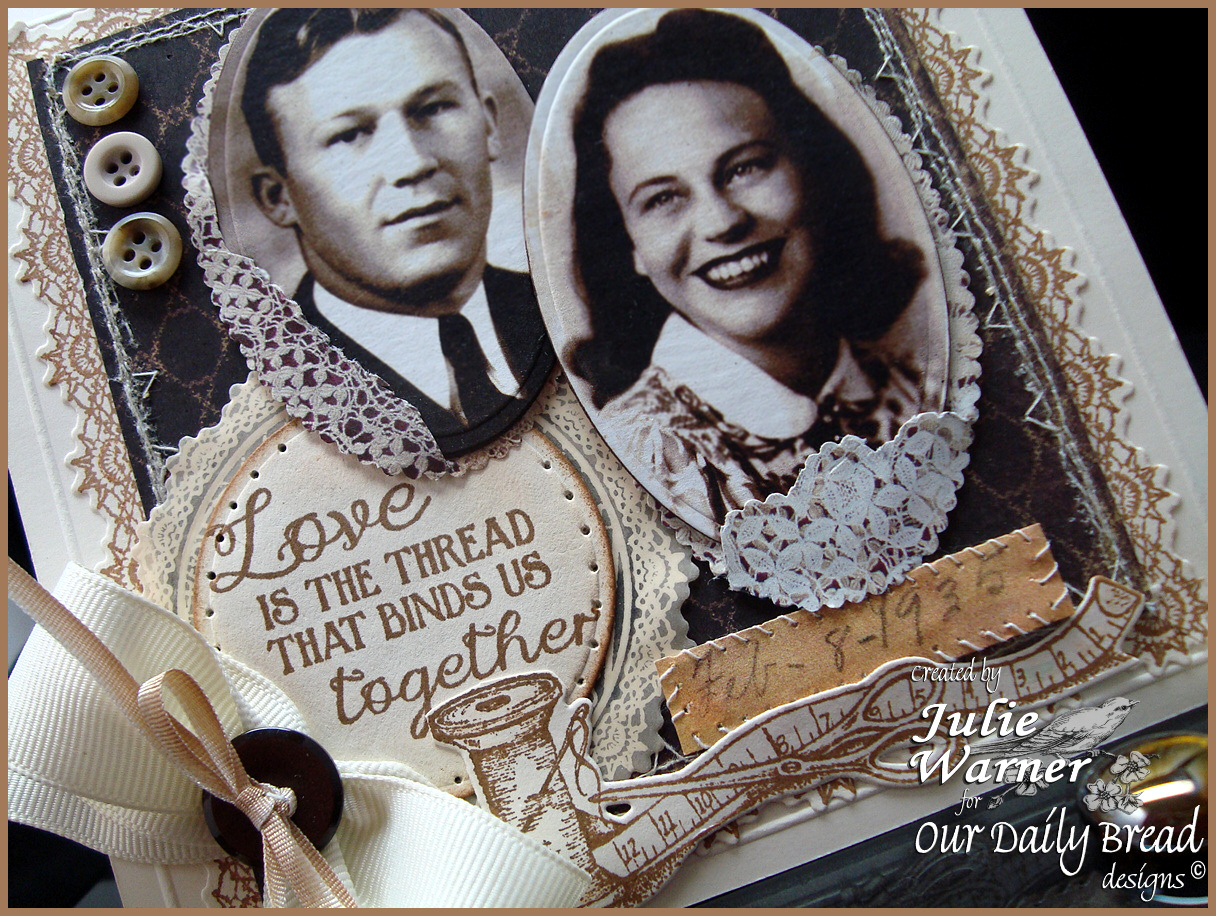
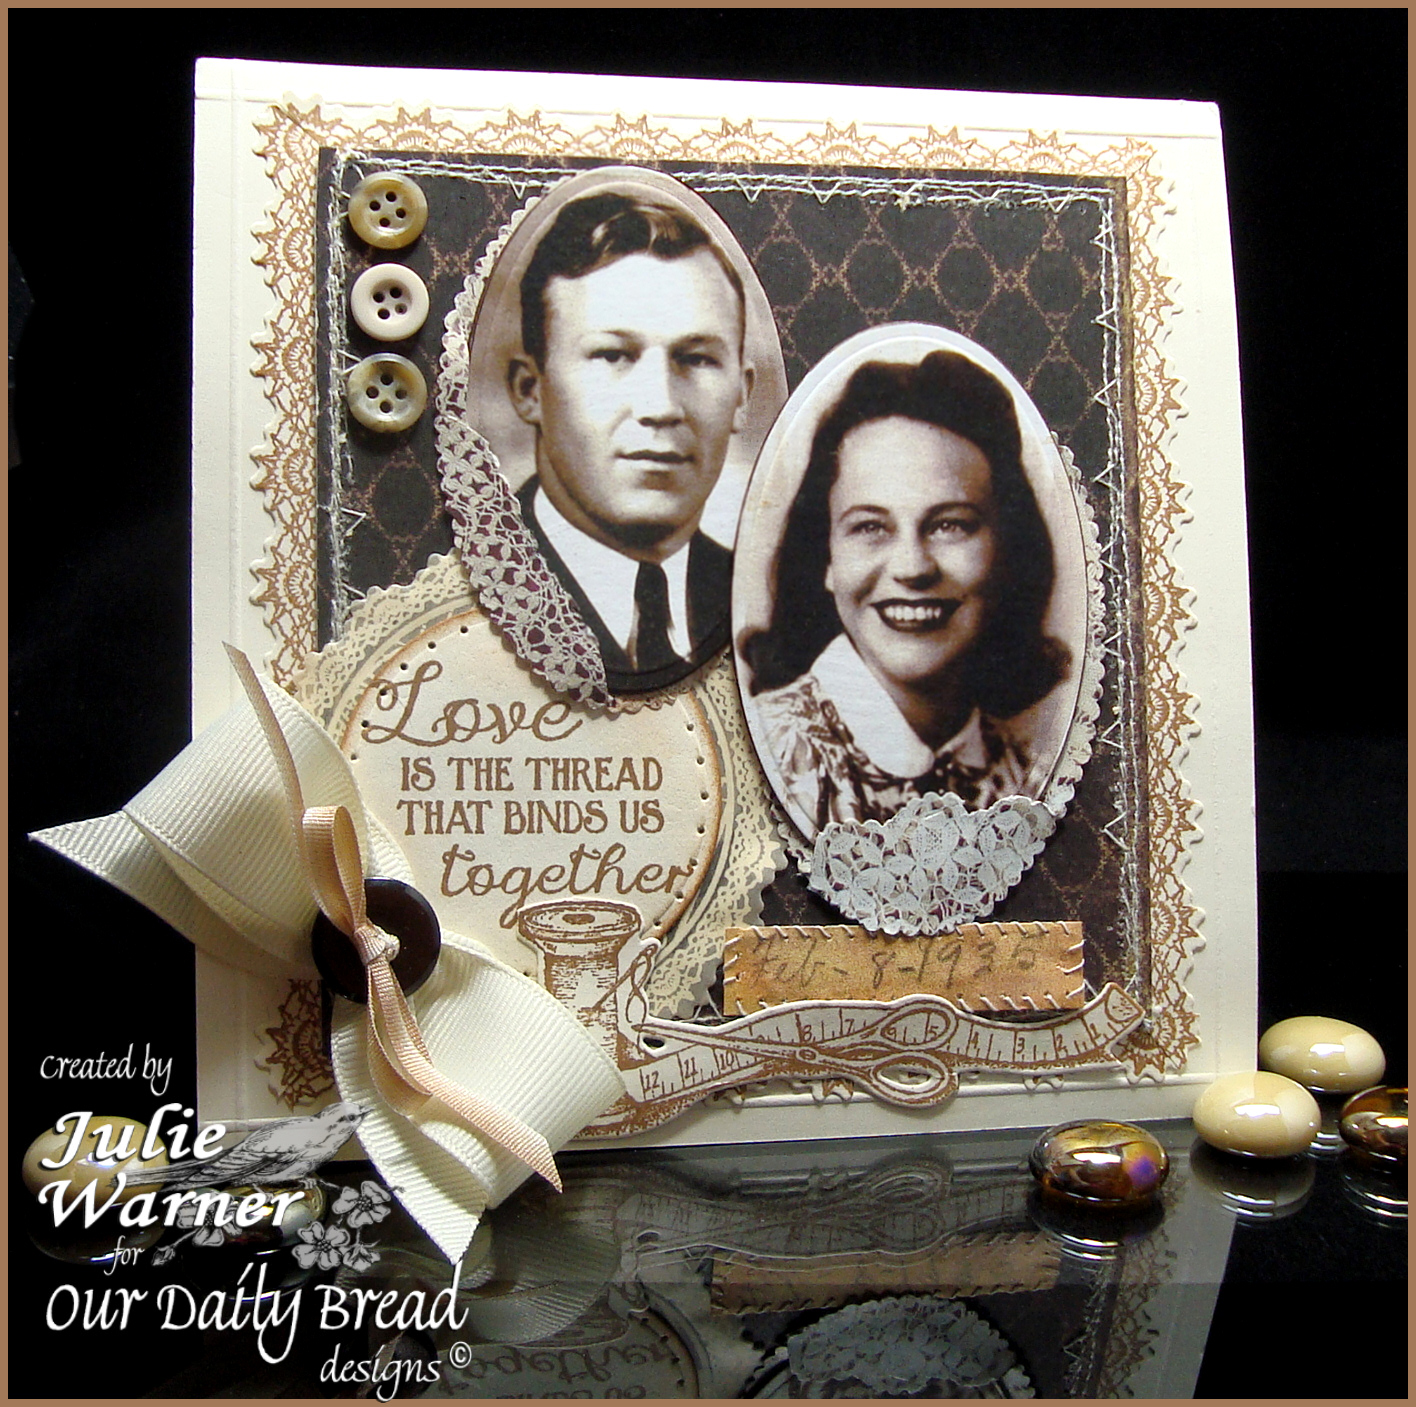
For my project, I made a 6×6 card, which could also be put in a scrapbook or a frame. These are my grandparents, Margaret and Elmo, circa 1935 when they were married. While I sat looking at all the wonderful new releases, I looked up and saw these pics of my grandparents and remembered how much my grandmother loved to sew and knit and crochet. She taught my mom to sew, who then taught me. Grandmother also taught me to knit. I remember Grandmother’s old black Singer w/ the knee pedal, and she never would trade it for a newer model. My grandmother had an identical twin sister and I don’t think they lived more that a few miles apart all of their lives. They looked identical their entire lives and while it may have confused others, the family never had trouble telling them apart. My grandfather survived a devastating hurricane when he was a little boy. Almost the entire city flooded and he was separated from his parents for 3 days. Thankfully, they were all reunited and they even found my Granddaddy’s pony! We used to love going to his Kiwanis club pancake suppers when we were little. Pancakes for supper! What could be better?
I copied and reduced the pictures to fit. There were so many things I wanted to include, like a copy of the patterns of two of my grandmother’s dresses (w/ material swatches) she made for her trousseau. But there just wasn’t room and in the end, I kept to the same sepia tones of the photographs. Since she loved crochet, the addition of the crochet border seemed the perfect choice. The date w/ the hand stitched border, was from the copy of her dress patterns and is their wedding date in her handwriting. I included four buttons to represent their four children. Looking at these pictures, it’s funny how much my aunt & uncle (they are also twins) look like these pictures of their parents!
I wasn’t sure whether or not to add the ending. But I’m one who always likes to know how a story ends. For my grandparents, it ended too soon. My grandfather lived until he was in his mid sixties and was coming home from a funeral when he was killed in a car accident. About five years later, my uncle Bud, their oldest son, was killed in a plane crash. My grandmother was a strong, deeply religious woman, but she was never the same after that. Really, none of us were. She lost her battle with cancer about five years after that and her twin sister followed a few years later. We have a lot of happy memories of all of them and I believe as long as the memory lives, the loved one never really leaves us. So the next time I see pancakes, I’ll think of my grandfather and smile. And when I knit or sew, I’ll think of my grandmother.
Thanks so much for stopping by!

Supplies:
| Stamps: ODBD Spool & Tape, Blessings Collection (Sewn w/ Love), Serve the Lord |
| Paper: ivory, dp (Prima – Moulin Rouge collection), small amount of lace pattern dp (HOTP), vanilla vellum |
| Ink: Archival sepia, Colorbox frost white pigment |
| Accessories: ODBD spool & tape die, crochet border and circle dies, Spellbinders petite oval & circle dies, Pixie sewing machine, piercing tool, white embossing powder, buttons, ribbons, Scor Buddy, copy machine, mini scallop scissors |
