Follow Me On Pinterest justwritedesign - Julie
Subscribe by Email
Loading
Archives
Categories

Posts Tagged ‘faux stitching’

Meow cu 09760

SS Button_design team_res  

Welcome to the September Challenge for Serendipity Stamps!
This month the challenge is Add Fabric! You can get all the details over on the 
Serendipity Challenge Blog.     September’s  “Stamp of the Month” is 50% off  & this month- it’s the Postoid Cling set Be sure to check out the Yard Sale items and the great deals on the Clearance Stamps! And as always, we have a gift certificate up for grabs to a random player.
Meow 09759
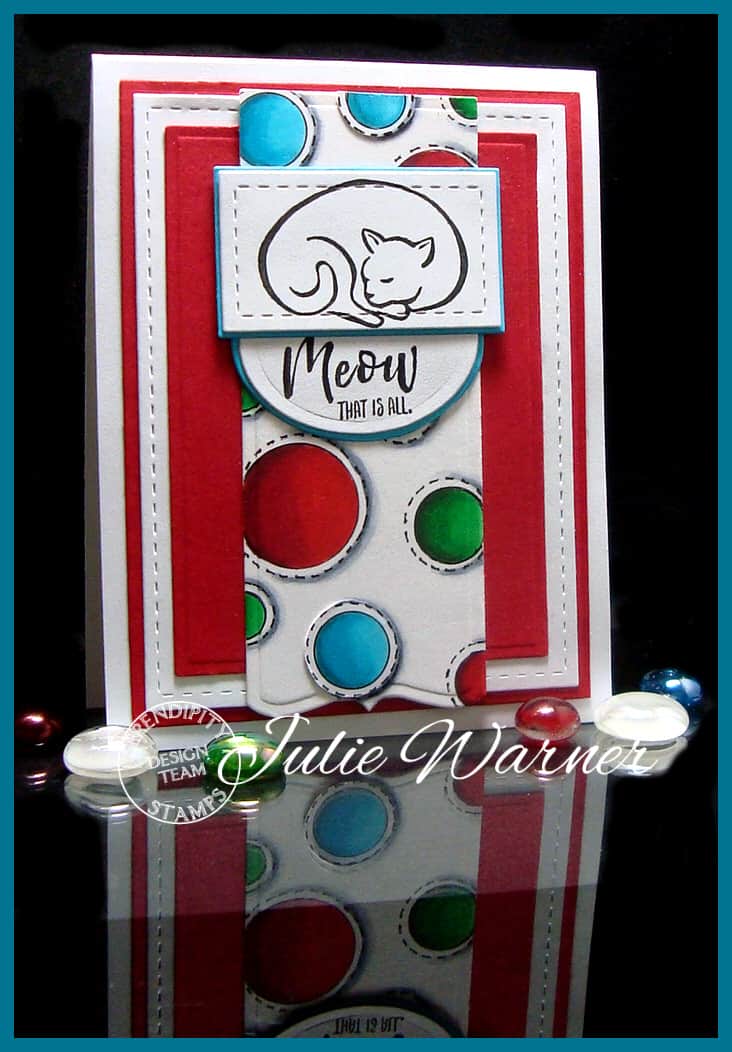
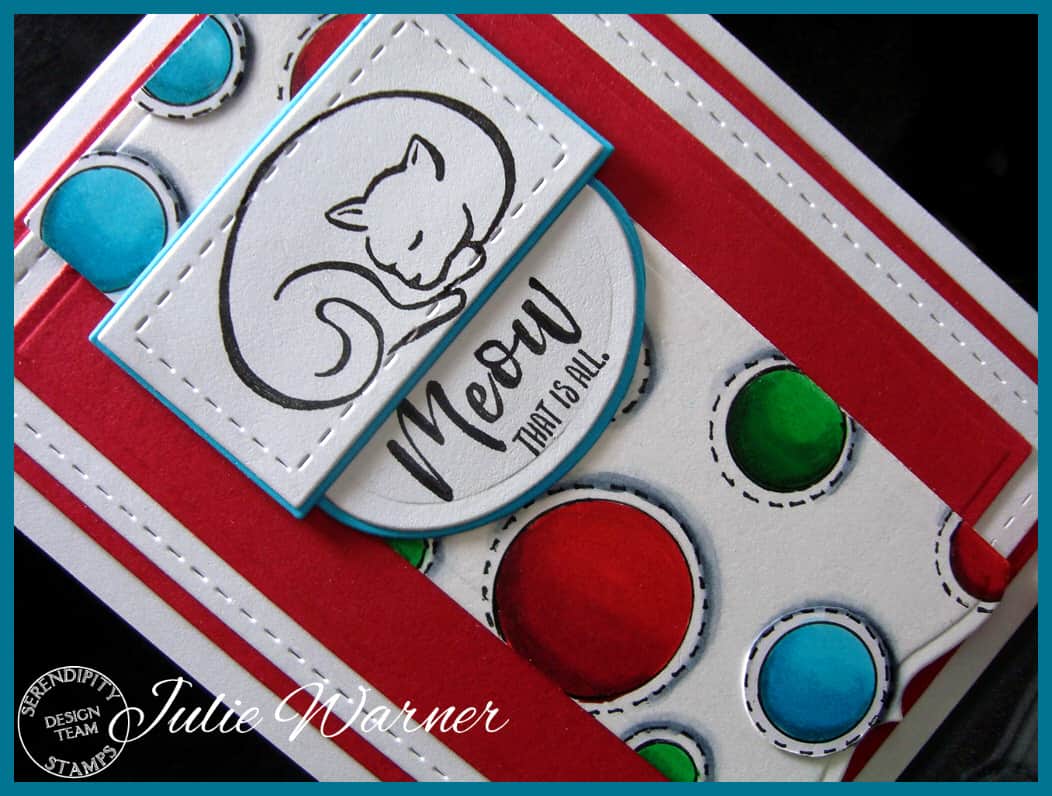
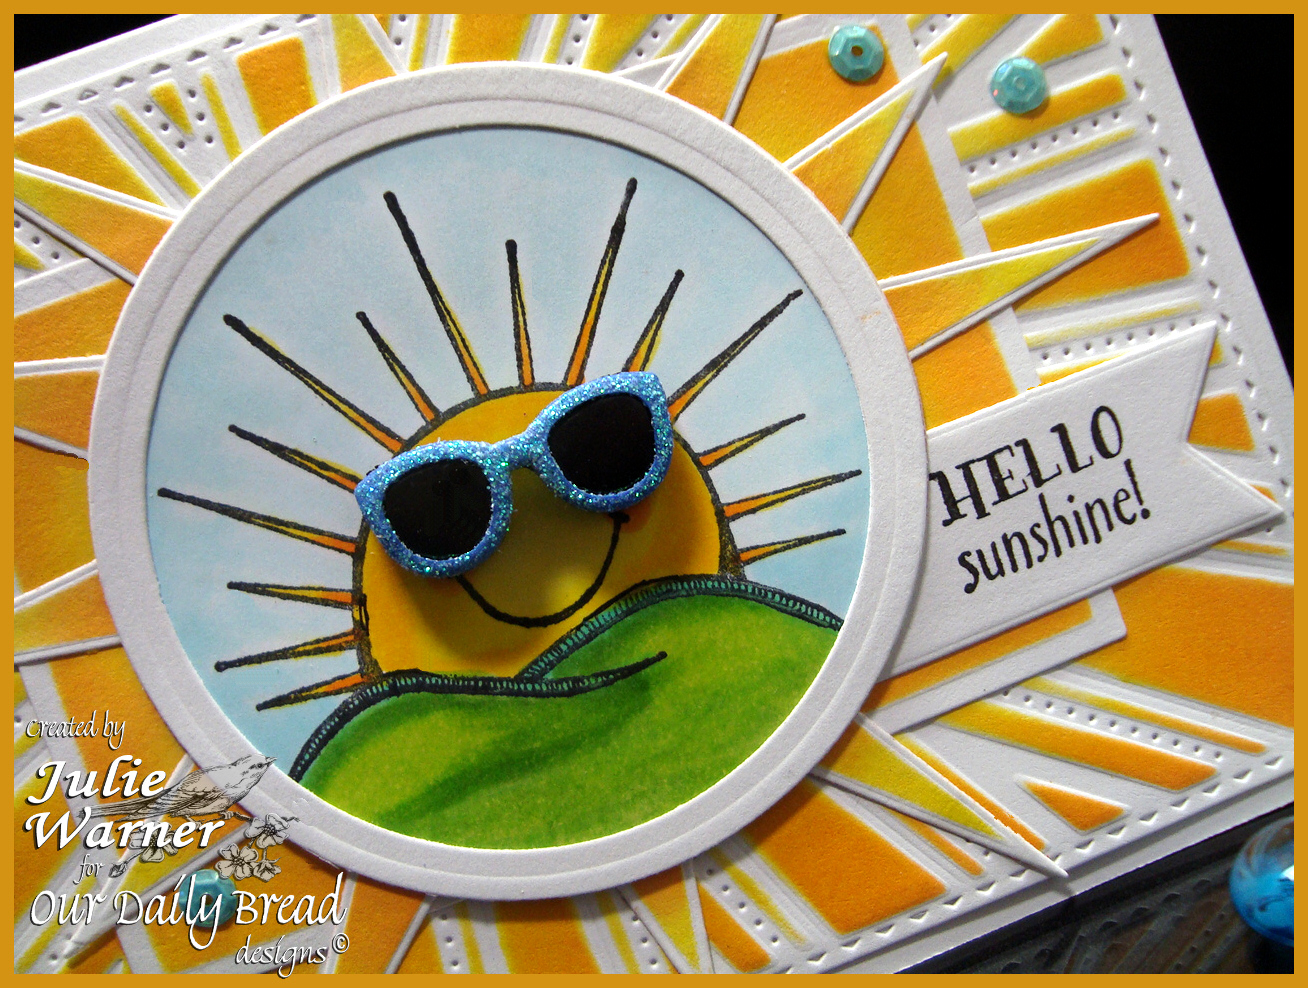
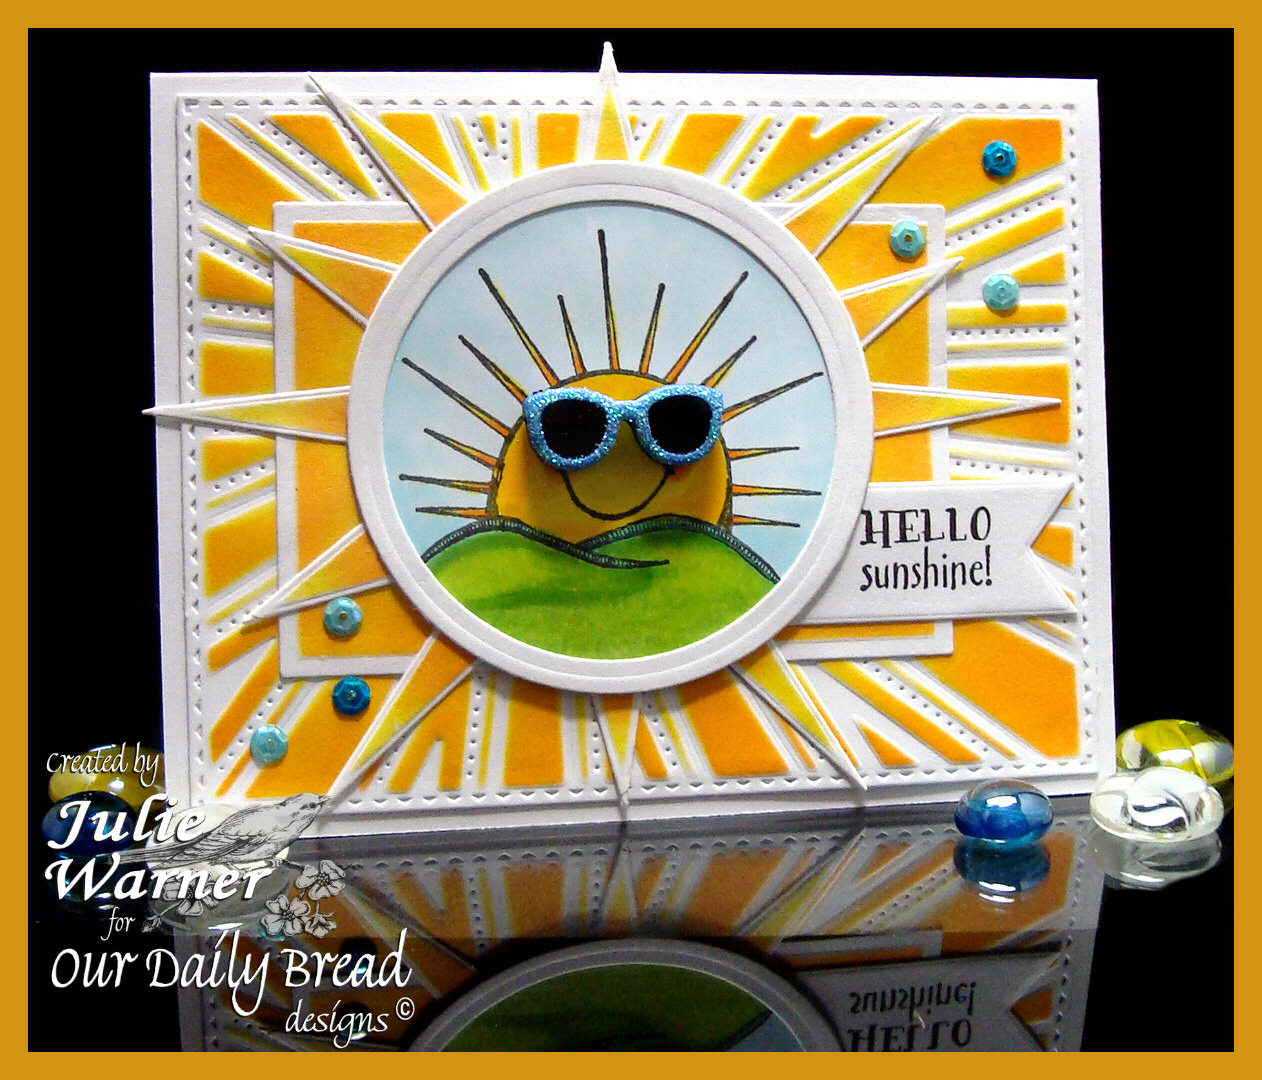
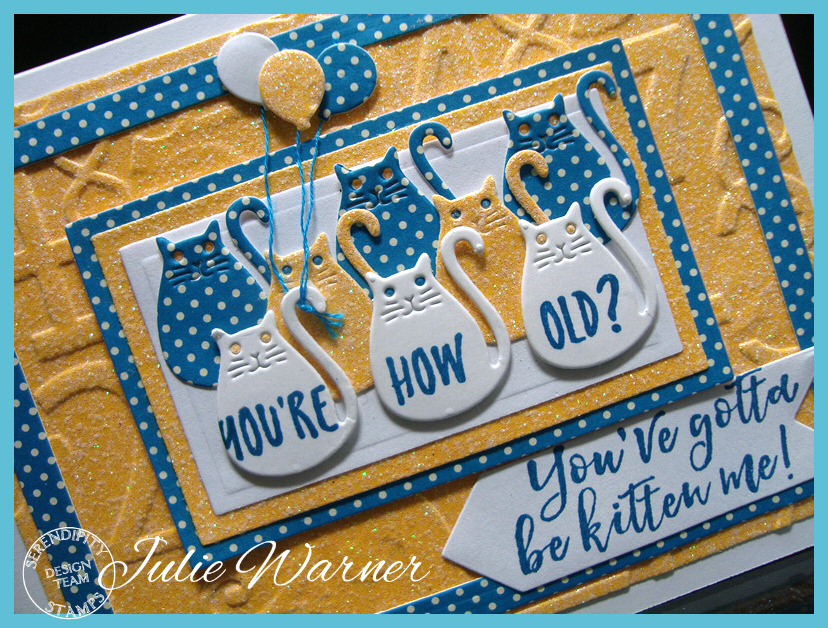
Since the challenge is to NOT color the image, I thought I’d sneak in under the radar by coloring the faux stitched circles on the narrow panel underneath.  I saw a card Jennifer Dove made where she drew the faux stitched circles & I thought how fun it would be to try it. So I used a circle maker to draw all the circles & added the stitch lines, then I colored them in. My circles need a bit more practice but all in all, it was fun. Except for the part where I used the long banner I already had (out of other card stock) instead of cutting it again out of X-Press It. I tested the red Copics on it (which are notorious for bleeding out of the lines) & they were fine. I didn’t test the turquoise. It spread like crazy! So I redid those on the other paper, hand cut them & glued them on top. What a pain! At least the rest of the card was easy…just some die cuts.

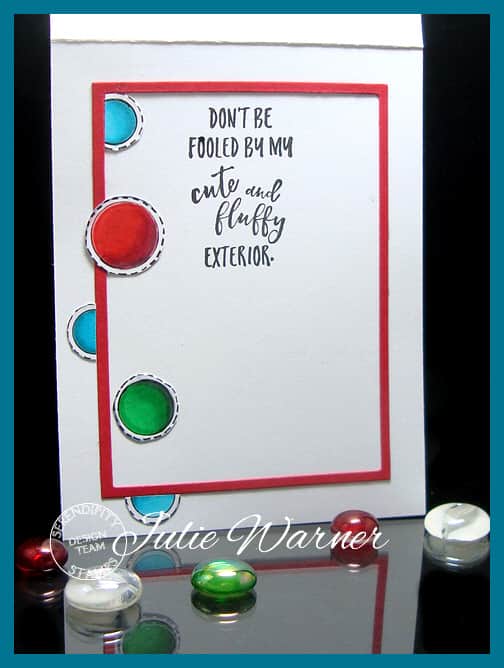
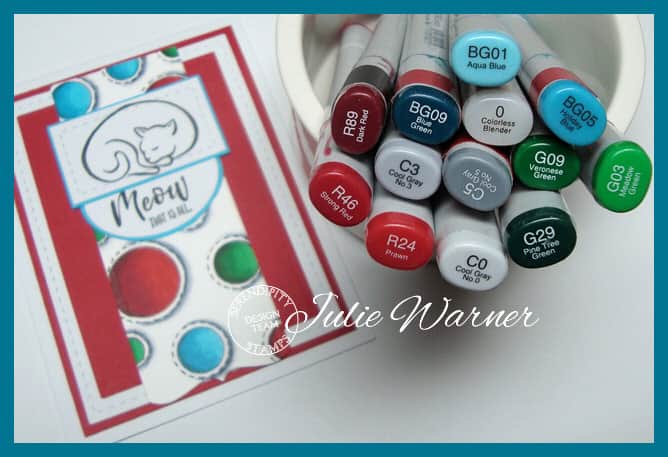
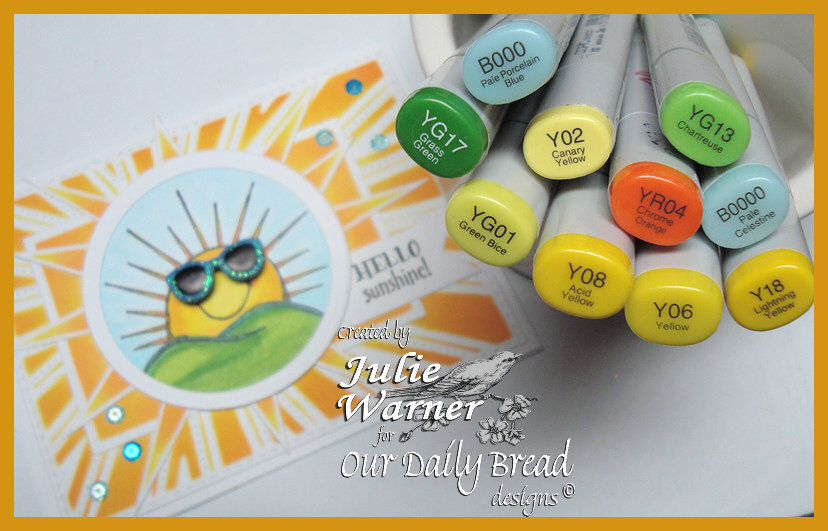
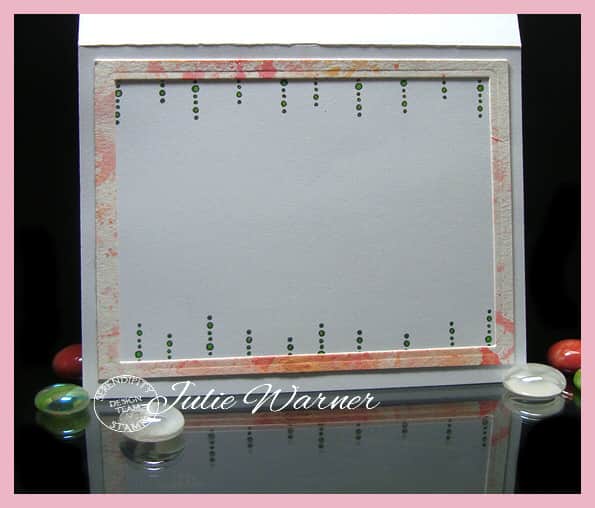
Here’s the inside made with the rest of my test cases (except the turquoise…I did those on the X-Press It) which were also fussy cut. Below it are the Copics I used for my faux stitched circles.
Meow inside 09764
Meow copics 09758
Supplies:

Stamps: Serendipity Stamps – Cat, Meow Mix cling set
Paper:  Staples #110 white, red, turquoise
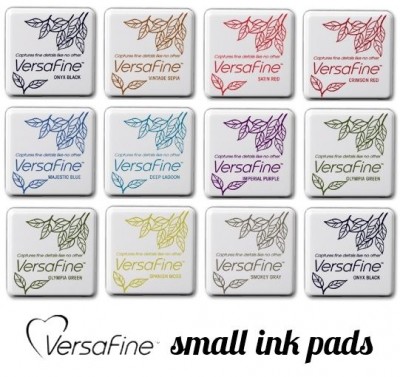
Ink:   Memento tuxedo black, Versafine onyx 
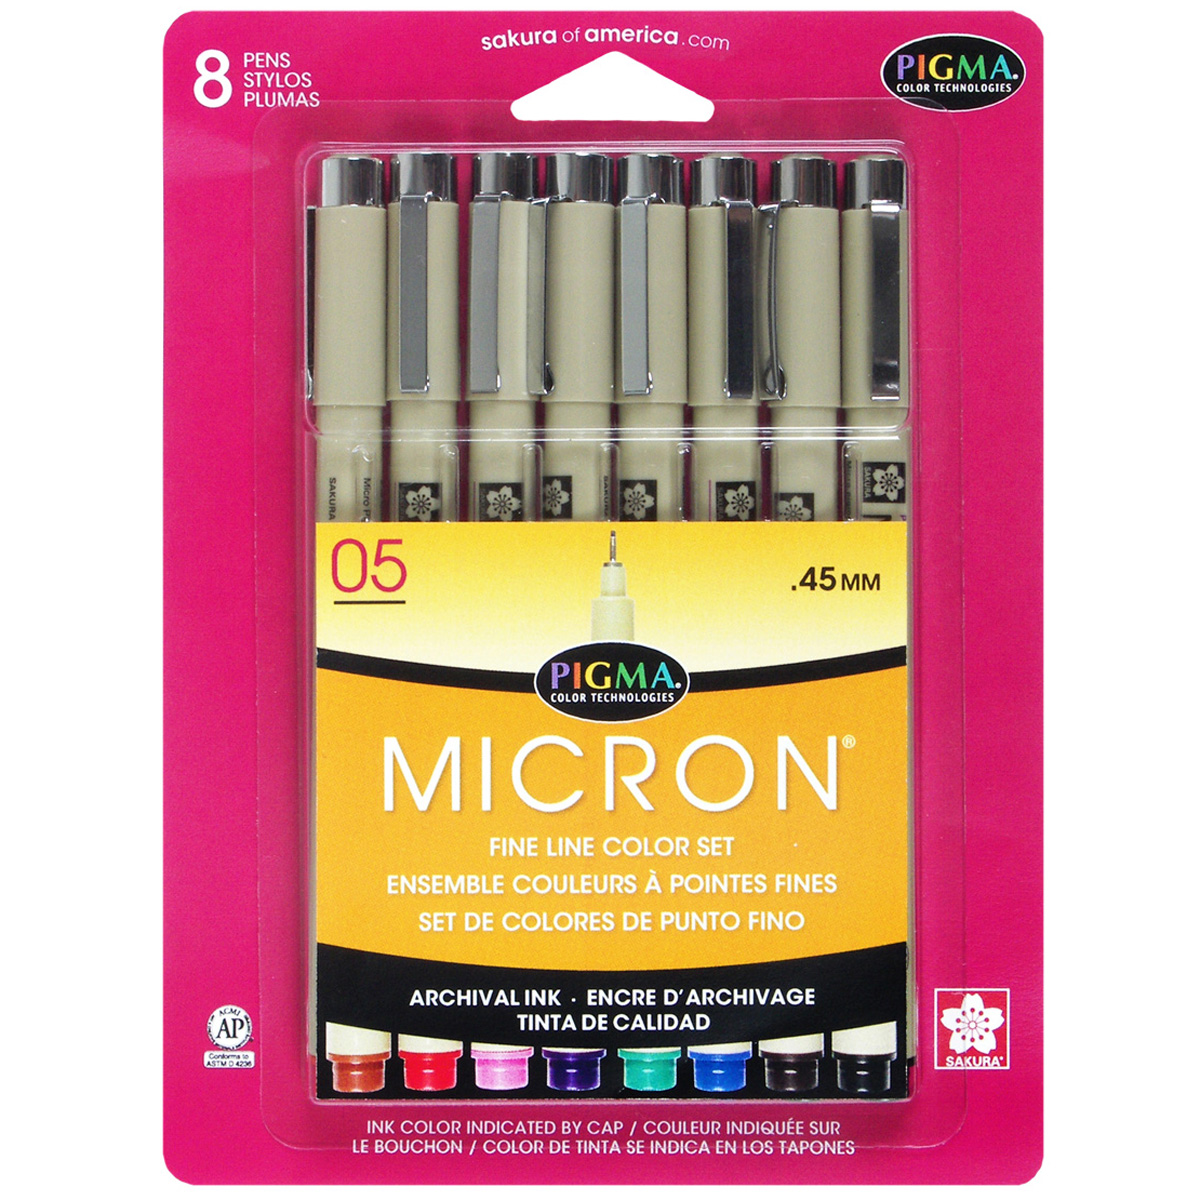
Accessories:   Spellbinders A2 matting basics B, classic ovals dies, Copic markers, stitched rectangles, black Micron pen, circle maker, ODBD Surprise Box die (insert only)

Please be sure to visit all the DT Blogs! It will be so appreciated & also increase your chances of winning!

Jenny Gropp

Julie Warner (you are here!)

Karen Amidon

Marybeth Lopez

Miriam Napier

Patti Kehl

Carol Mayne

Vickie Zimmer

Jeanne Jachna

Thanks so much for stopping by!
Julie2 sig

Hello Sunshine cu 06404
Weekly-Favorite
Welcome to the Our Daily Bread designs June Release! We have some terrifically fun new images & dies for you this month and I know you’re going to love them!

Prize Information: – 
Three randomly selected winners will each receive a $25 gift certificate to the ODBD Store, to be used toward the purchase of ODBD Stamps found in the “stamps column” of the website just for commenting on the Design Team cards!  You have until June 2, 2015 at 9:00 p.m. EDT to leave your comments on the Designers Blogs for a chance to win!  The Winners will be posted on the ODBD Blog on June 3rd, so be sure to check back there to see if you won!

Hello Sunshine 06403
How you can you not smile when looking at this bright, sunshiny face? You know when the recipient opens the envelope they’ll be grinning from ear to ear!

To make my sunshine card, I stamped the sun/hill image from Hello Sunshine, but I wiped off the ink of the topmost hill. If you look at the set image at the bottom of this post, you’ll see there are 3 little hills. I wanted to stamp the smiley face & by removing this hill it gave me a little more room. I actually used the smiley face from the Sunshine Blessings because it’s a bit smaller & I wanted to add the glitter framed sunglasses for a fun touch. The image was die cut & colored with Copics. The white circle frame was added on top along with a die cut rectangle sponged w/ yellow & orange while still in the frame. I also die cut & sponged the Sunburst Background & the rays from the Matting Circles dies & added them along with greeting I die cut using the Pennant dies. A few sequins were added in the same turquoise color of the glasses. Here’s a look at the inside.  

Hello Sunshine inside 06407
The finished card is 5.50 x 4.25 and these are the Copics I used.

Hello Sunshine copics 06396
Supplies:

Stamps: Our Daily Bread designs – Hello Sunshine, Sunshine Blessings
Paper: Neenah white
Ink:  Memento tuxedo black, Kaleidacolor melon melody (yellows & oranges only)
Accessories: ODBD Sunburst BackgroundMatting Circles, Pennants diesSpellbinders A2 matting basics A & B dies, Copic markers, sequins, glitter frame sunglasses 

Dads Tool Apron cu06427
Weekly-Favorite   Best of 2015 SCS
My second card is all about Dad! These images & dies are perfect for Father’s Day. And the tools dies are great for those hard to create masculine cards. And don’t forget, those gals who are handy with a hammer will love these, too. I’m thinking my step mother is actually way more handy with tools than my Dad, lol. 

Dads Tool Apron 06426
To create this tool apron card, I die cut two aprons using the Apron die, 1 small pocket and a large rectangle for the bottom pocket. I only added adhesive around the sides & bottom so I could put the tools in later. A white gel pen was used to add the faux stitching as well as red & silver pens to color in the words on the greeting. The top of the apron was fastened together with eyelets and more eyelets added on the sides then ribbon tied through them.

The tools were all die cut out of red for the handles & aluminum foil covered card stock for the tool heads. I added a short piece of cloth measuring tape ribbon behind the hammer and on the inside (below) along with the greeting from World’s Greatest.

Dads tool Apron inside 06428
Supplies:

Stamps: Our Daily Bread designs – Father’s Day Tools, World’s Greatest, Wood Background (for mallet handle)
Paper: kraft, red (for tool handles), black (for mallet head)
Ink:  Memento tuxedo black
Accessories: ODBD Apron& ToolsTool Time, Workshop Tools diesSpellbinders A2 matting basics A dies, Copic markers, white, red & silver gel pens, measuring tape ribbon, aluminum foil, eyelets, ribbon 

Please be sure to visit all the DT blogs for tons of fabulous inspiration & leaving comments will increase your chances to win!

Julie * Cathy * Lori * Sandee * Dawn * America * 

Amy * Chris * Grace * Sabrina * Angie * Lisa *

 Silke * Audrey * Wanda * Loretta

Thanks so much for stopping by!
Julie2 sig

Julie Warner - https://thewritestuff.justwritedesigns.com
Weekly-Favorite
This is for today’s Sketch Challenge (SC479) on Splitcoast.  It’s been a little while since I’ve done a sketch, so I’m glad I made it 🙂 With that being said, for some reason I have a real problem with most tilted sketches. I think they look great on someone else’s card but rarely on mine. So I’ll confess right now…after I took this pic, I pried the panel up and straightened it.

After stamping, coloring and die cutting the zinnia, hummingbird, border, tag & white backing behind the zinnia, I put it all together. The panel behind the zinnia is made up of leftover strips of the dp I put together. And here is the straightened version which I’m much more comfortable with, lol.

Julie Warner - https://thewritestuff.justwritedesigns.com
These are the Copics I used.
Julie Warner - https://thewritestuff.justwritedesigns.com
Thanks so much for stopping by!
Julie2 sig
Supplies:

Stamps: Our Daily Bread designs  Zinnia, Hummingbird, Mini Tags 3
Paper: white, ODBD Blooming Garden collection paper, lime green textured (DCWV), grass green
Ink: Memento tuxedo black
Accessories: ODBD Zinnia dies, ODBD Hummingbird die, ODBD Recipe & Tag dies, ODBD Beautiful Borders dies Copic markers, black micron pen