
• Tag Archives Glitter
  • ODBD October 1st Release Another Look!


    Weekly-Favorite
    Today we’re taking another look at the Our Daily Bread designs Oct. 1 release! Aren’t the ornaments & sentiments beautiful? And the Flourished Alphabet can be used all year round! This is also for the Inspiration Challenge (IC516) & I chose THIS as my inspiration. 
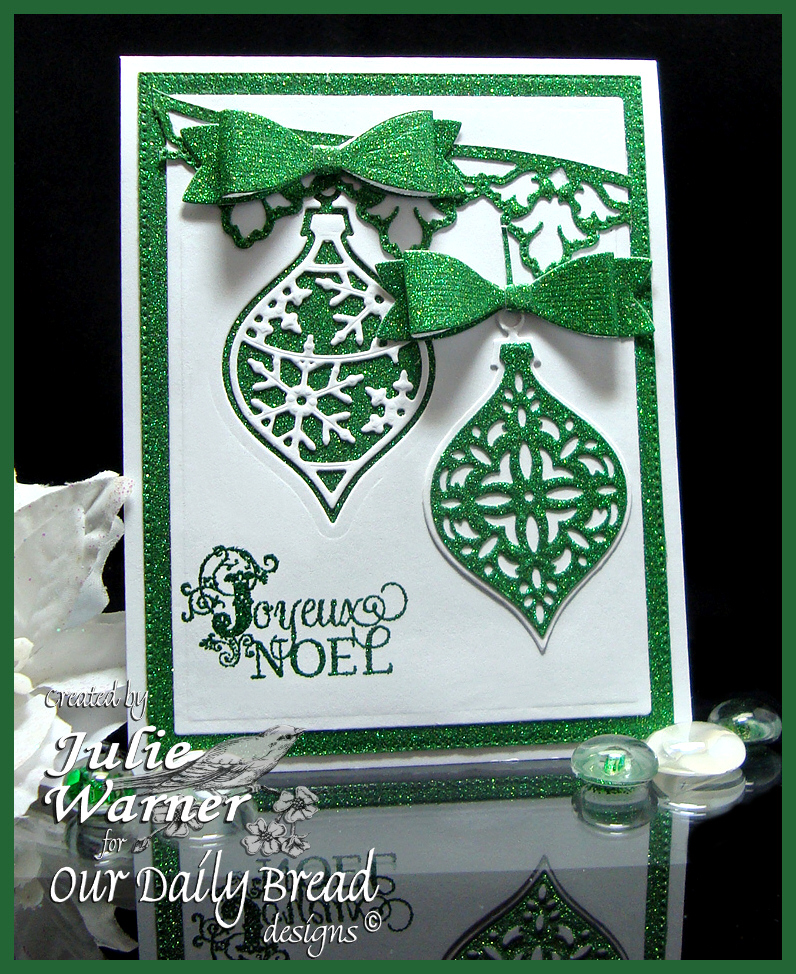
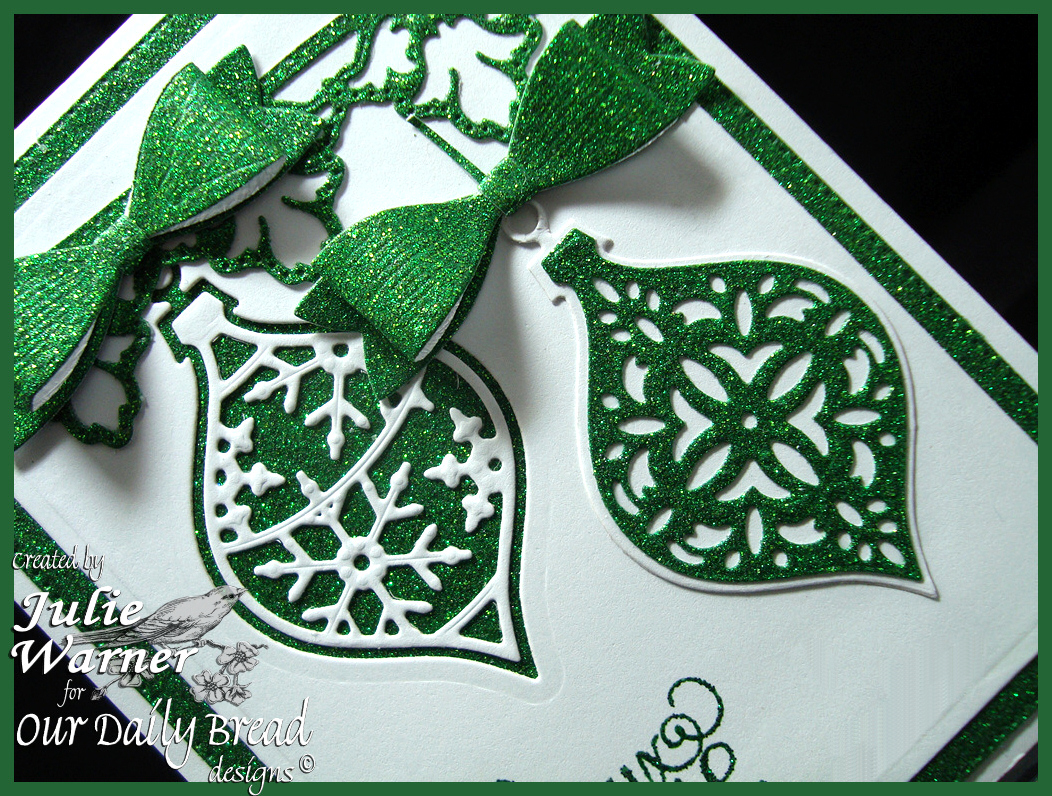
    My card today features the Elegant Embellishments ornaments dies. This card is so sparkly with all the green glitter card stock & green glitter heat embossed greeting! I die cut the white layer w/ a matting basics die & the green glitter layer w/ the largest Flourished Star Pattern die. After determining the placement for the ornaments, I die cut the top left one in the white layer using the solid ornament die. I used this white backing for the ornament on the lower right. A snowflake ornament topper was die cut out of another piece of white & attached on top of the negative ornament on the left. The lower right ornament has a die cut topper out of the green glitter c/s.  I also die cut a leafy border to drape across the top so my ornaments would have something to attach to & not appear as if they are floating in mid air. 
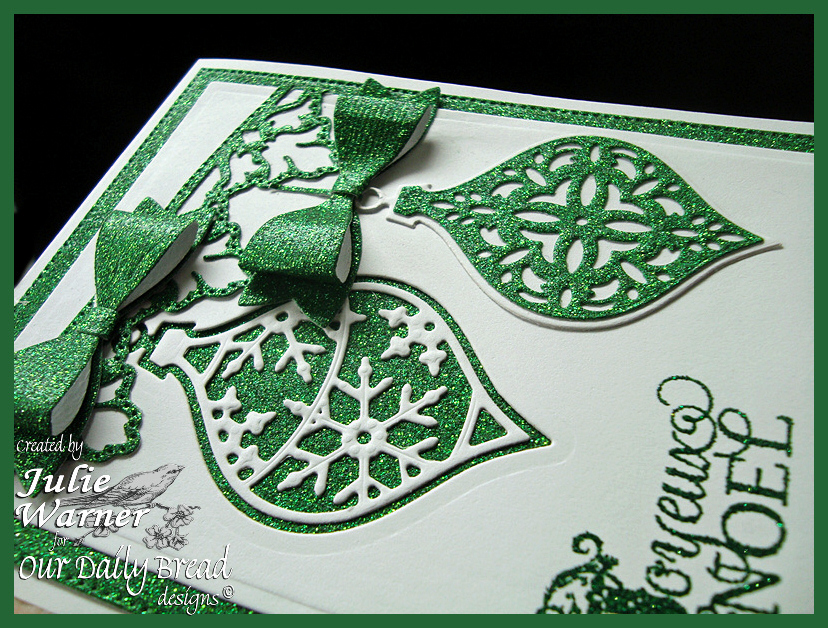

    After I inked the Joyeux Noel, I wiped off the ink on the letter J before heat embossing it w/ green glitter powder. I used a stamp positioner to stamp the Flourished letter J in its place.  The Small Bow die was used to cut the 2 green glitter bows & I attached them on top of the ornaments.

    Here’s a look at the inside using some leftover strips of the green glitter c/s. The greeting was heat embossed w/ with green glitter powder & the 2 side flourishes are cut outs from the Leafy Edged Border die cut on the front.
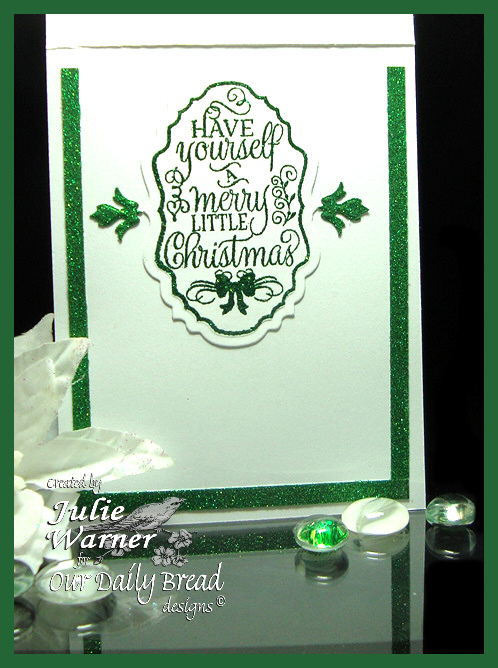

    Green Noel inside 07562Supplies:

    Stamps: ODBD -Christmas Tunes, Flourished Alphabet
    Paper: Neenah white, green glitter c/s (Paper Studio Christmas glitter pad)
    Ink:  Encore evergreen pigment
    Accessories: ODBD Elegant Embellishments, Flourished Star Pattern, Leafy Edged Border, Vintage Label, Small Bow dies, Spellbinders A2 matting basics A & B dies, green glitter embossing powder

    Please be sure to visit all the DT blogs…they all have some wonderful inspirations using the Oct. 1 Release! 

    Sandee * Cathy * Julie * Robin * 

    Amy * Dawn * Lori * America

    Thanks so much for stopping by!

    Julie2 sig


  • Serendipity SSCB#48 pt 2- What’s New?

    Christmas Wheel cu 07630
    Weekly-FavoriteBest of 2015 SCS
    SS Button_design team_res
    Welcome to the October Challenge for Serendipity Stamps! This month the challenge is What’s New (use your newest products)! You can get all the details over on the Serendipity Challenge Blog.  We have something new…a “Stamp of the Month”. Each month a different image will be 50% off. This month- it’s the Wheel in Snow. Be sure to check out the great deals on the Clearance Stamps & sale stamps!And as always, we have a  have a gift certificate up for grabs to a random player.
    Christmas Wheel 07631
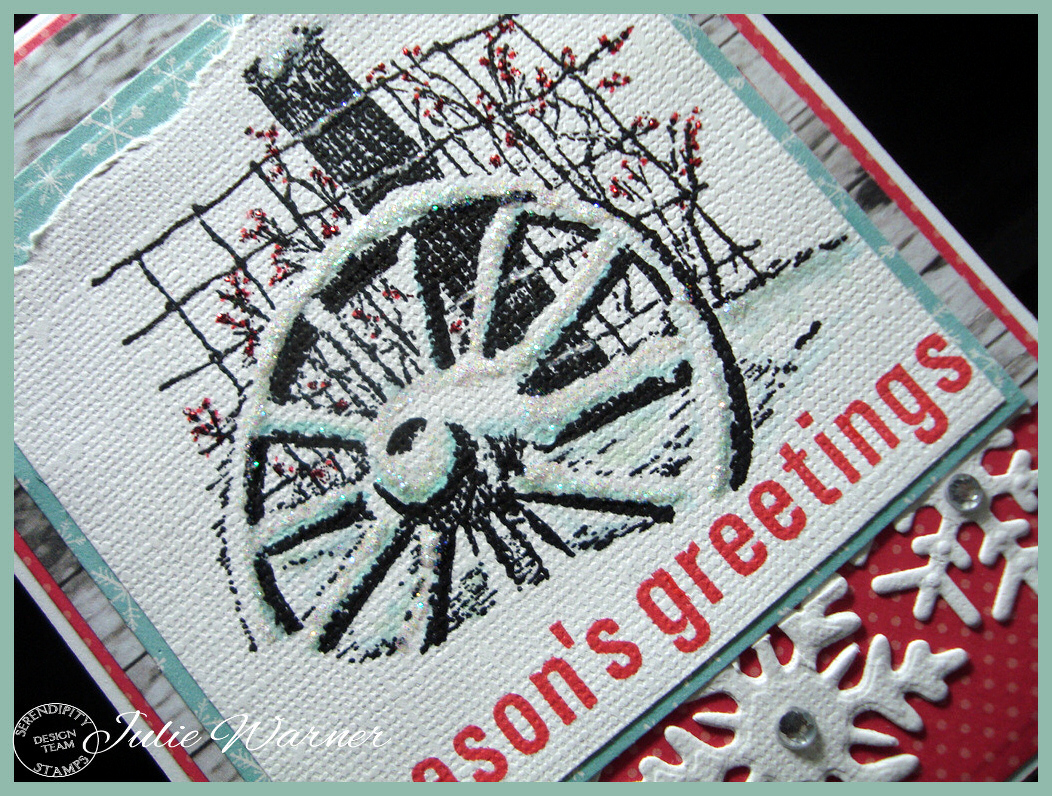
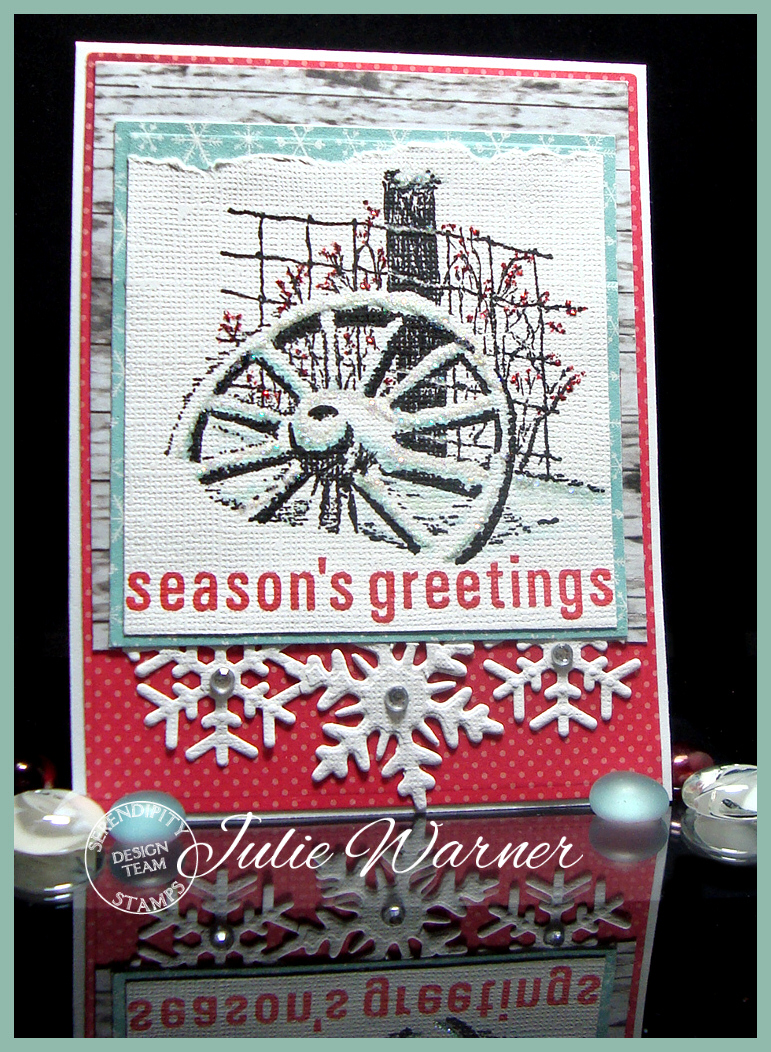
    One of my somethings new is the image that happens to be 50% off this month! This is such a wonderful little winter/Christmas image…you don’t really even need to color it. Since I stamped it on textured paper, I used my Misti & Versafine & I stamped it twice to make sure it got into the crevices of the paper. With Versafine, I couldn’t use my Copics, so I used a couple of very pale blue/green Tombow (water based) markers. The greeting was stamped w/ barn door Distress ink before I added some dp layers & snowflake border die cut. I added stickles here & there on the snow & I used a red marker & red stickles to add some berries to the twigs. 

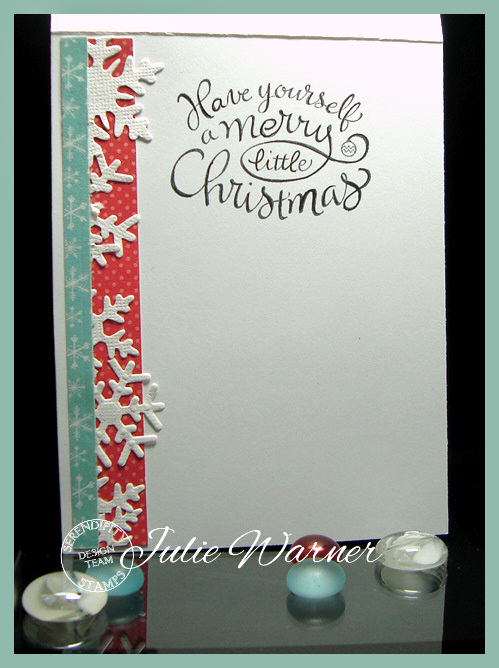
    Here’s a look at the inside.
    Christmas Wheel inside 07635
    Supplies:

    Stamps: Serendipity Stamps – Wheel in Snow, Season’s Greetings
    Paper: white textured, dp (red & aqua -Pebbles- Home for Christmas) dp (white wood -Glitz)
    Ink:  Versafine onyx, Distress ink barn door
    Accessories:  Spellbinders A2 matting basics A & B dies, Misti, Tombow markers to shade snow, snowflake border die (Darice). stickles, crystals

    White Autumn Leaves cu 07640
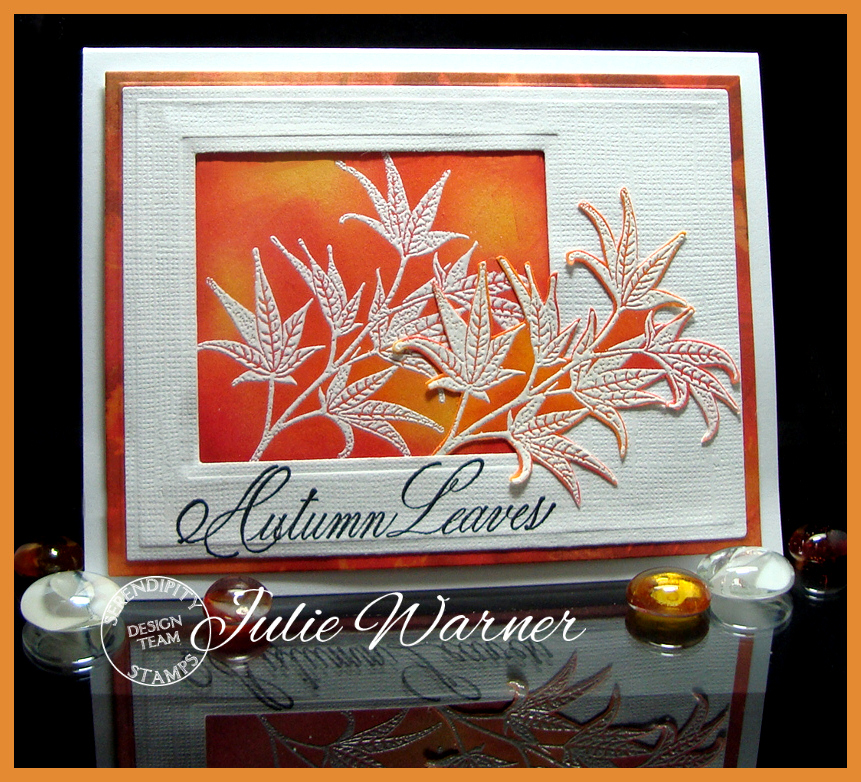
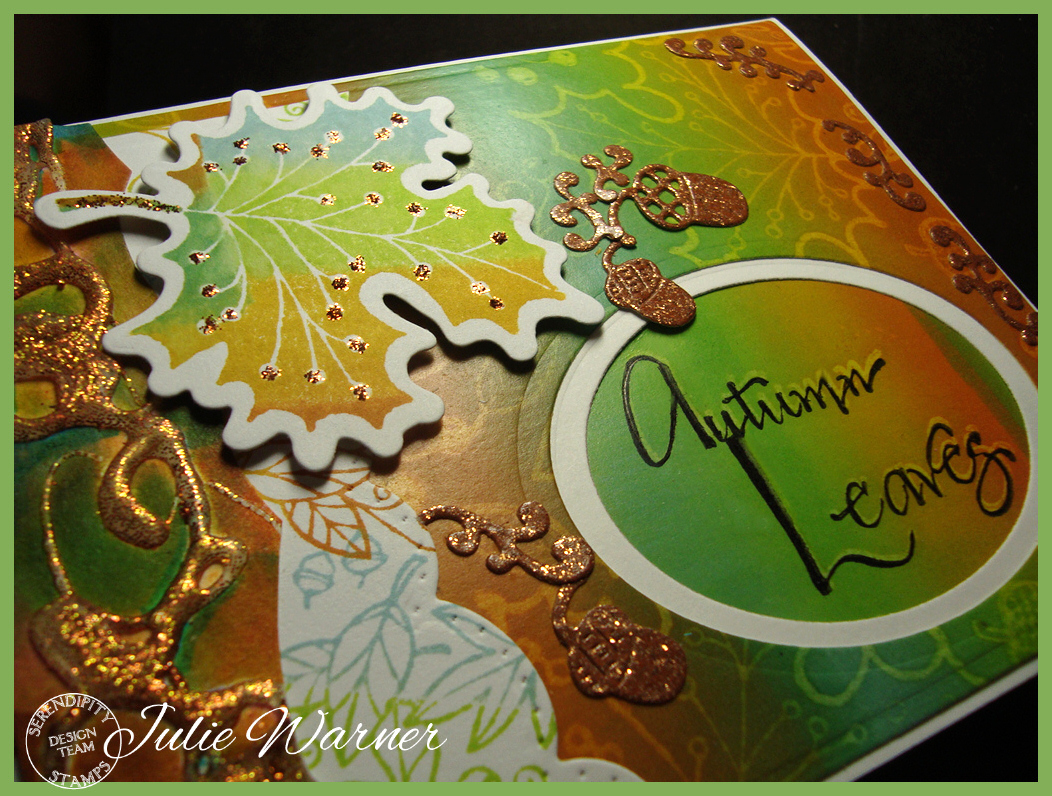
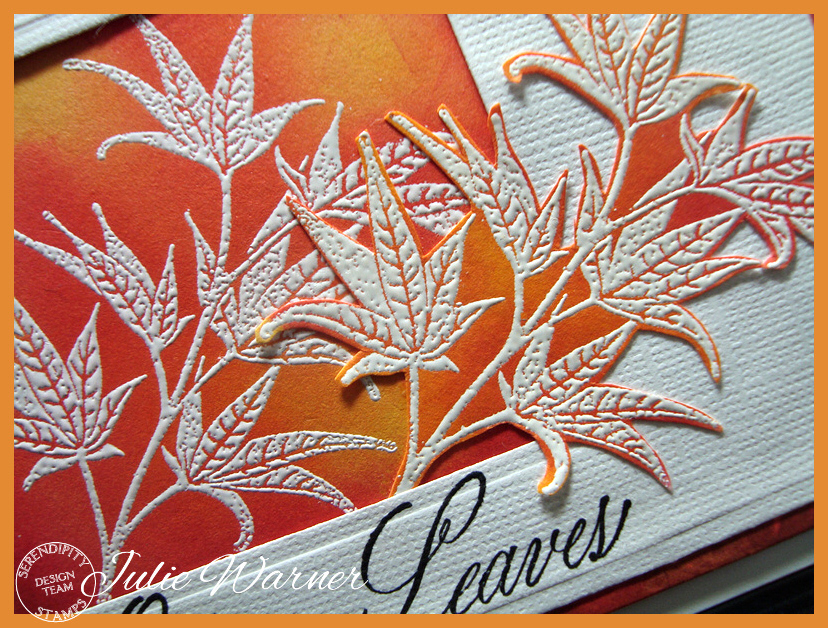
    This lovely Maple Leaf  is also new to me. I tried stamping it in a number of inks & colors, but still didn’t get the look I wanted until I white embossed it and sponged the colors onto the background. I die cut a white frame out of textured white, elevated it a bit & attached it to a layer of dp. A second maple leaf was fussy cut and added along w/ the greeting stamped underneath.

    White Autumn Leaves07638
    Supplies:

    Stamps: Serendipity Stamps  –Japanese Maple, Autumn Leaves
    Paper: Neenah white, white textured, dp (Basic Grey – Indian summer)
    Ink:  Versafine onyx, Distress inks barn door, dried marigold, spiced marmalade, Colorbox frost white pigment
    Accessories:  Spellbinders A2 matting basics A & B dies, Misti, white embossing powder

    Please be sure to stop by & comment on all the DT blogs..it will be much appreciated & definitely increase your chance of winning!

    Pam Simpson (guest designer)

    Miriam Napier

    Vickie Zimmer

    Jeanne Jachna 

    Jenny Gropp

    Julie Warner (you are here!)

    Karen Amidon

    Marybeth Lopez

    Thanks so much for stopping by!
    Julie2 sig


  • Serendipity October Blog Hop!


    Cute Witch cu 07484
    Weekly-Favorite
    Welcome to the Serendipity October Blog Hop! We are showing off some fabulous new images & dies! If you arrived here from Jenny’s Blog ,  you are in the right place..if not, you may want to head over there first.
    10-2-15 Blog Hop Badge copy 

    The Prize – One $20 gift code will go to one random commenter from the blogs.  So be sure  to visit all the blogs because you don’t know which one the winner will be drawn from. You have through Sunday October 4 to leave comments on the blogs for a chance to win a $20 Gift Certificate to SS.  Mary will  announced a winner on Monday Oct 5. Special:  40% off the highest priced item in your cart when you use Code  “40fromhigh1015”.  Offer good Friday Oct 2 – Sunday Oct 4th.  We have something new…a “Stamp of the Month”. Each month a different image will be 50% off. This month- it’s the Wheel in Snow. Be sure to check out the great deals on the Clearance Stamps!
    Cute Witch 07479
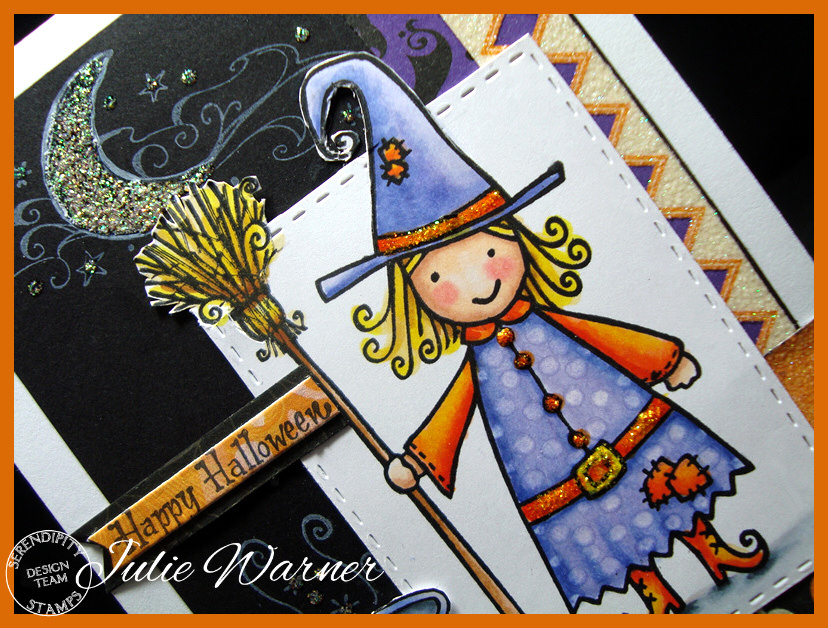
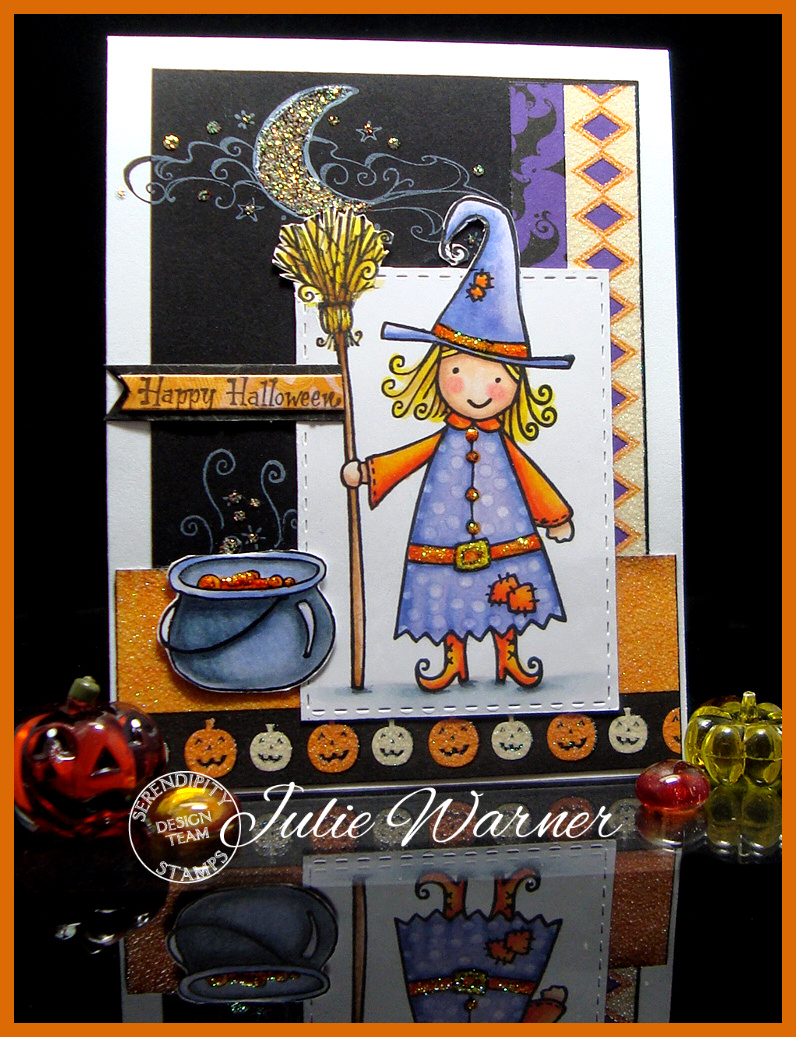
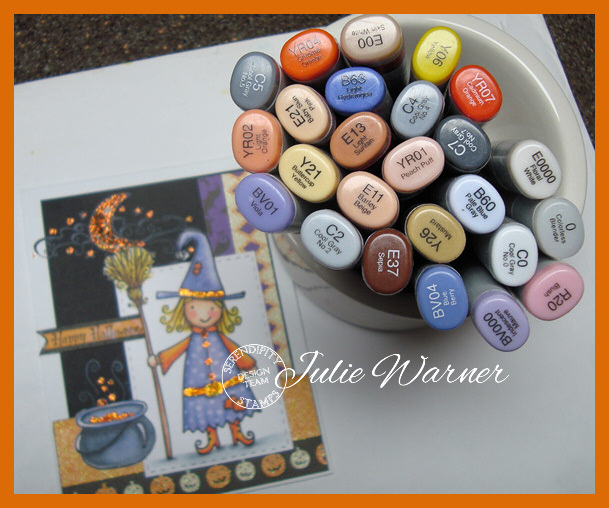
    For my first card, I put this super cute little witch from the Halloween Pops set into my Misti, stamped her with Memento & colored her with Copics. To add a little interest, I used the blender to add polka dots to her dress. Then I over stamped the image with Versafine (this really brings out the details!) & die cut with a stitched rectangle. I had to do a little out of the box treatment to keep from cutting off her hat & broom & I also trimmed the edges a little closer. The moon & top of the cauldron were stamped with white ink onto the black c/s & the dp strips are all from the same sheet…I just used a few areas of it. I added some orange stickles to her belt & hat band & crystal stickles to the moon.

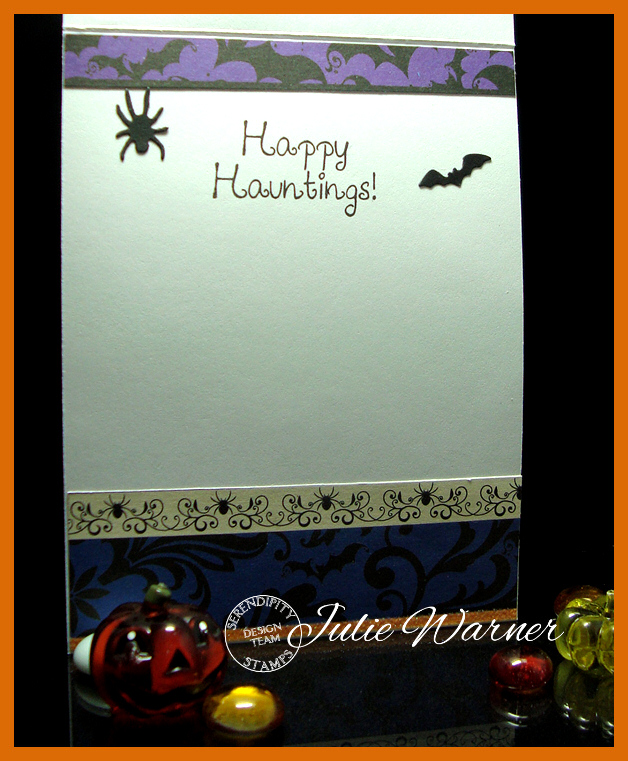
    Here’s a look at the inside, using leftover strips & below it are the Copics I used.
    Cute Witch inside 07487
    Cute Witch copics 07477
    Supplies:

    Stamps: Serendipity Stamps – Halloween Pops set, Happy Halloween
    Paper: X-Press It white, black, dp (Recollections – Midnight Magic)
    Ink:  Memento tuxedo black, Versafine onyx (to overstamp image after coloring)
    Accessories:  Serendipity Creepy Wreath die (inside), Spellbinders A2 matting basics A & B dies, MISTI, Copic markers, stickles, stitched rectangle dies, fishtail flag dies

    Hocus Pocus cu 07490
    Weekly-Favorite
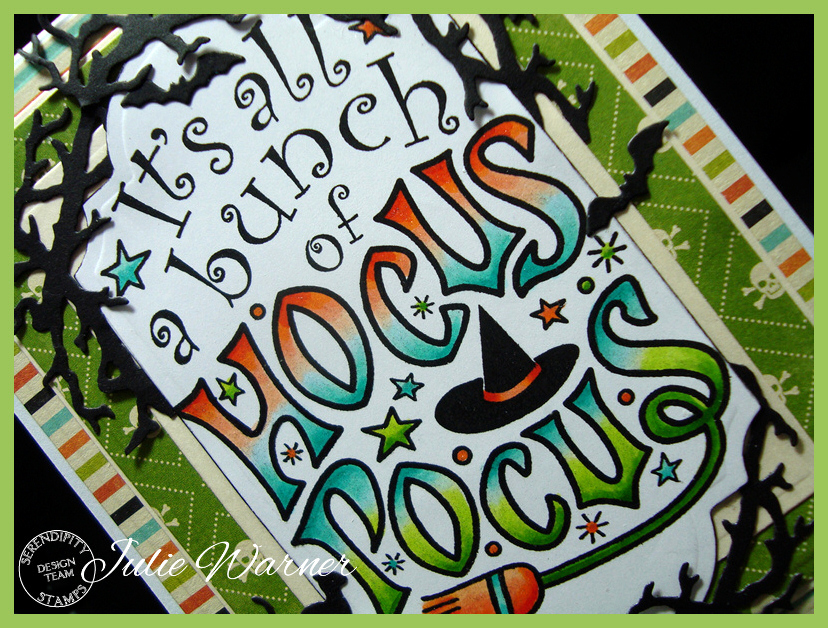
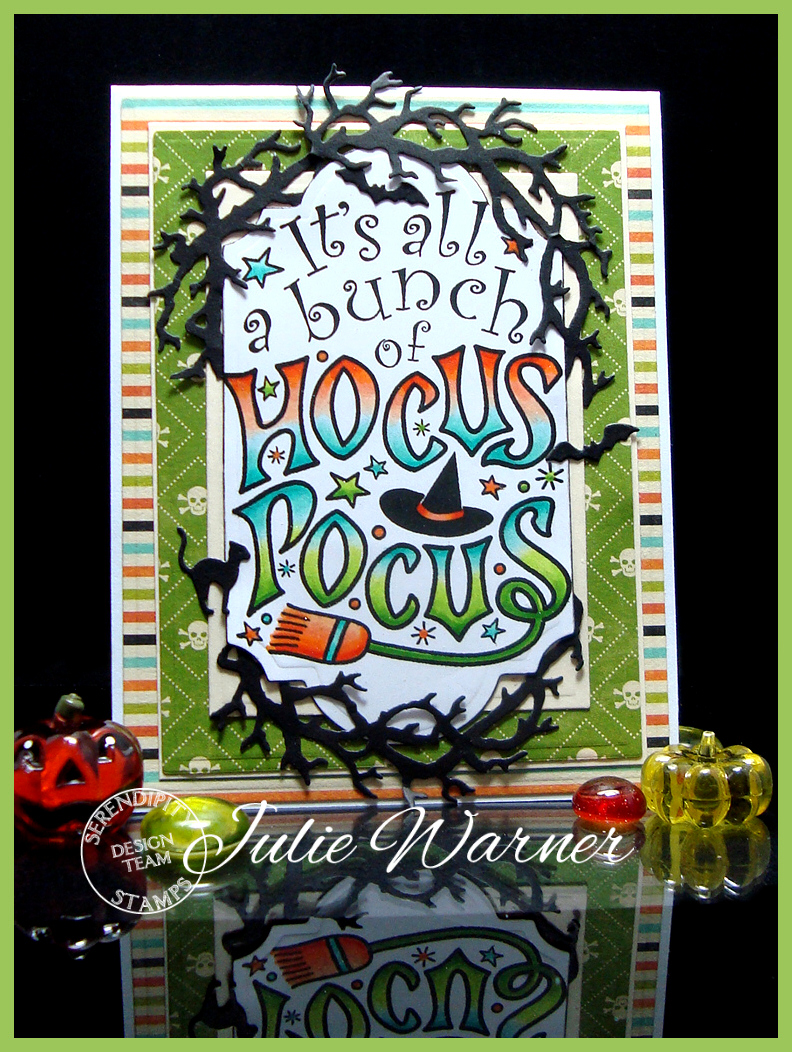
    For this card, I used the fun new Hocus Pocus image. Usually, I color first then see if I have paper to match, but I picked the paper first on this one so I could use Copics to go with it. I love open areas on words…it gives me a lot of opportunity to change the colors to suit. 
    Hocus Pocus 07489
    After stamping, coloring & over stamping, I die cut it..but I had to do a little resizing (pls click link for explanation) to make it fit, so the panel is now much longer than the actual die. It’s backed w/ a vanilla rectangle layer & I added some of the die cut Creepy Wreath on top & bottom. A few bats & a cat from the wreath set were also added.
    Hocus Pocus xcu07495
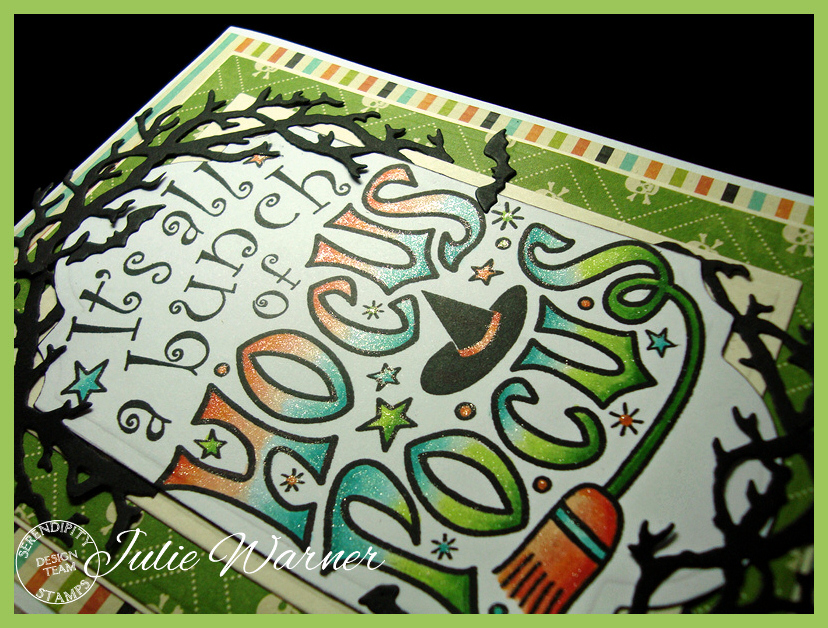
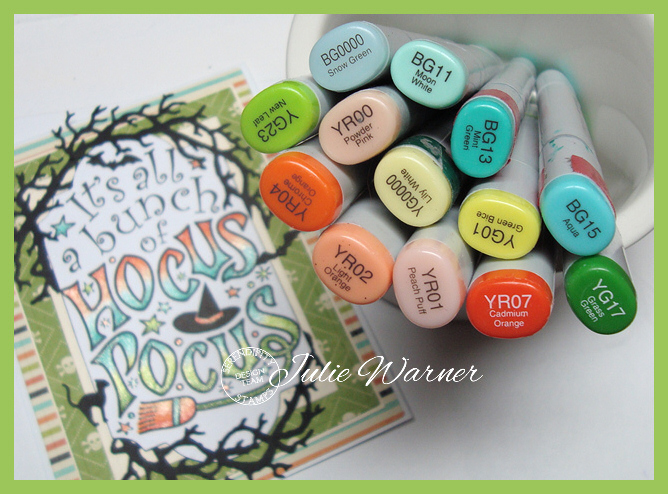
    You can probably see it better in the pic above..I added some Wink of Stella to the colored areas. I wanted a little sparkle but I didn’t want to cover all the coloring. Here’s a look at the inside & also the Copics I used.
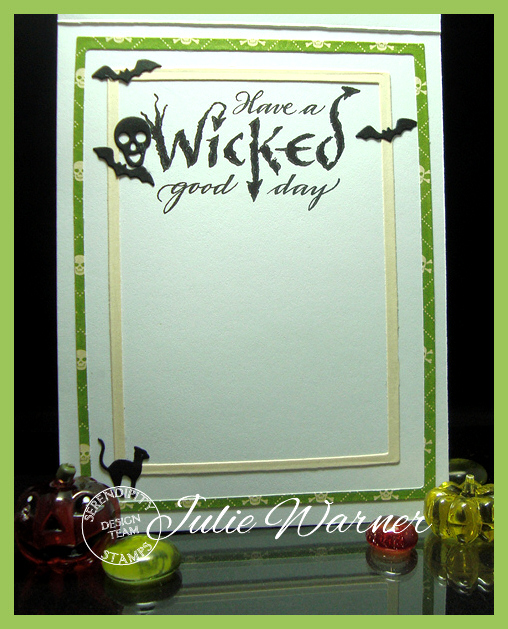
    Hocus Pocus inside 07497
    Hocus Pocus copics 07478
    Supplies:

    Stamps: Serendipity Stamps – Hocus Pocus -(Wicked Good Day – inside)
    Paper: X-Press It white, ivory, black, dp (Jillibean Soup – Witches Brew)
    Ink:  Memento tuxedo black, Versafine onyx (to overstamp image after coloring)
    Accessories:  Serendipity Creepy Wreath die (inside), Spellbinders A2 matting basics A & B dies, MISTI, Copic markers, Wink of Stella

    Now I’ll send you on to Karen’s blog..I’m sure she’ll have something fabulous to show you!

    Please be sure to visit all of the DT Blogs to increase your chance of winning! Here’s the order in case you get lost.