
• NCC March Release Another Look!

    NCC Perk Up cu 06042
    Today we are taking another look at the North Coast Creations  March release!  These coffee images are wonderful & so trendy! On my first card, I used the fabulous Warm My Heart set for the pair of coffees and the What’s Brewin’? for the greeting.

    NCC Perk Up 06041
    For the pair of to go cups, I stamped them several times on a piece of dp that had bands of patterns, fussy cut them and paper pieced them together. The little check ribbon is part of the paper, as well. I wanted a coffee stained look for the background so inked an embossing folder (it looks like ink splats) w/ the tea dye ink and pressed it to the white paper. It didn’t quite fill in the splats so I took a water brush and filled them in. I also took a small plastic top, inked it w/ the same ink, stamped it, then blurred the edges a bit w/ the water brush. The top & bottom edges were die cut using the largest of the ODBD Lacey Layered Squares dies. I used the ODBD Pennant die to cut the greeting flag.

    I’m also adding these cards to Virginia’s View Challenge #14!

     Supplies:

    Stamps:  North Coast Creations –Warm My HeartWhat’s Brewin’?
    Paper:  Neenah white, dp (Paper Studio)
    Ink:  Memento tuxedo black, Distress Ink tea dye, Colorbox dark brown fluid chalk ink
    Accessories: ODBD Lacey Layered Squares, Pennant dies, Spellbinders squares dies, Sizzix embossing folder (ink splats), water brush

    NCC Coffee Pleasures 06048
    I used the same two sets for my second card but I used a more colorful approach. The coffee cup was stamped, masking as I went, 3 times using 3 different inks. The 3 colors of twine were wound around the brads to make it look as if the cups are hanging from the twine. The black cup was stamped, color added w/ Copics and fussy cut to add on top. NCC Coffee Pleasures 06047
    After die cutting the panel, I edged it in green using a Copic marker. I added a narrow black layer then die cut the largest layer using the ODBD Flourished Star pattern die. The edge was also colored w/ a Copic to match. The image at the very top was also colored to match and fussy cut. 

    Supplies:

    Stamps:  North Coast Creations – What’s Brewing?Warm My Heart 
    Paper:  Neenah white, black
    Ink:  Memento tuxedo black, rosebud, danube blue, cottage ivy
    Accessories: ODBD Flourished Star Pattern die, Spellbinders A2 matting basics A &B, brads, baker’s twine, Copic markers

    Please be sure to visit all of the DT blogs for a lot more caffeinated inspiration!
    Lori * Julie * Sandee * Dawn * Patty *

     Angie * Wanda
     
    Thanks so much for stopping by! 

    Julie2 sig


  • Beach Umbrella

    Beach Umbrella cu 06076
    Today’s Sketch Challenge on Splitcoast (SC534) seemed perfect for an idea I had a couple of weeks ago to make a beach umbrella scene. Originally I was going to use bright, summer colors, but changed my mind & made it softer, sandy colors.

    Beach Umbrella 06074
    After I die cut the large sand background & smaller white one, I used a curved border die to cut off the bottom and replaced it w/ a piece of designer paper. I also added a little piece of a punched fence, a few pieces of die cut grass & a die cut border to cover the cut.

    The umbrella was die cut out a dusty pink & the toppers cut from more of the same collection of dp. I added the flip flops, clouds & a few crystals.  Here’s a peek at the simple inside using some leftovers. (It’s not really crooked, lol. It’s just a weird angle.)
    Beach Umbrella inside 06082
    Thanks so much for stopping by!
    Julie2 sig
     Supplies:

    Stamps: Our Daily Bread designs – Flip Flop Fun, Happy Birthday (from Little Boys set)
    Paper: white, textured sand & dusty pink (DCWV matstack), dp (ODBD Shabby Rose collection)
    Ink:  Memento tuxedo black, Distress Inks Victorian Velvet
    Accessories: ODBD Flourished Star PatternClouds & RaindropsUmbrellas, Flip Flops dies, Spellbinders A2 matting basics A & curved border dies, crystals, picket fence punch


  • ODBD April Release!

    Rain Showers cu 05995
    Weekly-Favorite
    Welcome to the Our Daily Bread designs April Release! We have some fabulous images & dies for you this month!

    Prize Information: – 

    Three randomly selected winners will each receive a $25 gift certificate to the ODBD Store, to be used toward the purchase of ODBD Stamps found in the “stamps column” of the website just for commenting on the Design Team cards!  You have until April 2, 2015 at 9:00 p.m. EDT to leave your comments on the Designers Blogs for a chance to win!  The Winners will be posted on the ODBD Blog on April 3rd, so be sure to check back there to see if you won!

    Rain Showers 05990
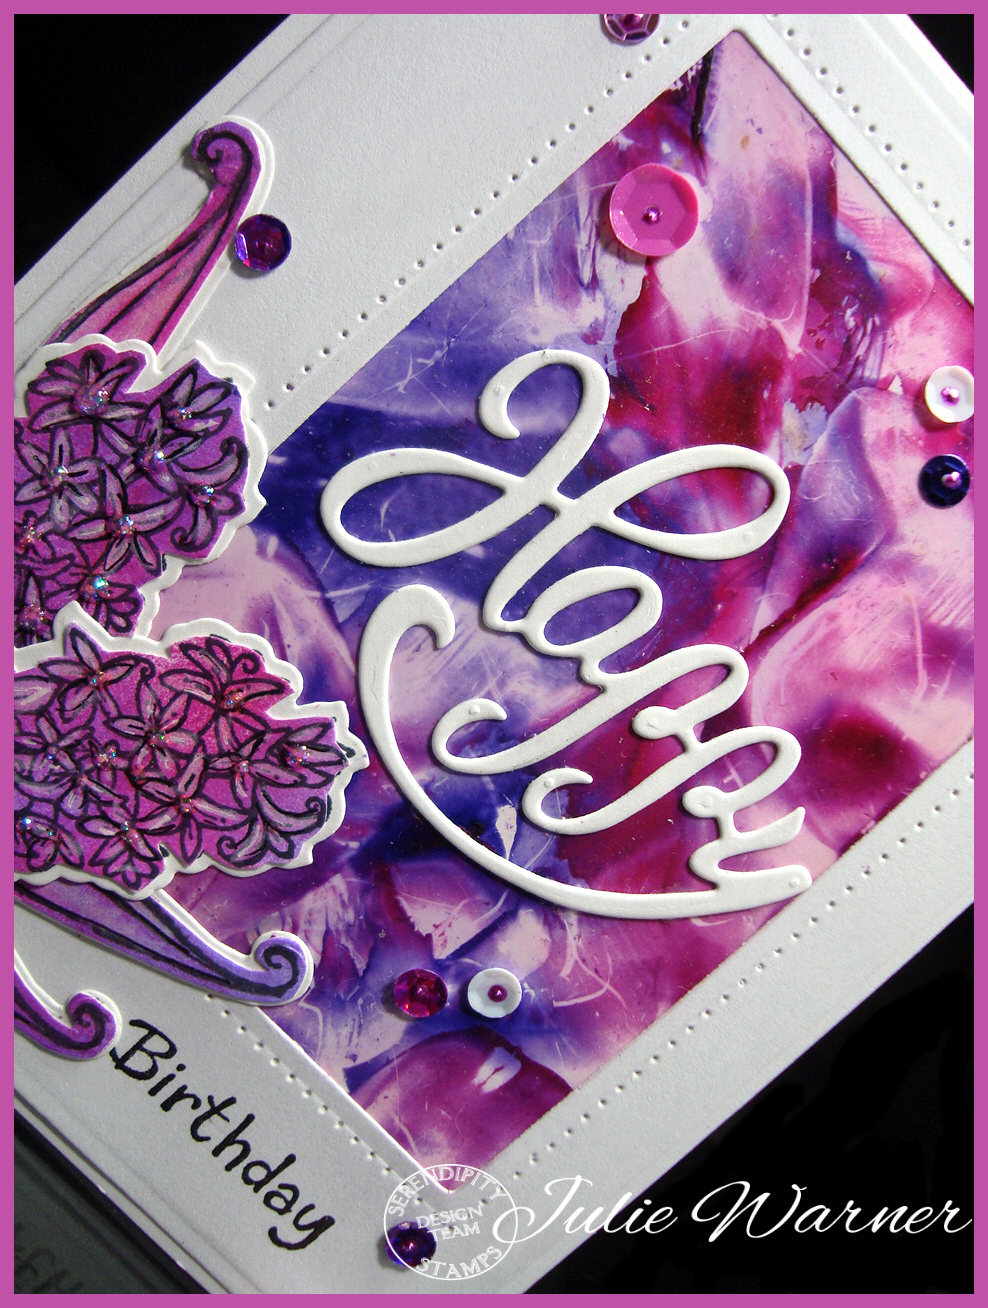
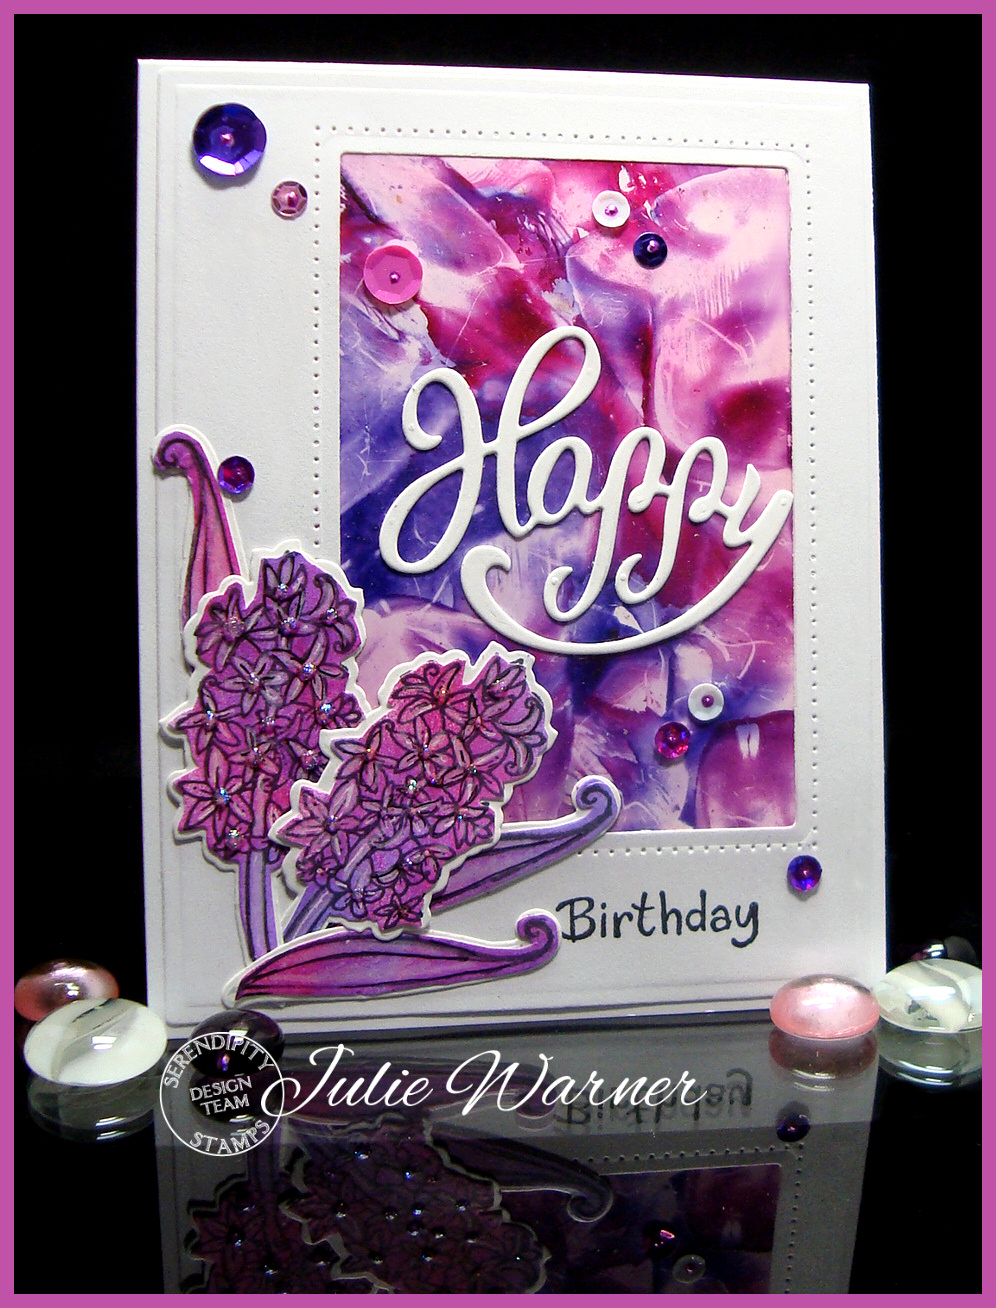
    For my first card, I made a background on water color paper using Distress Inks, a water spritzer & a teflon craft sheet. I smooshed one ink color onto the mat, spritzed,  then lightly pressed the paper to it. After drying the one color, I wiped off the mat and proceeded to the next color. I used 3 harmonious colors in all & the reason I did it one at a time & dried in between was to layer the colors and not have them all run together. I like the way the background reminds me of a rainy day, but with happier colors. I die cut it and used the outermost die from the Flourished Star Pattern die to cut the pierced layer behind it. The umbrella & umbrella topper were die cut from 4 colors of card stock & the Happy die was cut from 2 of the colors and stacked, offset. I used it to replace the Happy in the greeting & used a stamp positioner to rearrange the rest of the wording.

    The finished card is 4.25 x 5.50 & here’s a look at the inside:
    Rain Showers inside 05998

     Supplies:

    Stamps: Our Daily Bread designs – April Showers, Showers of Blessings
    Paper: white, water color, lt blue, cobalt blue, lt green, aqua
    Ink:  Memento tuxedo black, Distress Inks evergreen bough, tumbled glass, broken china
    Accessories: ODBD Flourished Star PatternHappy Birthday, Clouds & Raindrops, Umbrellas, Layered Lacey Squares diesSpellbinders A2 matting basics A&B dies, SAMJ, teflon craft sheet

    See the Stars cu 06004
    Weekly-Favorite
    My second card also started with water color paper, but this time I used actual water colors on it along w/ some metallic gold & white acrylic paints.
    See the Stars 06002
    When I saw this greeting in the How Great Thou Art set, I kept picturing a swirling galaxy of stars so that was the look I was trying to achieve. I wanted to splatter some masking fluid on the background first, but found mine had totally dried up. So I watered down a little white acrylic paint & splattered it first & after it dried I did several water color washes using different shades of blue. After drying it w/ my heat gun, I splattered a little more white & a little gold on top & used a small paint brush to add some swaths of gold here & there. I used a metallic brushed gold card stock to die cut the Vintage Flourish frame & also the stars. The greeting was heat embossed & die cut in a circle to add on top of the large star. Here’s a different view showing how shimmery it all looks w/ the gold highlights.
    See the Stars xcu06017
    And the inside of the card:
    See the Stars inside 06013
    Supplies:

    Stamps: Our Daily Bread designs – How Great Thou Art
    Paper: water color, metallic brushed gold
    Ink:  Versacolor midnight pigment ink, Memento blue danube (inside)
    Accessories: ODBD Vintage Flourish Pattern, Sparkling StarsLayered Lacey Squares (inside) dies, Spellbinders A2 matting basics A&B & circle dies, water colors, Cobalt Tapestry embossing powder, white & metallic gold acrylic paint

    Please be sure to visit & comment on all the DT blogs for your chance to win!

    Julie * Sandee * Cathy * Dawn * Lori *

     Angie * Chris * Grace *Silke * Wanda * 

     Thanks so much for stopping by!
    Julie2 sig