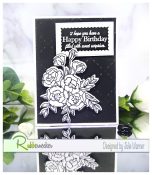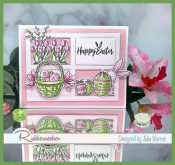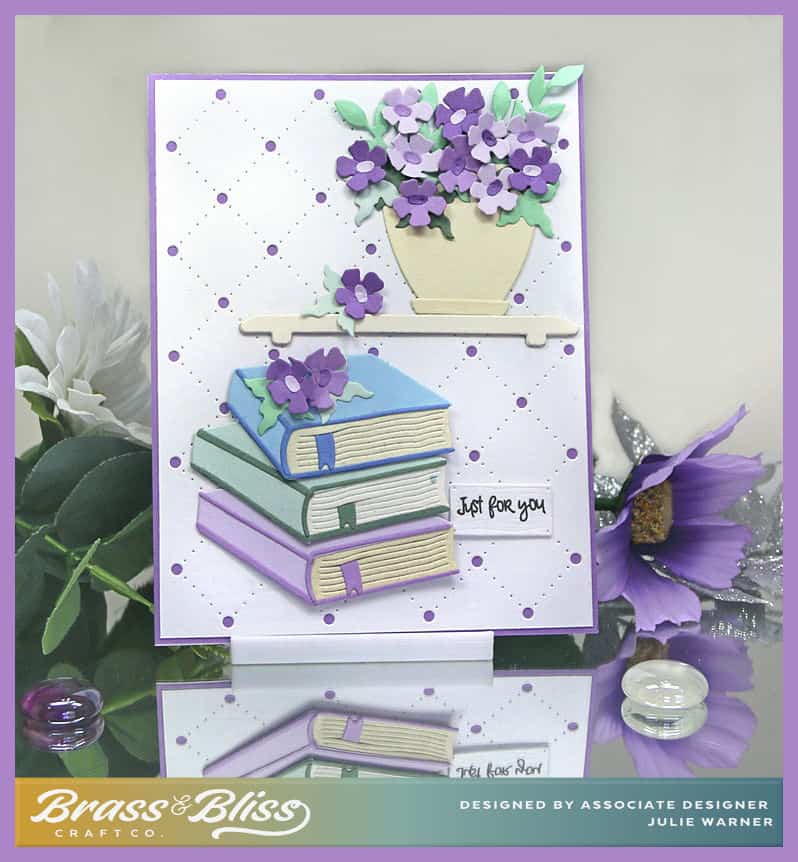

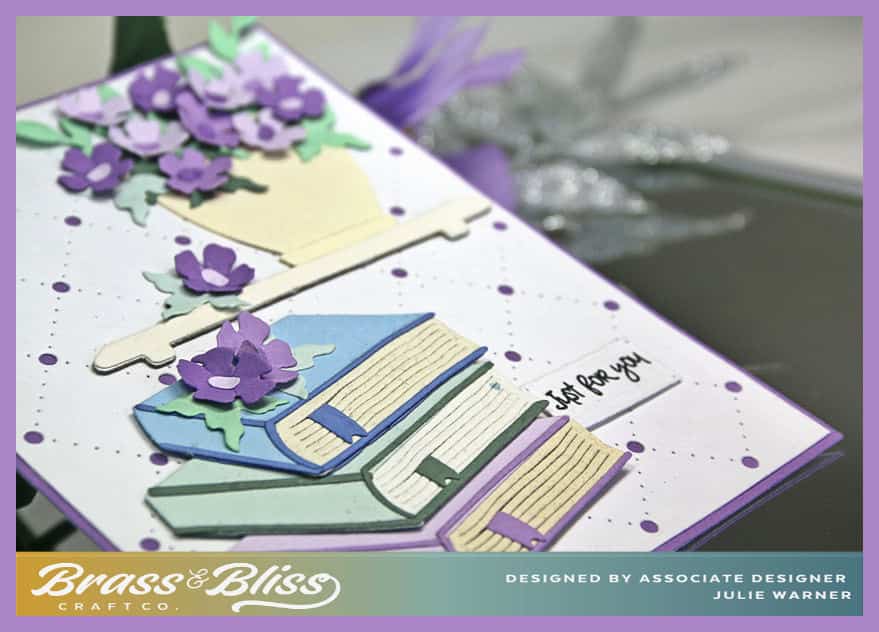
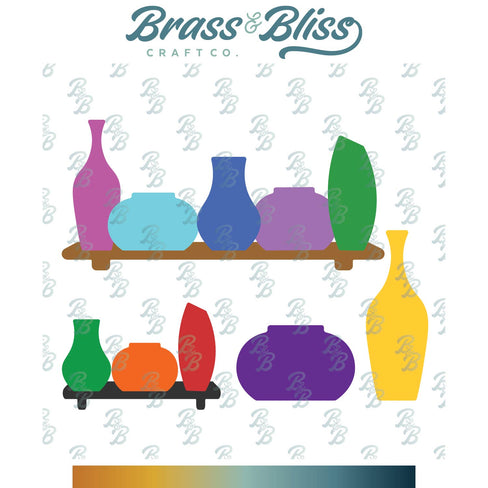
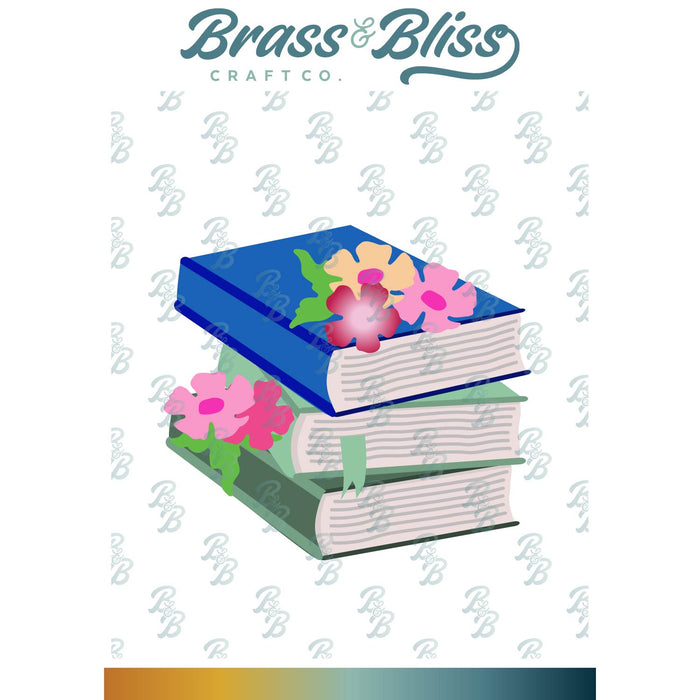
Are you a book lover or know someone who is? This could be the card for them. A stack of beautiful books under a shelf of flowers. All against a quilted cover background. The dies make it easy to customize the colors.
t’s my turn to host the Inspiration Challenge (IC961) and we are headed to A Cup of Needles & their Pinterest Board where I saw THIS lovely embroidery piece.
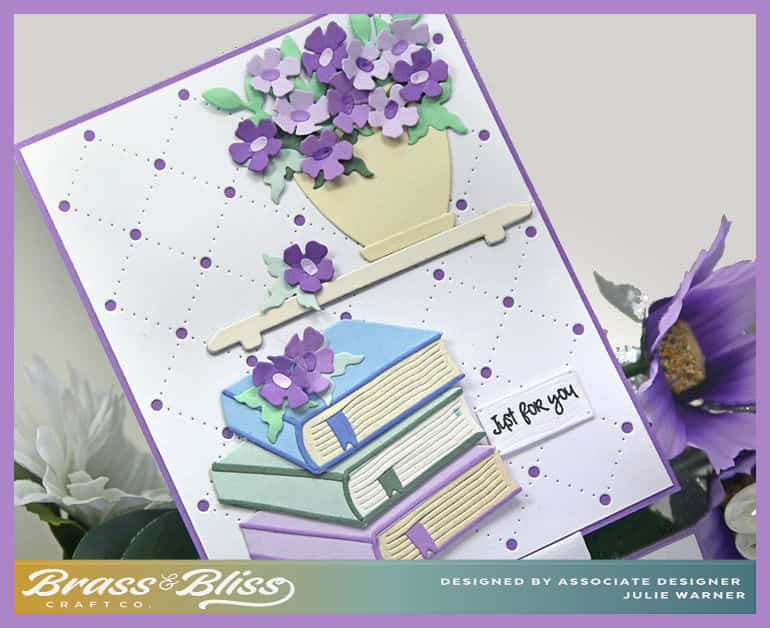
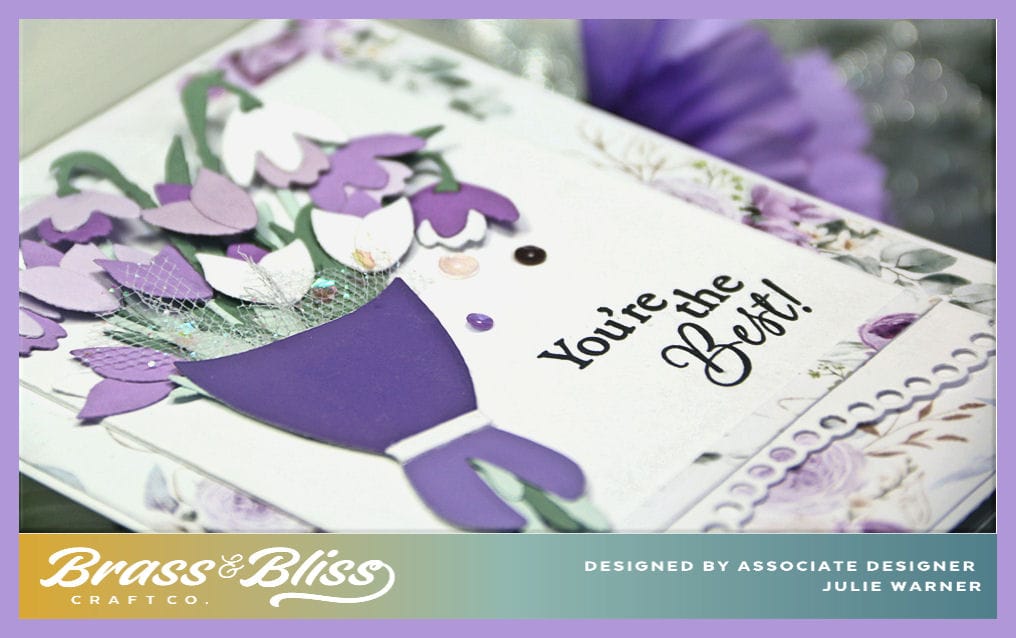
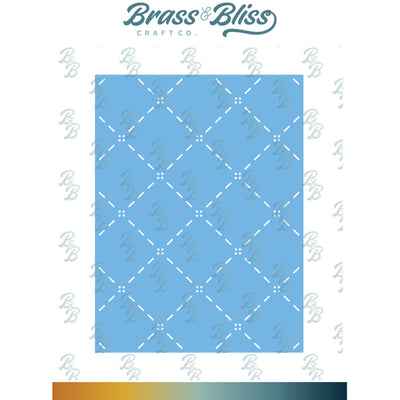
After die cutting the books out of several different colors, I put them all together. I used some of the same lavender & purple colors for the flowers. The vase & shelf were cut out of an ivory color. I wanted them to be a little different from the white background but not so much that they took over. The flowers and leaves were shaped a bit before i attached them. I love how the holes in the quilted background cover let a bit of the purple backing show through.The greeting was stamped onto a small wood plank, just the right size for it.
Thanks so much for stopping by!

Supplies:
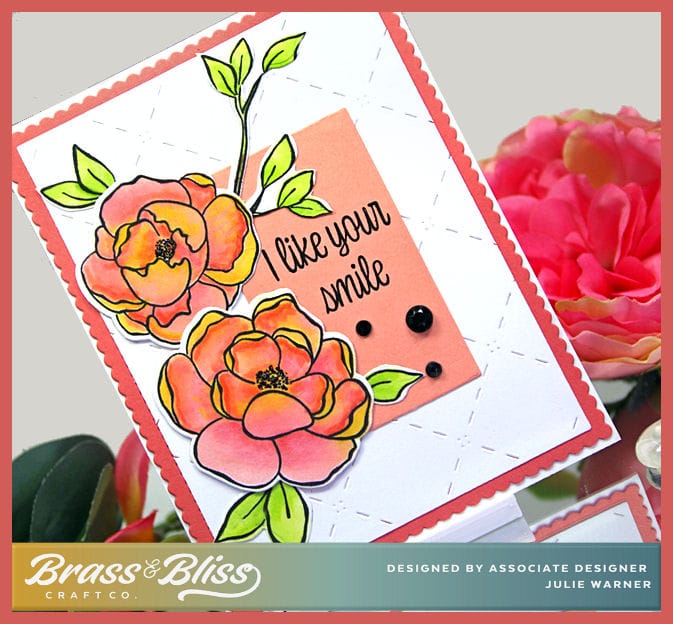
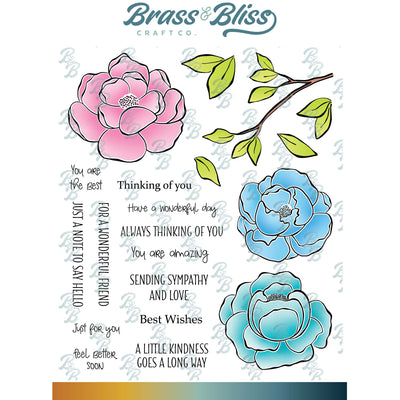
| Stamps: Brass & Bliss: Always Peony set (greeting) |
| Paper: Staples 110# white, lavender, purple, mint green, lt green, sage green, lt blue, dk blue, ivory, speckled ivory |
| Ink: VersaClair nocturne |
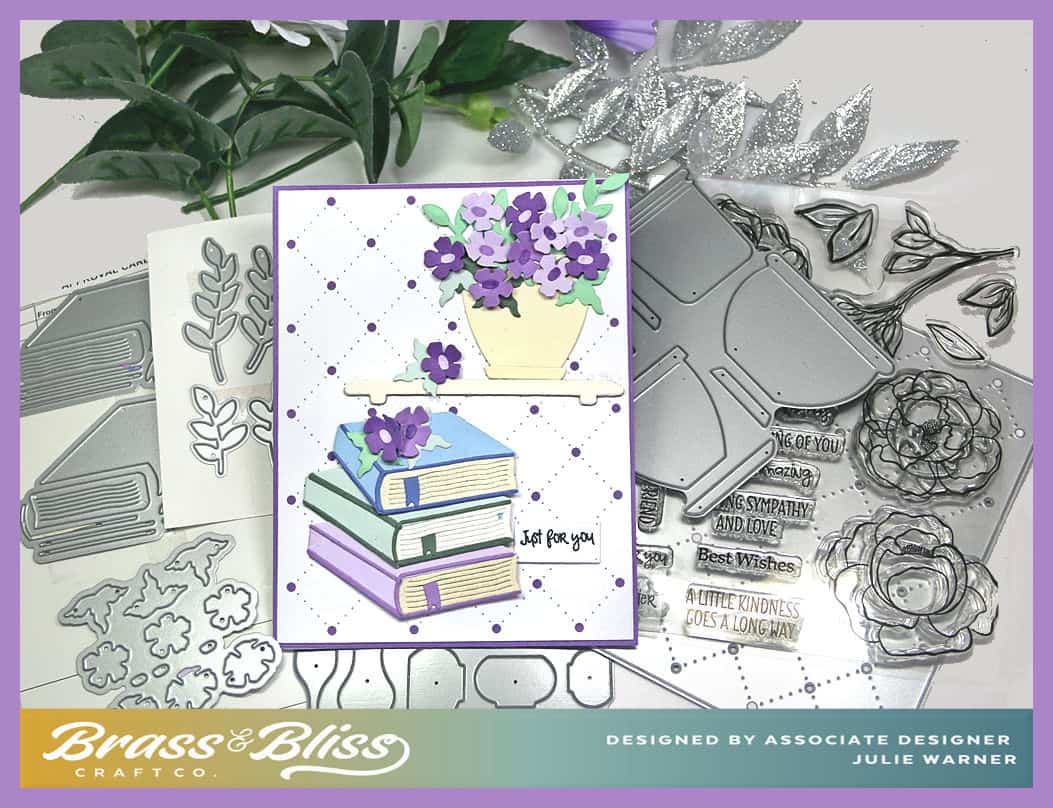
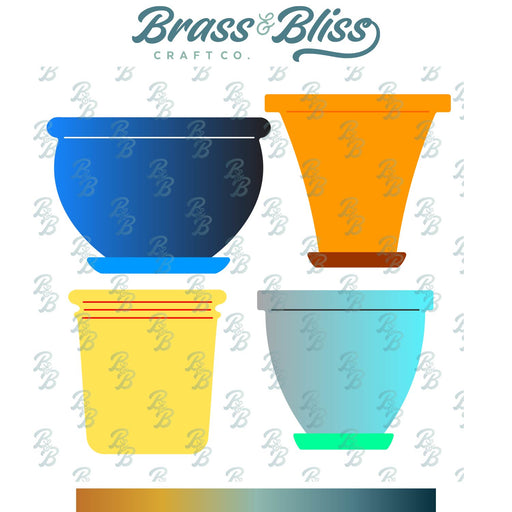
| Accessories: Brass & Bliss/Rubbernecker Stamps: Books & Flowers, Lg Garden Pots, Vases & Shelves, Wood Planks, Quilted Cover, Spring Greenery #4 dies, MISTI |
|
|

|
|
|
|
|

|
|

|

|

|

|

|
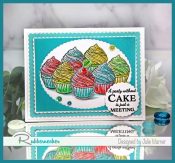
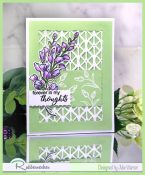
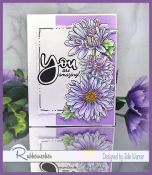
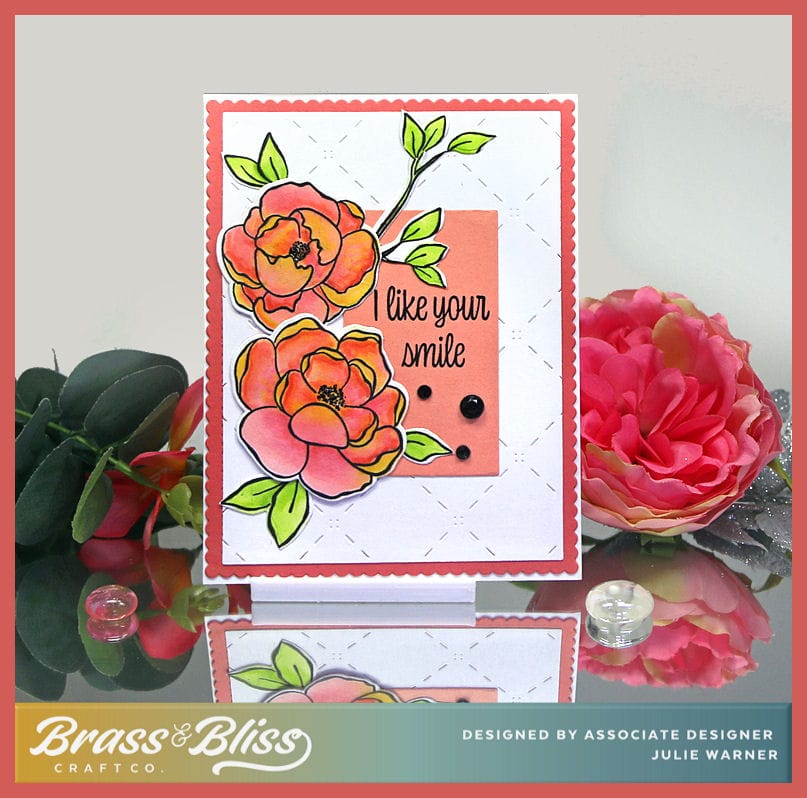
You might also like: