• Category Archives Masculine/Father’s Day
  • ODBD Feb Release Blog Hop!

    j

    Welcome to the Feb. release Blog Hop for Our Daily Bread designs! If you got here from Angella’s Blog, then you are in the right place! If not, you might want to start at the ODBD Blog and hop from there so you don’t miss anyone!

    Julie Warner - justwritedesigns - https://thewritestuff.justwritedesigns.com

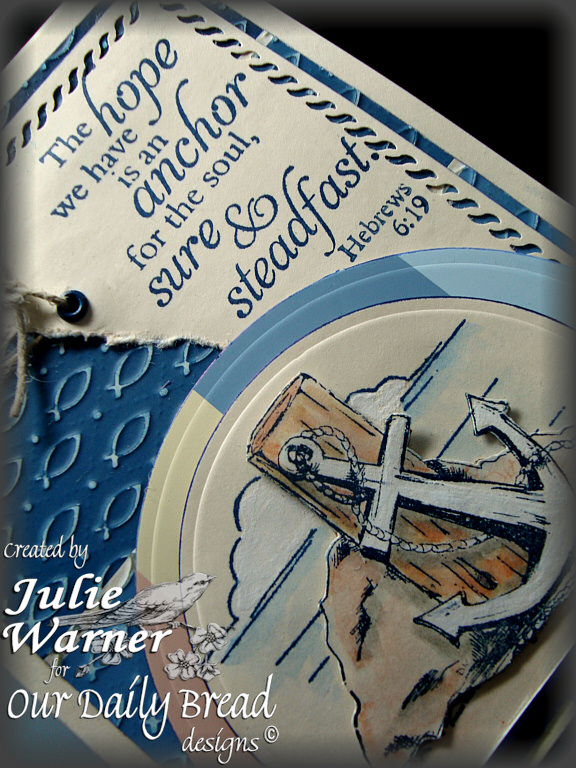
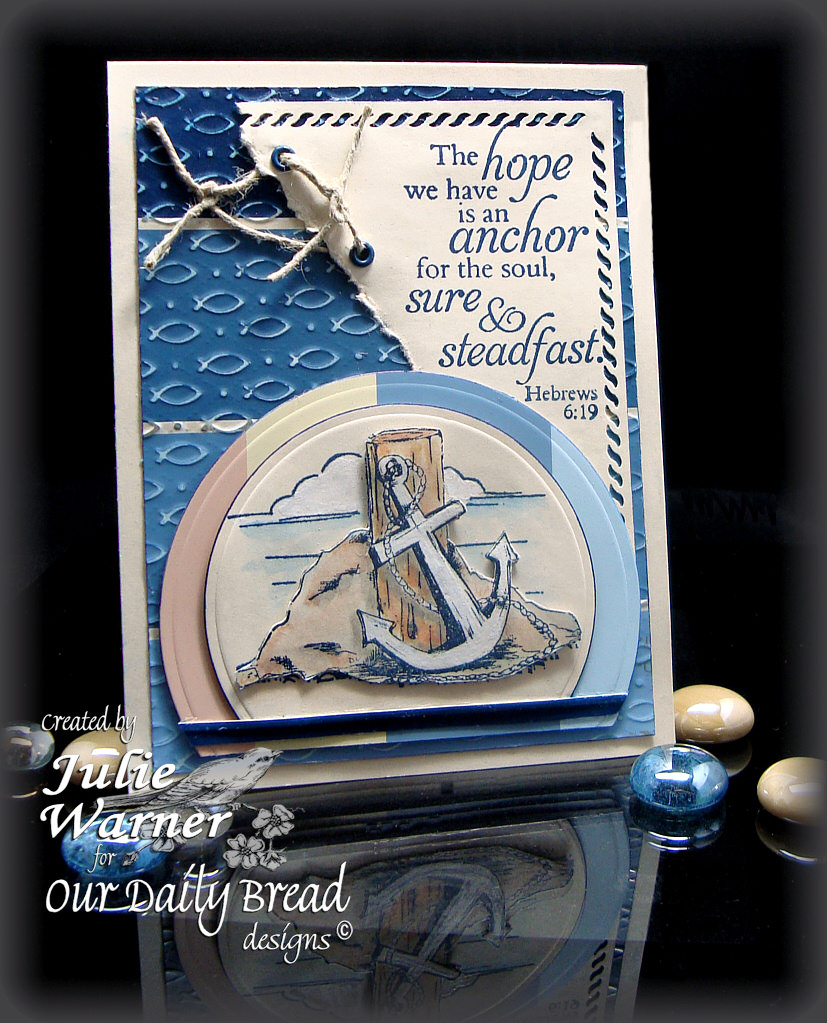
    For my card, I stamped the anchor twice on vanilla card stock and colored them with markers.  I painted on some bleach with a small acrylic paint brush on the anchor and clouds. I used a circle die to cut one out and sliced off the bottom edge. I die cut a larger circle out of a multi color paint chip and attached the image on top. After cutting out the other image, I attached it on top of the base image with a little foam tape to elevate it slightly.

    On the larger, shades of blue paint chip, I placed it back side down on the fish embossing plate and ran it through my Spellbinders Grand Calibur. With the die still in place, I used a sanding block over the raised fish on the right side.

    The sentiment panel was punched on two sides and torn down the left side. I attached two eyelets and tied some twine through them. The finished card measures 4.25 x 5.5.

    From here, hop on over to Dawn’s Blog and prepare to be amazed!

    Thanks so much for stopping by!


    Supplies:
    Stamps: ODBD – Anchor
    paper: vanilla, various paintchips
    ink: Ancient Page indigo
    accessories: ODBD fish embossing plate, Spellbinders circle dies, eyelets,  twine, Tombow markers, sanding block, small rope border punch (All Night Media), bleach, small acrylic paintbrush


  • Quick Desk Calendar

    Julie Warner - justwritedesigns https://thewritestuff.justwritedesigns.com/

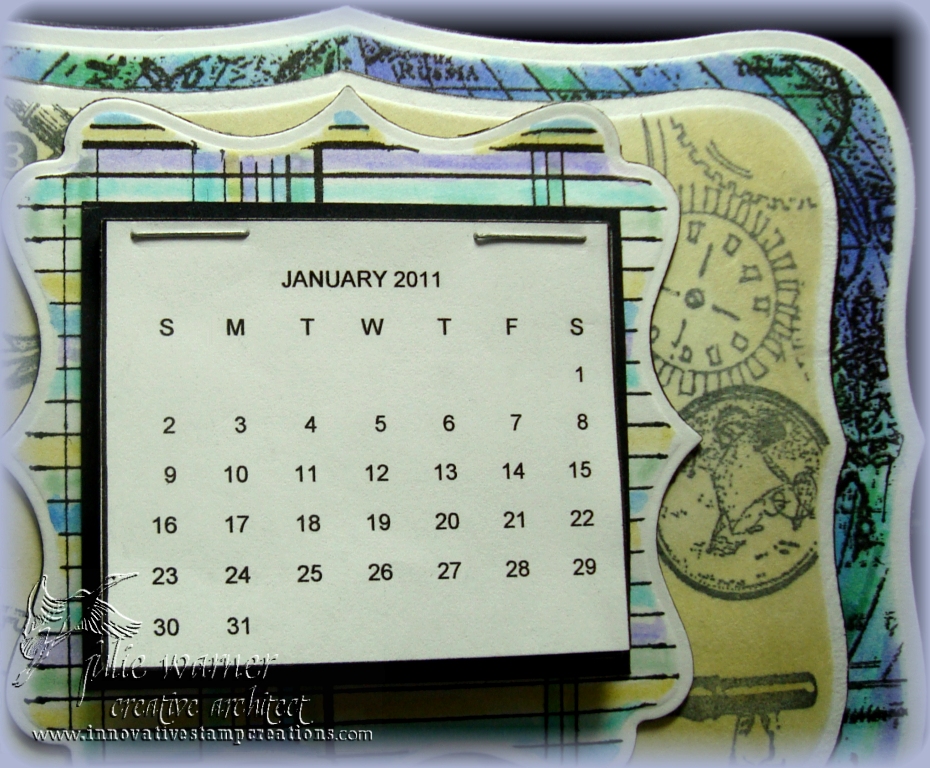
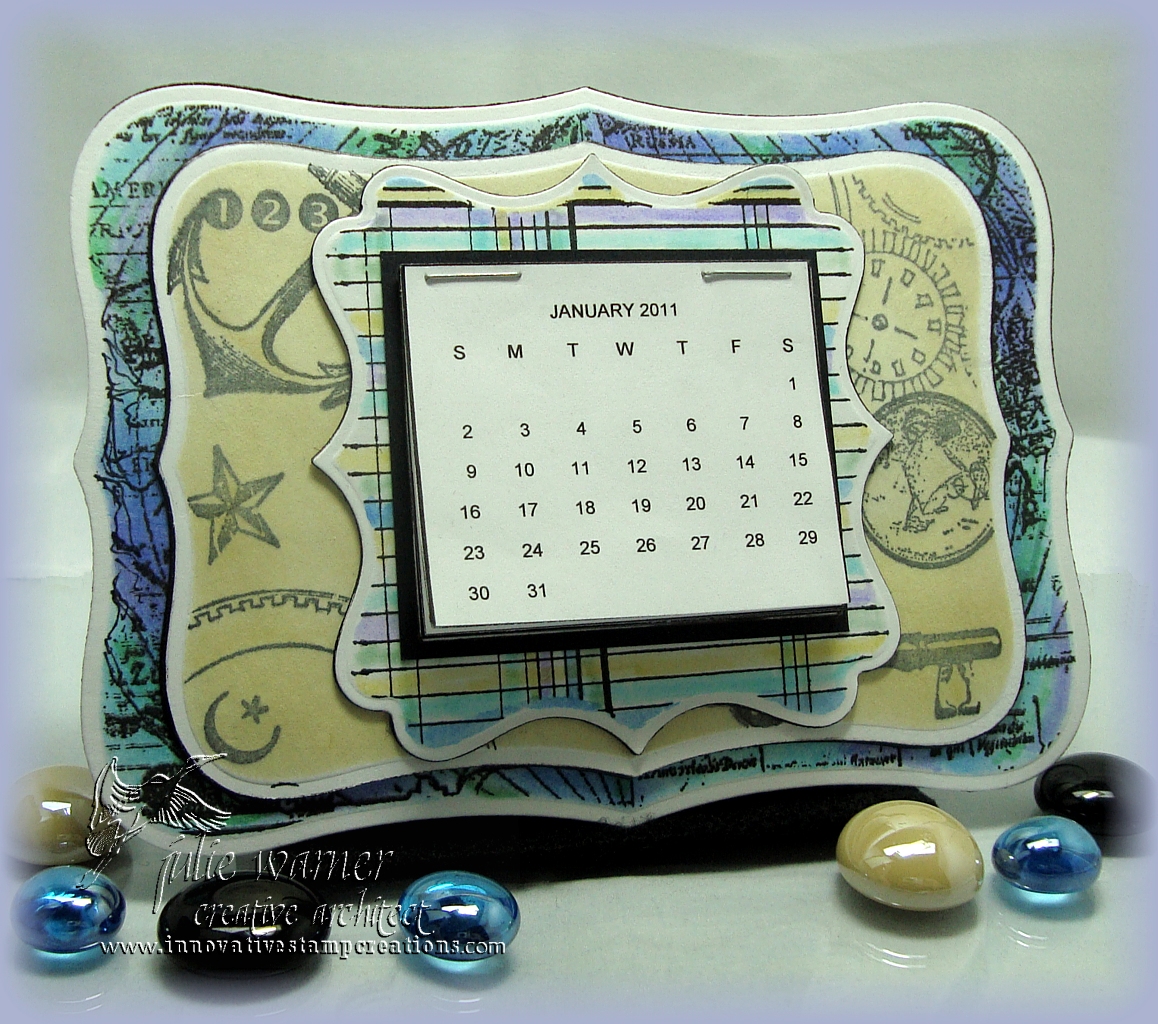
    The ISC Architects have some little mini calendar projects to show you today. Wouldn’t these make great little gifts for friends and co-workers?  To print the mini calendar, we used a free calendar print program from Red Castle. After I printed mine out on vanilla paper, I cut it apart and stapled the pages together.  I attached them to a piece of card board for support then to a slightly larger piece of black c/s. (Click any picture to enlarge.)

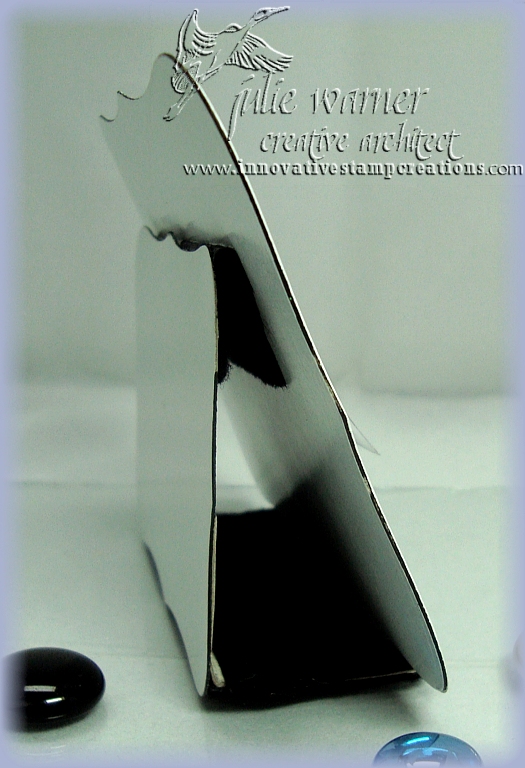
    Julie Warner - justwritedesigns https://thewritestuff.justwritedesigns.com/All images are Innovative Stamp Creations.  After cutting three layers, 2 of the labels 8 and 1 of labels 16, I left the dies in place while stamping various images from different sheets, I sponged on colors on the largest two and used markers on the smallest one. Each layer is backed by card board for stability. I then cut a smaller labels 8  out of white card board for my easel back and attached a smaller piece of card board covered with sticky back black felt. I also used the felt for the hinge because it’s more durable and flexible than card stock. The horizontal felt the calendar rests on will fold up flat between the easel and the calendar back for easy mailing. When opened, the calendar bottom rests on the felt which keeps it from sliding.

    Julie Warner - justwritedesigns https://thewritestuff.justwritedesigns.com/

    Thanks so much for stopping by!

    Supplies:
    stamps: ISC – Mini Ledger, Odd Findings,  Make a Note,  Destination, Time
    paper: vanilla paper, Neenah white, black
    ink: VersaFine Onyx, Kaleidacolor blue breeze, Memories soft vanilla
    accessories: Red Castle free calendar print program,  Spellbinders labels 8 & 16, card board, black sticky back felt, Tombow markers, staples

    SaveSave


  • View of the Lake FS183

    Julie Warner - justwritedesigns https://thewritestuff.justwritedesigns.com/

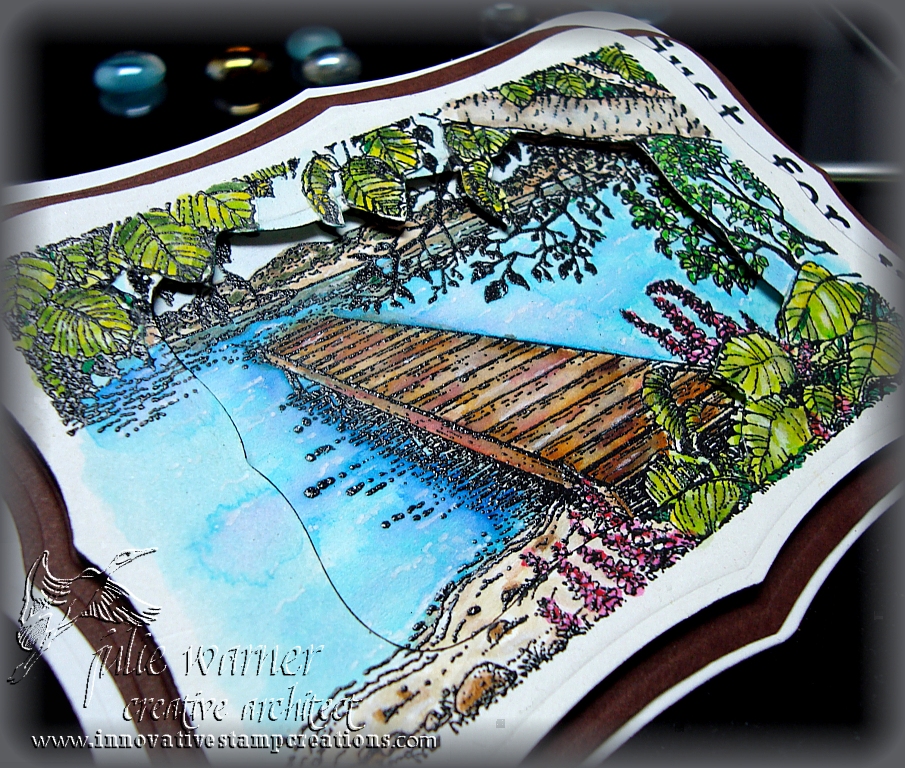
    Congrats to Vicki, today’s Featured Stamper at SCS! I chose her Beach Vacation to case. I kept the same colors and water scene theme but chose a different stamp set and different layout.

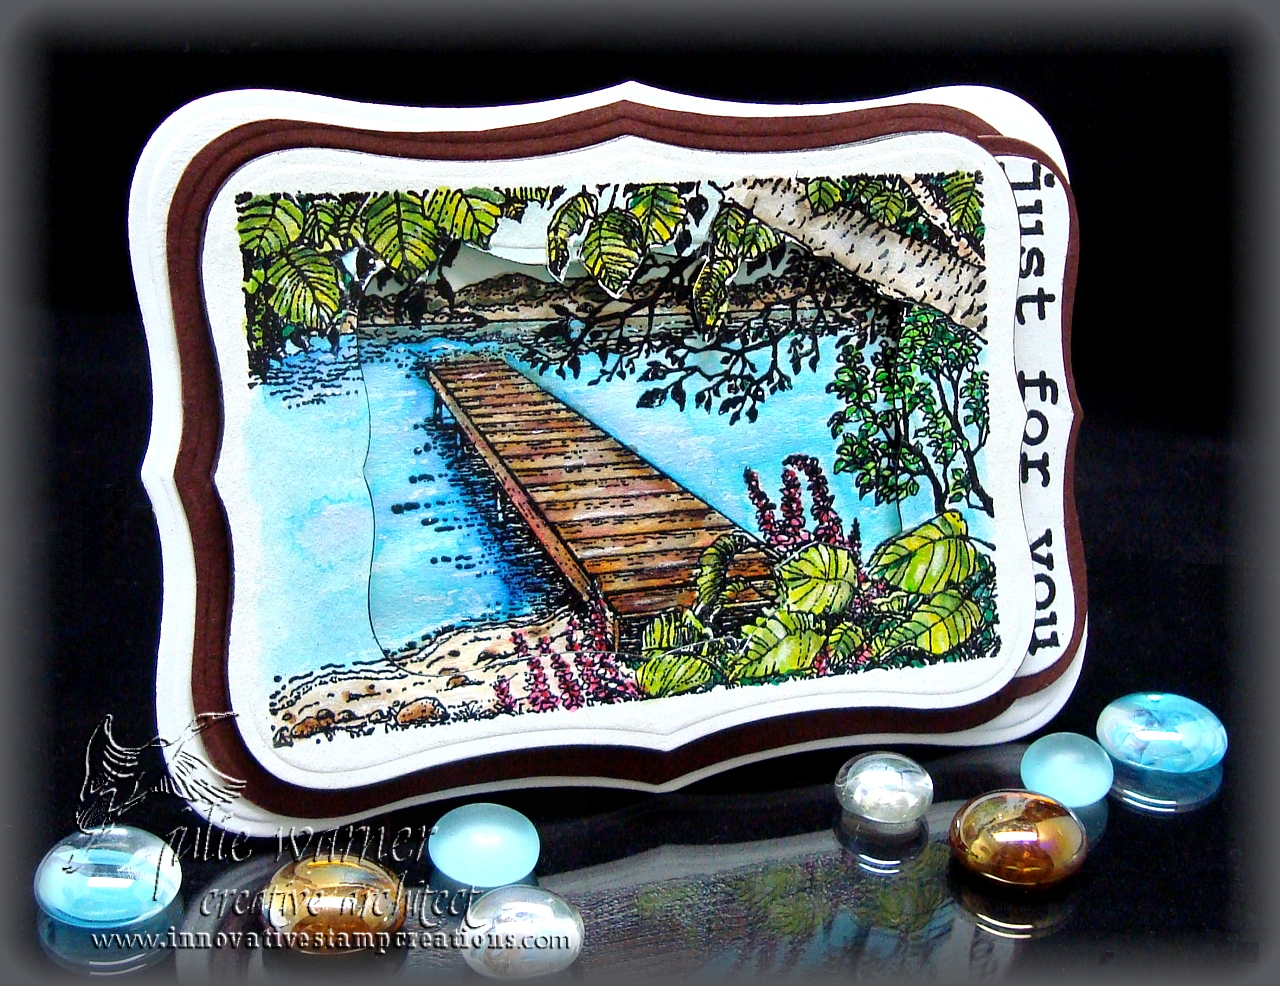
    I just love this beautiful lake view scene! The first idea that came to me was sort of a window/frame looking in to the center of the picture and this is pretty much as I pictured it. On water color paper, I black embossed the scene twice and used a paint brush, water and dye reinkers to paint both scenes. I added more color details with markers. I placed a template of  one of the Spellbinders Labels 8 in the center of one scene and traced it with a pencil. I determined which elements to cut around with a craft knife so they would be on the top frame. It was a bit of a challenge and took my out of the box Nestie technique to a new level, lol.

    Julie Warner - justwritedesigns https://thewritestuff.justwritedesigns.com/

    I cut the 5.5 x 4.25 white card with the largest of the Labels 8 dies and used the in between size to cut the brown mat. I used the end of the die to cut the embossed sentiment. (You can actually see the entire sentiment when viewed from straight on, but this angle cuts some of it off.)


    Thanks so much for stopping by! Your comments are always read and much appreciated.

    Julie2 sig


    Supplies:

    • stamps: Innovative Stamp Creations
    • paper: white, dk brown, water color
    • ink: VersaFine onyx, black pigment, , various dye reinkers
    • accessories:  black Permapaque marker, Spellbinders labels 8, black detail embossing powder,  Tombow markers