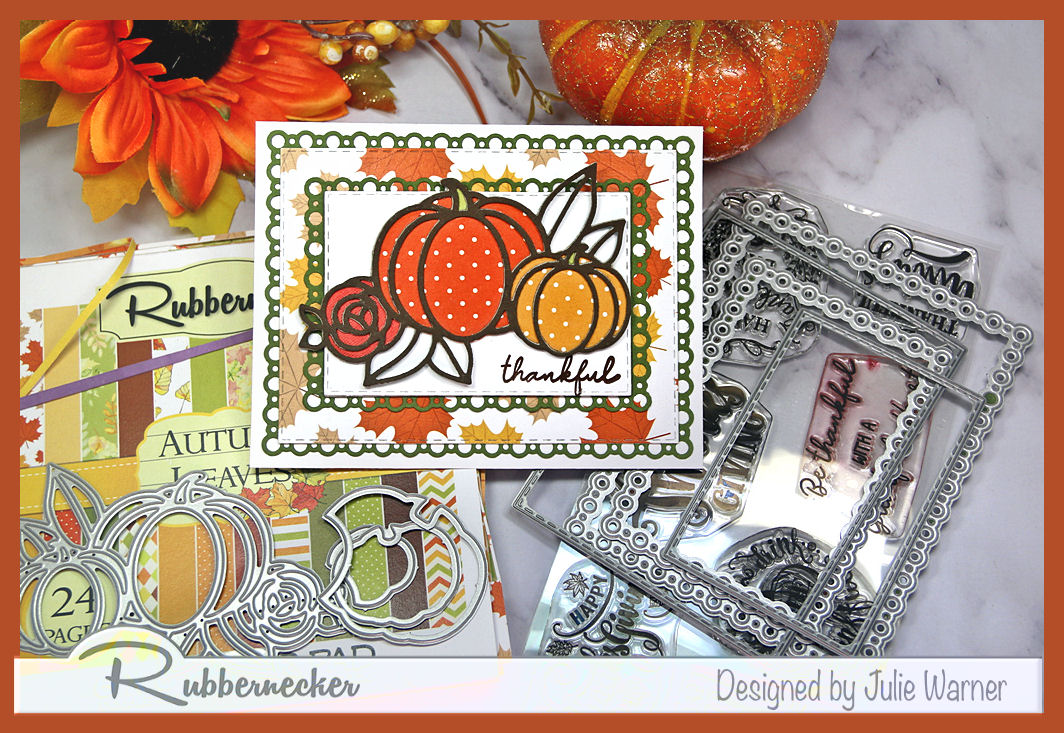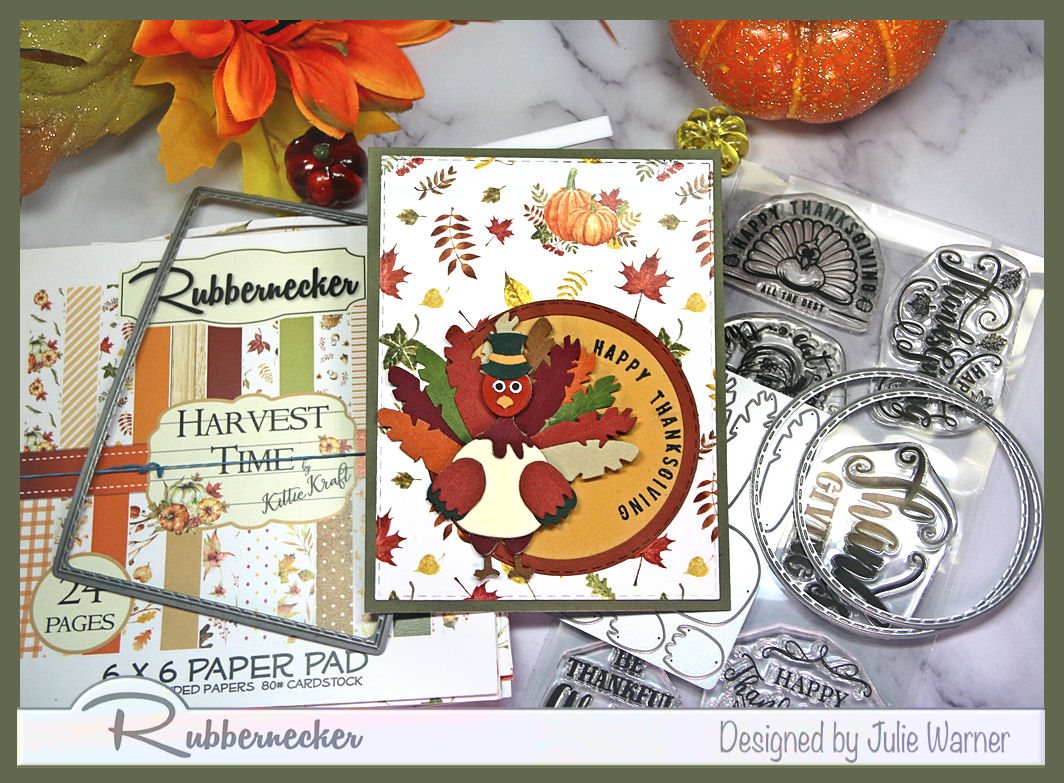
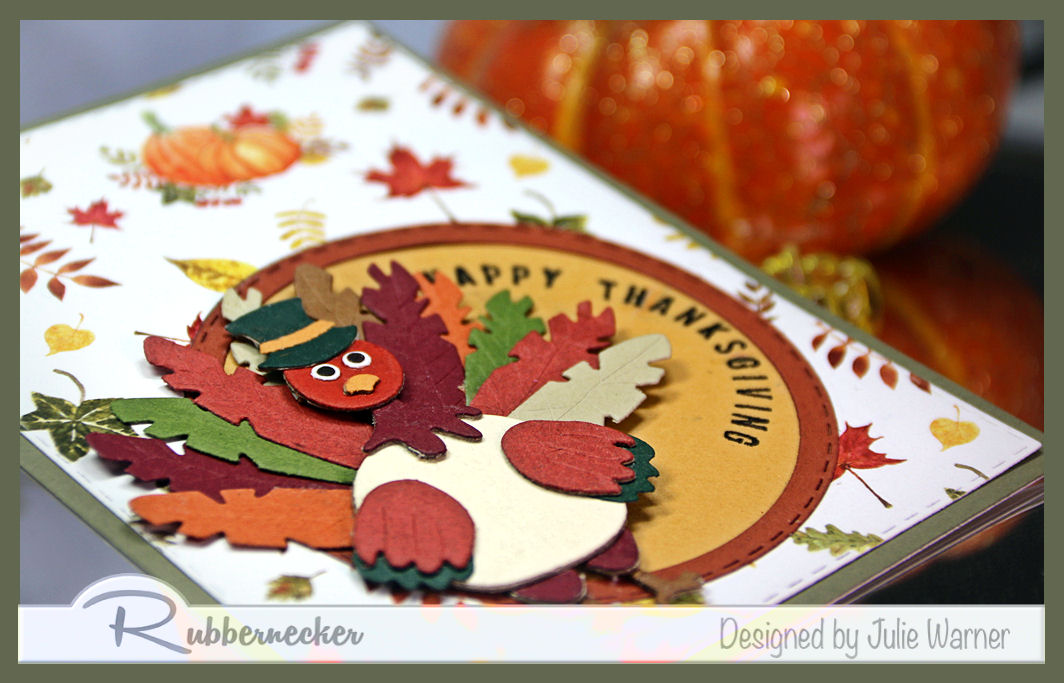
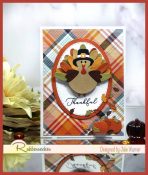
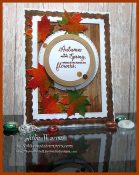
A Thanksgiving card featuring a new crazy turkey die. This turkey is so fun to make & I love being able to choose what colors I want for the individual feathers, Add a few or a bunch, like I die. Also a great way to use of scraps of different paper.
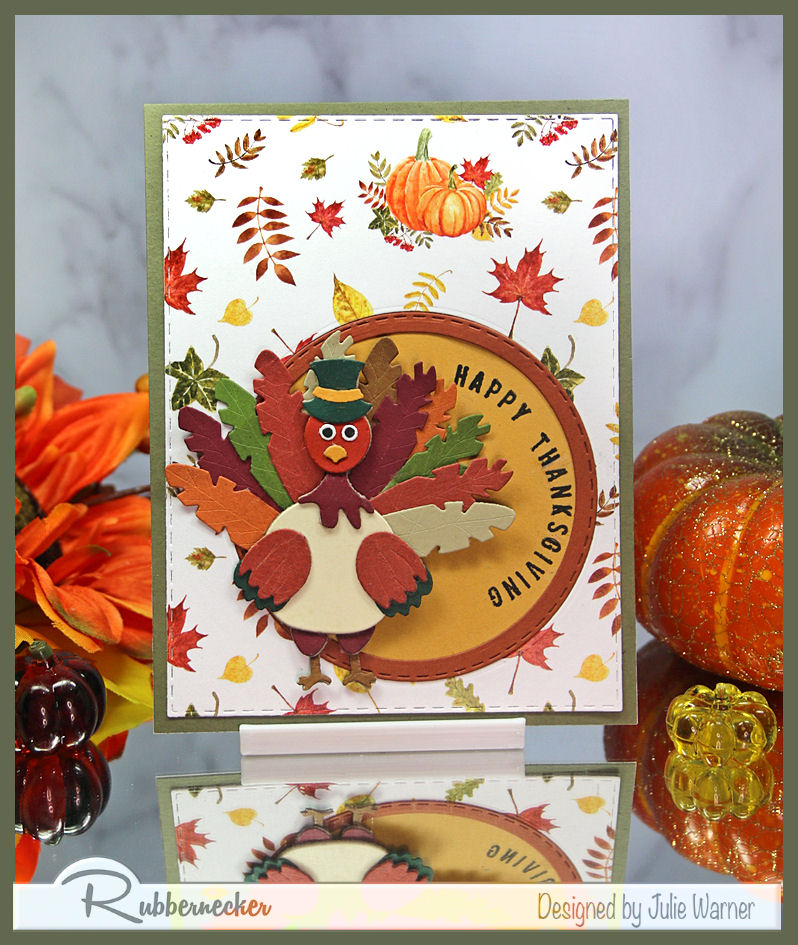
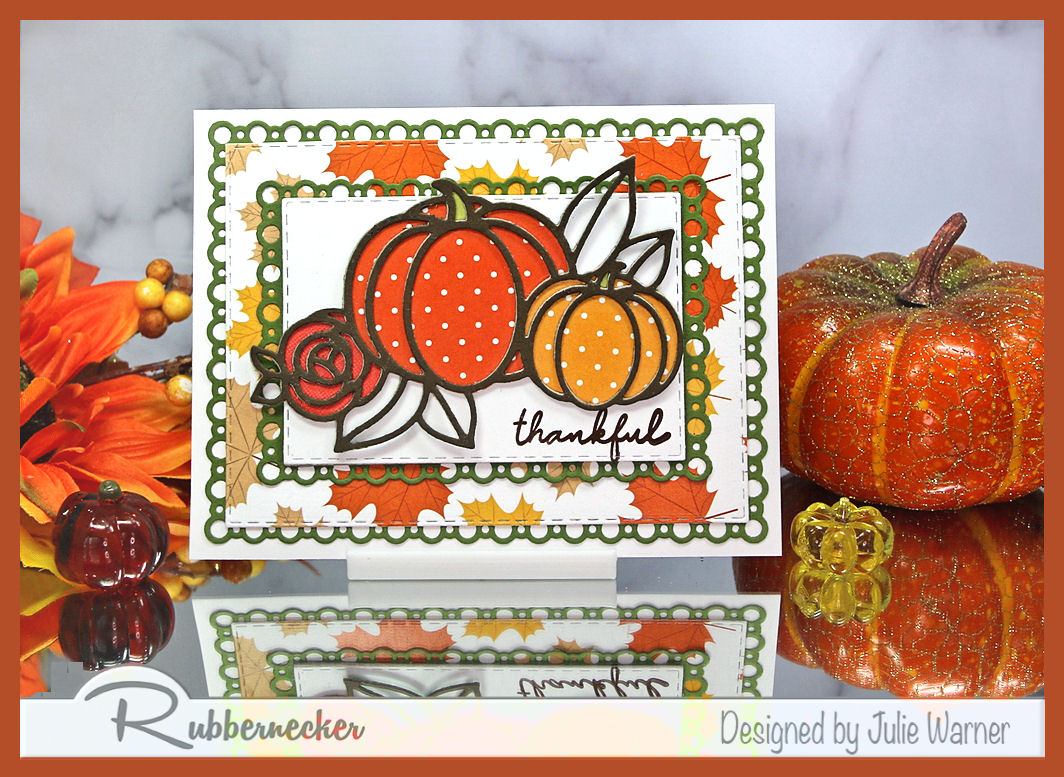
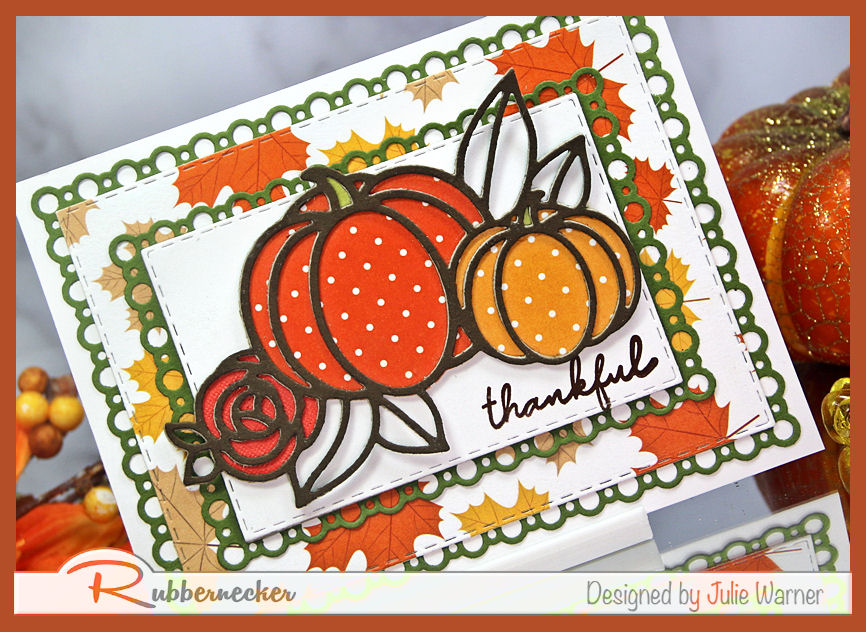
A big congrats to Anita, the newest Featured Stamper (FS873)! She has a wonderful gallery & I chose THIS card to case. I kept the layout & big circle element, but I used different dies, some designer paper, a turkey in place of the flowers, & made mine a Thanksgiving card.
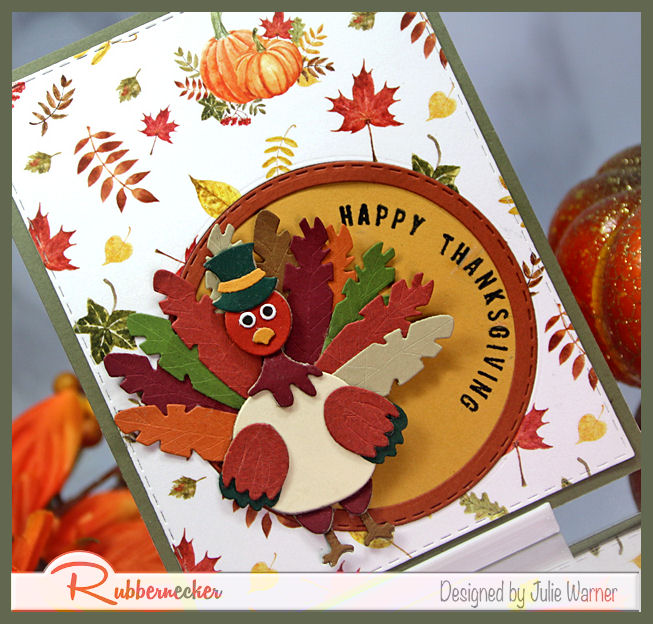
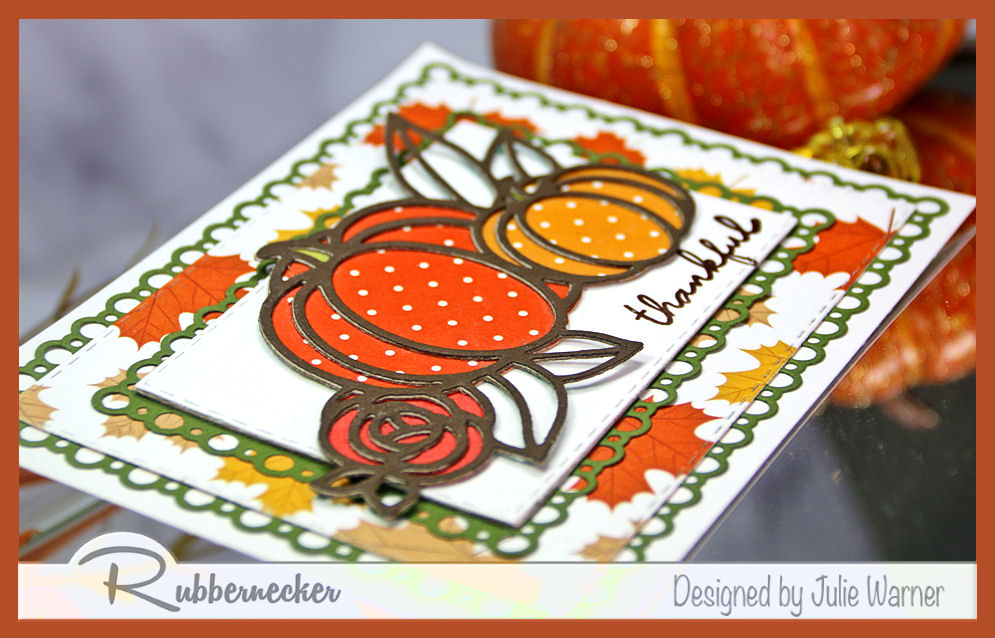
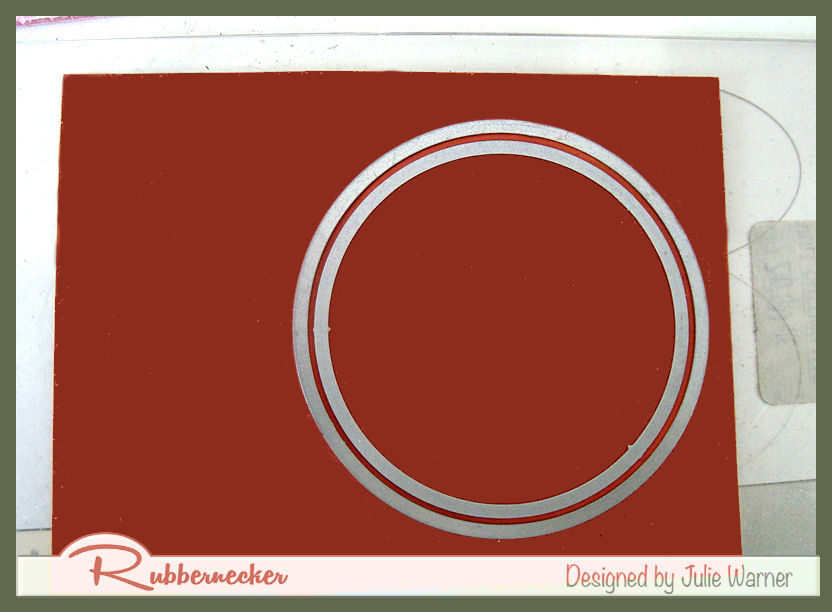
After die cutting all the turkey parts, I put them together, using die cut pieces of card board to elevate the turkey body, heat & feet & also to give them some stability. I cut a bunch of colors of the feathers & ended up using all of them. I like a turkey w/ a full tail. For the background, I die cut the designer paper, then die cut a circle into it & placed a harvest gold circle behind it, before attaching them to a piece of olive green. The partial greeting was stamped onto the gold circle & I used 2 circle stitch dies to cut the rust colored circle frame (see pic below).
Thanks so much for stopping by!
![]()
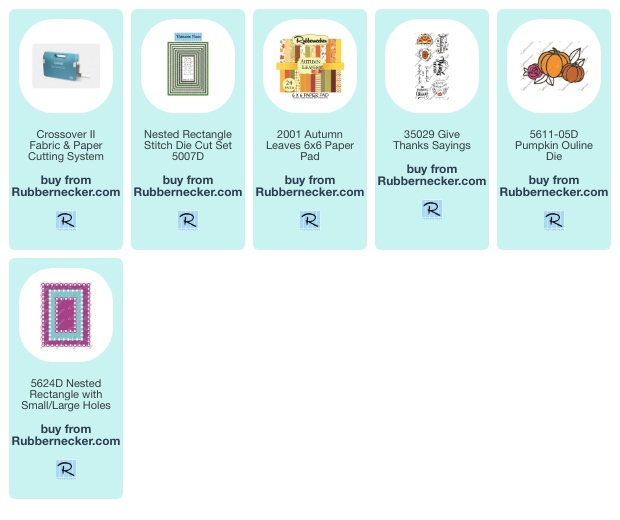
Supplies:
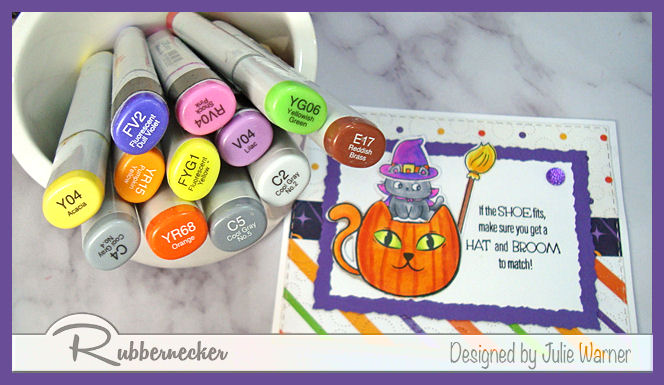
| Stamps: Rubbernecker Stamps: Give Thanks Sayings |
| Paper: Staples 110# white, scraps of rust, gold, tan, dk brown, ivory, lt brown, dk orange, olive green, pine green, maroon, dp (Rubbernecker Stamps: Harvest Time paper pad) |
| Ink: Versaclair nocturne |
| Accessories: Rubbernecker Stamps: Stitched Rectangles, Stitched Circles, Crazy Turkey, dies, Crossover II, Misti |

|

|

|

|
You might also like:
![]()