• Tag Archives masking
  • ISC August Release Day 4

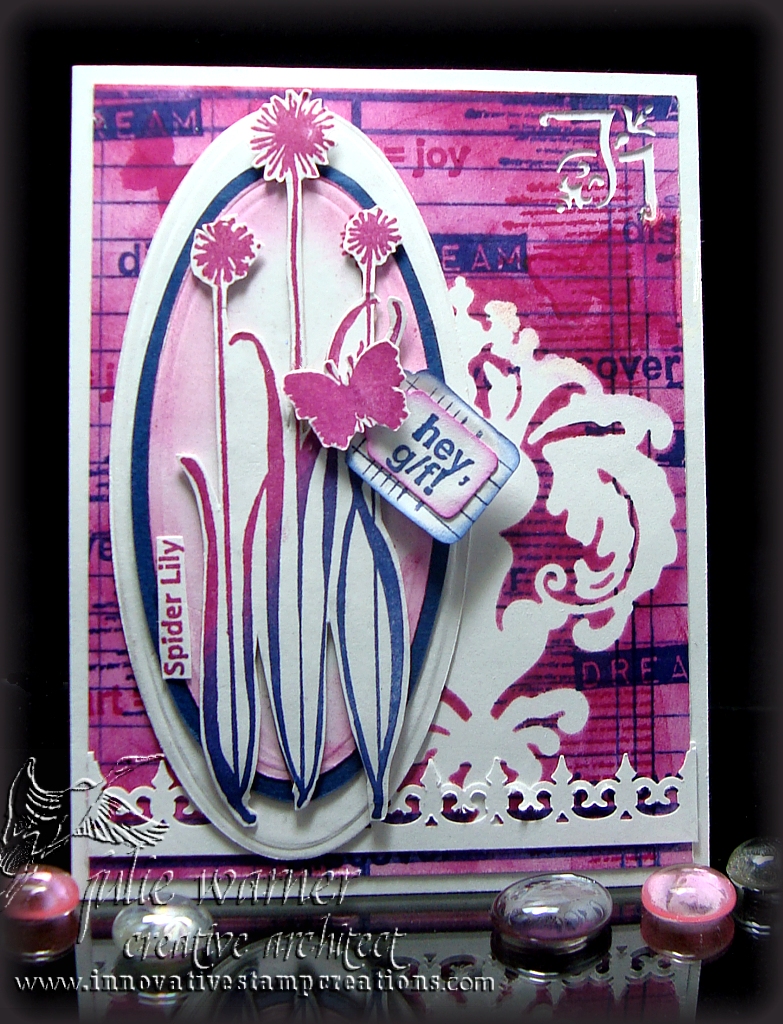
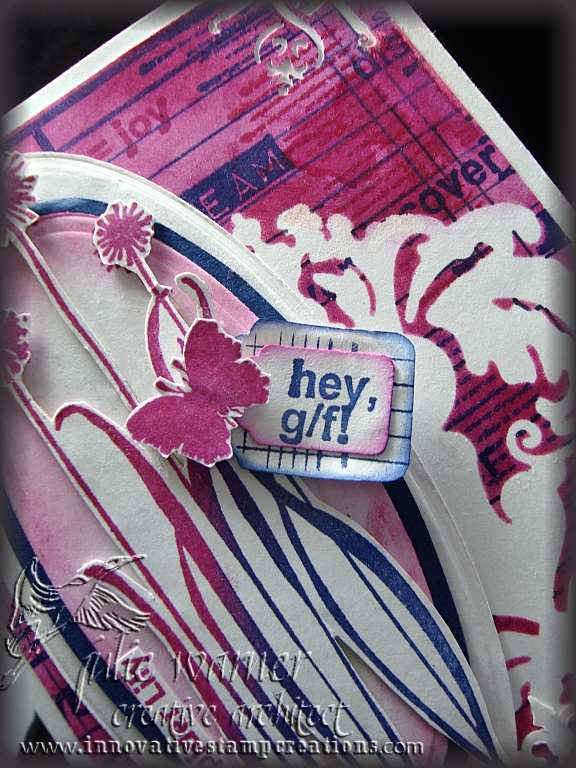
    Today, on our final day of August releases from Innovative Stamp Creations, I have two cards made with two of the sets released this week.  The first one is from  Nature Silhouettes  III.

    Julie Warner - justwritedesigns https://thewritestuff.justwritedesigns.com/

    For this card, I inked the spider lily with lapis and azalea inks, stamped it twice,  cut one out and die cut the other with a mega oval die.  After sponging a little ink around the edges, I attached the cut out lily on top of the base image. I traced this same die on navy paper and cut it out by hand in order to get the narrow mat. The white mat is the next largest oval die.

    For the background, I placed a large flourish mask on my white card stock, stamped the ledger and several word images, then sponged on azalea ink. I stamped a few of the small butterflies and used one as mask. I placed this one in a couple of areas on the background, then sponged more ink over it. I added a corner punch and a white punched fence. The sentiment was punched with a multi size tag punch. Card measures 4.25 x 5.5 (A2).

    Supplies:
    stamps: ISC – Nature Silhouettes III
    paper: Neenah white, navy
    ink: Ancient Page azalea, lapis
    accessories: corner punch (All Night Media), multi tag punch (McGill), flourish mask (Heidi Swapp), Spellbinders mega oval dies, Martha Stewart iron gate border punch

    Julie Warner - justwritedesigns https://thewritestuff.justwritedesigns.com/

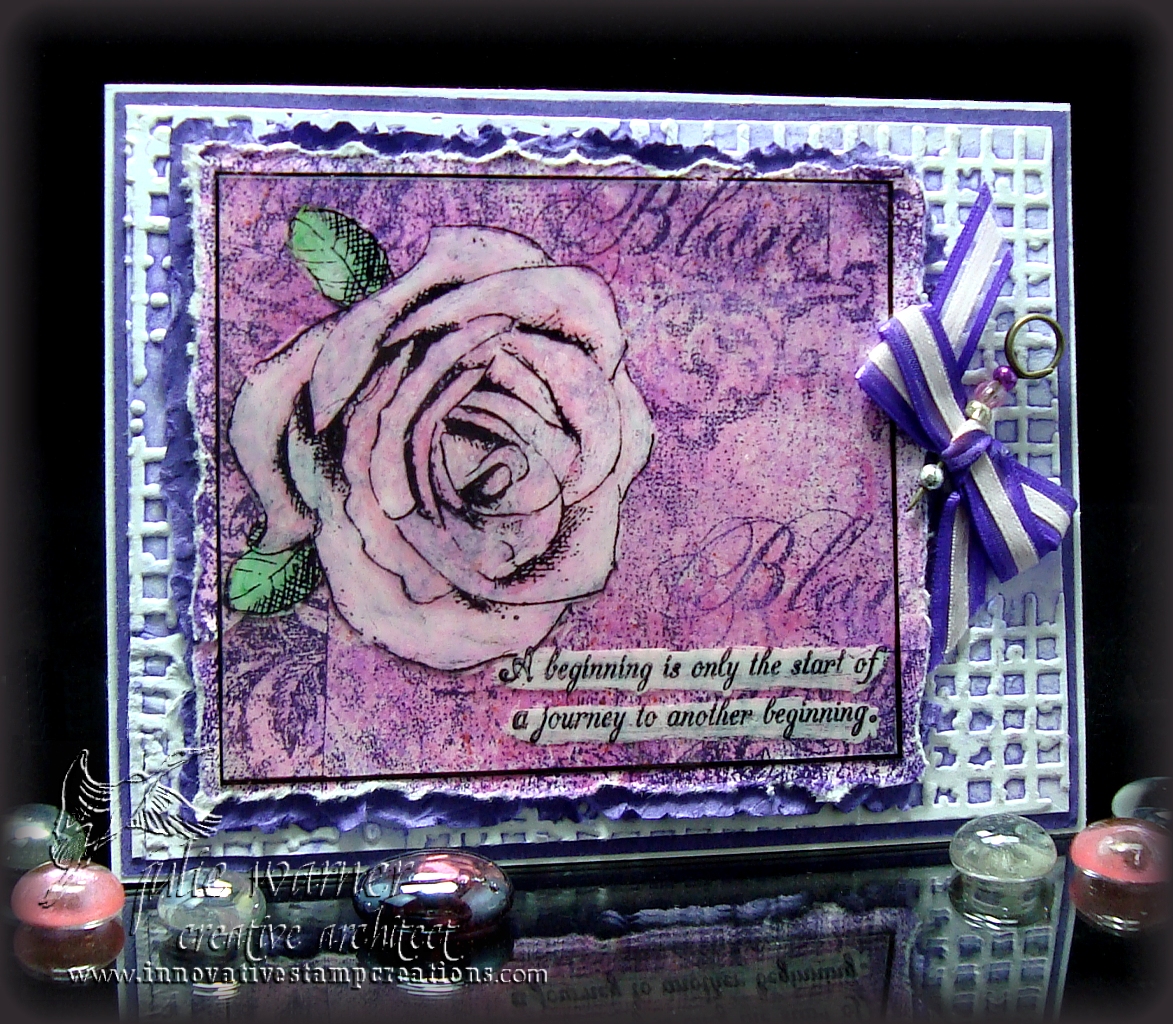
    And this final card uses images from Sketch of Roses II.

    Julie Warner - justwritedesigns https://thewritestuff.justwritedesigns.com/

    My final card I started by stamping the large background with a dk plum ink onto watercolor paper.  I used various pink dye inks direct to paper (DTP) then misted it with water and distressed the edges. The rose image and greeting were stamped with Stazon onto a piece of acetate. On the back side, I used a white China marker to make the images stand out. I added a hint of color to the rose and leaves with markers (on top of the white China marker). It’s attached to a heavily distressed piece of purple card stock. I created the embossed background by inking the the grid embossing folder, misting a piece of white card stock, then placing it in the folder and embossing.  A bow was added and I glued a few beads onto a stick pin and attached it to the bow.  Card measures 5.5 x 4.25 (A2).

    Supplies:
    stamps: ISC Sketch of Roses II
    paper: white, purple, water color, acetate
    ink: Printworks (various pinks & purples), Stazon black
    accessories: white China marker, green & pink Galaxy markers, beads, ribbon, stick pin, grid embossing folder (Sizzix/Tim Holtz)

    Thanks so much for stopping by and I hope you’ve enjoyed all the new ISC releases! Please be sure to stop by all of the Architect’s blogs for more inspiring art!

    1. Kathy Tucker
    2. Joanne Grzelak
    3. Julie Warner (you are here!)
    4. Karen Dunbrook
    5. Judi Rose
    6. ISC Blog


    SaveSave


  • April ISC Day 2


    Weekly-Favorite

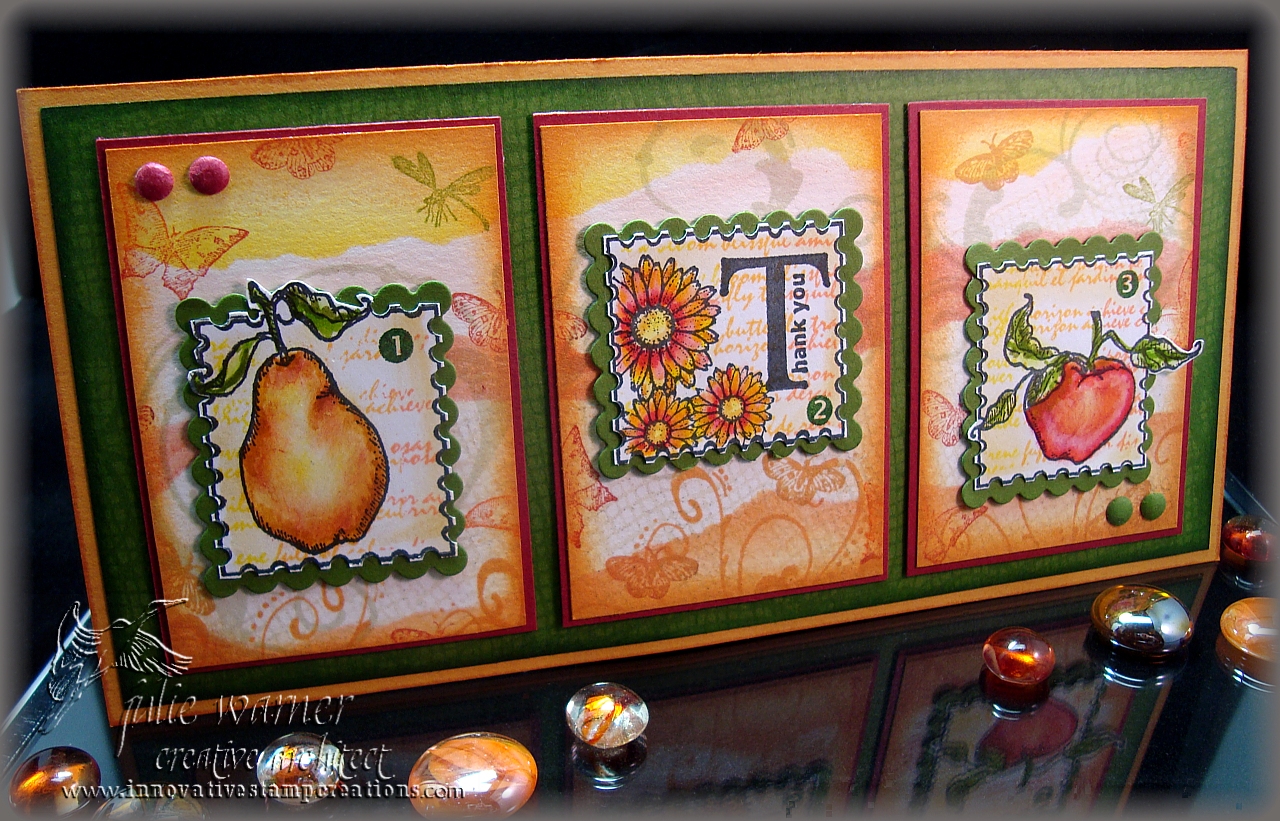
    On Day Two of the ISC Artistic Projects, we were challenged to make a card using 3 ATC’s in a connected series. I chose to use the fruits and flowers along with the postage stamp outline. To begin, I temporarily attached all 3 ATC’s side by side to a piece of paper. After stamping and masking the images, I stamped a script using one end of a Kpad. I colored the images using markers and a blender. To cut them out, I first cut a straight line very close to the wavy edge then used an 1/8 inch hole punch to make the cut outs along the edge. They’re attached to a green layer I cut using a Spellbinders scallop edge square. I used my Nestie Resizing technique to stretch the die to fit my image.

    For the background of the ATC’s, I stamped various butterfly, netting and swirl images then masked areas and sponged on bands of color. They’re attached to slightly larger layers of red then to a green layer that was stamped tone on tone using some of the same images. It’s attached to a  6.75 x 4.25 gold ochre card. A little bit of an old size, but it will fit inside a #10 business envelope. I used a 1/4 inch punch and a stylus to create some red and green faux brads and attached them in opposite corners.

    If you’d like a chance to win an ISC sheet of images, be sure to leave a comment. You don’t have to leave a comment on every blog, every day, but doing so could increase your chances of winning. You can also leave a comment on the ISC blog, if you like. Two winners will be chosen from the comments received over the next 3 days to pick an ISC sheet of their choice.

    I hope you enjoy all the ISC team’s projects. Be sure to come back tomorrow for more ideas and inspiration.

    Thanks for stopping  by! Your comments are always read and much appreciated!


    Julie2 sig
    Supplies: stamps: ISC- for the apple and pear: Fruitful, for the script, the numbers, the postage stamp frame and little butterfly: Odd Findings, for the greeting: Nature Silhouettes I,  for the netting bg: Background Series Netting, for the little flowers and other butterflies: Make a Note
    paper: white, red, green, gold ochre
    ink: Ancient Page coal, sunburst,  lemon peel, leaf green,  Memories soft leaf, Kaleidacolor pad Melon Melody
    accessories: 1/4 and 1/8 inch hole punches, Spellbinders square scallop set, markers and blender


    SaveSave

    SaveSave