• Tag Archives blog hop
  • ODBD August Release Blog Hop!

    Julie Warner - justwritedesigns https://thewritestuff.justwritedesigns.com/

    Welcome to the Our Daily Bread designs August Release Blog Hop!

    If you arrived here from the blog of the lovely, talented Sandee, you are in the right place. If not, you should start at the ODBD Blog (link) so you don’t miss anyone, and don’t miss a chance to win! If any of the links are broken along the way, you can always pop back to that post for the complete list of links.

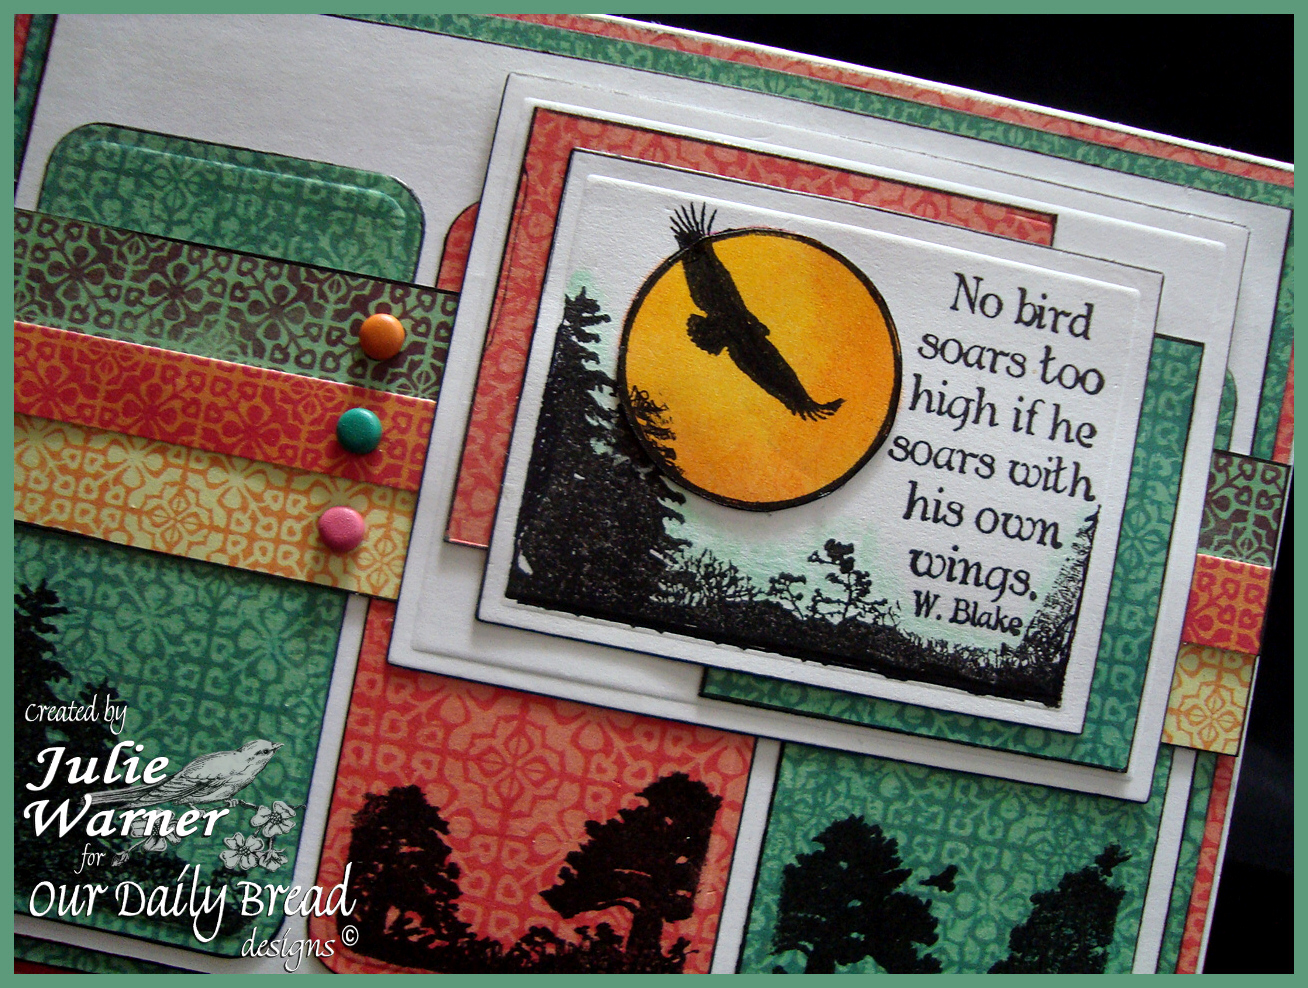
    Aren’t these new release images fabulous? I know they make beautiful bookmarks, but with a little masking, they also make great silhouette scenes. And the coordinating bookmark dies are just over the moon wonderful!Julie Warner - justwritedesigns https://thewritestuff.justwritedesigns.com/
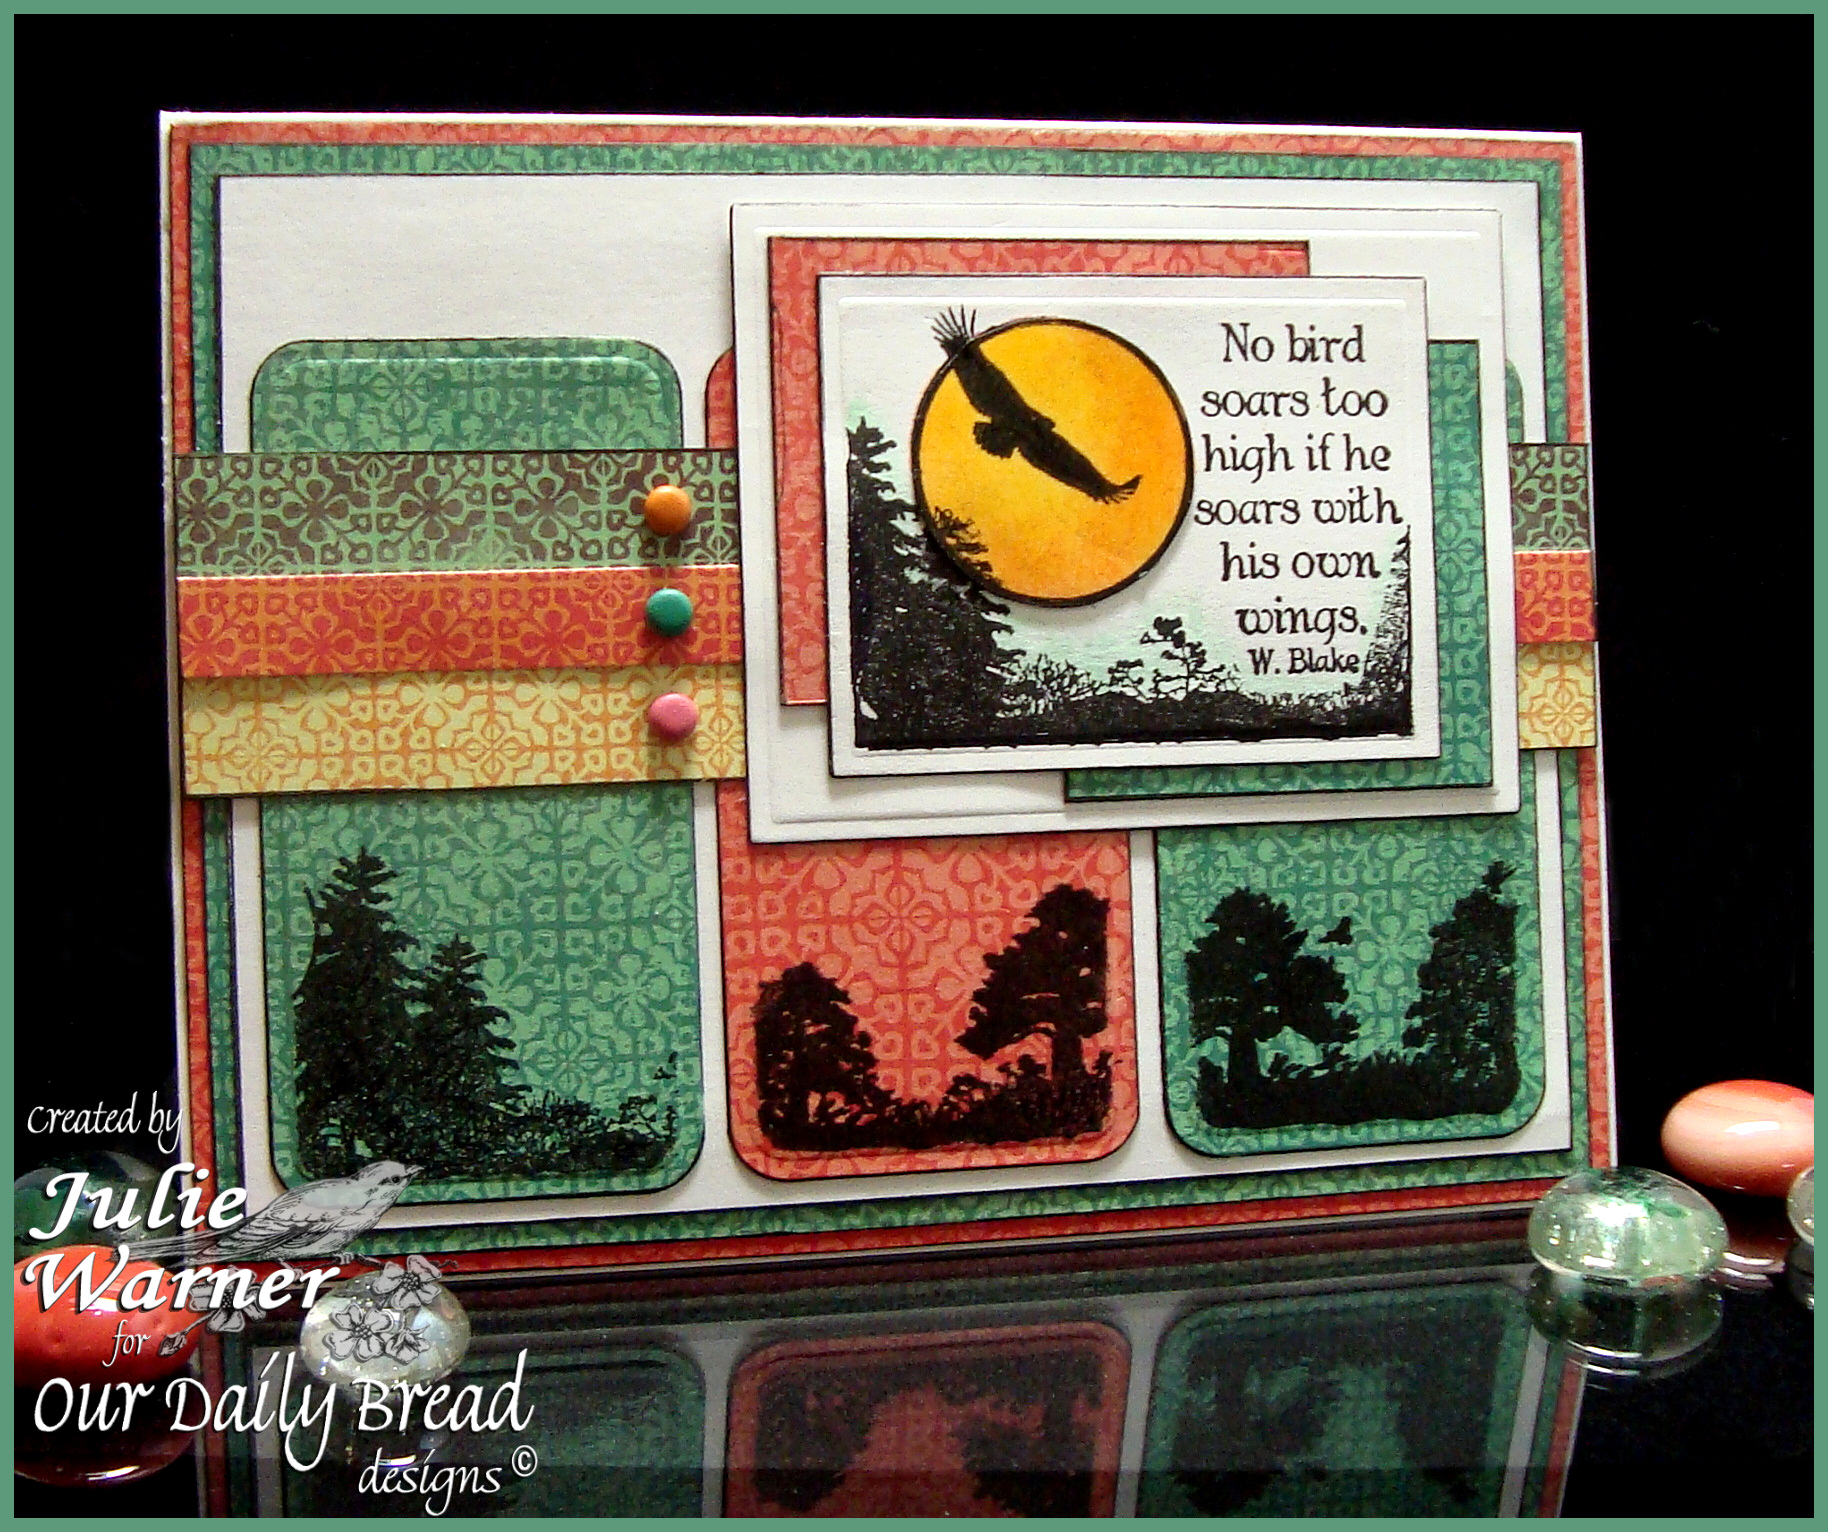
    To start, I used the smaller bookmark die to cut the three long panels. In order to have the same cut on both ends, I die cut to the center, take it out, turn the die around and cut the other end the same as the first. With the die still in place, I stamped different parts of the Bookmark Tree image across the bottoms of the panels.

    For the quote panel, I stamped only the sun/eagle part of the image and the quote, masked them and stamped a portion of the trees. It was die cut with a rectangle die. The finished card is 5.50 x 4.25.

    Thanks so much for stopping by! 

    Psssssst… I also made this for Susan’s fabulous Dare to Get Dirty Challenge on Splitcoast!


    Supplies:

    Stamps: Our Daily Bread designs- Bookmark Trees, Bookmark Verses
    Paper: Neenah white, dp (SEI – Jocelyn collection)
    Ink: VersaFine onyx
    Accessories: Tombow markers, ODBD bookmark dies, Spellbinders rectangle dies, brads, Permapaque black marker


  • ODBD July Release Blog Hop!

    Julie Warner - justwritedesigns - https://thewritestuff.justwritedesigns.com

    Welcome to the Our Daily Bread designs July Release Blog Hop! 

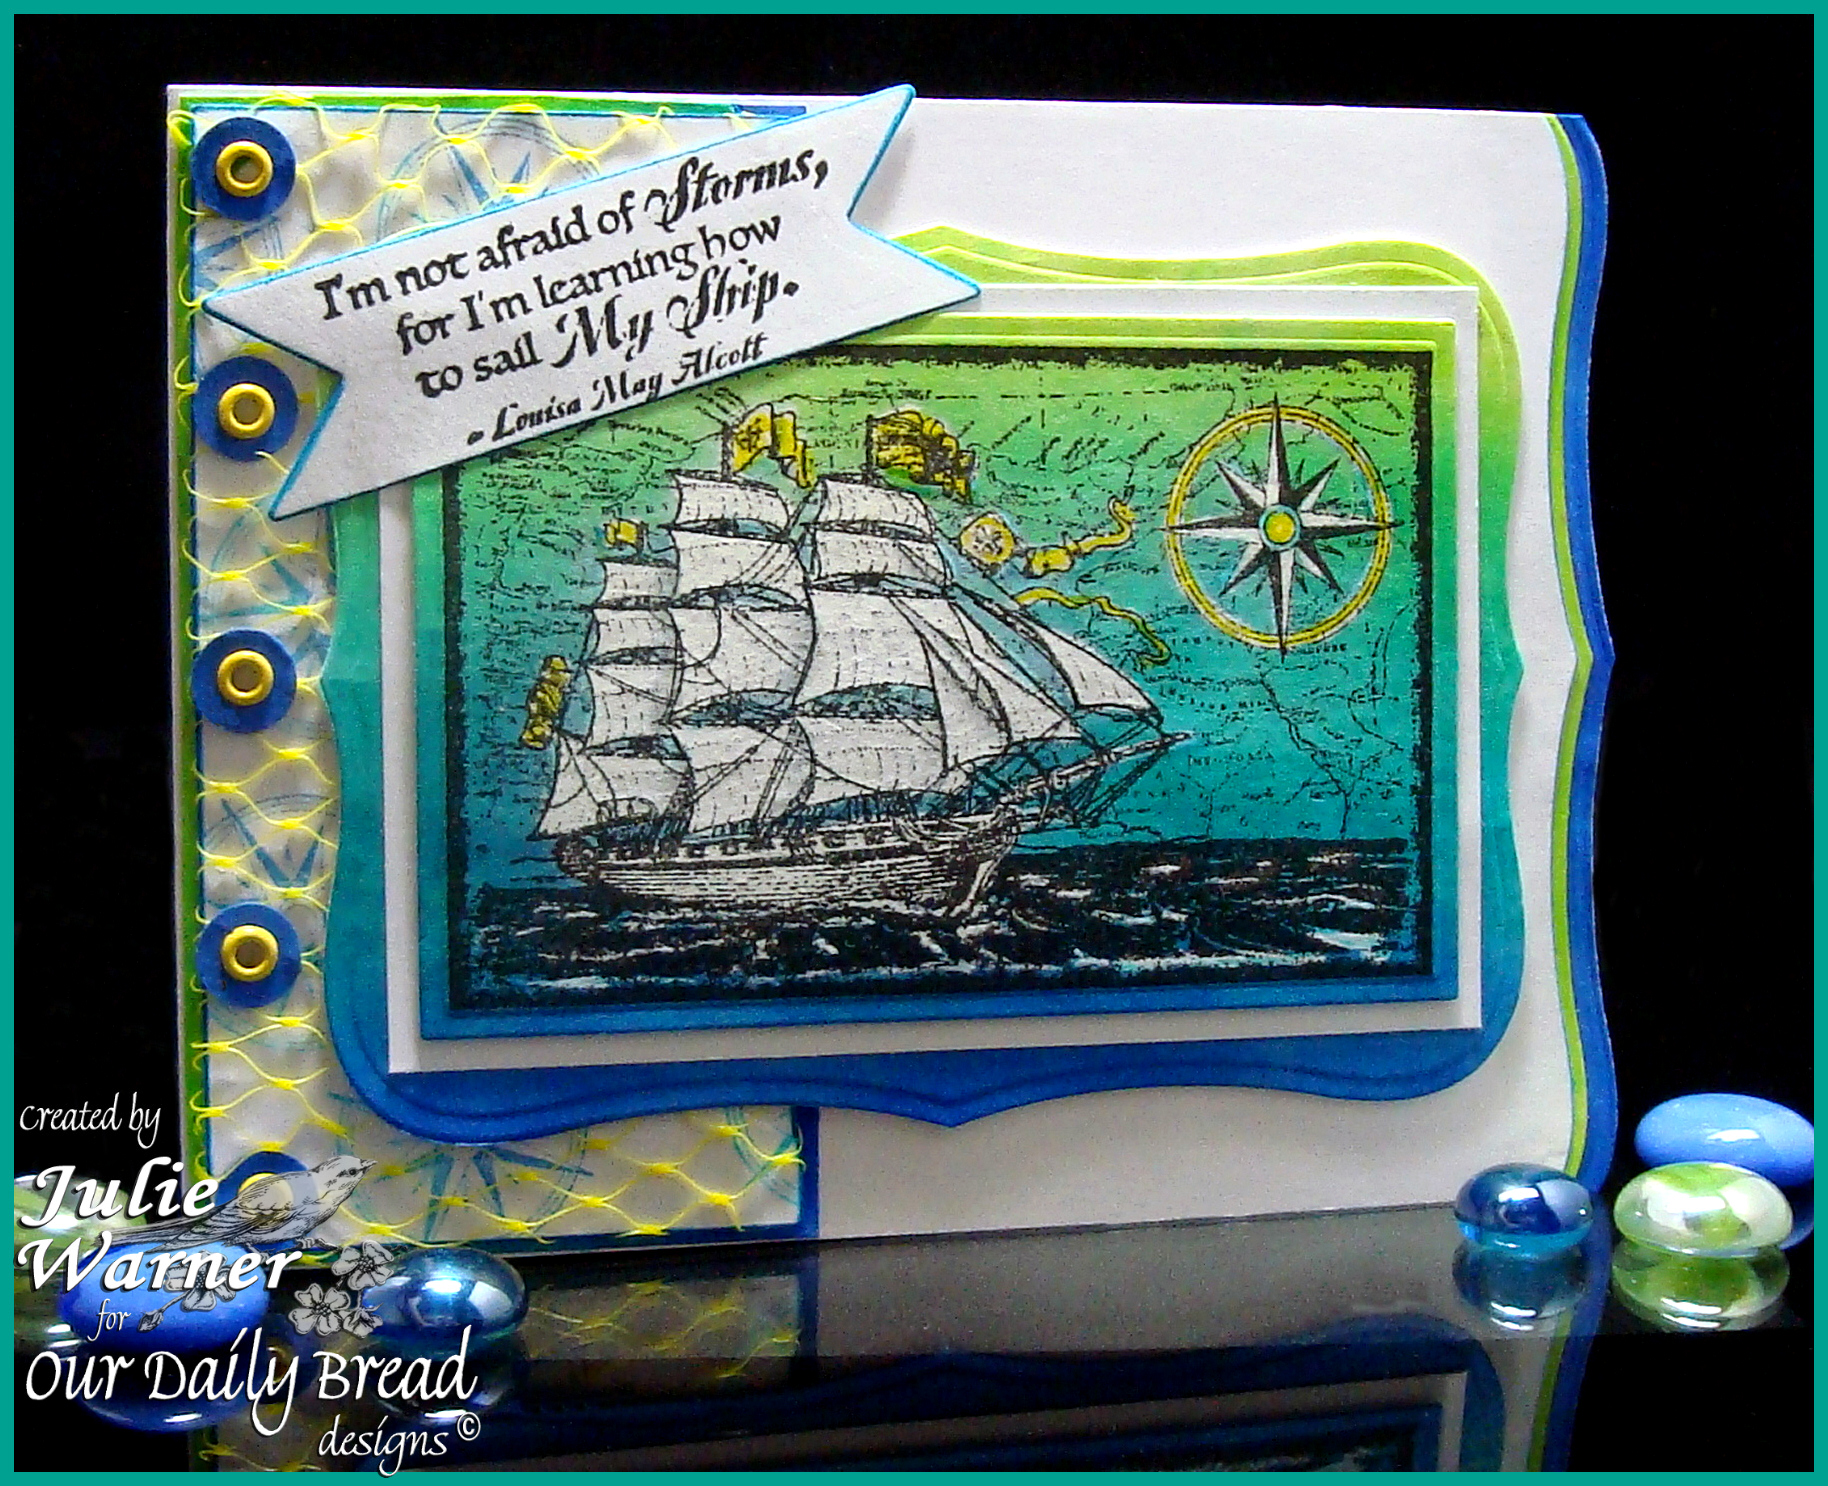
    I can’t tell you how much I love this new ship image! I’ve been wanting a great looking ship for so long and when Kelley showed us this Surging Sea set, I was over the moon! There’s just something about old sailing ships and nautical images that just float my boat, lol.  And it’s perfect for masculine cards.

    Julie Warner - justwritedesigns - https://thewritestuff.justwritedesigns.com

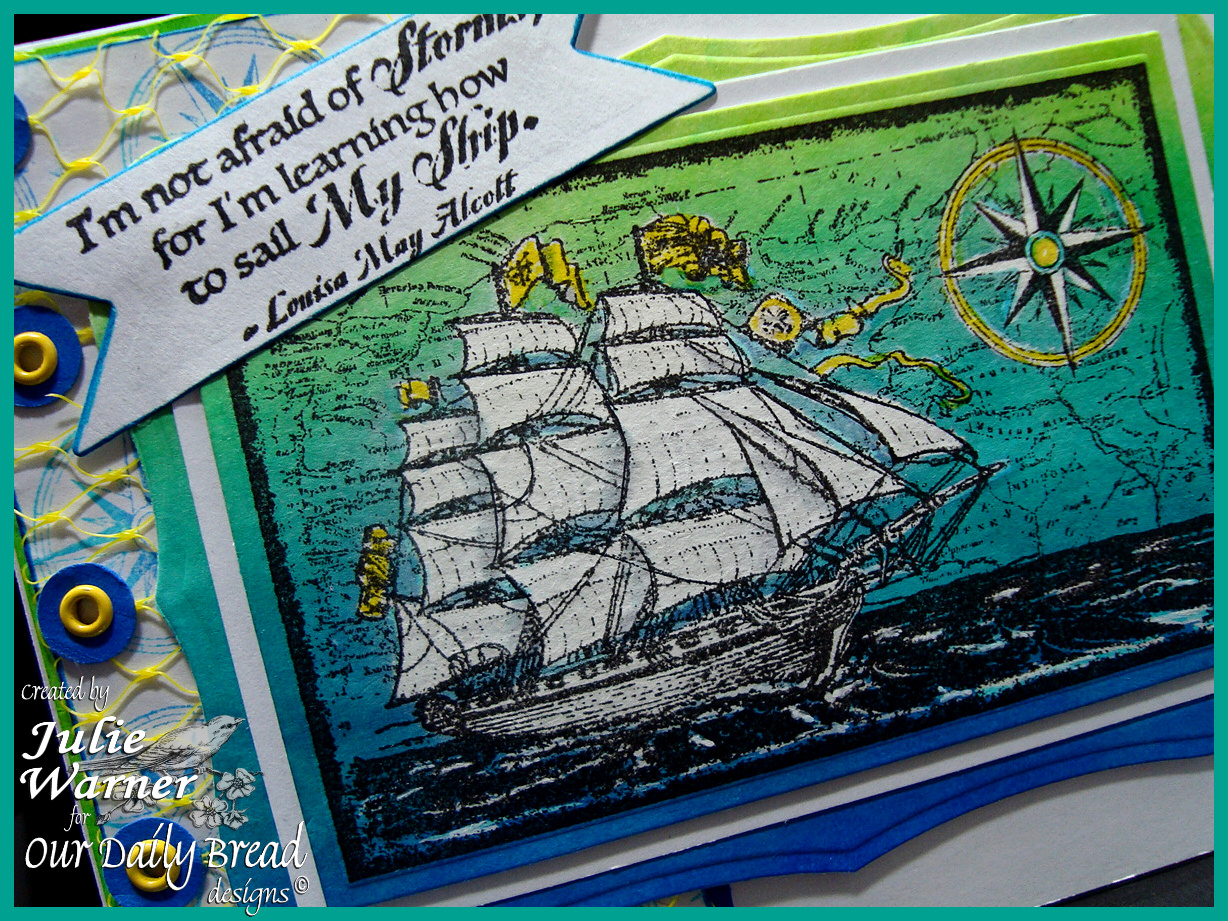
    For my card, I sponged on the rainbow of blues from a couple of Kaliedacolor ink pads, then stamped the image in permanent black ink. It was die cut using a rectangle die I resized to fit the image. These are some of my favorite colors and they work so well for a seafaring image. Since the Kpads are dye ink, they are highly bleachable. I used a tiny acrylic paintbrush to paint the bleach onto the ship and compass rose. After it dried, I added a little yellow to the flags. You have to wait until it’s completely dry before adding color w/ water based markers, or else it will just continue to bleach. You can help it along w/ a heat tool, but back away a little.

    The single compass rose was stamped on the vertical white strip and some netting from a bag of lemons was stretched over it (it looked like fish net to me). I used a circle punch for the little blue circles under the eyelets. The  greeting (from Smooth Sailing set) was die cut, but not embossed, using the Spellbinders nested pennant set. I cut to the half way point, then turned the die around and cut the flag point again on the opposite end.  The edge came about because I bent one corner of my 5.50 x 4.25 card and it looked funny. So I took one of the larger Labels 8 and cut the card edge and added some die cut strips of left over background.

    Thanks so much for stopping by!


    Supplies:

    Stamps: ODBD – Surging Sea, Smooth Sailing
    Paper: Neenah white, small scrap of cobalt blue
    Ink: Ancient Page coal, Kaleidacolor Caribbean Sea & Blue Breeze rainbow ink pads
    Accessories: Spellbinders labels 8, nested pennants, & rectangle dies, Tombow makers, lemon netting, yellow eyelets, 1/4″ circle punch, bleach & small acrylic paintbrush


  • Welcome to the ODBD June Release Blog Hop!

    Julie Warner - justwritedesigns - https://thewritestuff.justwritedesigns.com

    Welcome to the Our Daily Bread designs June Release Blog Hop!

    Julie Warner - justwritedesigns - https://thewritestuff.justwritedesigns.com
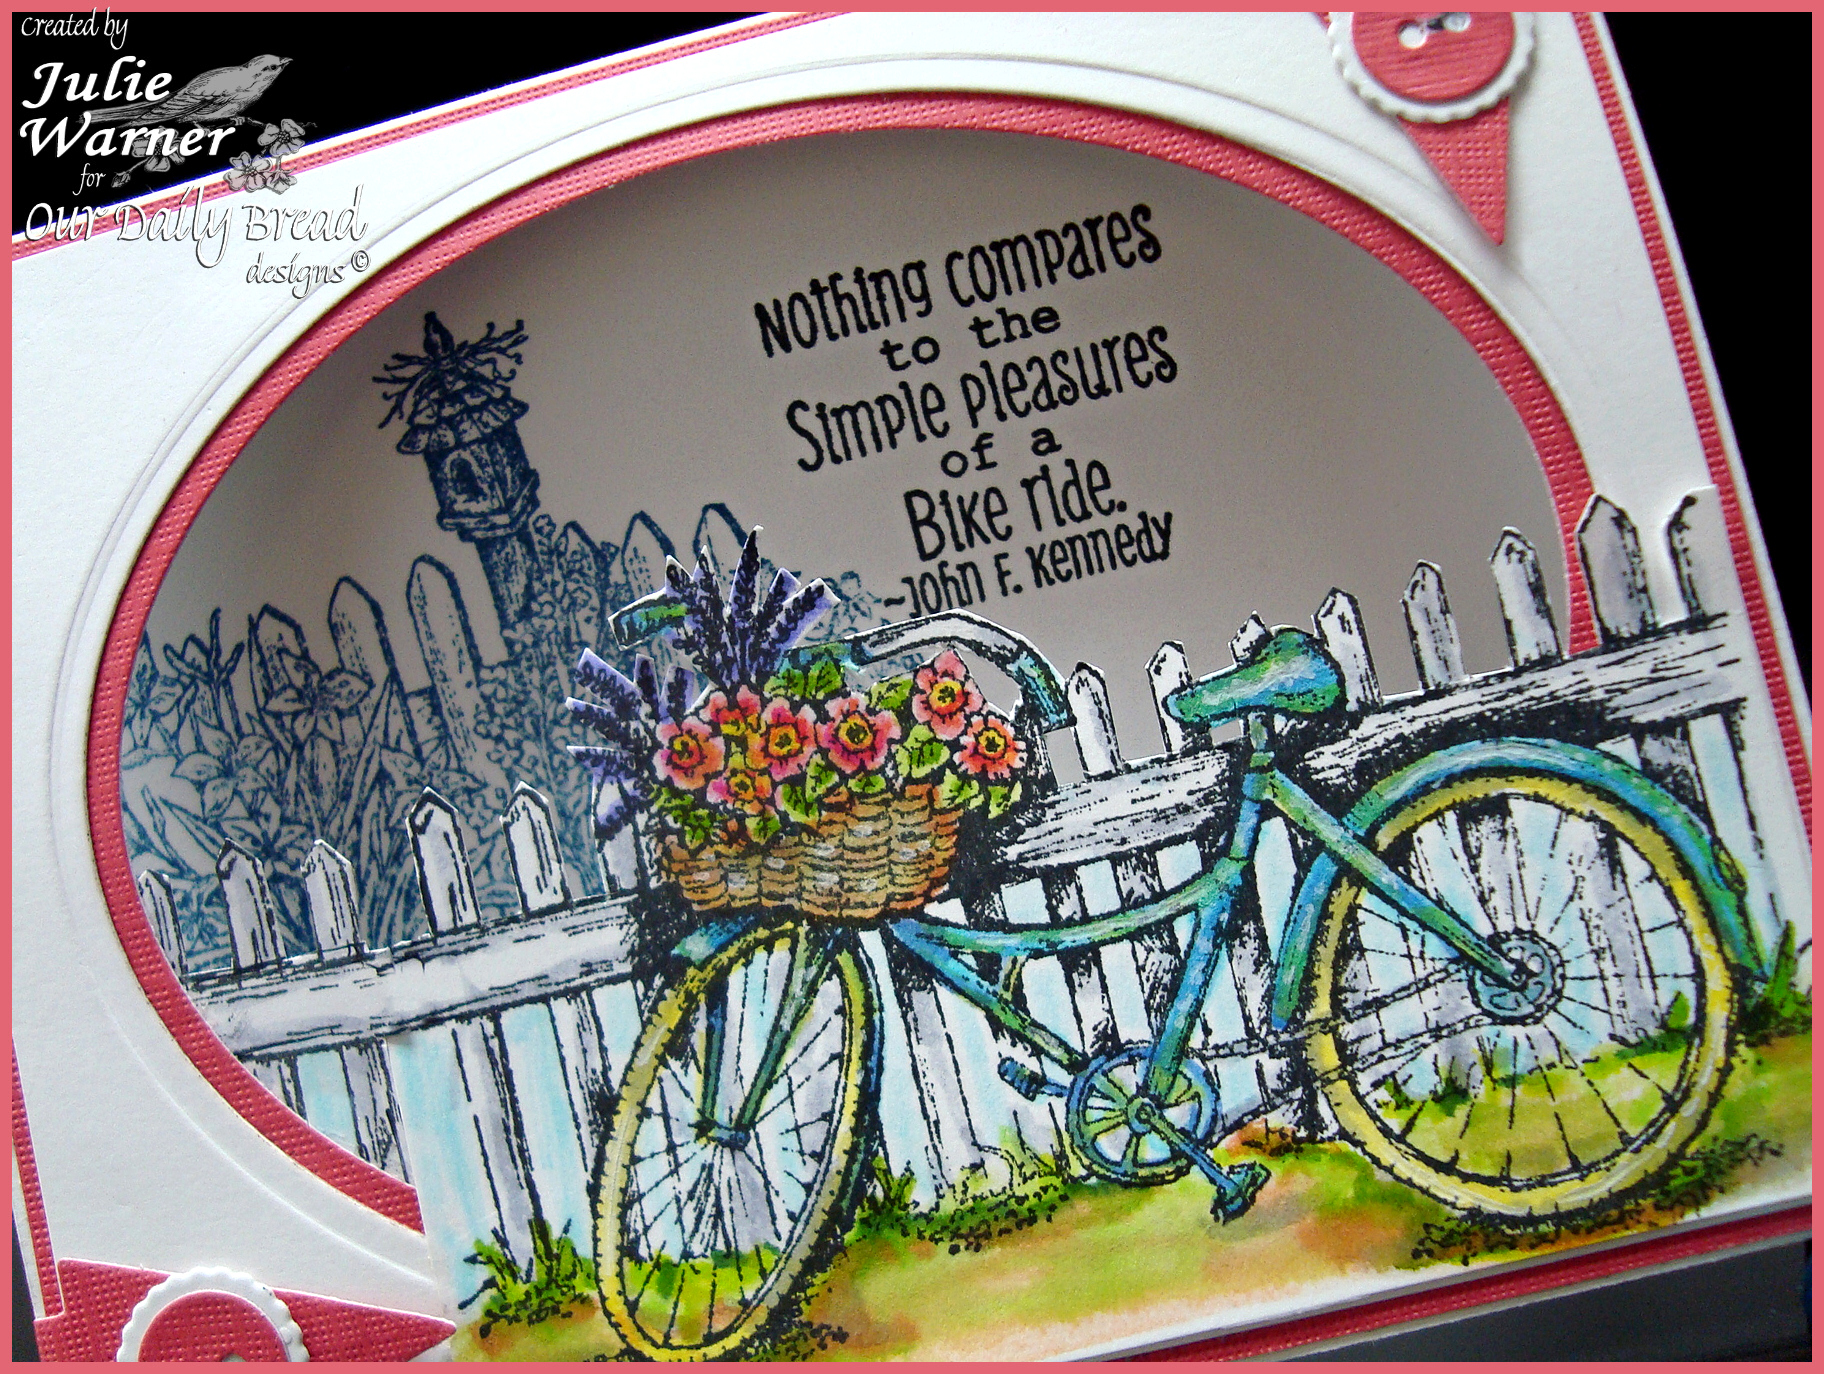
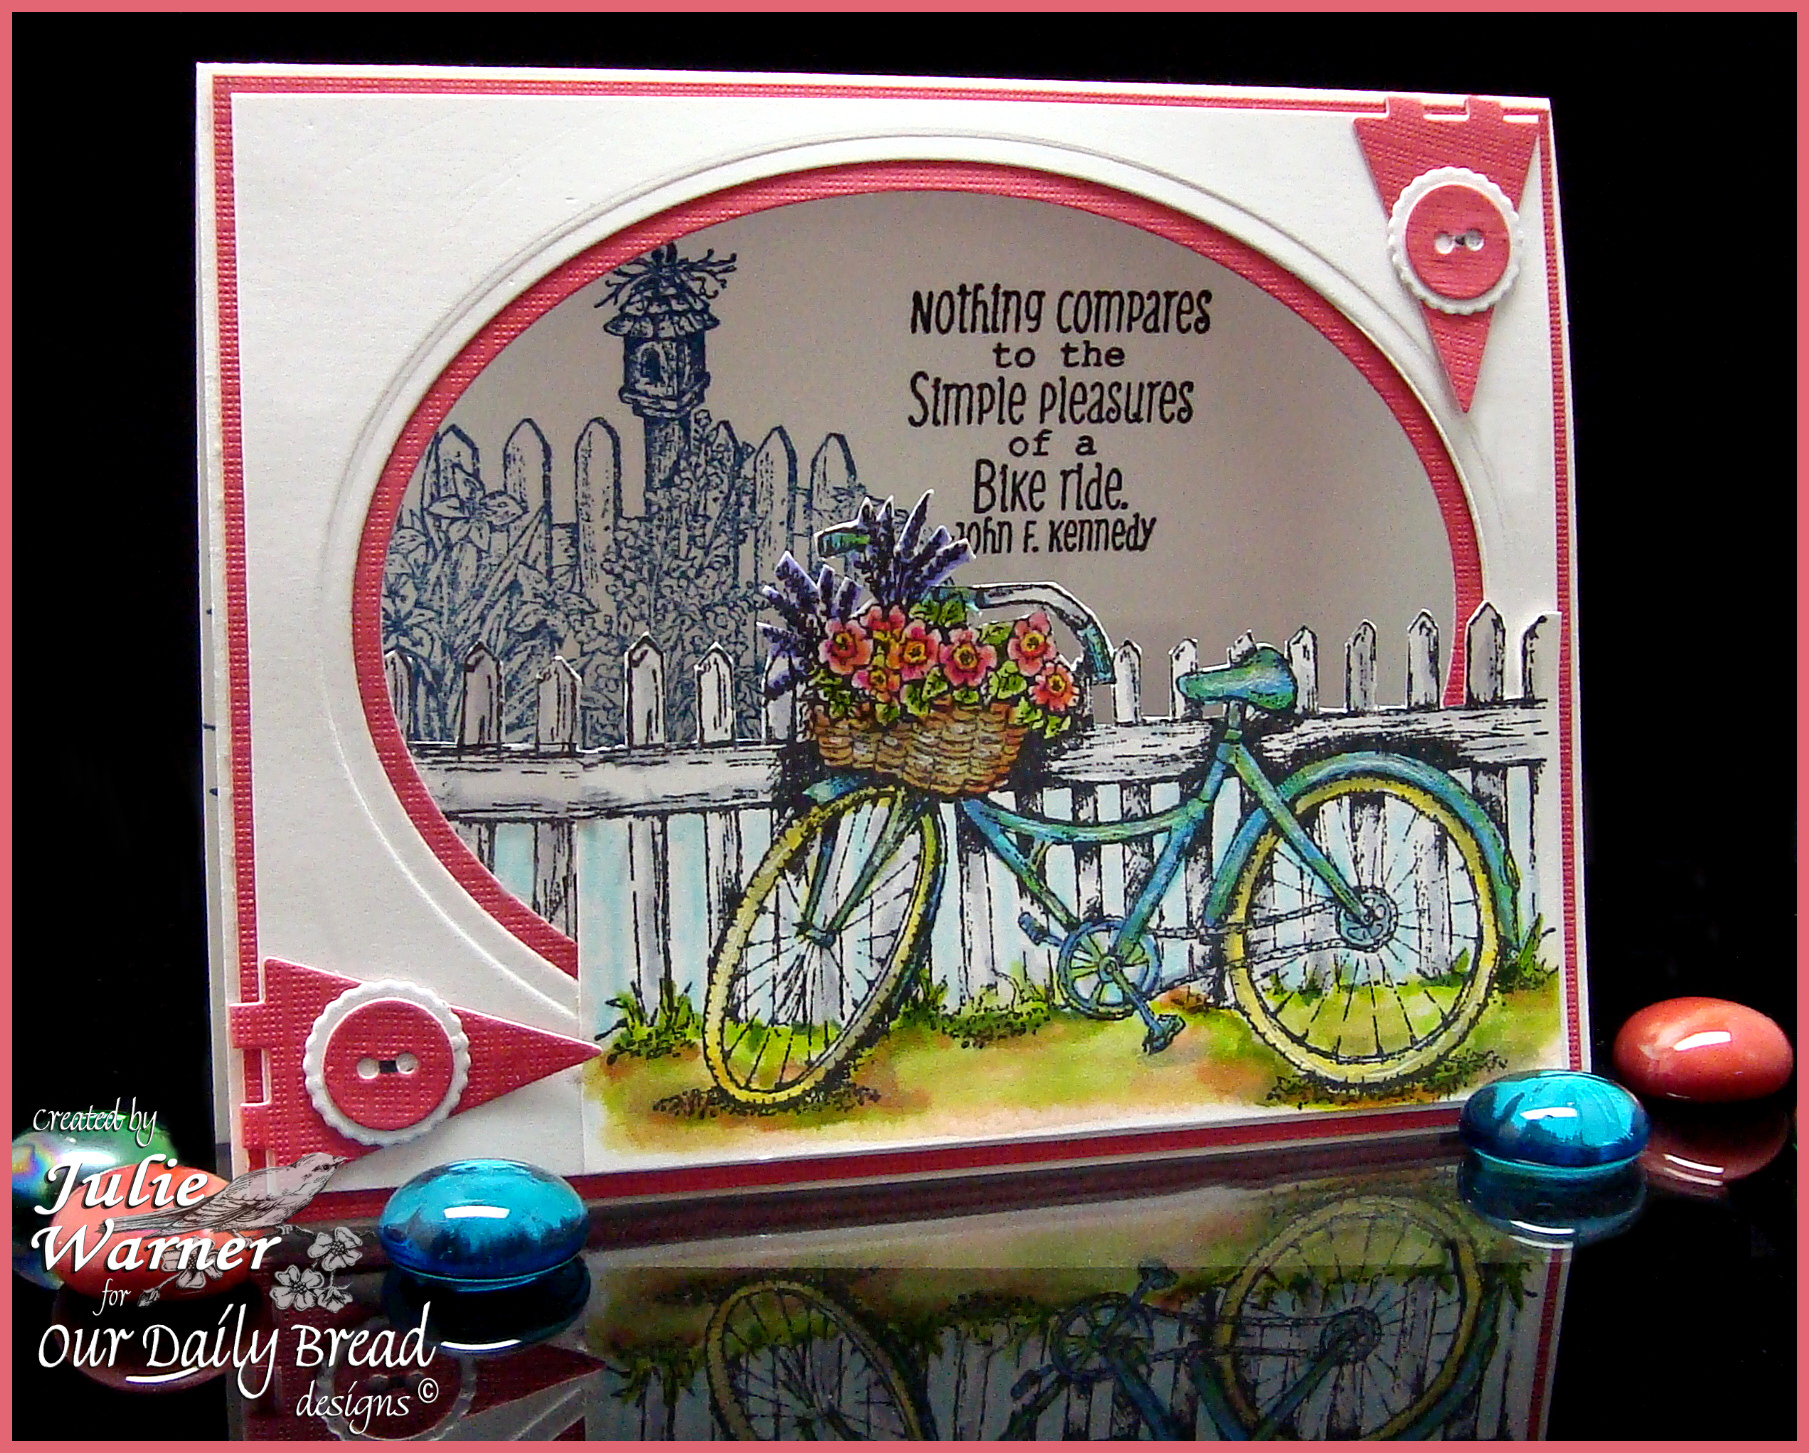
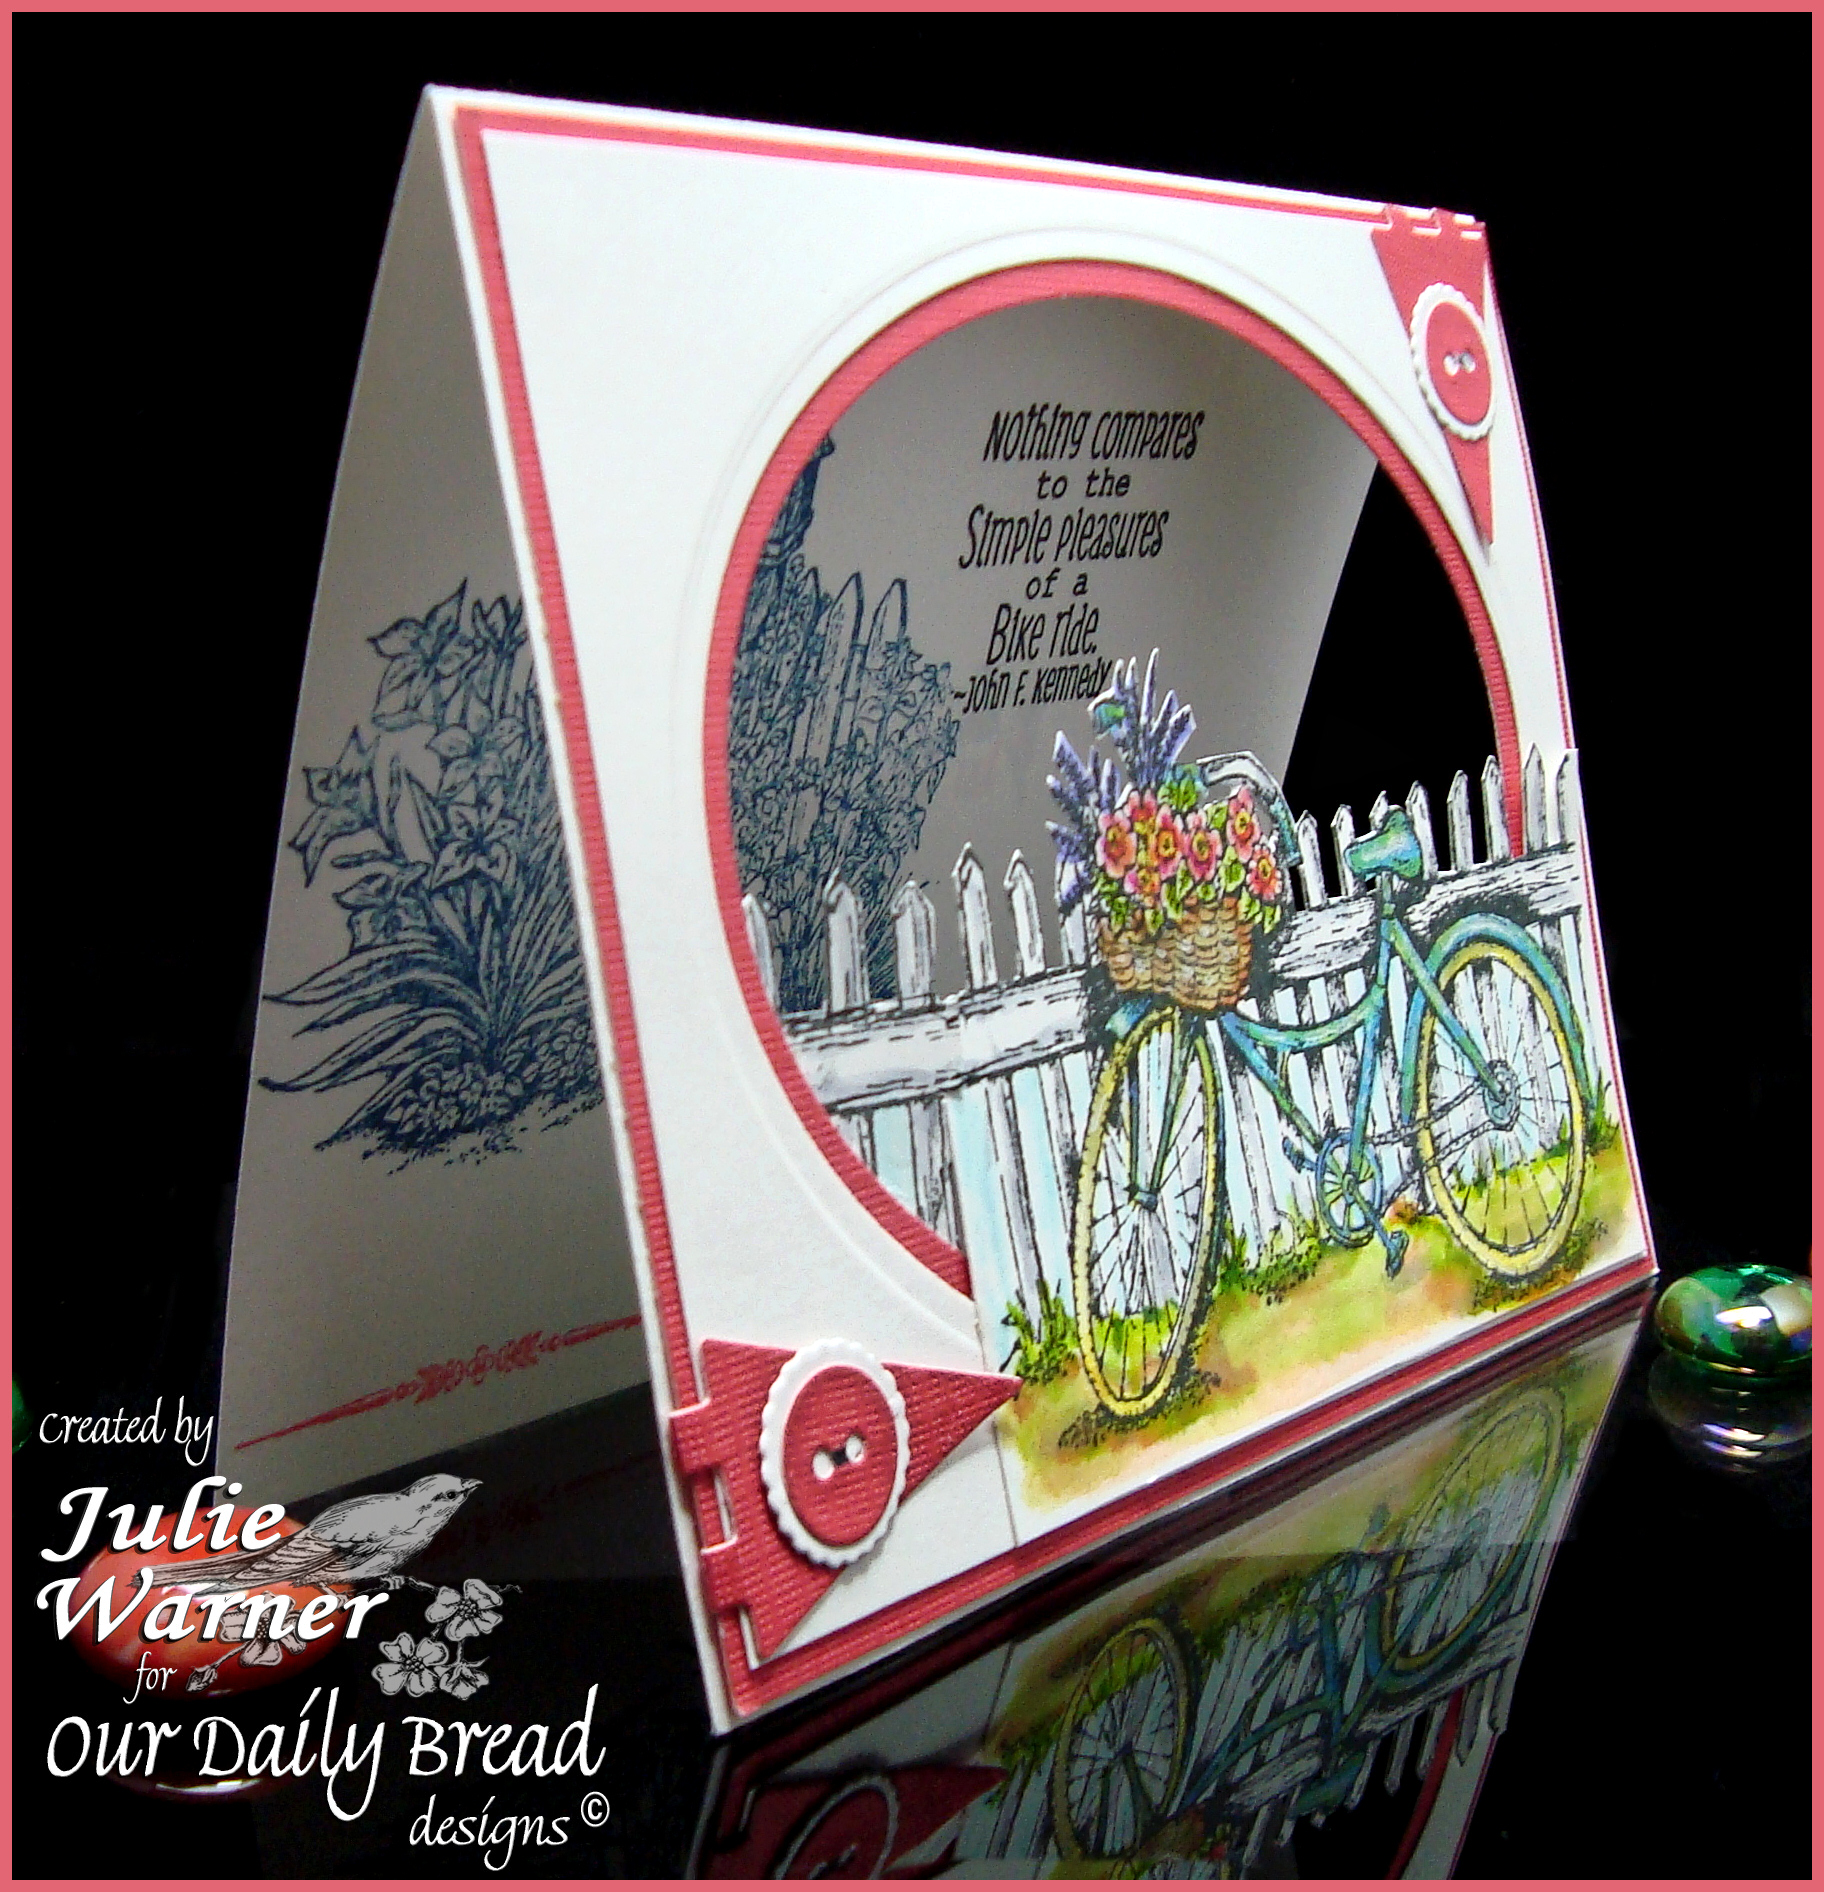
    Ever since I first saw these new images, I knew I wanted to make a window card. I used both the small and large petite oval die sets to create my window.  To begin, I cut a layer out of white c/s slightly smaller than the front of my 5.50 x 4.25 white card and stacked the layer on top of the card front. Using the largest of the large ovals, I die cut them together so they would match up when attached. The largest of the small ovals was used to cut the coral layer which I sandwiched between the card and the top layer.

    Julie Warner - justwritedesigns - https://thewritestuff.justwritedesigns.com
    The bicycle was stamped, colored w/ markers and cut out above the top rail of the fence. The scene from Missing You was stamped on the inside of the card along with the sentiment. I added a little extra bit of fence on the inside of the window to complete the bicycle scene on the front. A couple of die cut pennants and buttons were added for extra interest.

    Thanks so much for stopping by!

    Supplies:

    Stamps: ODBD – Bicycle, Missing You
    Paper: Neenah white, coral textured (DCWV)
    Ink: Ancient Page coal,  Memento nautical blue
    Accessories:  Tombow markers, Spellbinders lg & sm petitie oval dies, Cheery Lynn round & scallop button dies, Quickutz pennant die