
• Tag Archives Spellbinders
  • Blue Ornaments

    Julie Warner - justwritedesigns https://thewritestuff.justwritedesigns.com/

    Weekly-Favorite
    Best of 2011

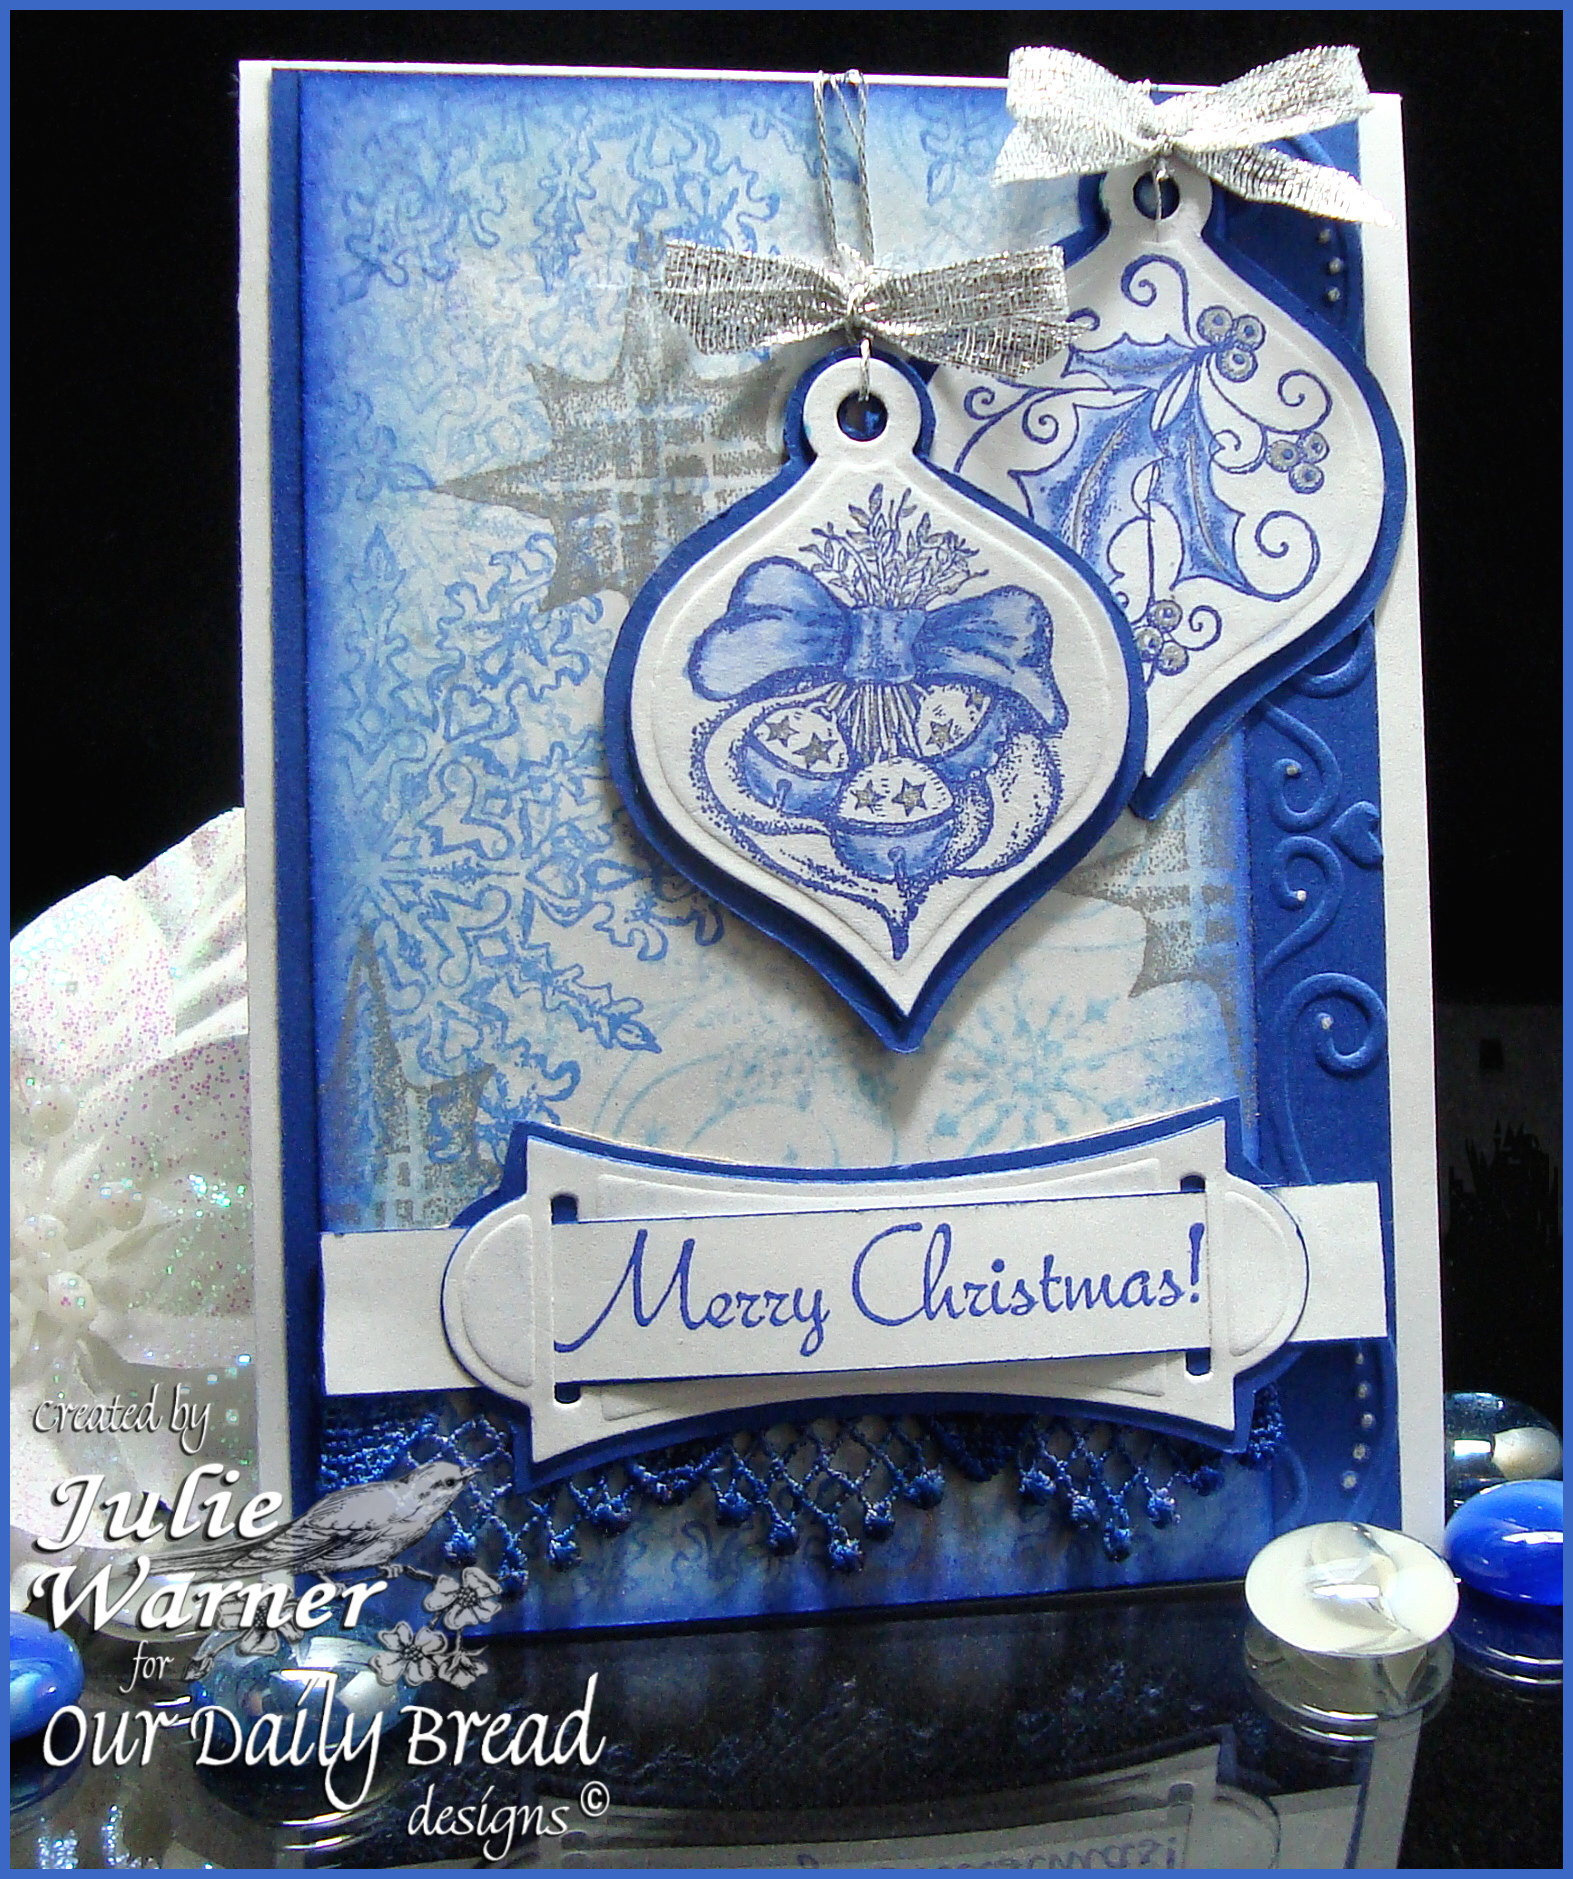
    Terrific challenges for yesterday and today! Didn’t have a chance to do the Featured Stamper (FS244)  yesterday so I’m combining it w/ today’s Technique Challenge (TLC346). Congrats to Julie! Loved her gallery and I chose Lace Edges to case. I kept the layout and colors similar but used different images, added the ornaments and used some embossing down one side instead of the punched border.

    All images are Our Daily Bread designs. My stacked background was done by first stamping the snowflake bg w/ the sky blue ink. I stamped portions of the lg snowflake w/ sky blue & true blue pigment inks. The star like ornament was stamped w/ silver and the edges were sponged.

    The 2 ornaments & sentiment were stamped w/ the midnight ink and I added some color to the ornaments w/ markers & a silver gel pen. On the right side of the ultramarine layer, I embossed only the right side of a lg frame embossing folder.

    Originally, the crochet lace under the sentiment tag was white and it was going to stay that way. But I had a little mishap w/ an ink pad so I just colored the whole piece dk blue. Oh well. The finished card is 4.25 x 5.50.

    Thanks so much for stopping by!


    Supplies:

    Stamps: ODBD – Holiday Ornaments, Snowflake Swirl Bg, Lg Snowflake
    Paper: white, ultramarine
    Ink: Colorbox midnight, silver, sky blue & true blue pigment inks, Memories sky blue
    Accessories: Tombow markers, Spellbinders ribbon tag trio 3 & holiday tags dies, crochet lace, silver ribbon, silver cord, silver gel pen, Sizzix Christmas 2 embossing folder

  • ODBD October Release Blog Hop!

    Julie Warner - justwritedesigns - https://thewritestuff.justwritedesigns.com

    Happy October!

    Welcome to the Our Daily Bread designs October Release Blog Hop! If you came here from Dawn’s fabulous blog, you are in the right place. If not you might want to start at the Our Daily Bread designs Blog and start from the beginning. If you get lost along the way, simply return there where the entire hop is listed with links.

    Julie Warner - justwritedesigns - https://thewritestuff.justwritedesigns.com
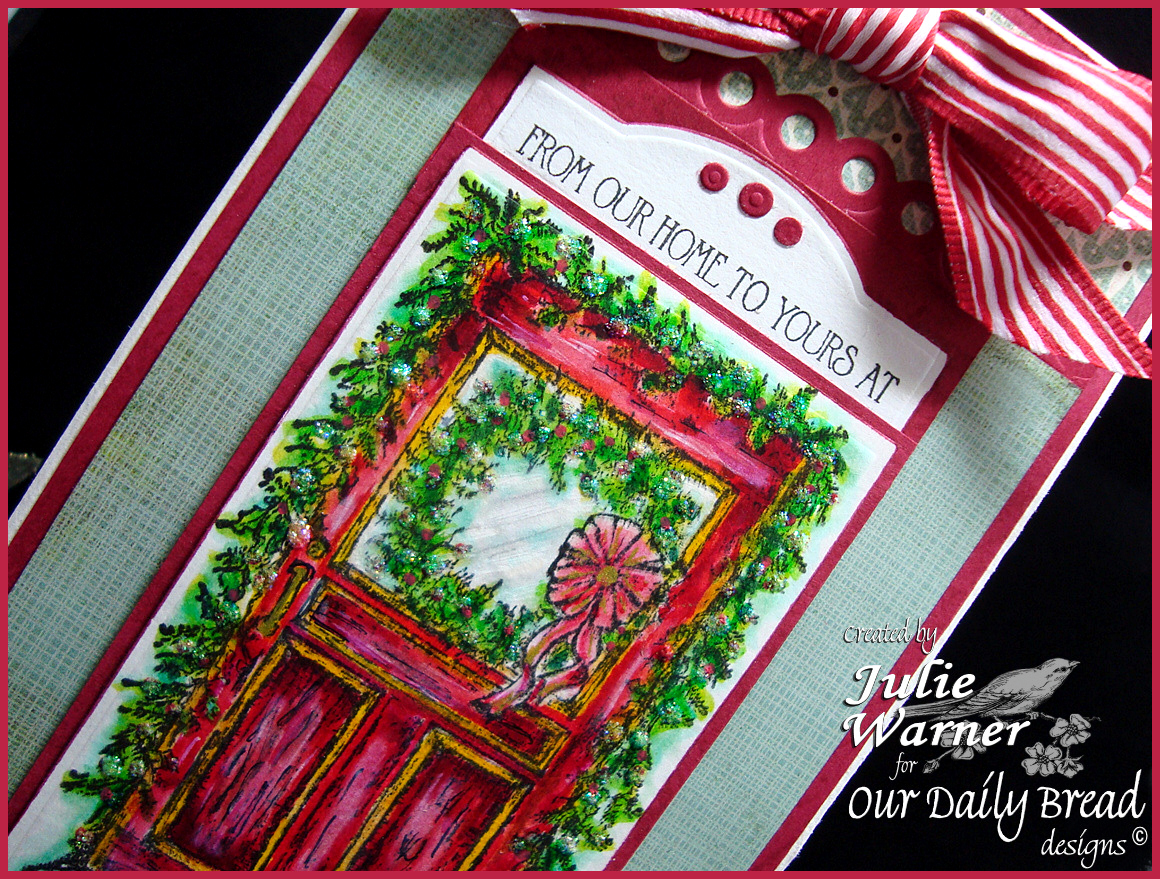
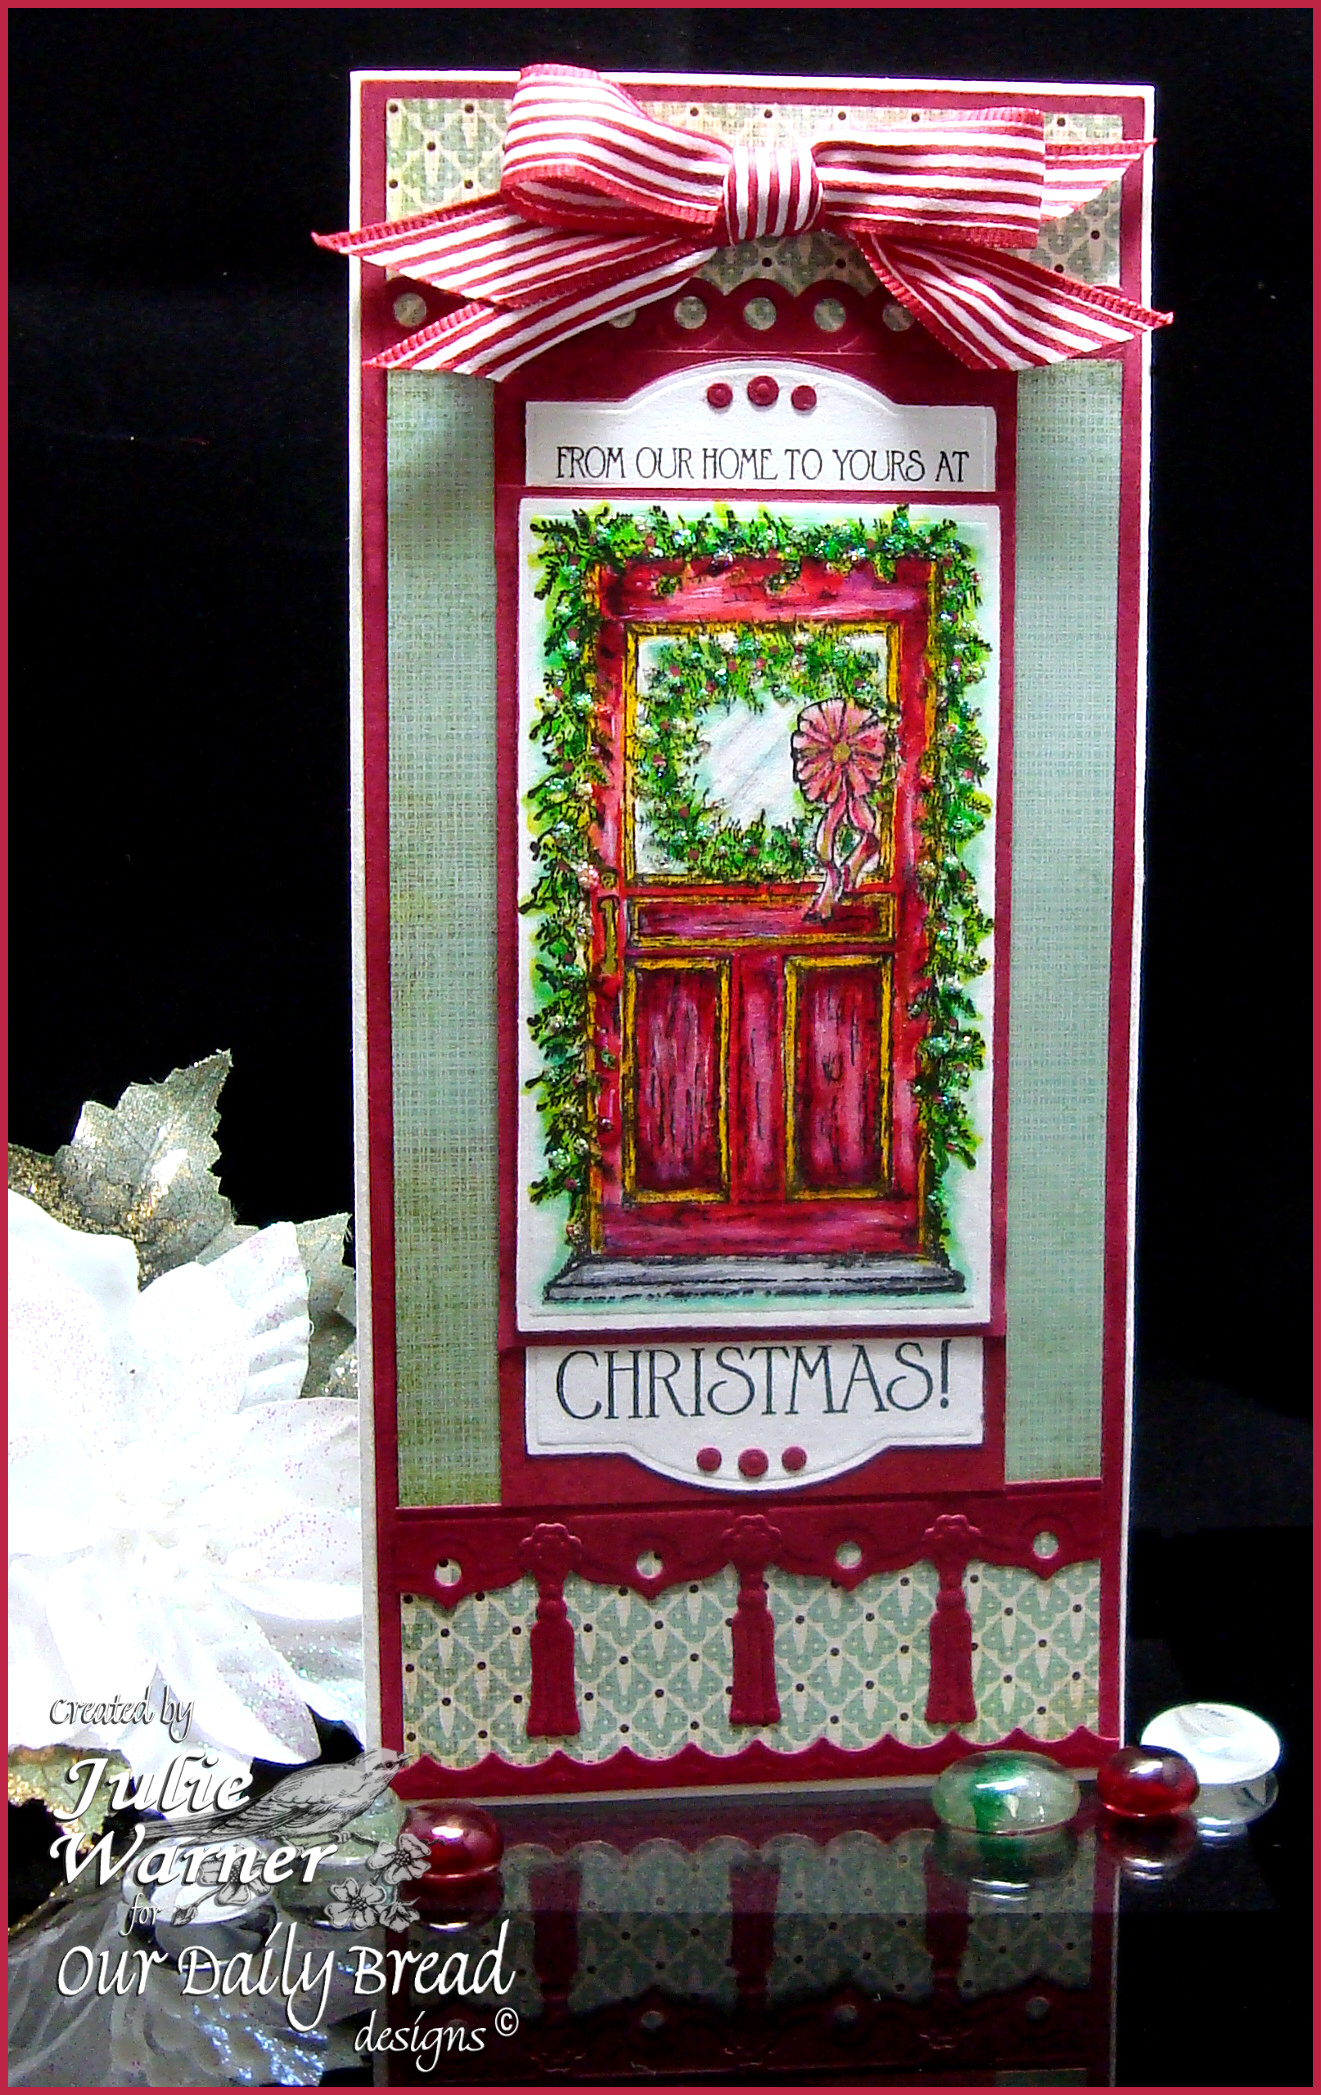
    For my long, tall red door, I colored it w/ markers and a water brush then used a Spellbinders square die and resized it to fit around my door. Since it’s not a standard or long rectangle size, this was the only way I could work it. I added a narrow dk red mat and some stickles on the pine boughs and wreath. The sentiment was stamped twice and I die cut them w/ a Ribbon Tag Trio 3, but turned and cut them in opposite directions. I used the one w/ the top curve above the door and the bottom curve below the door. The three little dots were leftovers after I used the Banners 2 for the trim and tassels. The scallop edge at the bottom is also a leftover from the same cutting. The finished card measures 4.25 x 9 and will fit nicely in a #10 business size envelope. The hardest part of this card was finding a layout for this long, tall card that would work w/ this dp! I only had this dp in a 6×6 pad so nothing was long enough. So this was my attempt to get the much shorter paper to fit a longer card! I think the little border strips really helped it out.

    From here, hop to Lorelie’s fabulous blog!

    Thanks so much for stopping by!


    Supplies:
    stamps: ODBD – Christmas Door
    paper: water color, dk red, dp (Basic Grey – Nook & Pantry collection)
    ink: VersaFine onyx
    accessories: Spellbinders squares,  banner basics 2 & ribbon tag trio 3 dies, Tombow markers, water brush, striped ribbon, Grand Calibur, stickles


  • Pumpkins?

     I have a special post over on the ODBD Blog today with a mini tutorial on how to create these cute little pumpkins. And here it is on my blog.

    Fall is almost here! I have a little project for you today involving pumpkins. You know it’s fall when you see pumpkins on display! I also have pumpkin card to show you, made with the fabulous new ODBD pumpkin image and matching custom die. I had the idea of making the little accordion pumpkins but I started to use a circle or scallop circle die. Luckily, I had just received the brand new Spellbinders 2011 Heirloom Ornament dies and I thought if I trimmed the pointy bottom, the shape really looked like a pumpkin.


    Here’s a little closer view of the pumpkins. I used the two middle size dies for these pumpkins. These are pretty easy; just follow the instructions on the pics. Remember, just click on each pic to enlarge. On the two little ones, I stamped the Vintage Border Background with Memento Rhubarb Stalk before I glued the sections together. The leaves were punched and I put a little glue on the stem and stuck them between the sections before I glued them together.

    I sponged on a little dk green ink on the tops of the pumpkins in order to more resemble a stem. You could glue together the final 2 sections if you want them to remain permanently open, but it’s not necessary. And if you want to mail them, just fold them closed and put a little paper clip on them.


    These recipe cards were in the dollar bin at my local craft store along with the Seeds tin. I added some stamping on the recipe cards and cut out the pot w/ tools and the little pumpkins from the Garden Tag Set, and attached them on the upper right corners. The recipe cards just fit inside the tin. Add a few packets of seeds, and you have a nice little fall gift set for someone special!

    Thanks so much for stopping by!