Welcome to the Our Daily Bread designs November Release! We have some beautiful Christmas images & dies for you this month!
Prize Information: –
Three randomly selected winners will each receive a $25 gift certificate to the ODBD Store, to be used toward the purchase of ODBD Stamps found in the “stamps column” of the website just for commenting on the Design Team cards! You have until November 2, 2015 at 9:00 p.m. EST to leave your comments on the Designers Blogs for a chance to win! The Winners will be posted on the ODBD Blog on November 3rd, so be sure to check back there to see if you won!
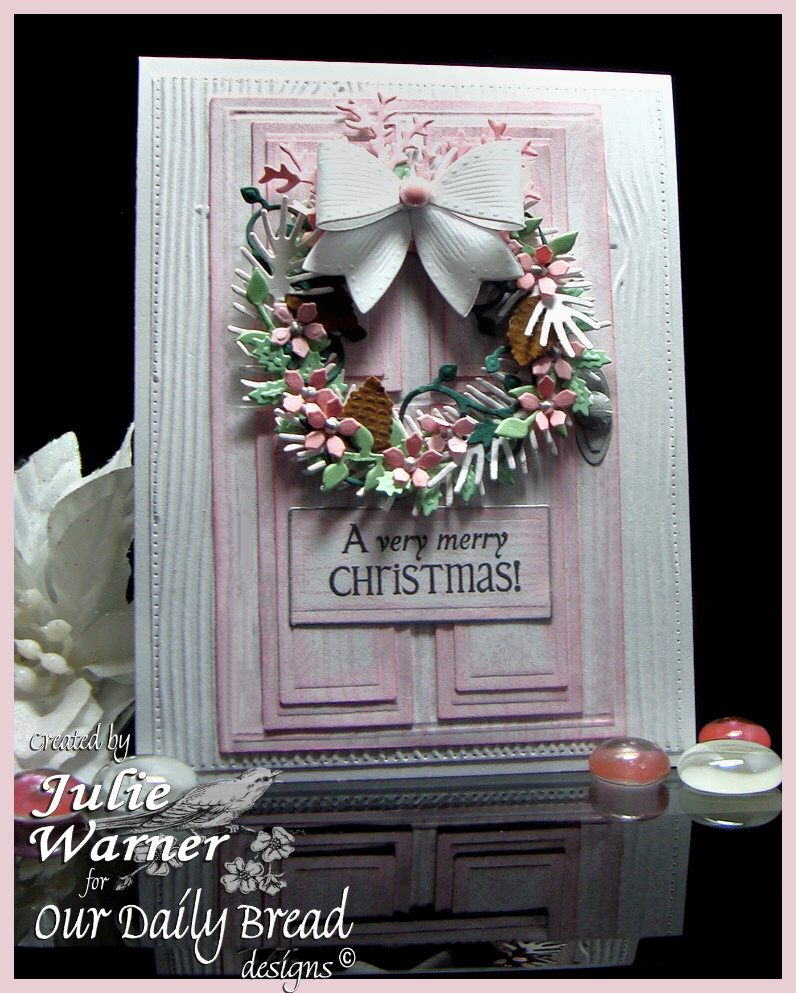
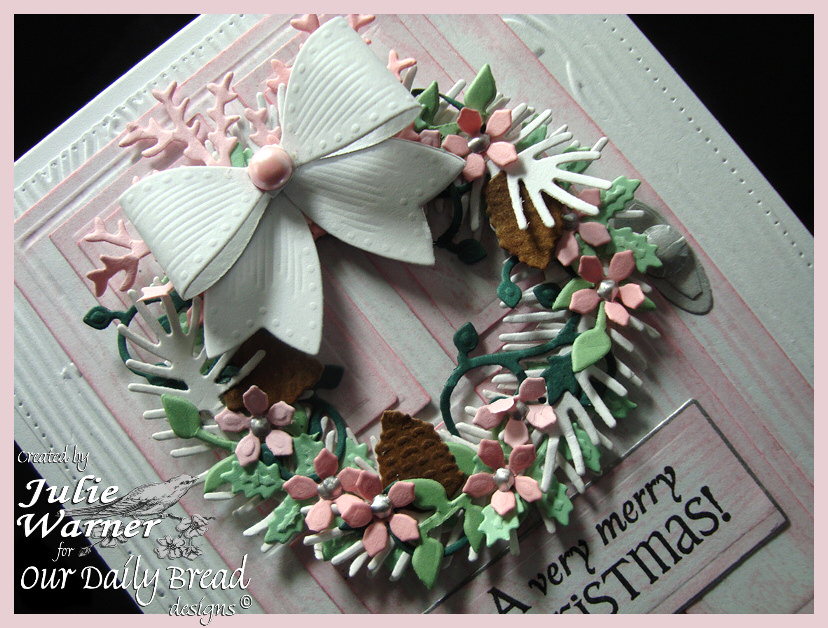
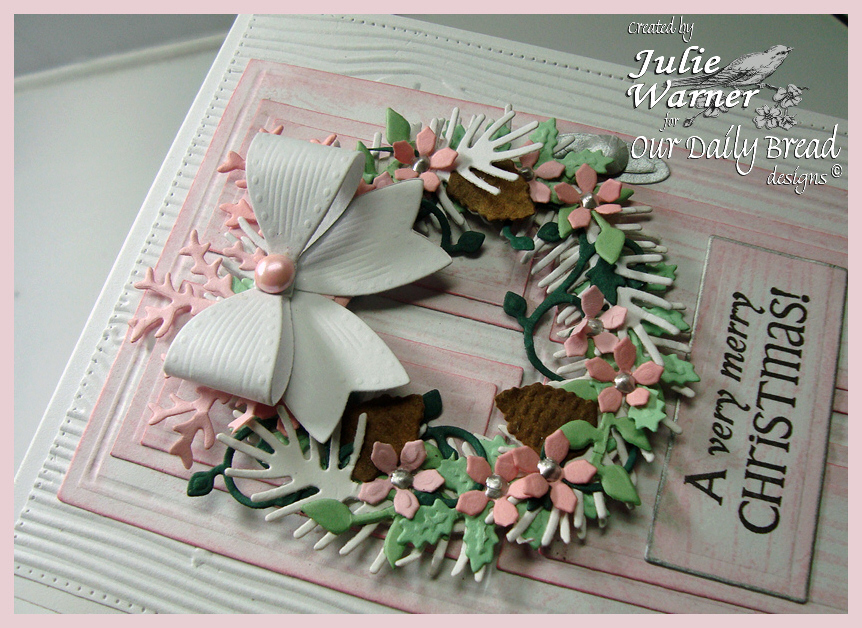
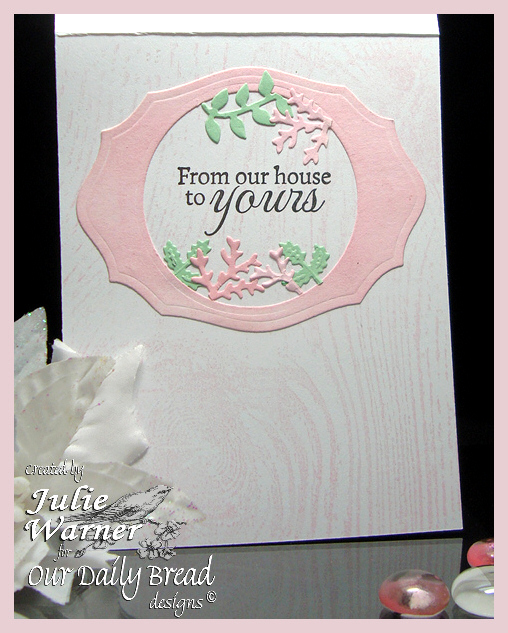
For my first card, I made a Christmas wreath on a pink woodgrain door. The wreath was made by using circle dies to make a ring then I die cut all the foliage from the Lovely Leaves dies, the little pinecones from the Fancy Foliage dies, and the little flowers from the Christmas Candles dies and attached them all to the ring. A white bow was die cut using the Small Bow die, added on top of the wreath & a large pearl brad (I colored it w/ a pink Copic) was attached in the center of the bow.
Here’s a look at the inside.
Supplies:
| Stamps: ODBD –Wood Background, Jingle Bells, (Let it Snow –inside greeting) |
| Paper: Neenah white, scraps of pink, green & tan |
| Ink: Distress ink spun sugar, Versafine onyx |
| Accessories: ODBD Lovely Leaves, Flourished Star Pattern, Fancy Foliage,Small Bow, Christmas Candles dies, (ODBD Elegant Oval die- inside) , Spellbinders A2 matting basics A & B, circles dies, silver liquid pearls, large pearl brad |


On my second card, I used white heat embossing on tan (lt kraft) card stock. After embossing the beautiful Flourished Merry Christmas, I die cut it w/ one of the matting basics, used a large corner rounder punch on it then used the white ink around the edges & embossed it, as well.
The Snowflake Border was also white embossed then die cut. I added some white embossed snowflakes to accent the Medium Bow & upper corner. The larger one was die cut & the smaller two were fussy cut. A paper crimper was used on the white horizontal band.
Here’s a look at the inside.

Supplies:
| Stamps: ODBD –Flourished Merry Christmas, Snowflake Border Background, Sparkling Snowflakes, (Peaceful Deer –inside greeting) |
| Paper: Neenah white, tan |
| Ink: Colorbox frost white pigment, (toffee chalk ink- inside) |
| Accessories: ODBD- Flourished Star Pattern, Snowflake, Medium Bow dies , Spellbinders A2 matting basics A & B dies, white detail embossing powder, large corner rounder, paper crimper |
Please be sure to visit & comment on all the DT Blogs. It will be much appreciated & also increase your chances to win!
Cathy * Dawn * Julie * Robin * Amy * Lori *
America * Sandee * Lisa * Sabrina * Grace *
Thanks so much for stopping by!

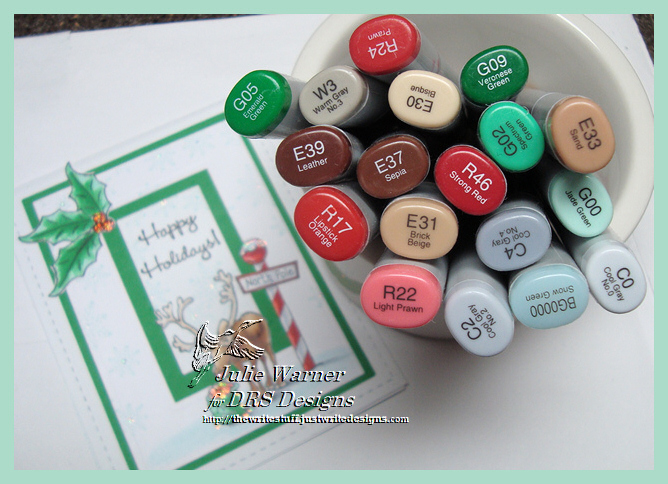
These are the sets & dies I used today: