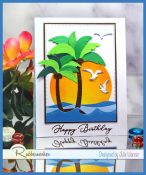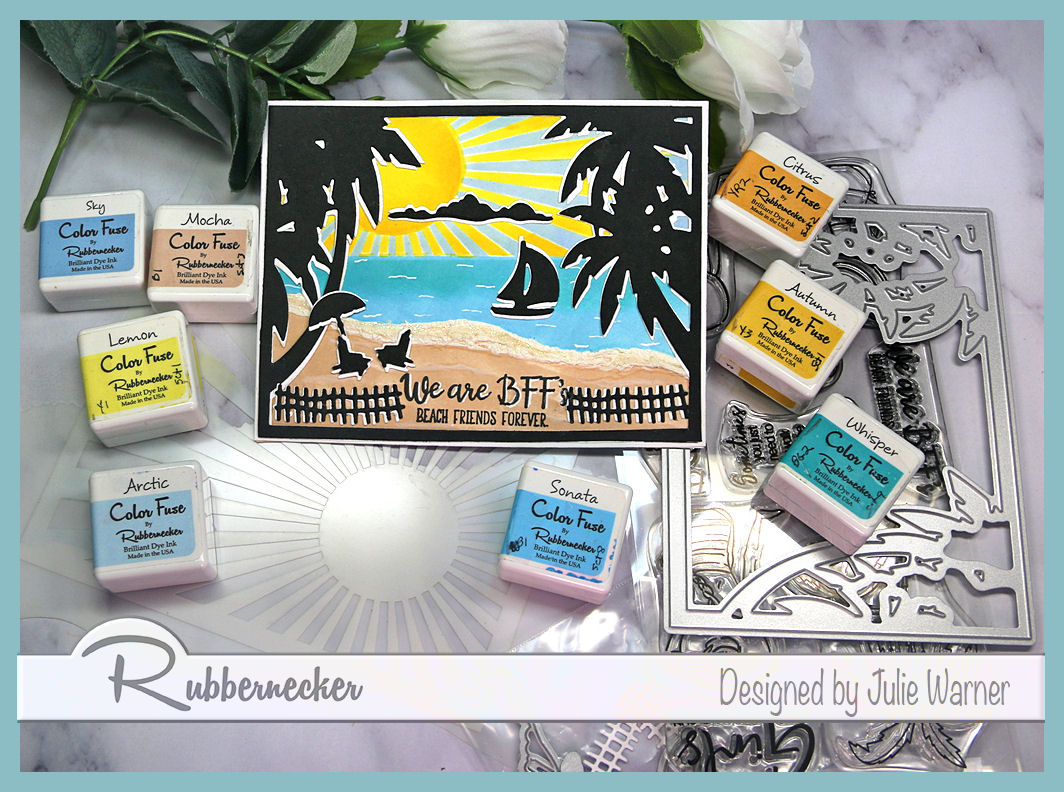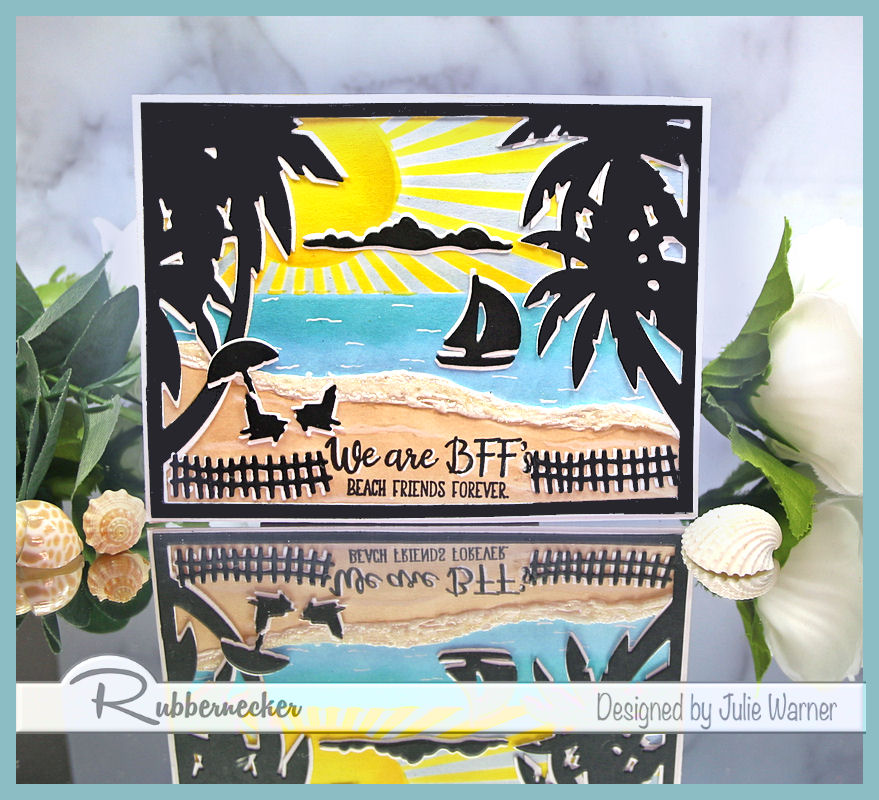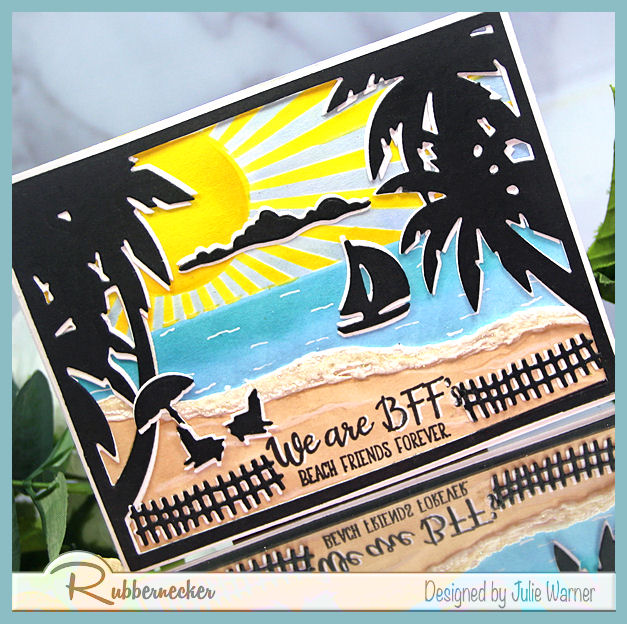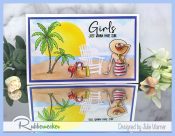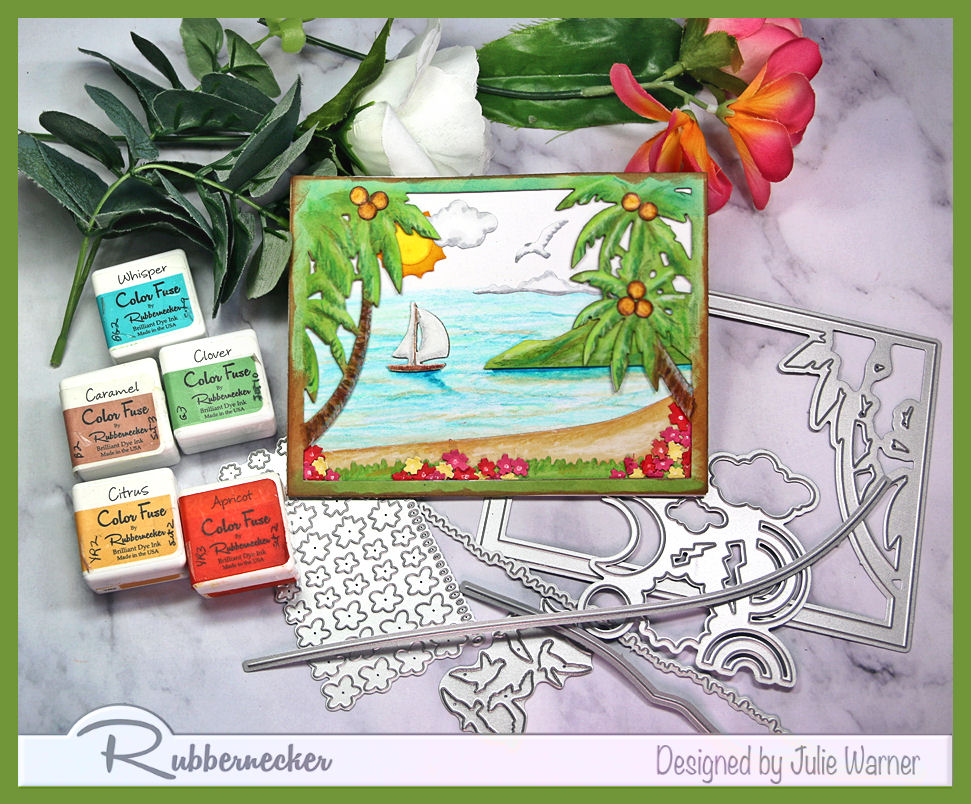
A colorful, tropical card easy to make w/ these fun dies, some ink & a few colored pencils. Sure to brighten someone’s birthday, vacation or retirement.


It’s my turn to host the Inspiration Challenge (IC926) and we’re visiting The Classy Home & their Pinterest Board where I found THIS picture to inspire me.
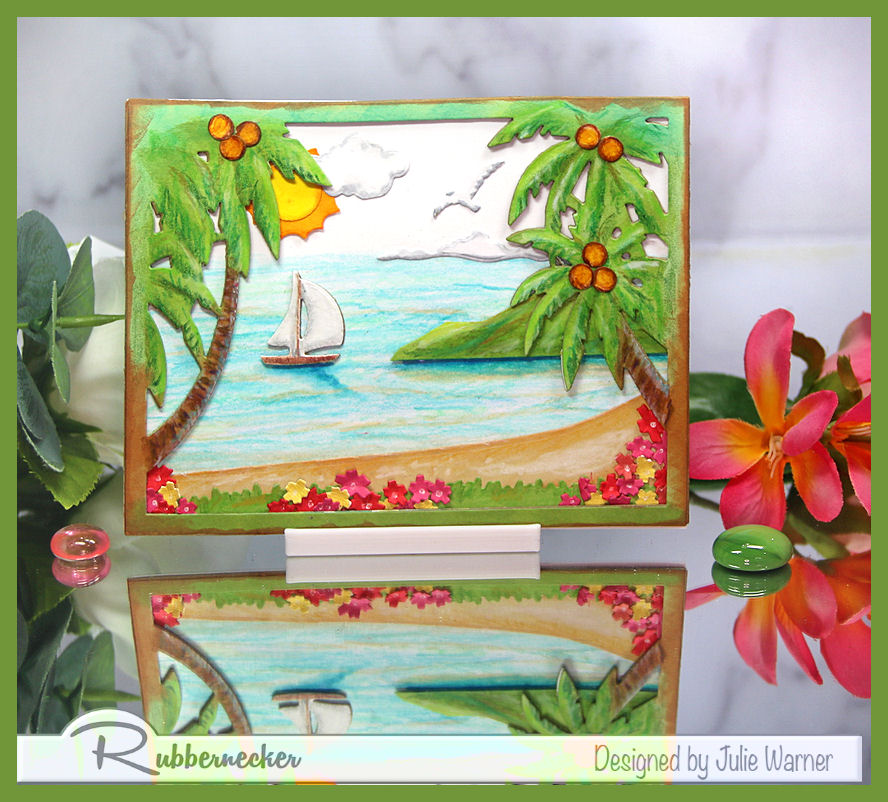
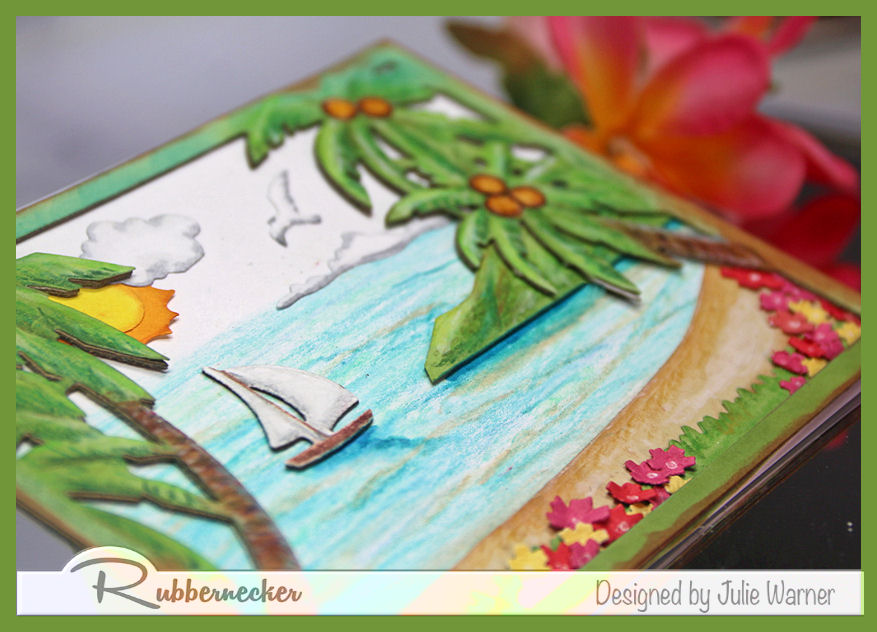
To make my tropical card, I die cut the palm tree frame out of grass green & stacked it a few times to give it a little depth. I used green, brown & blue-green inks to sponge on top of it, then added some details w/ Prismacolor pencils. I also used the pencils to color in the water on the white layer behind it. The grass, sand & little hilly island were also die cut & shaded w/ inks & pencils. I added the other elements to the white bg before attaching the palm tree frame on top.

The small flowers were die cut, shaped & added at the bottom of the frame. The coconuts were made using a small hole punch then colored in.
Thanks so much for stopping by!
![]()
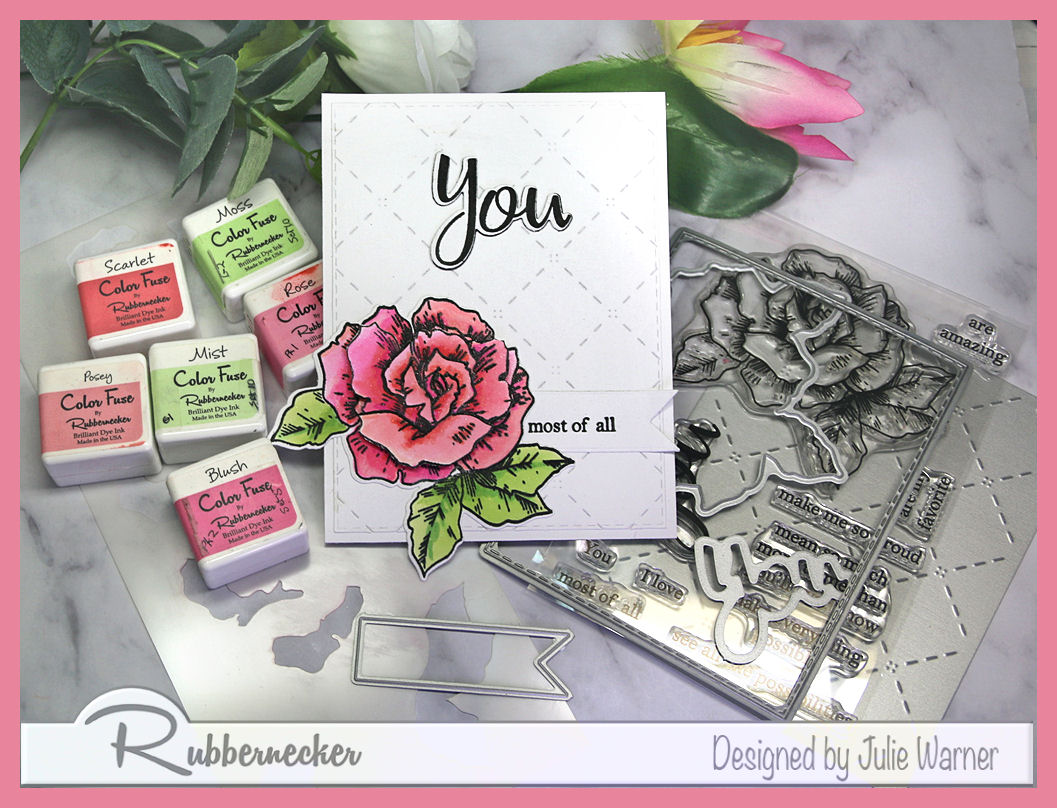
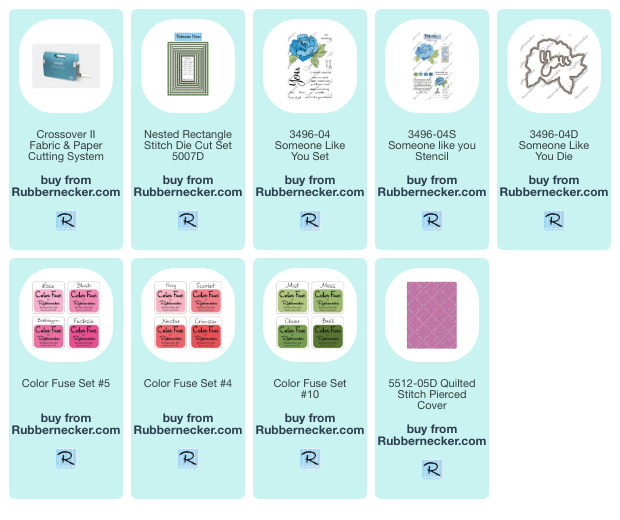
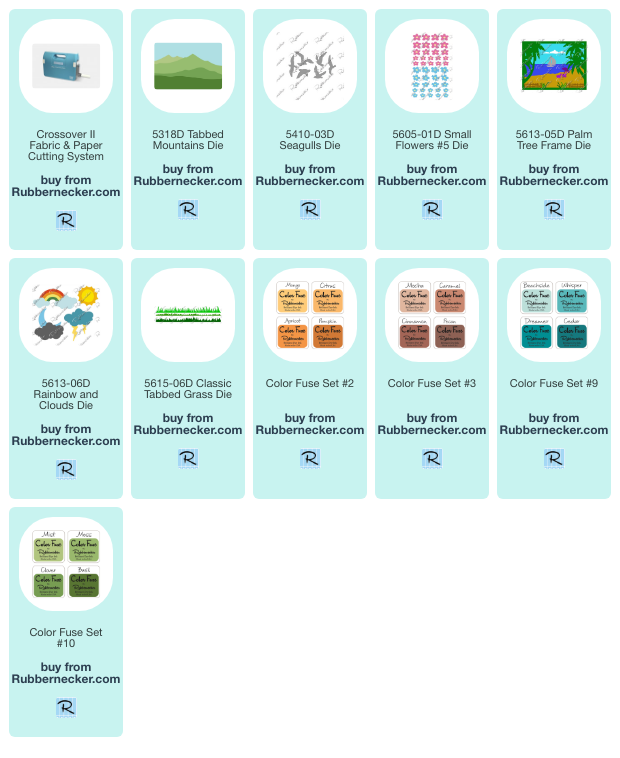
Supplies:

|

|

|

|

|
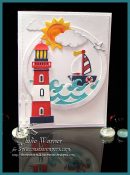
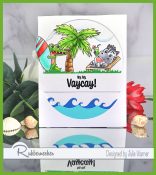
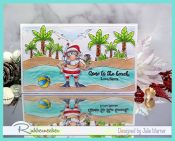
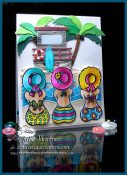
You might also like: