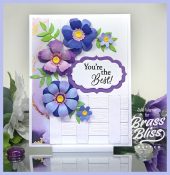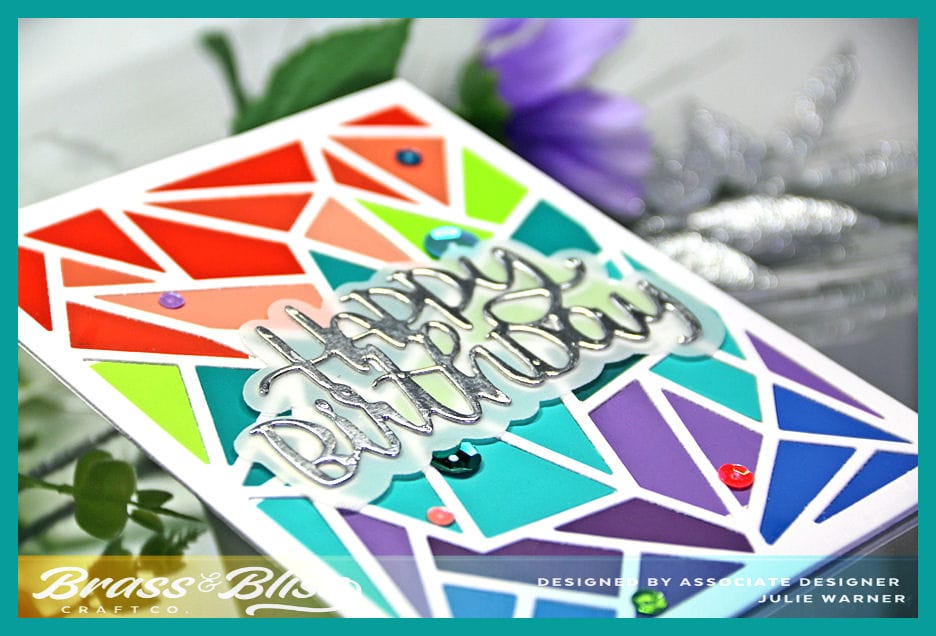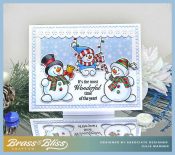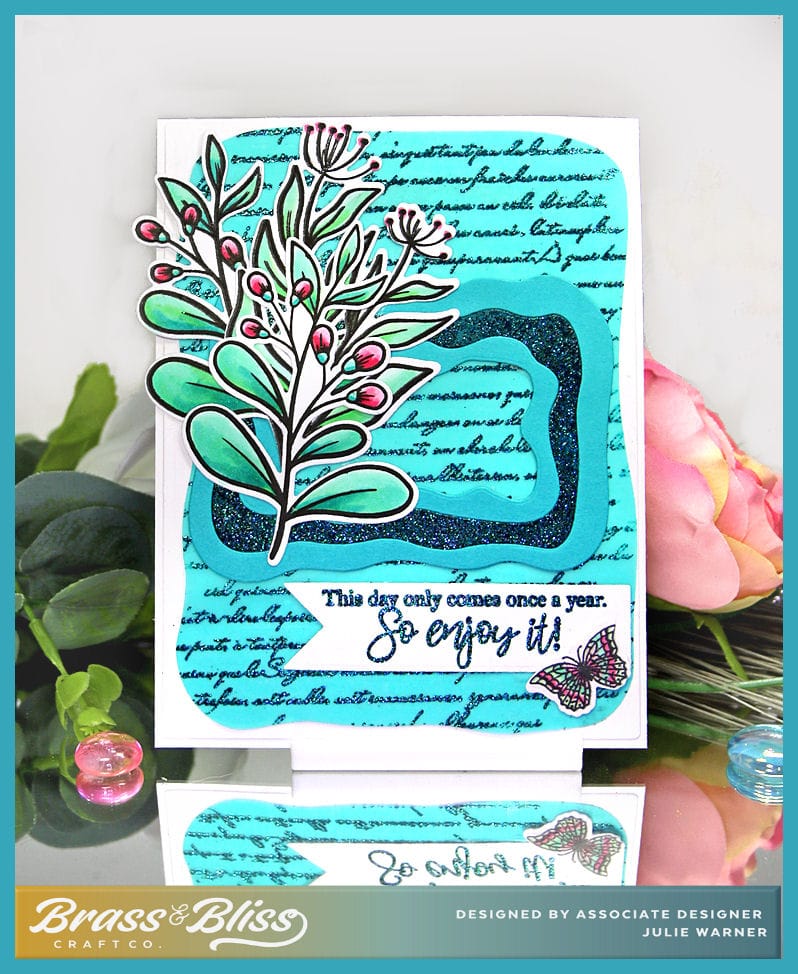
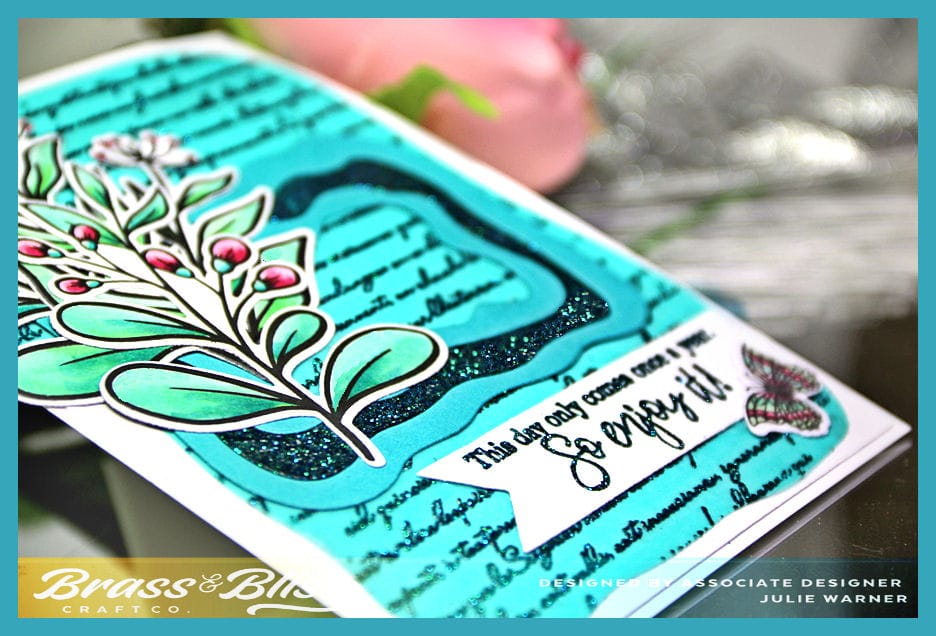
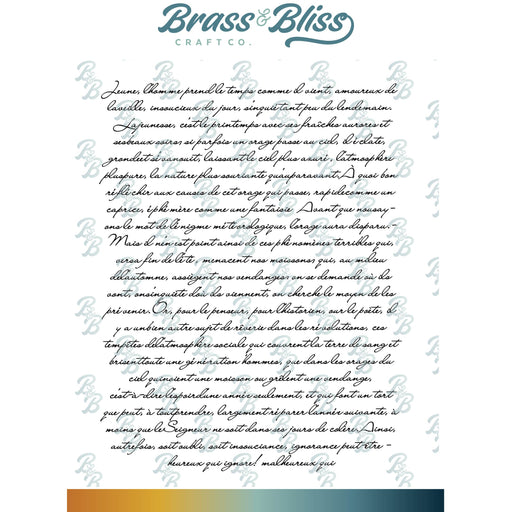
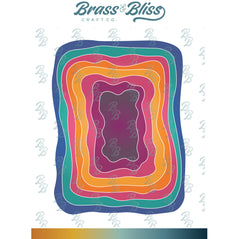
A very glittery embossed birthday card that’s sure to bring a smile on a wintry day. The turquoise vellum is such a pretty color, made even prettier with the French Script embossed with glitter teal powder. Some layered wavy frames add interest to the colored and die cut flower branches
A big congrats to Michelle, the newest Featured Stamper FS936! She has a lovely little gallery & I chose THIS card to case. I kept the layout, vellum & leaf branches, but I used different images, dies, colors & heat embossed the vellum instead of dry embossing it.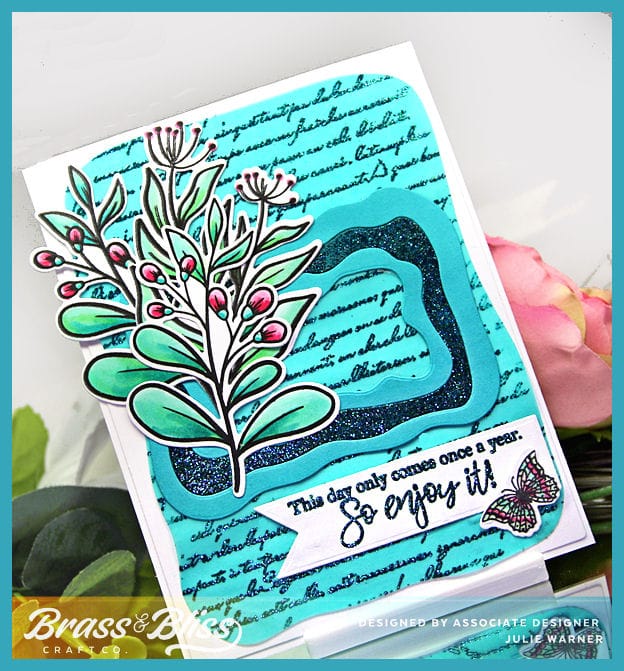
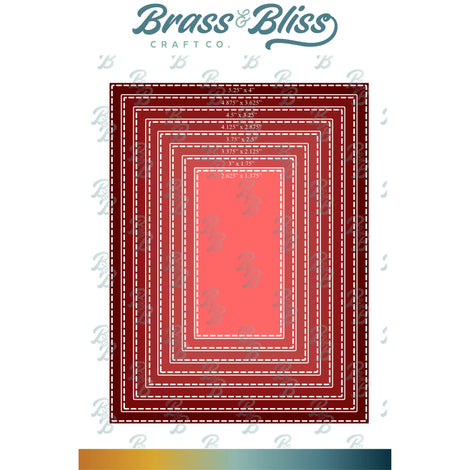
To make my card, I colored & die cut the 3 leaf branches. I used a set of Wavy Rectangle dies for the vellum & also the 3 nested frames in the center. After die cutting these, I heat embossed the center frame & did the same w/ the French Script across the vellum. I love how sparkly it is! The greeting was also heat embossed on the tag. Since this vellum is darker than white or translucent, I didn’t have to worry about the adhesive showing. I ran the tape runner in lines behind all of the embossed text.
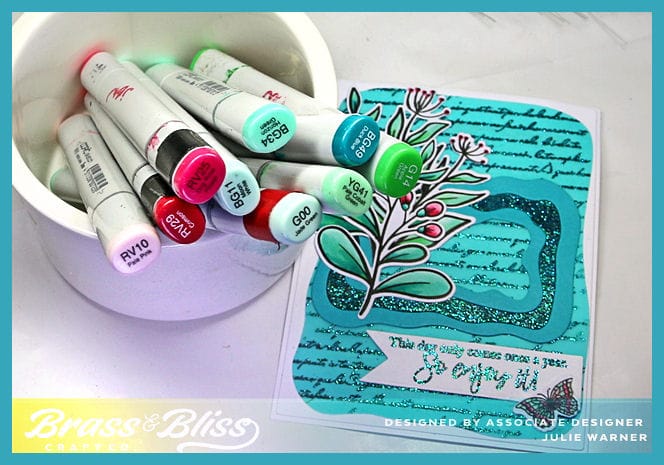
Here are the Copics I used on the branches & butterfly.
Thanks so much for stopping by!

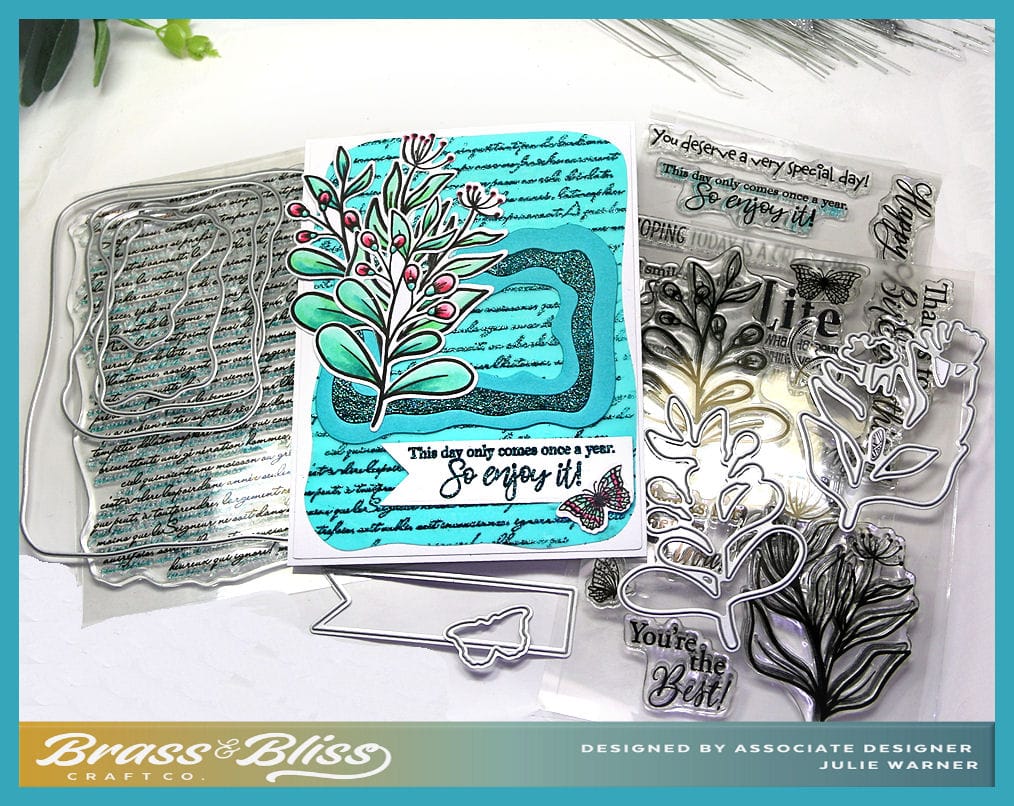
Supplies:
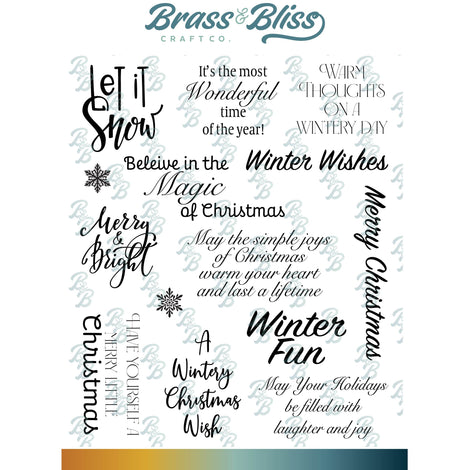
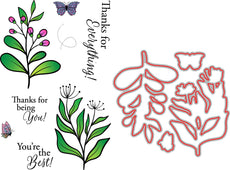
| Stamps: Brass & Bliss: Simple Floral #1 (retiring, but still available), French Script, Someone Special |
| Paper: Staples 110# white, turquoise, turquoise vellum |
| Ink: Memento tuxedo black, Versaclair Warm Breeze |
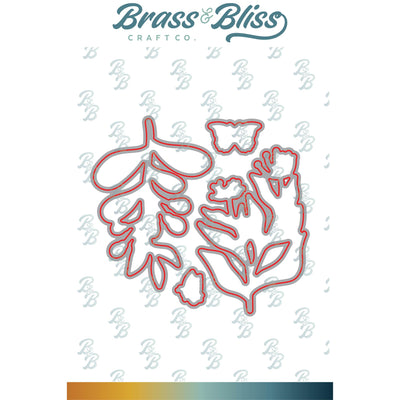
| Accessories: Brass & Bliss/Rubbernecker Stamps: Wavy Nested set, Simple Floral #1 dies, MISTI, Copic Markers, Ranger embossing powder |
|

|
|

|
|

|
|

|

|

|

|

|

|

|

|
|
You might also like:
![]()
![]()