
• Tag Archives Spellbinders
  • SSCB #20 Watercolor


    Julie Warner – https://thewritestuff.justwritedesigns.com

    Welcome to a new challenge for Serendipity Stamps! The Serendipity Challenge this week is Watercolor!  

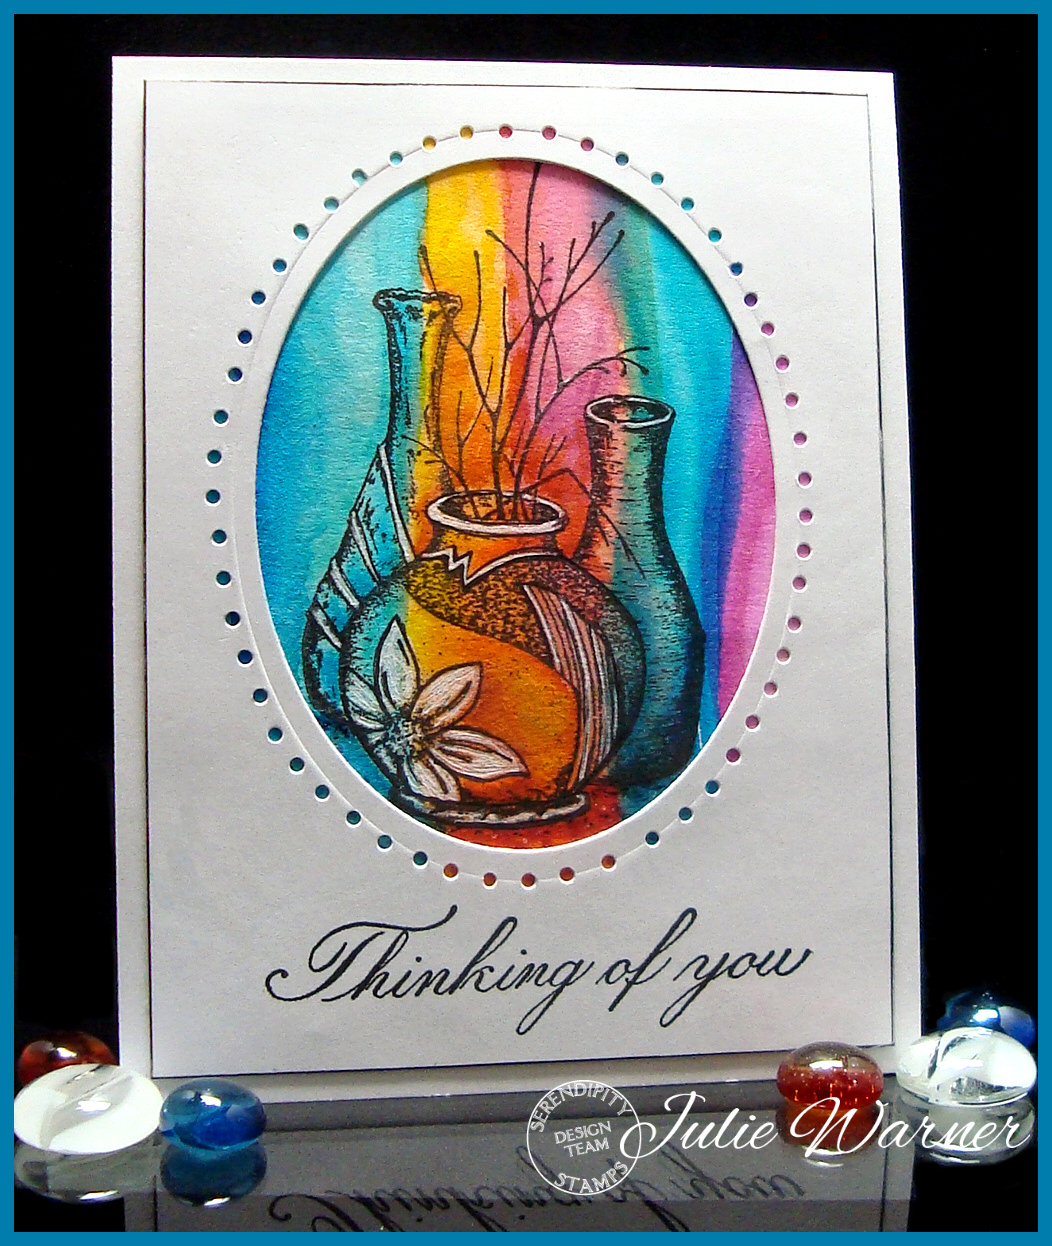
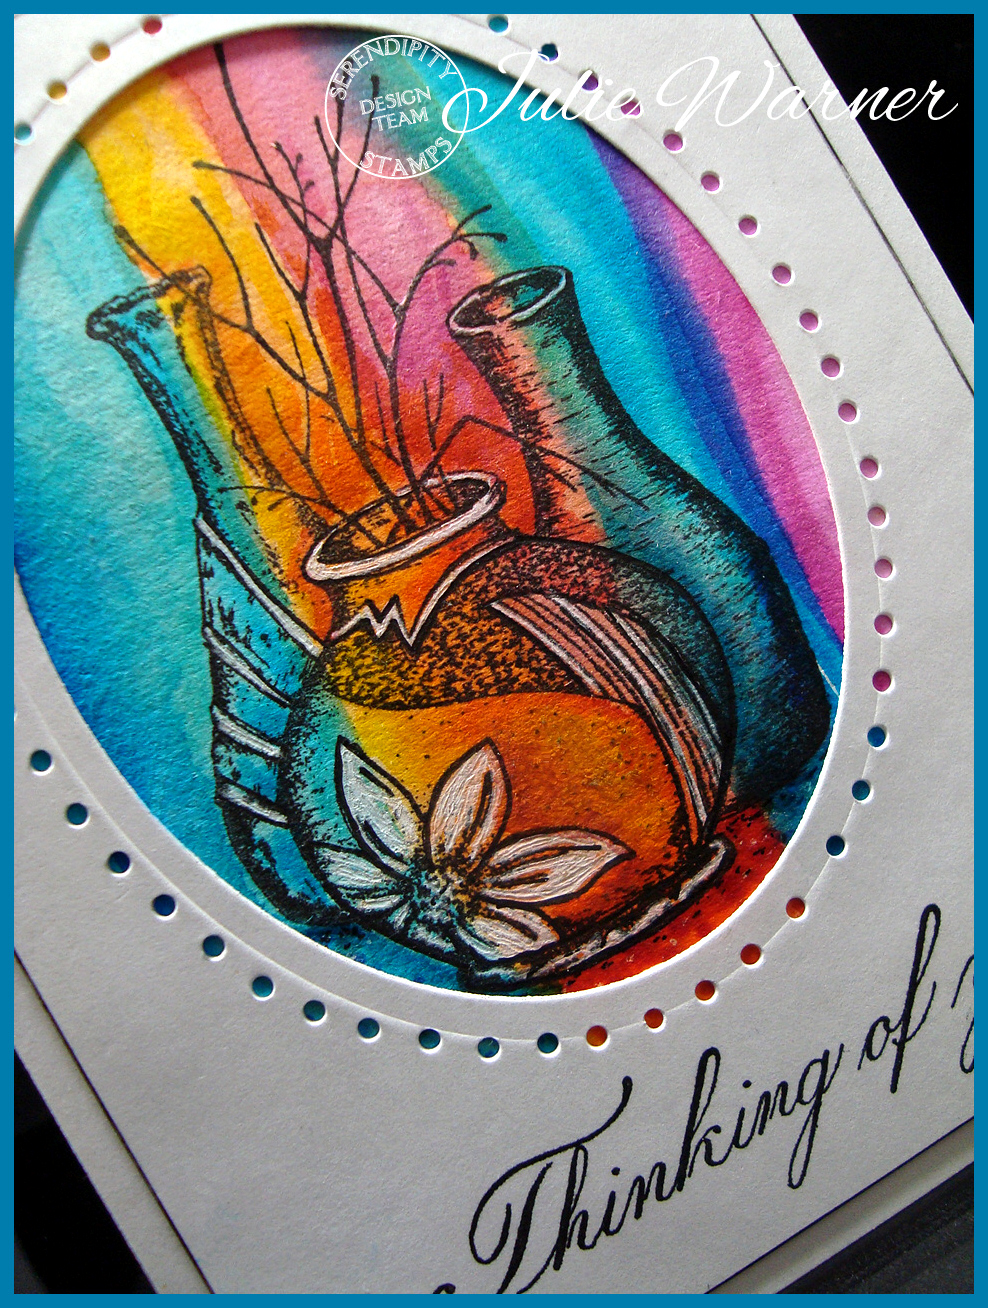
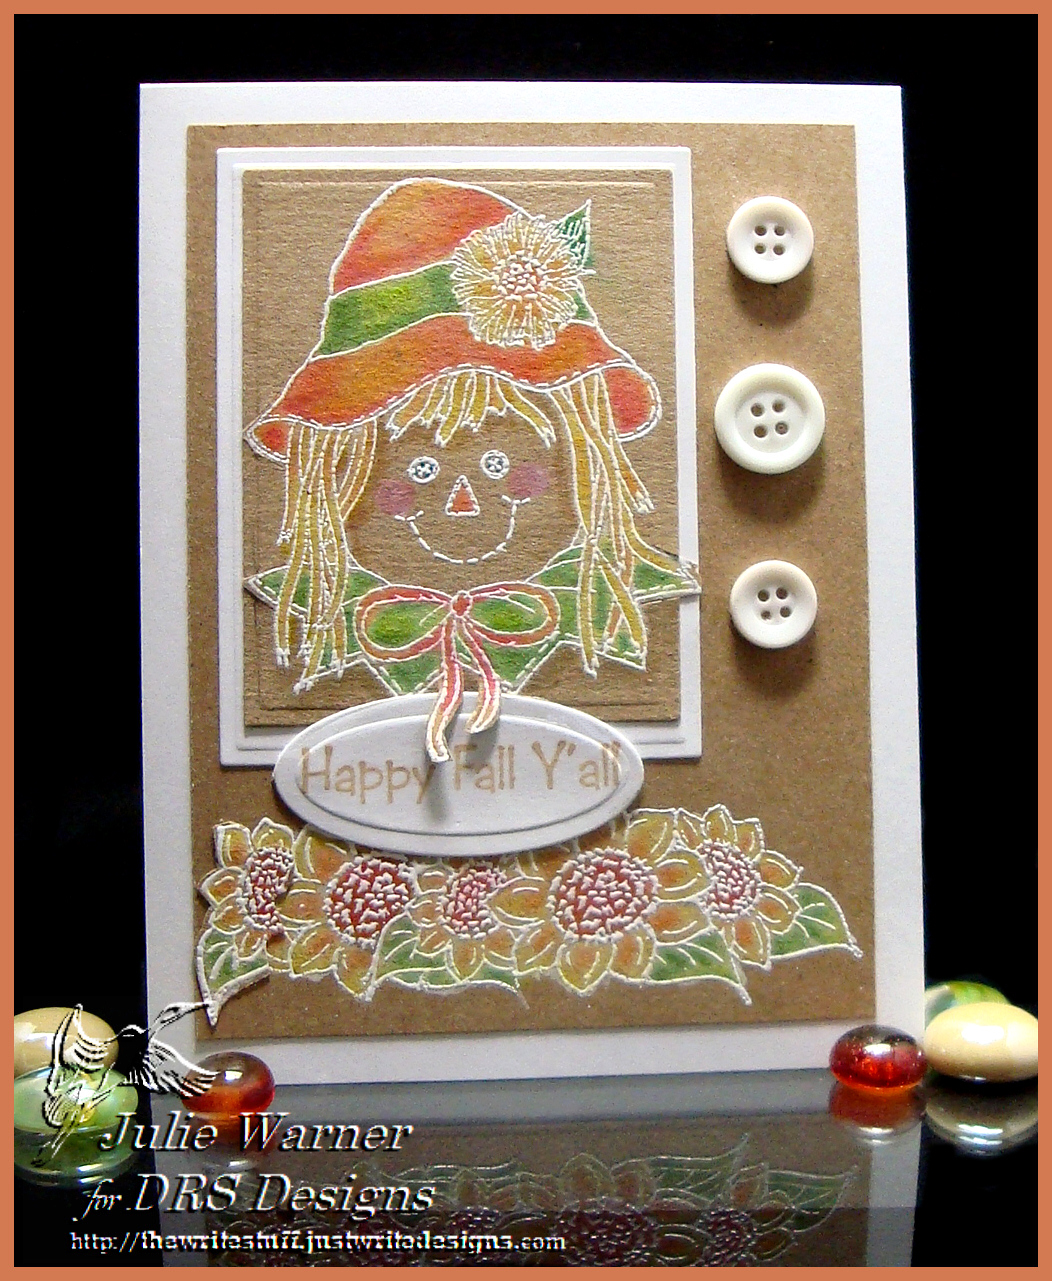
    While I love to water color, I also love to make water color backgrounds…just free form swaths of color…then stamp on top of them. I love the random patterns of color I get and how they look with the images on top. A lot of times when I’m making water color backgrounds, I’ll make an extra, or two, and stash them away. This is one of those extras. I don’t even remember when I did it. It’s basically just large bands in different colors. After I decided where I wanted the image and stamped it, and added some highlights with a white gel pen.

    Julie Warner – https://thewritestuff.justwritedesigns.com

    The frame was die cut with a large oval then I used a Japanese screw punch with the smallest bit I have to punch the holes all around the edge. The greeting was stamped underneath to finish my 4.25 x 5.50 card.

    Thanks so much for stopping by and be sure to check out all of the Watercolored Wonders from the Serendipity Design Team!

    Jeanne Jachna
    Marybeth Lopez
    Miriam Napier
    Pauline Pollington
    Anya Schrier –not posting this time  😥
    Jenny Gropp
    Vickie Zimmer
    Julie Warner – you are here!
    Karen Amidon 


    Julie2 sig

    Supplies:

    Stamps: Serendipity Stamps – Vases, Thinking of You
    Paper: Neenah white, watercolor paper
    Ink:  Versafine onyx
    Accessories:  Peerless water colors, Tombow markers, white gel pen, Spellbinders lg oval die, Japanese screw punch w/ 1.5mm bit, black Permapaque marker


  • ODBD Mid Month September Review

    Christmas Bells 2005

    Welcome to the ODBD Mid Month Review! The Design Team has a whole bunch of new projects to inspire you using images from the September release!

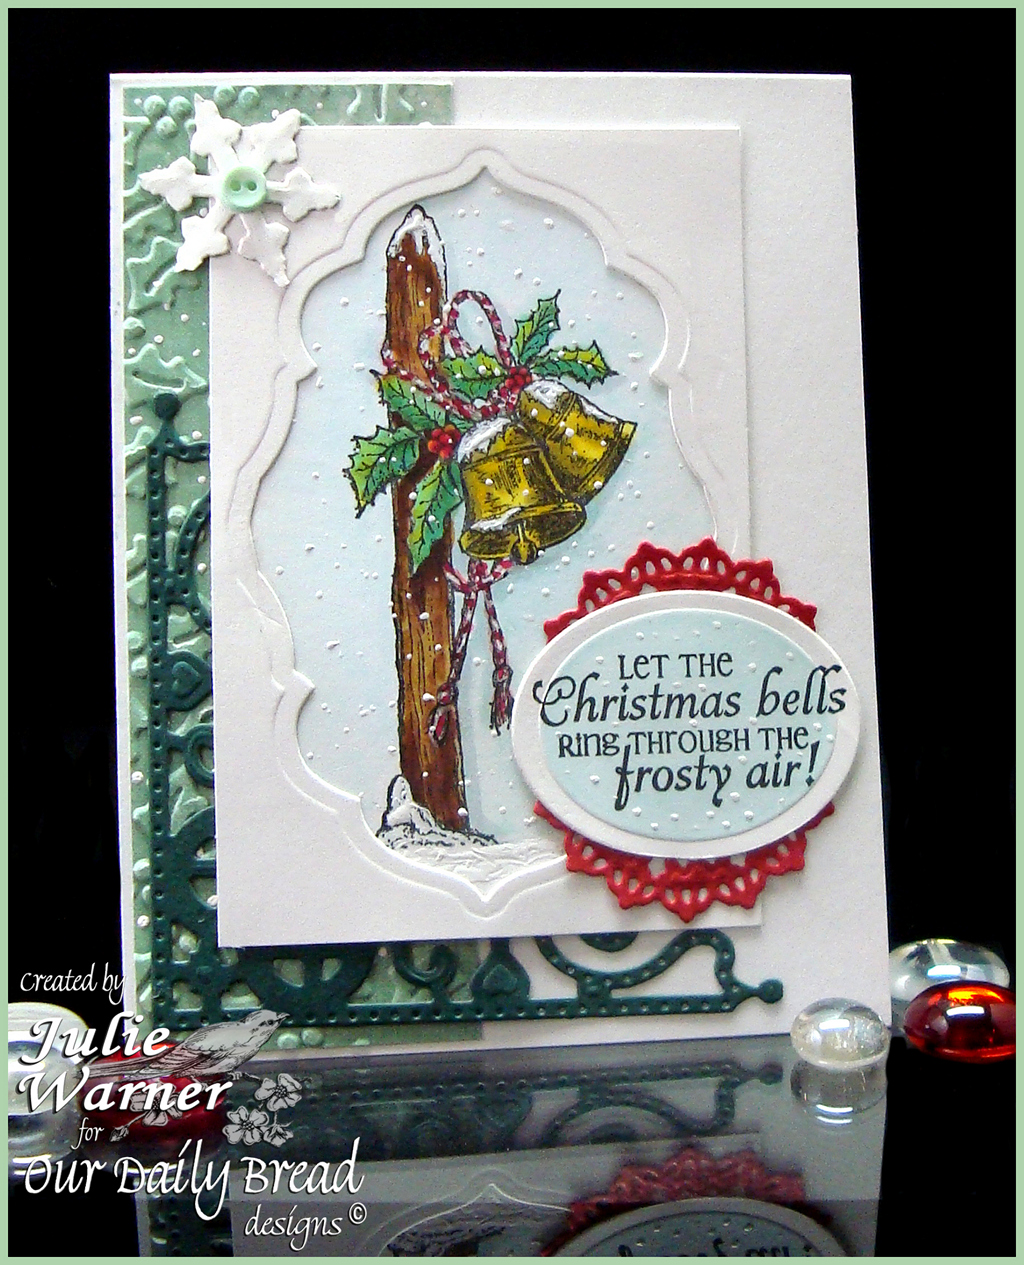
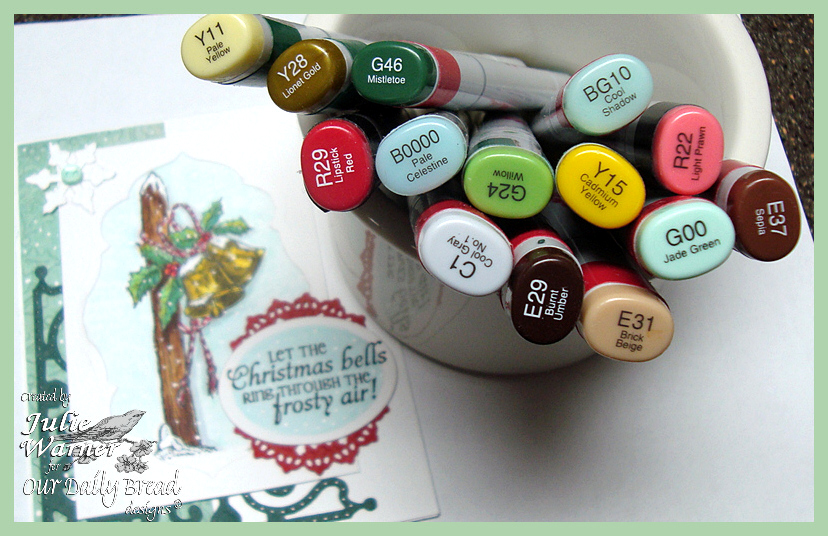
    For my card, after stamping and coloring the image I added a die cut frame. On the greeting oval,  I left the die in place and used a Copic marker to color in the oval before stamping the greeting on top. Two red fancy ornament die cuts were added on top and bottom.  A decorative corner die cut out of forest green was used in the lower left corner. On the lt green dp, I embossed it w/ a holly folder then used the Copic opaque white paint to add dots to it, the main image and the greeting oval The finished card is 4.25 x 5.50 and these are the Copics I used to color the image,

    Julie Warner - https://thewritestuff.justwritedesigns.com

    Thanks so much for stopping by! Please visit all of the DT blogs for more inspiration using this month’s release!

    Grace~Sandee~Chris~ Julie (you are here)~Cathy~Sabrina~Dawn~Lori!~

    Julie2 sig
    Supplies:

    Stamps: Our Daily Bread designs – Jingle Bells
    Paper: white, forest green, red, dp (Prima -Madeline collection)
    Ink: Memento tuxedo black
    Accessories:  Copic markers, Spellbinders oval & snowflake dies, ODBD Decorative Corners, Fancy Ornaments & Antique Labels dies, Copic opaque white paint, small button, Holly embossing folder (Paper Studio)

  • North Coast Creations Sept Release!

    Julie Warner – https://thewritestuff.justwritedesigns.com

    Welcome to the North Coast Creations September Release!

    On this card, after stamping and coloring Santa, I die cut him and attached him to a strip of designer paper. I stamped the Merry Christmas greeting repeatedly down the sides of two white strips I attached before adding some die cut fancy ornament shapes. The finished card is 4.25 x 5.50.

    Supplies:

    Stamps: North Coast Creations – Old Fashioned Santa
    Paper: Neenah white, red, dp (Basic Grey- Jovial)
    Ink: Memento tuxedo black
    Accessories: ODBD antique label & fancy ornament dies,  Copic markers, ribbon, small velveteen bow

    Julie Warner – https://thewritestuff.justwritedesigns.com

     For this card, I also colored it w/ Copics and die cut it and the forest green layer behind it. The large white panel was dry embossed before attaching to another forest green layer. The sentiment was die cut using the ODBD Recipe & Tag dies set and the forest green behind it was die cut with one of the ODBD Fancy Ornament dies. Some baker’s twine and a little stickles was added to the 5.50 x 4.25 card.

    Supplies:

    Stamps: North Coast Creations – Santa’s Sleigh
    Paper: Neenah white, forest green
    Ink: Memento tuxedo black
    Accessories: ODBD Recipe Tag & Fancy Ornament dies,  Copic markers, baker’s twine, stickles, Spellbinders labels 1 & Decorative labels 1 dies, Cuttlebug embossing folder

    Thanks so much for stopping by! Please stop by all the Designers’ Blogs for more inspiration!

    Dawn, Sabrina, Sandee, Lori, Julie (you are here!) , Lisa