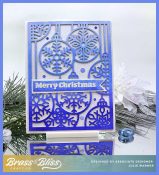
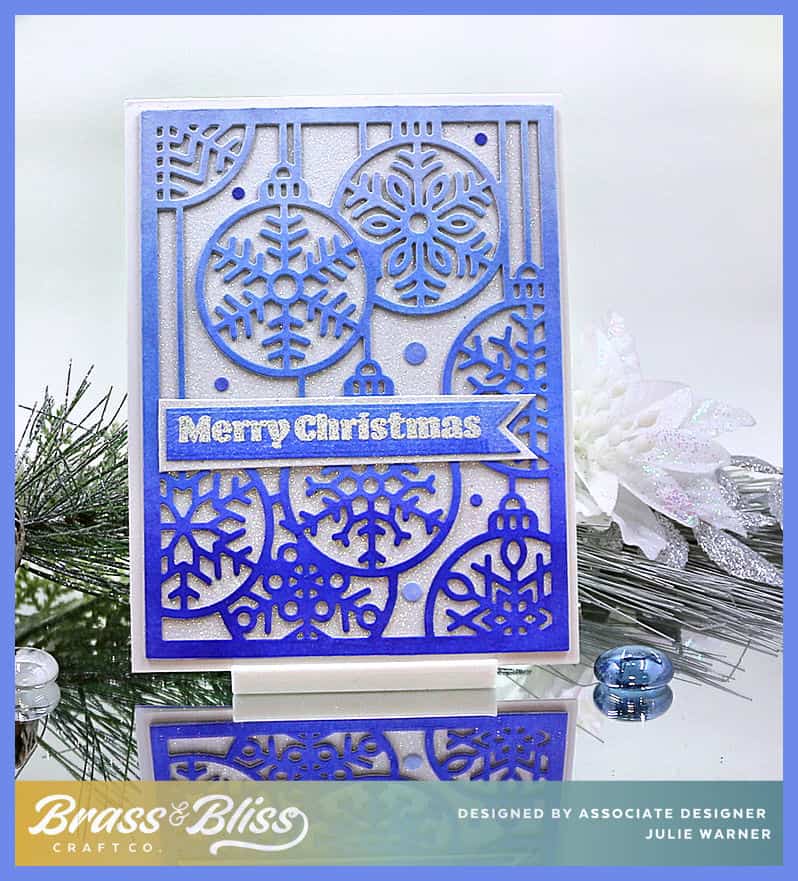
• Blue Ornaments


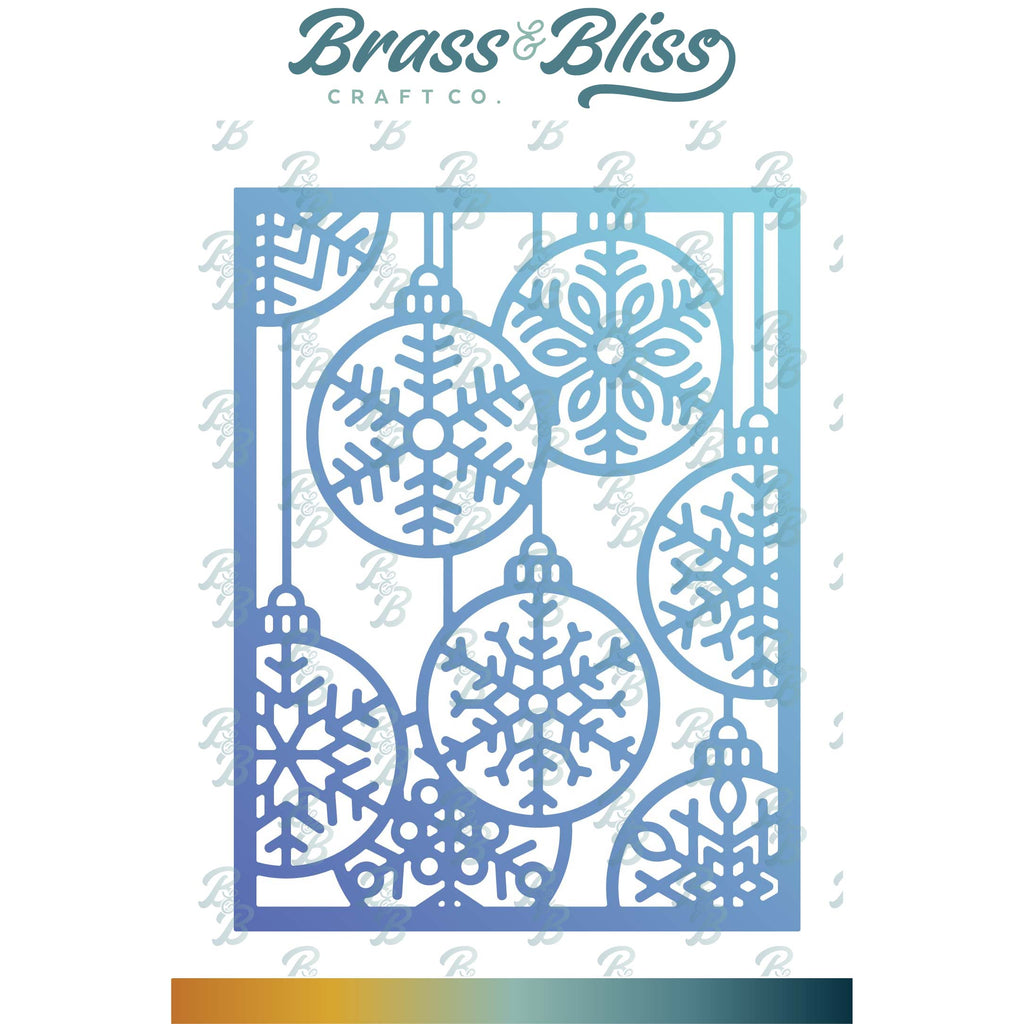
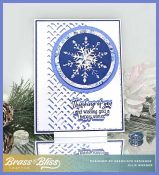
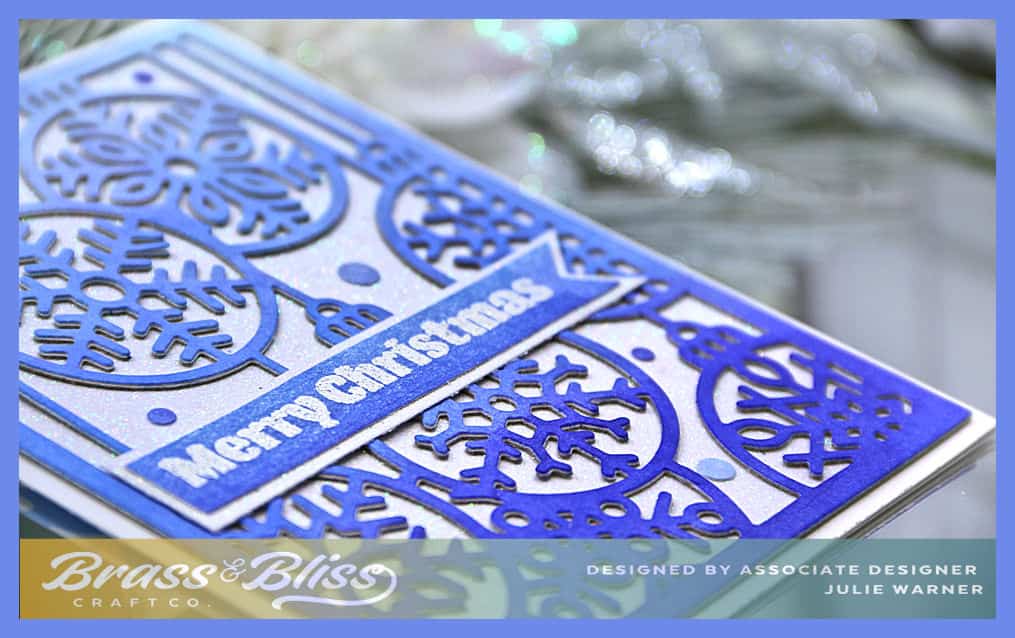
    If, like me, you happen to need a festive, but quick card for the Holidays, I have an ornament card all done in shades of blue. It’s on top of a very sparkly white glitter background. This cover die would be great in all of your favorite holiday colors. I’ll mention, this cover die, as intricate as it is, cuts like a dream!  
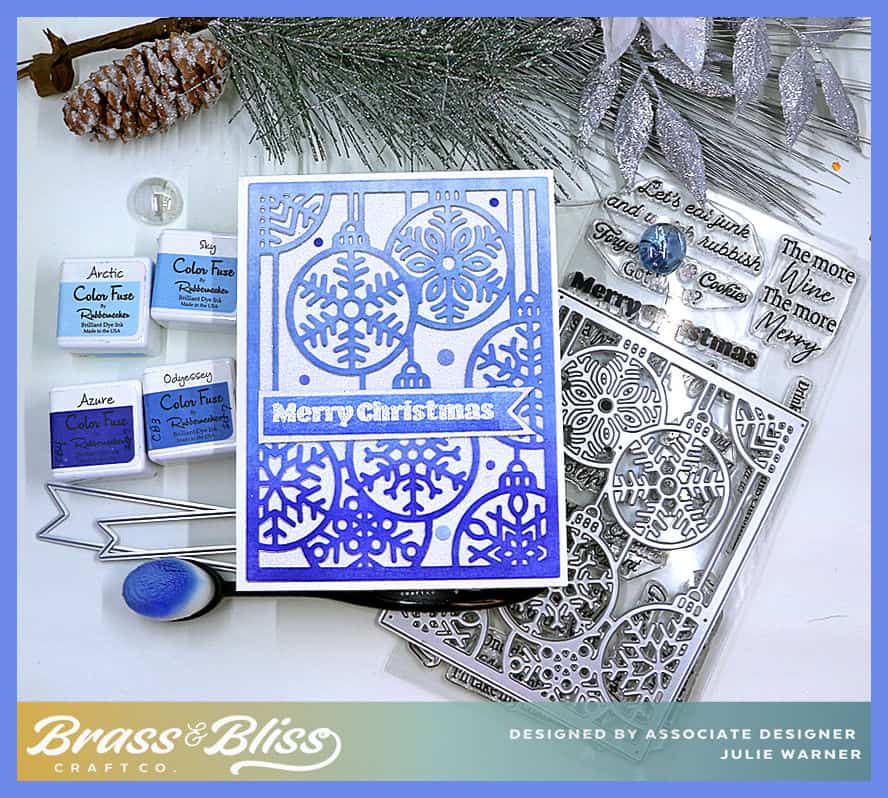
    It is my turn to host the Featured Stamper Challenge, FS985. So a big congrats to Cathy! I chose THIS to case. I kept the blue snowflakes & wintry theme, but I used a snowflake ornament cover die & made mine a Christmas card instead of a calendar page.
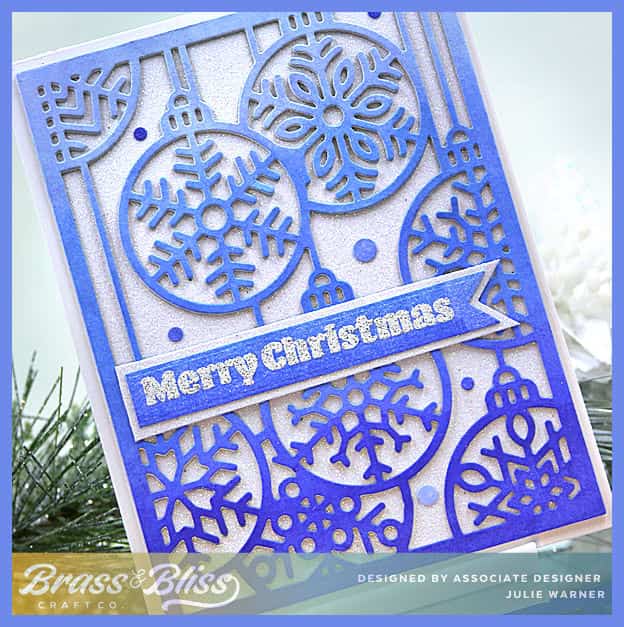
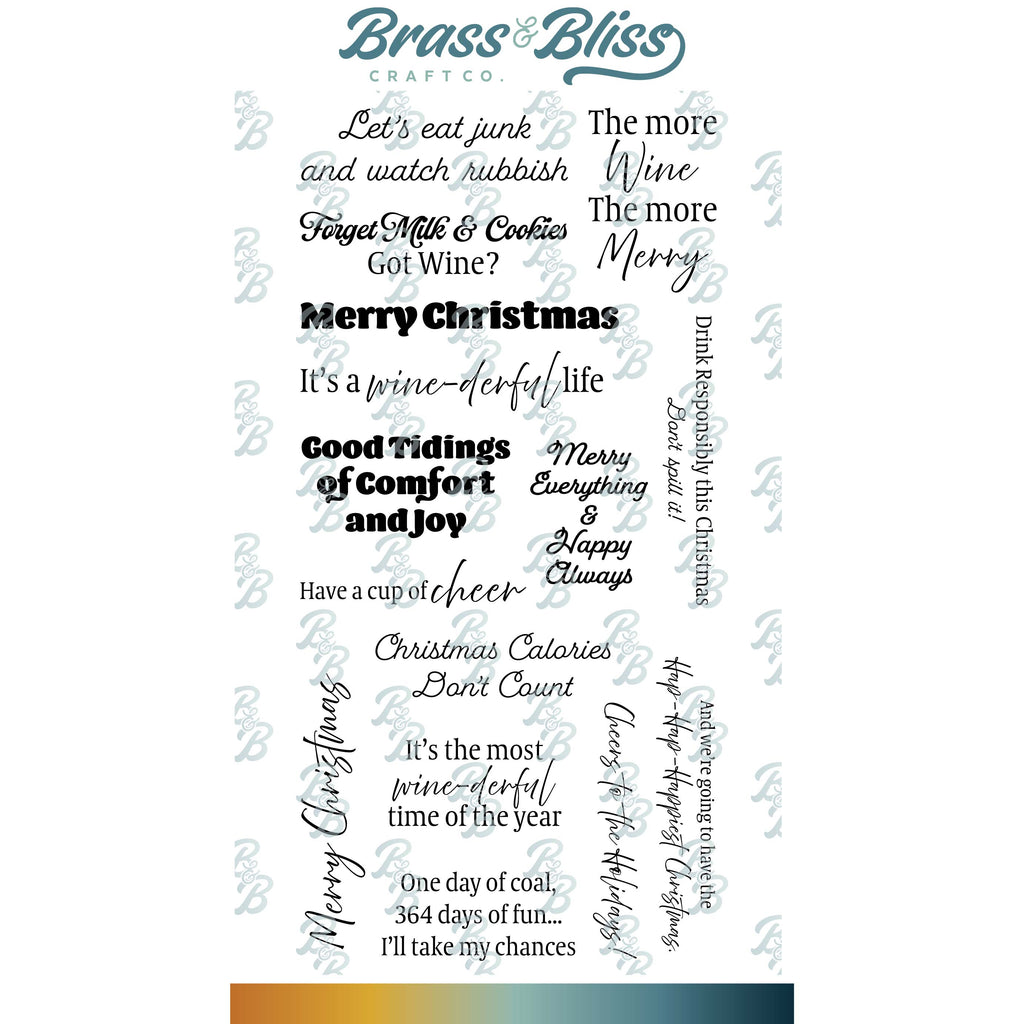
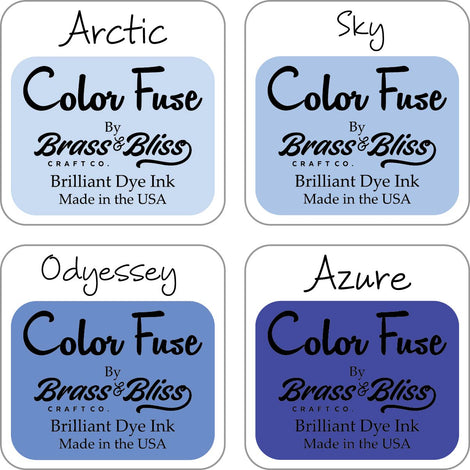
    My card is fairly easy. I color blended a piece of white card stock with 4 shades of blue, going from the lightest at the top to the darkest at the bottom. I let it dry for a minute, then die cut it w/ the large cover die. A piece of cardboard was also cut to attach under it. Then it was attached to a piece of white glitter card stock. The greeting was embossed on a leftover piece of the blue using a white glitter powder. It also is attached to a larger glitter tag & attached across the front. Some of the leftover circles from the ornament centers were attached here & there.
    Thanks
    so much for stopping by!


    Supplies:  (click the names below the pictures to take you to the products)

    Stamps: Brass & Bliss: Very Snarky Christmas set
     Paper: Staples 110# white, white glitter
    Ink: Hero Arts Unicorn, Brass & Bliss: Color Fuse ink set # 7
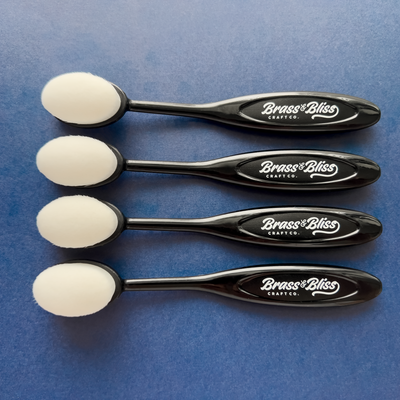
    Accessories:  Brass & Bliss: Ornament Panel, Offset Tags dies, Lg Blending Brushes,  Misti, white glitter embossing powder


  • Out of My Gourd


    X4!
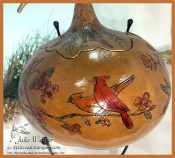
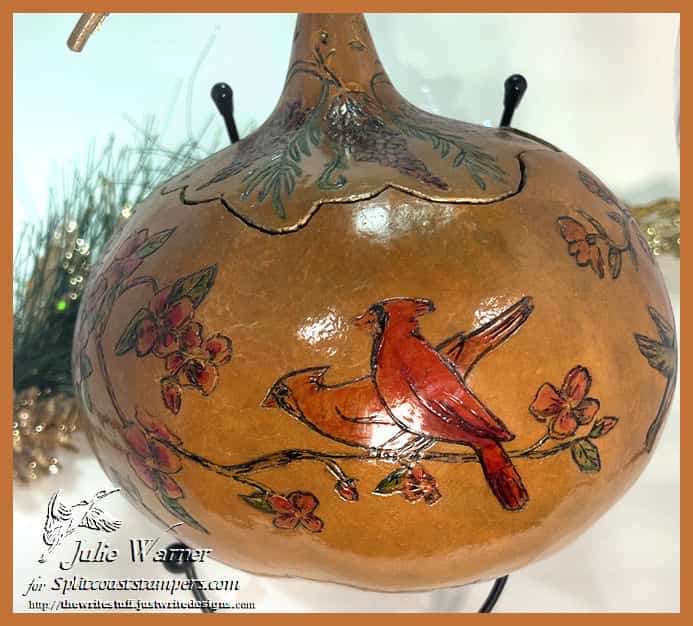
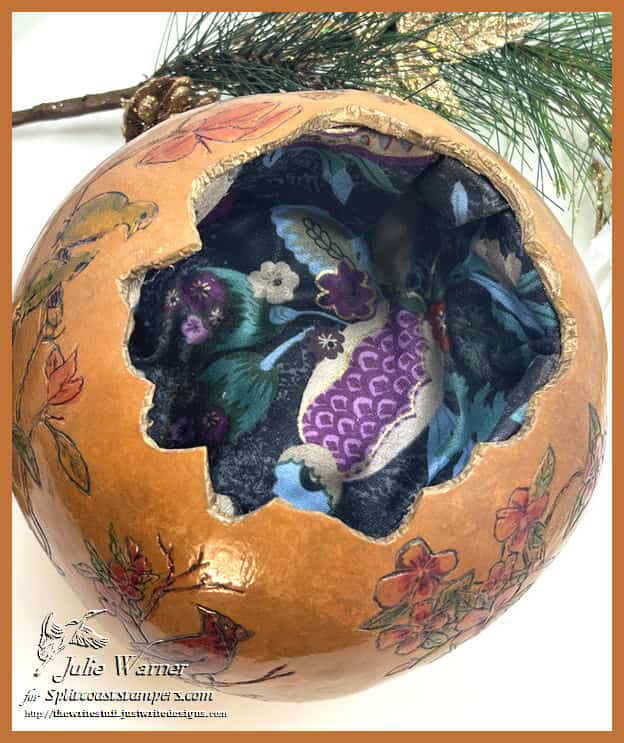
    This is anything BUT a card today. If you can’t tell, this is actually a gourd that I carved, painted & varnished. For the Inspiration Challenge IC1046, we are visiting Lucuma Gallery & their Pinterest Boards. Since they are all about gourds, I had to use this one. It reminded me of so many but THIS one in particular.  I made several of these & two I still have but I am unable to locate the other one. These were all different & the third one was gifted to a relative. Since it is a round, 3D object, it’s a little trickier to photograph. This is one view showing a pair of cardinals. To make this, I penciled in the scene, then used a Dremmel tool to carve the lines. The lines were accented with black then the insides were painted. Apparently, the paint I used was a little fugitive as they have faded a bit, even with the varnish coating.

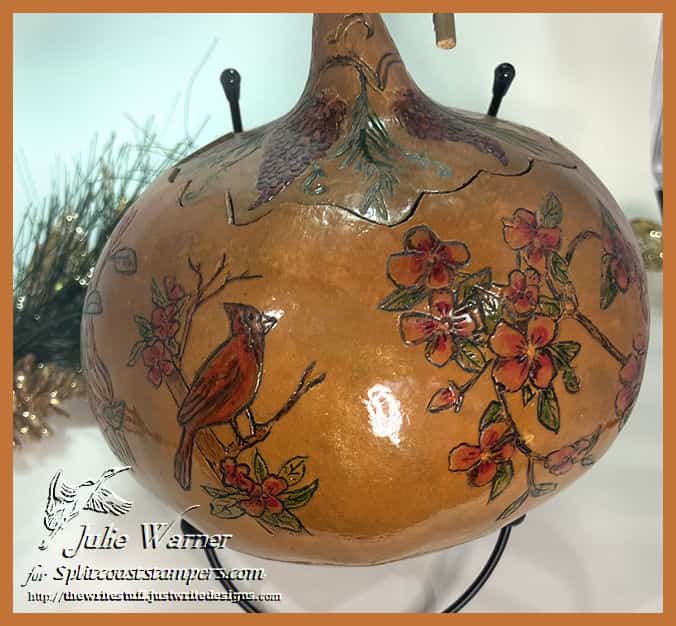
    Another side showing a single cardinal & a cherry blossom branch. I will mention, carving a round, slightly slick surface is a bit tricky, even with the Dremmel.

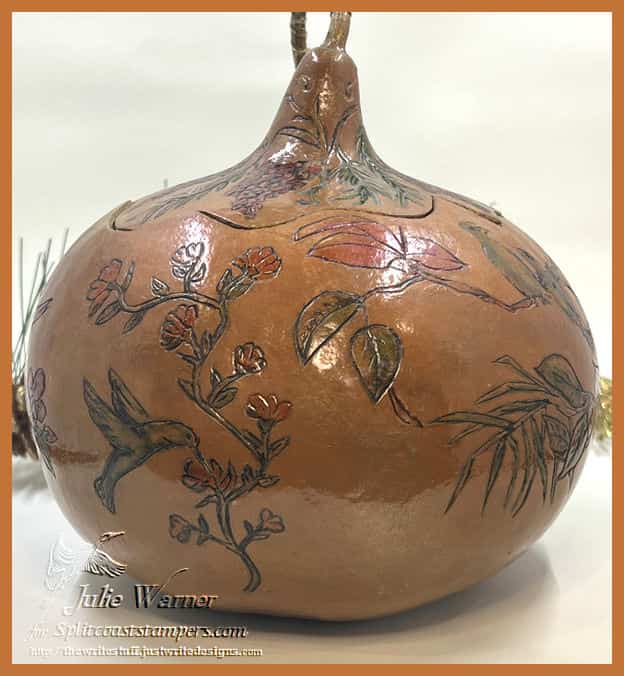
    Third side with a hummingbird. I also would like to mention that the gourd was thoroughly washed & scrubbed, then allowed to dry before I started.

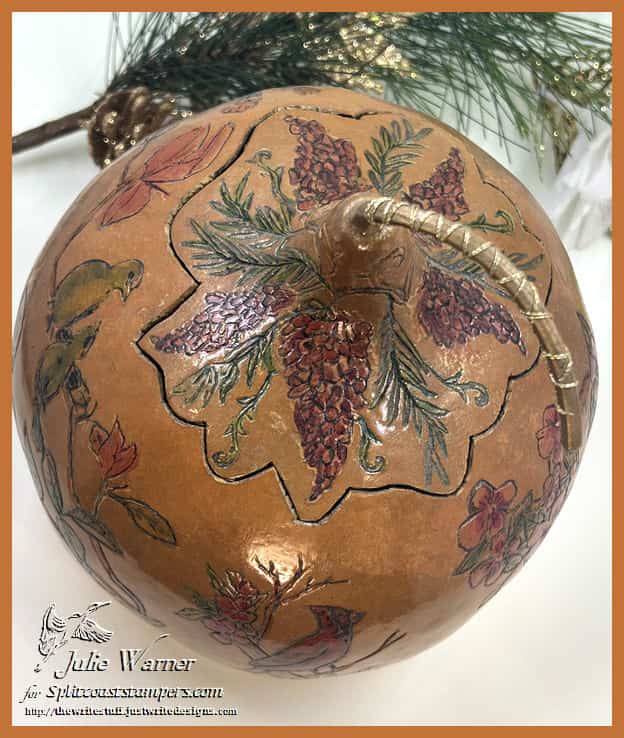
    Top view with wisteria surrounding the stem. After I finished drawing the wisteria, I cut it open & cleaned out the inside. Then the carving, painting & coating took place. Since the top is cut around the wisteria, it only goes back on in the corresponding spot.

    This is a view with the top off. I padded the inside a bit & covered it with fabric. Next time, I’ll be sure to use better paint so it won’t fade. The gourd is about 6 inches high & 7 inches across at the widest point.

    Thanks so much for stopping by!


  • Purrfect Christmas


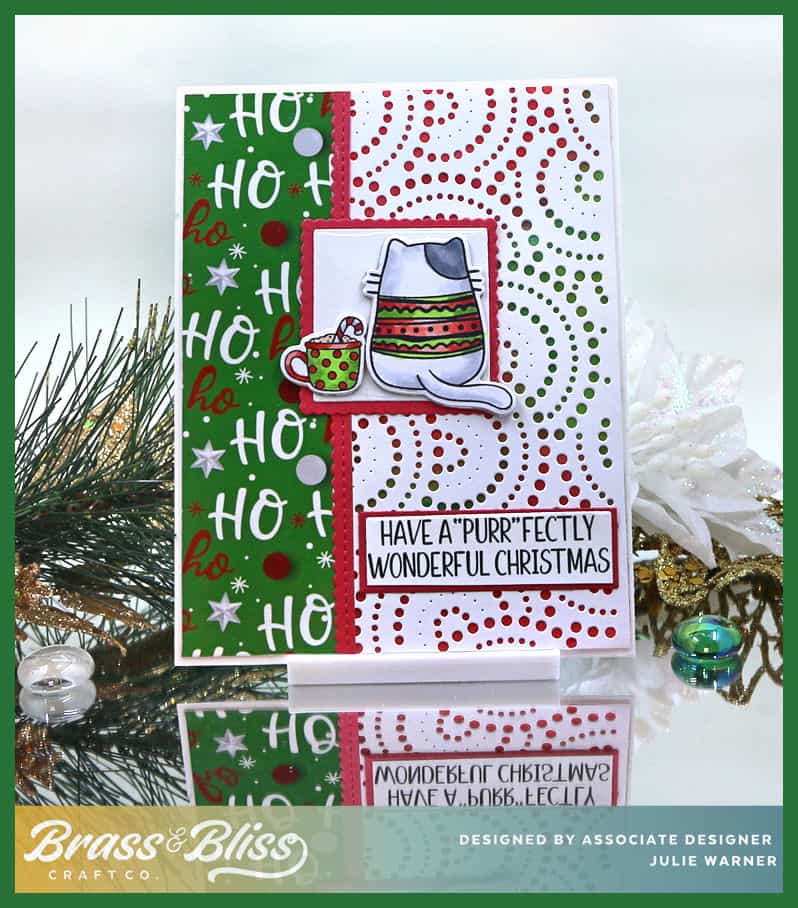
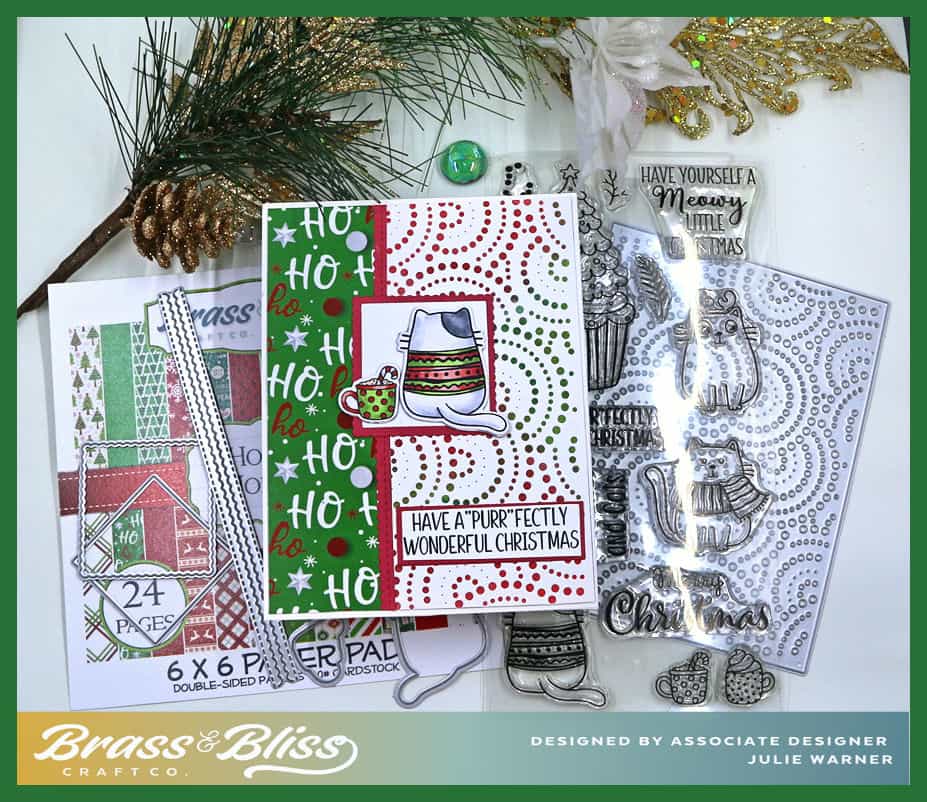
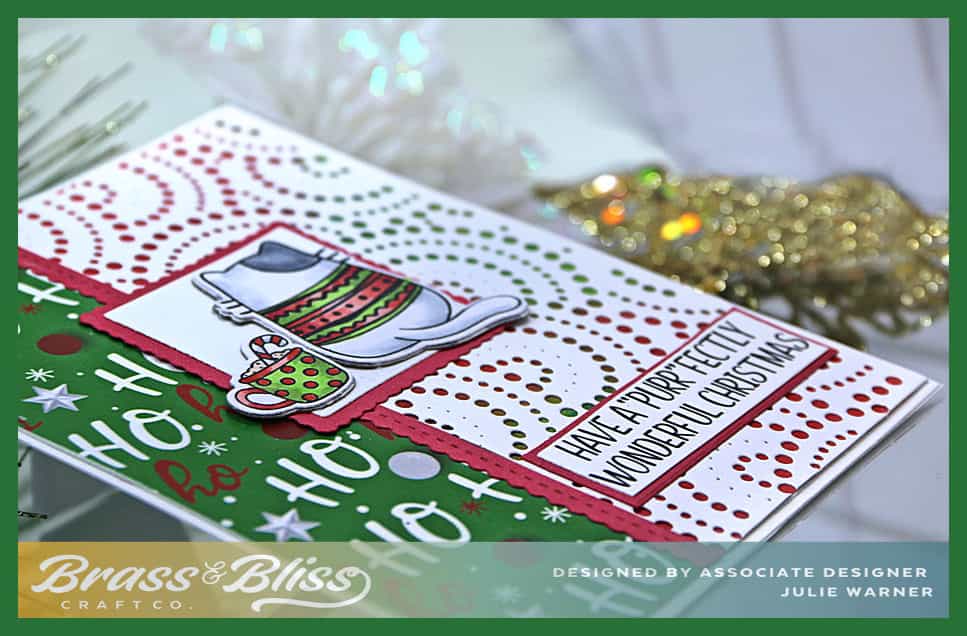
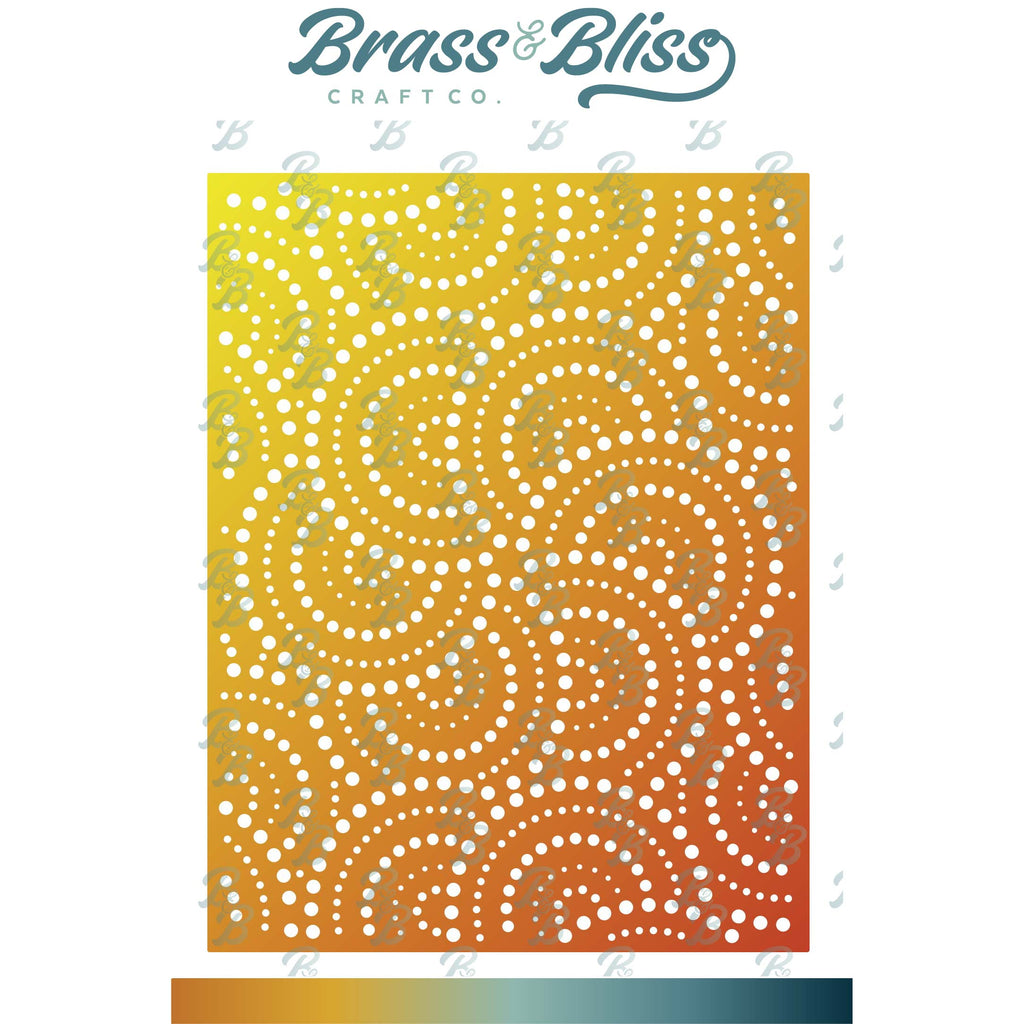
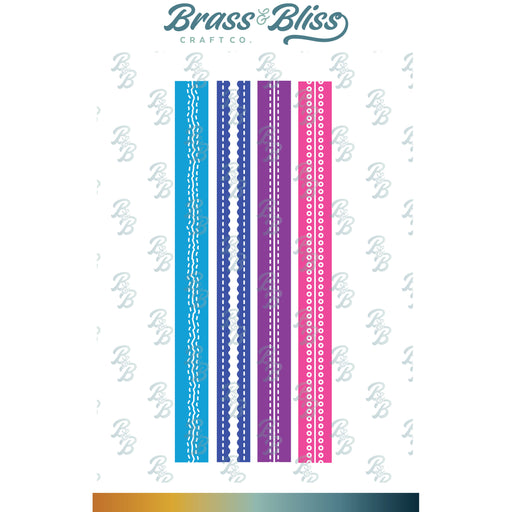
    This is  fun card to make and purrfect for your cat lover friends and family. And I’m really loving this new Circle Cover die. I only used part of it here but normally it completely covers the card front. Put any color you desire behind it for a different look and it’s an all season die; no need to wait til Christmas. The little kitty in the sweater is just plain fun. And be sure to pick up the set of the edge dies. They make the divide between papers look so professional.


    A big congrats to Laura, the newest Featured Stamper FS983! She has a super duper gallery & I chose THIS card to case. I kept the layout & cute Christmas kitty theme, but I used different images, dies & papers.

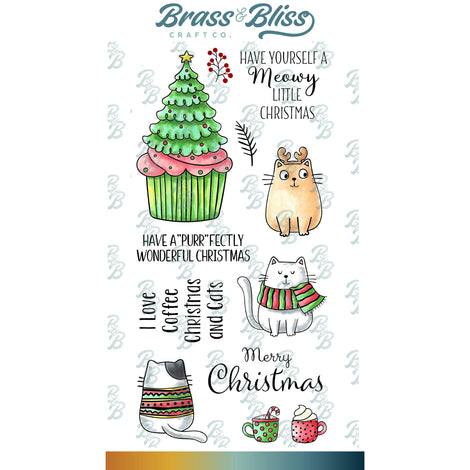
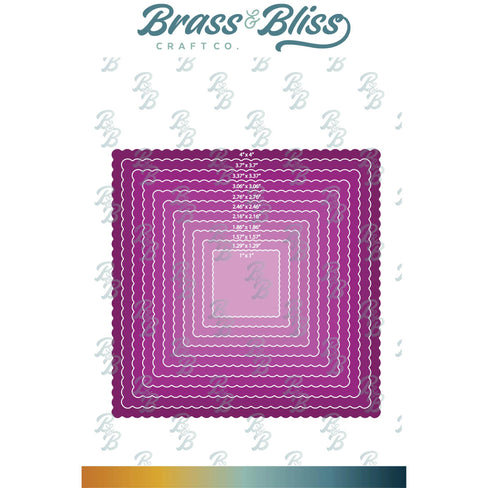
    To make my card, I colored & die cut the cute kitty & his cup of cocoa. He’s popped up one layer & I added him to a small white square with a slightly larger red scallop square behind it. For the background, I blended a bright red & a bright green on a piece of white. No rhyme or reason to the placement of the color I just tried not to mix them because together they make brown. The circle cover topper was added on top & trimmed to about 2.5 inches wide. I also trimmed down the top & bottom just a smidge. A piece of designer paper about 1.5 inches wide was added to the left of it & I used a small red scallop edge to cover the join.

    Thanks
    so much for stopping by!


    Supplies:  (click the names below the pictures to take you to the products)

    Stamps: Brass & Bliss: Christmas Cats
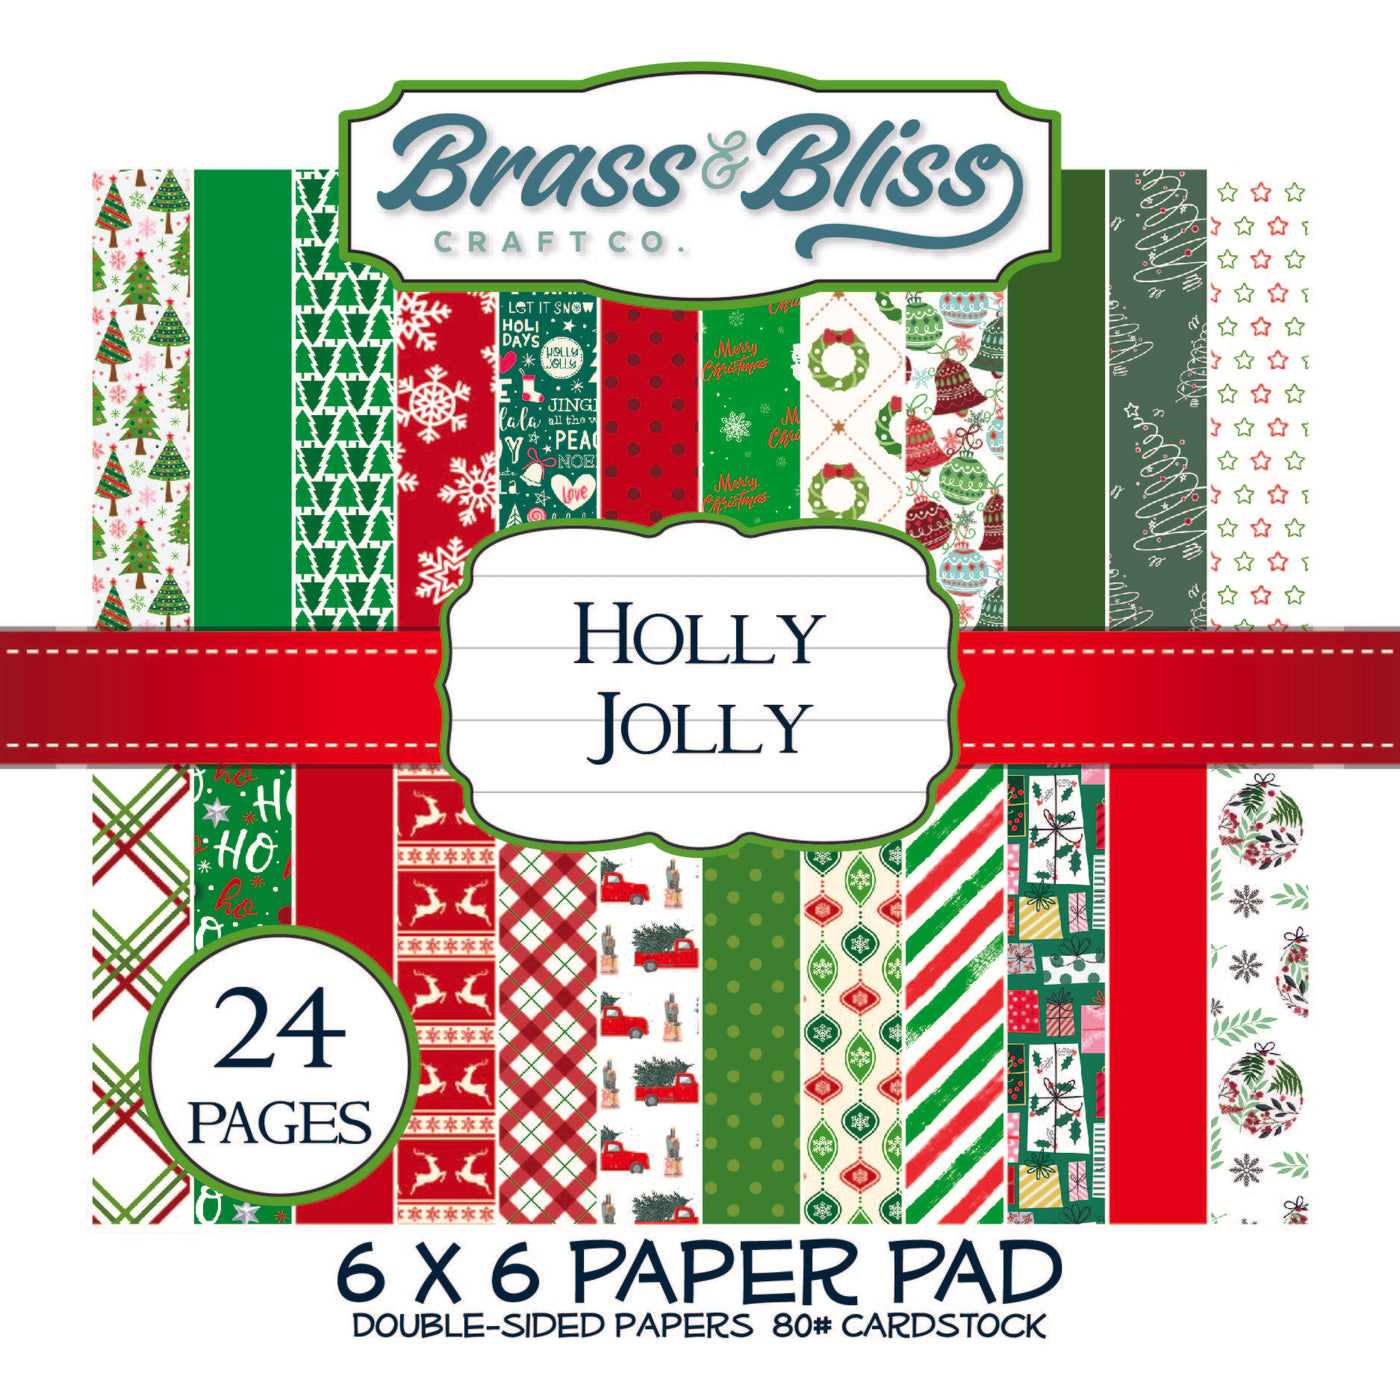
     Paper: Staples 110# white, red,  Brass & Bliss: Holly Jolly paper pad
    Ink: Memento tuxedo black, Distress ink Candied Apple & Mowed Lawn
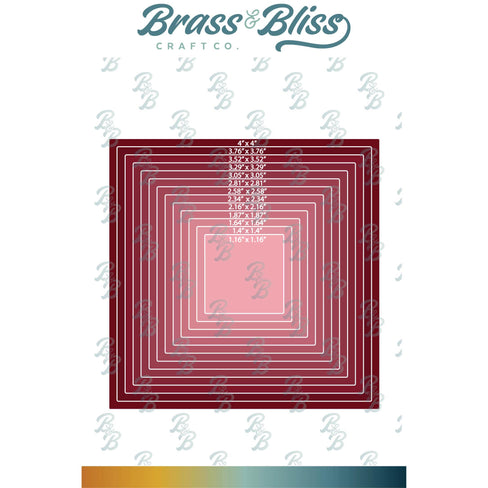
    Accessories:  Brass & Bliss: Circle Cover, Christmas Cats, Classic Edge Cut, Squares, Scallop Squares dies,  Misti, Copic markers 


    You might also like: