For today’s Ways to Use it Challenge (WT396) on Splitcoast, we are to include at least 2 round things on our projects. I just happen to have 2 cards that fit the bill. The first one, is very CAS (clean and simple). The images on both cards are from DRS Designs.
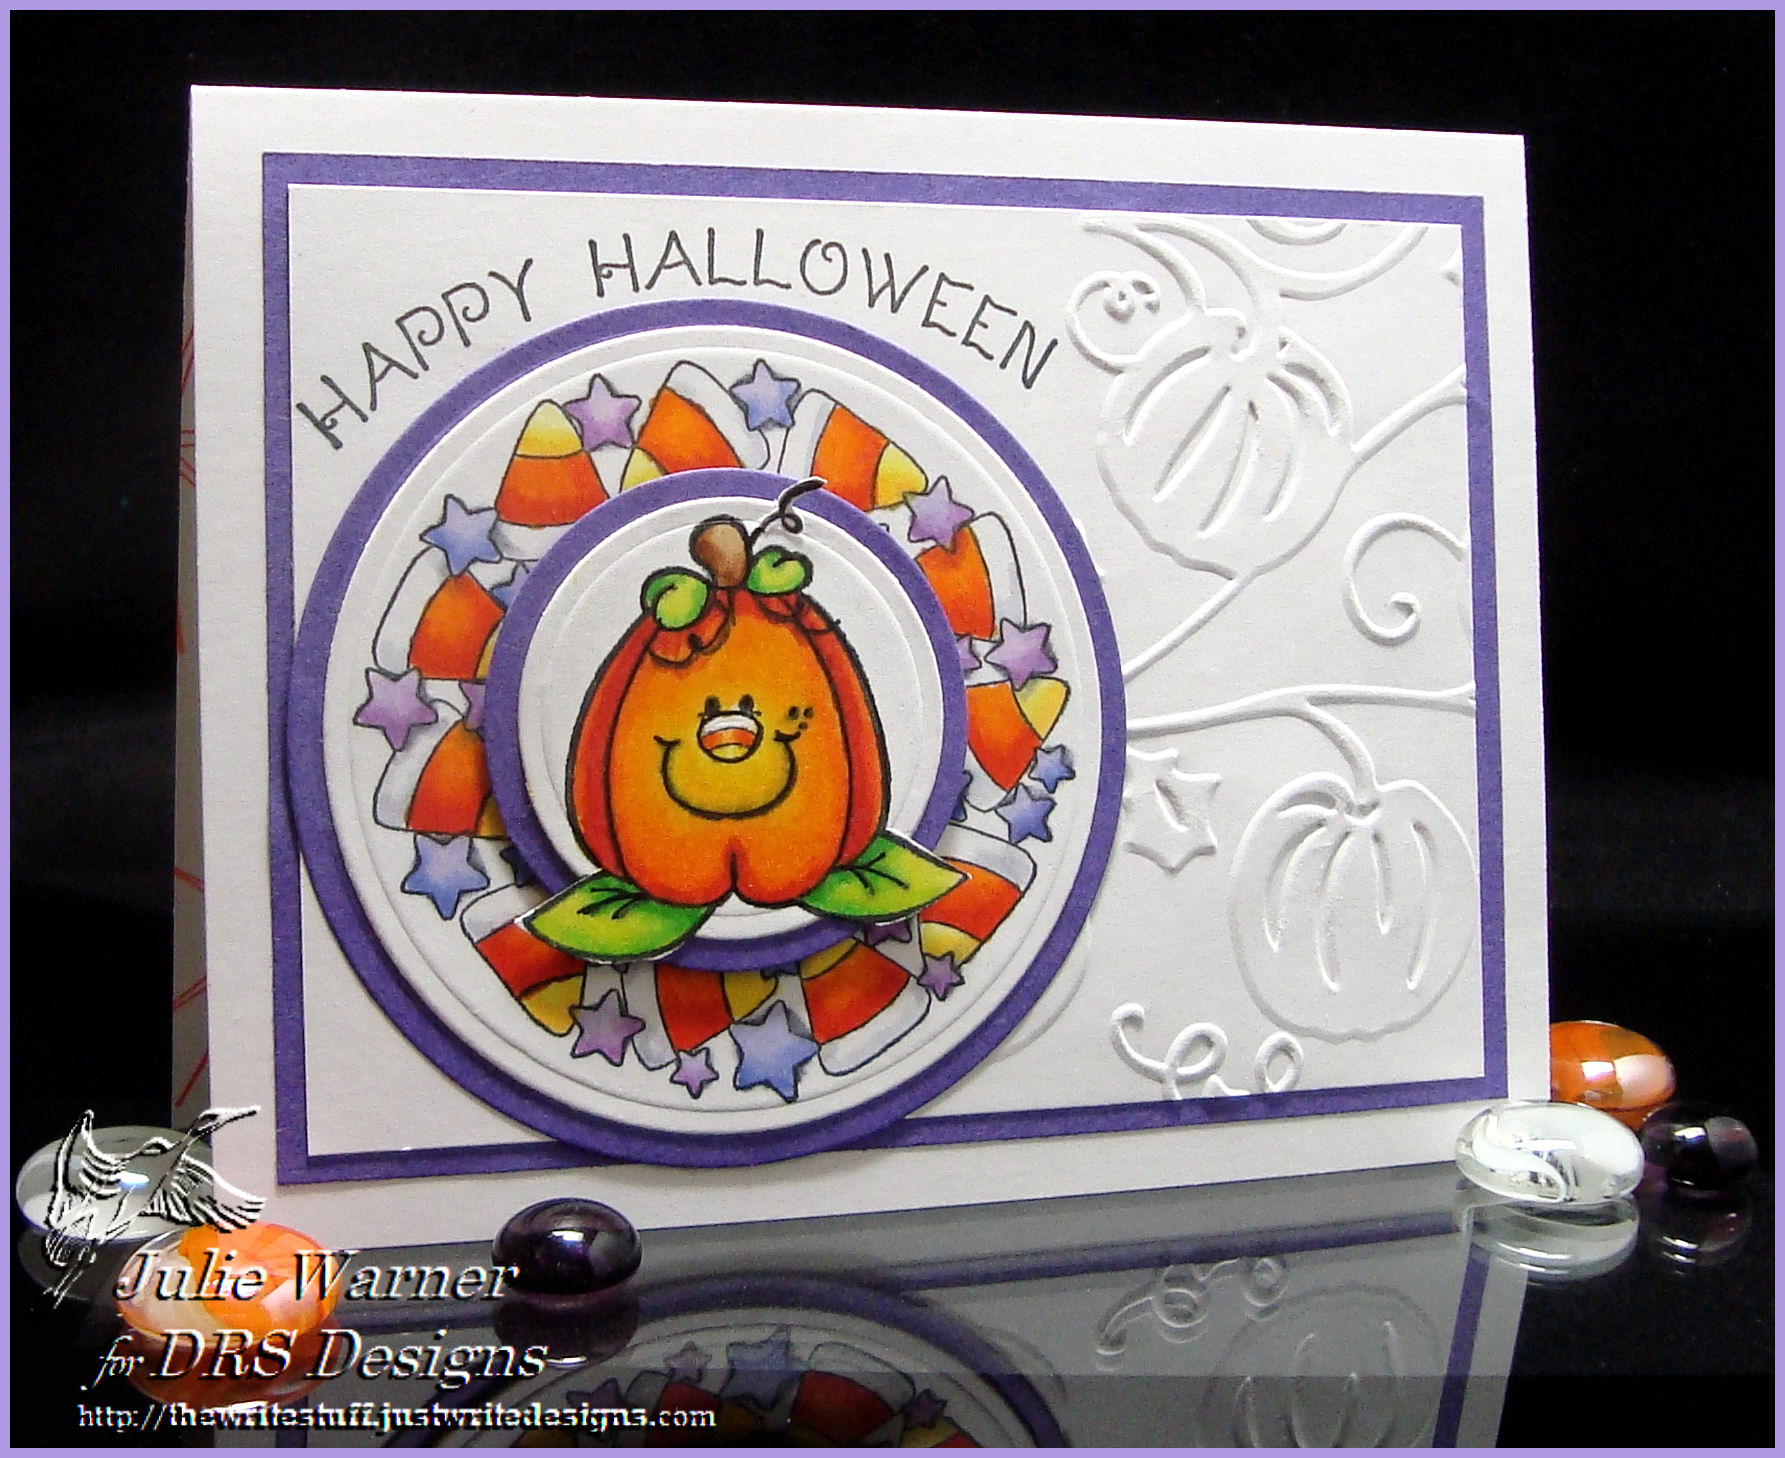
On the top card, the pumpkin and candy corn circle were stamped and colored w/ copic markers. Then I die cut them and the purple backing layers using both small and large Spellbinder circle die sets. For the background, I embossed just the right half using a Cuttlebug pumpkin folder. The finished card is 5.50 x 4.25.
Supplies:
| Stamps: DRS Designs |
| Paper: Neenah white, dk purple |
| Ink: Ancient Page coal |
| Accessories: Spellbinders circle dies, Cuttlebug pumpkin embossing folder, copic makers |
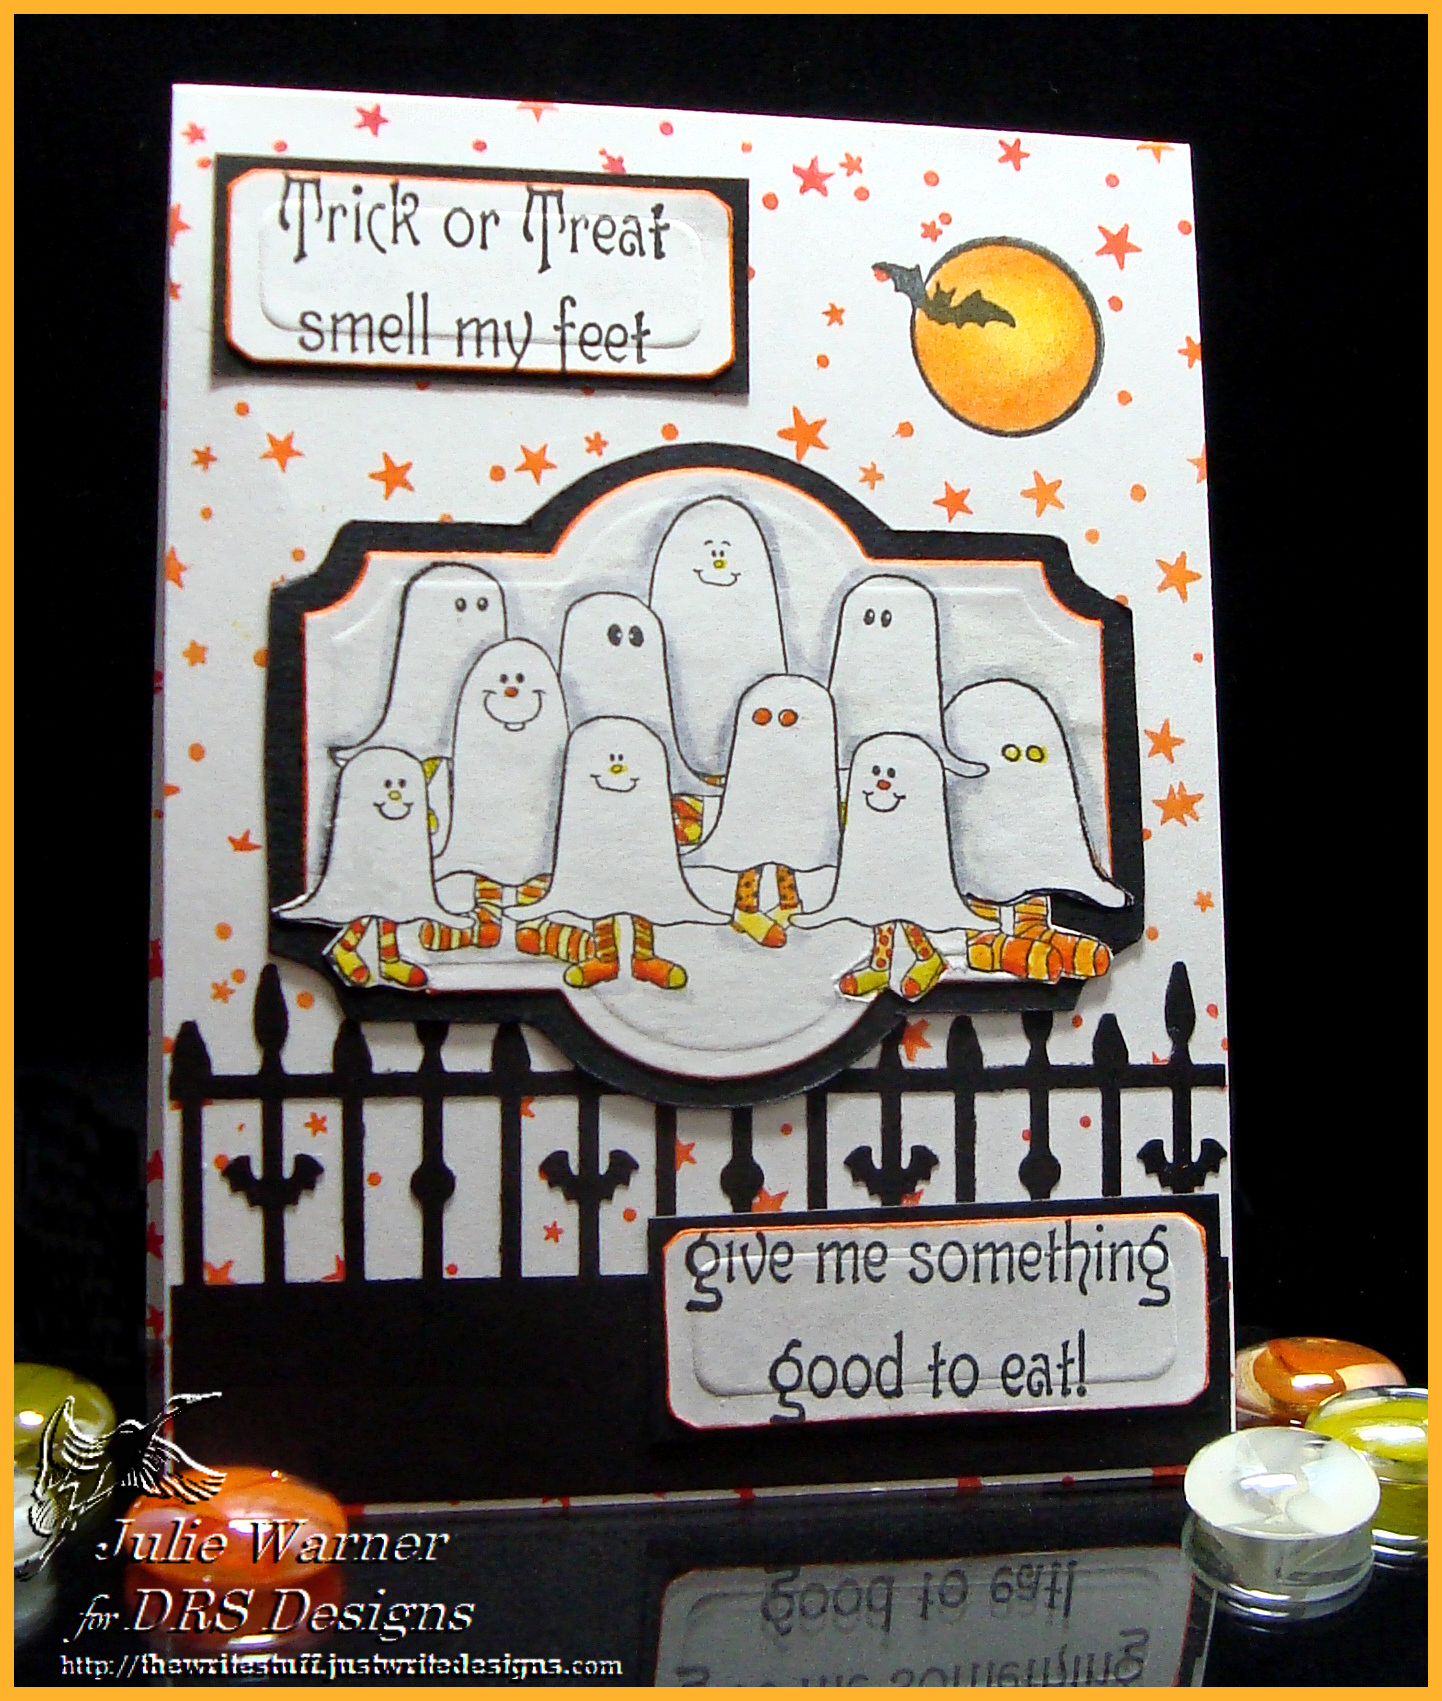
For the second card, the moon and all those little round eyes count as my round objects. After stamping the ghosts and coloring w/ copics, I die cut them using the Spellbinders labels 21. I traced around the die and hand cut the black layer. The greeting was split in two and I used a small tag die for them. I cut the first half, turned the die around and cut the other half to get the same cut on both ends. The background was stamped w/ the orange/red Kaleidacolor ink and a punched fence was added at the bottom. The finished card is 4.45 x 5.50.
Supplies:
| Stamps: DRS Designs |
| Paper: Neenah white, black |
| Ink: Ancient Page coal, Kaliedacolor Desert Heat |
| Accessories: Spellbinders labels 21 & tag dies, Martha Stewart bat fence border punch, copic markers |
Thanks so much for stopping by!

