• Category Archives Tutorials
  • Resizing Your Nestabilities Rectangles- Tutorial

    When I was working on my card H is for Harvest, I really wanted a Nestabilities long rectangle set. I only have the standard, large rectangle set so I set out to see if I could somehow repurpose it into a long rectangle. It only took me a couple of tries and I think it worked like a champ. I’ll be doing this again and again until I actually do have the long rectangle set. After I used this technique, I thought there might be a few others who would like to try it. I made another long rectangle and took a lot of pictures so y’all could see for yourselves. Remember, you can zoom in on all the pics by clicking on them.
    Julie Warner - justwritedesigns - https://thewritestuff.justwritedesigns.com
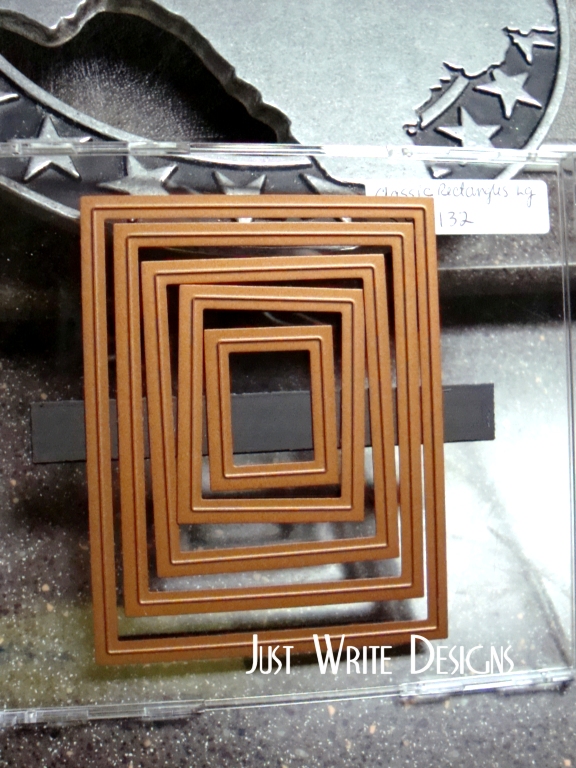
    Standard, Large Rect. Set #S4-1132

    This is the rectangle set I have. For this tutorial, I’ll be using the second smallest rectangle (it measures approx. 2″ h x 1.5″ w).  The card stock I’m using is ivory and I cut it to measure about 3.5″ L x 2″ h. It’s probably important to note that I use an original Sizzix machine with one white cutting plate and the magnetic adapter. I also have a clear acrylic cutting plate that I place over the die when I cut. If you’re using a different machine, you may have to adjust how you do this. This also works perfectly using a Big Shot…simply have the edge of your top cutting plate back from the left edge of the die. It won’t cut where the plate isn’t. 

    Julie Warner - justwritedesigns - https://thewritestuff.justwritedesigns.com

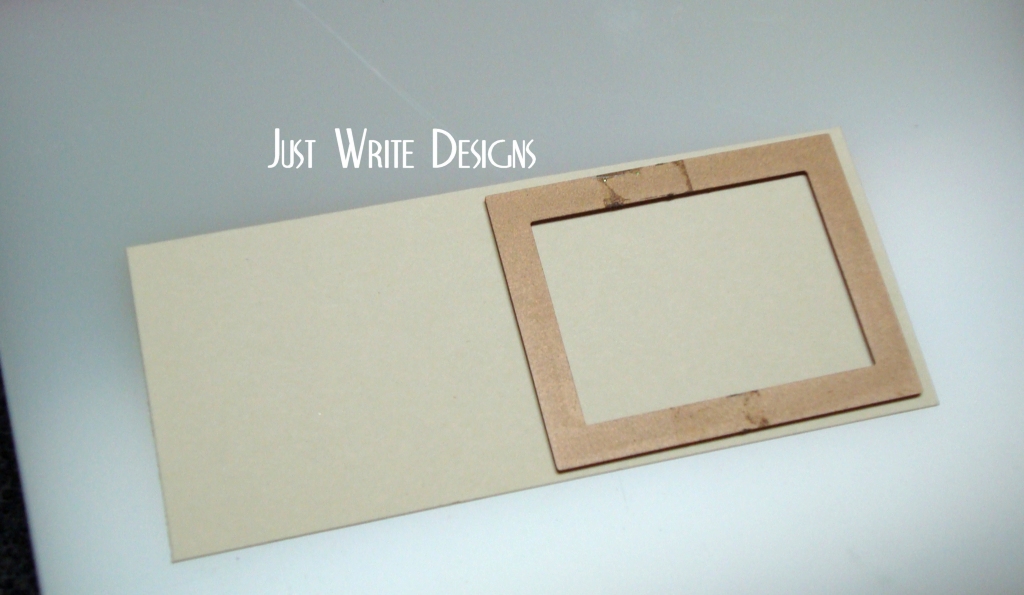
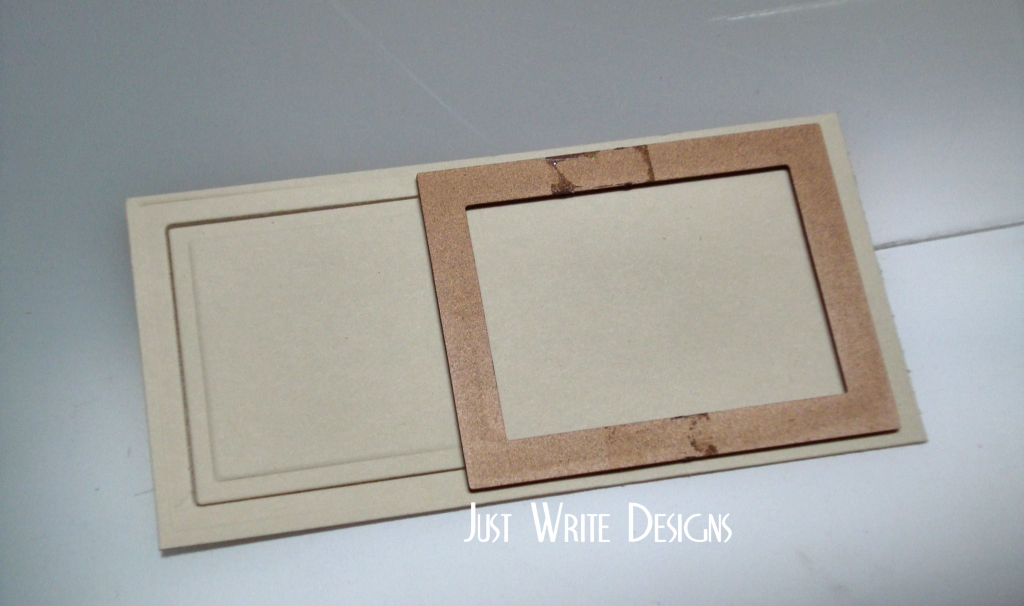
    1. First, place the rectangle, cutting side down onto the card stock, very close to the right edge as shown.

    Julie Warner - justwritedesigns - https://thewritestuff.justwritedesigns.com

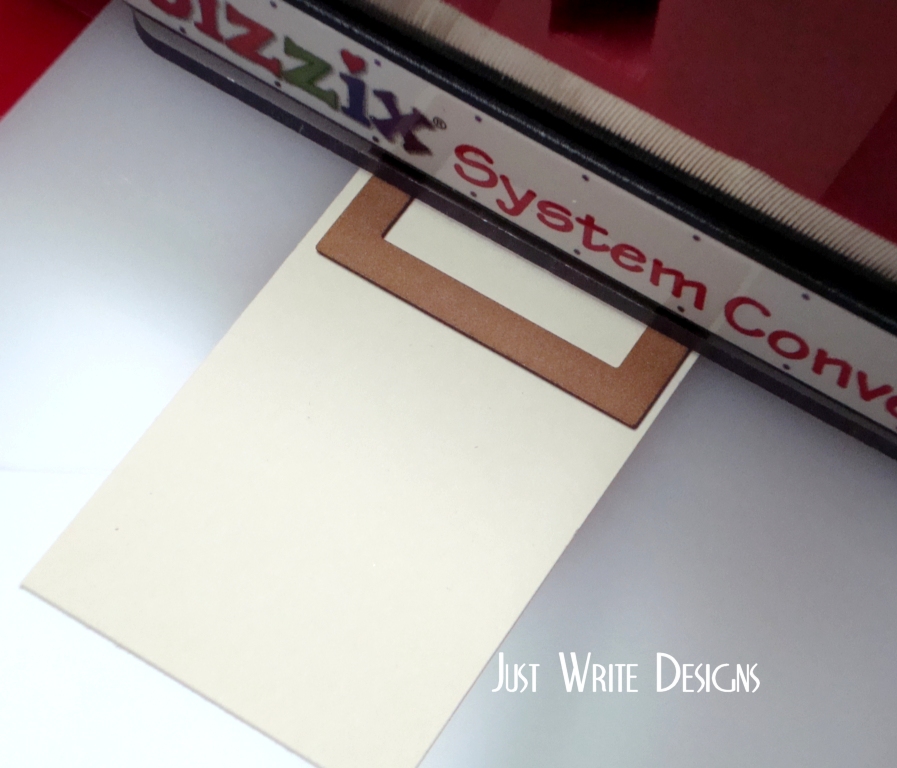
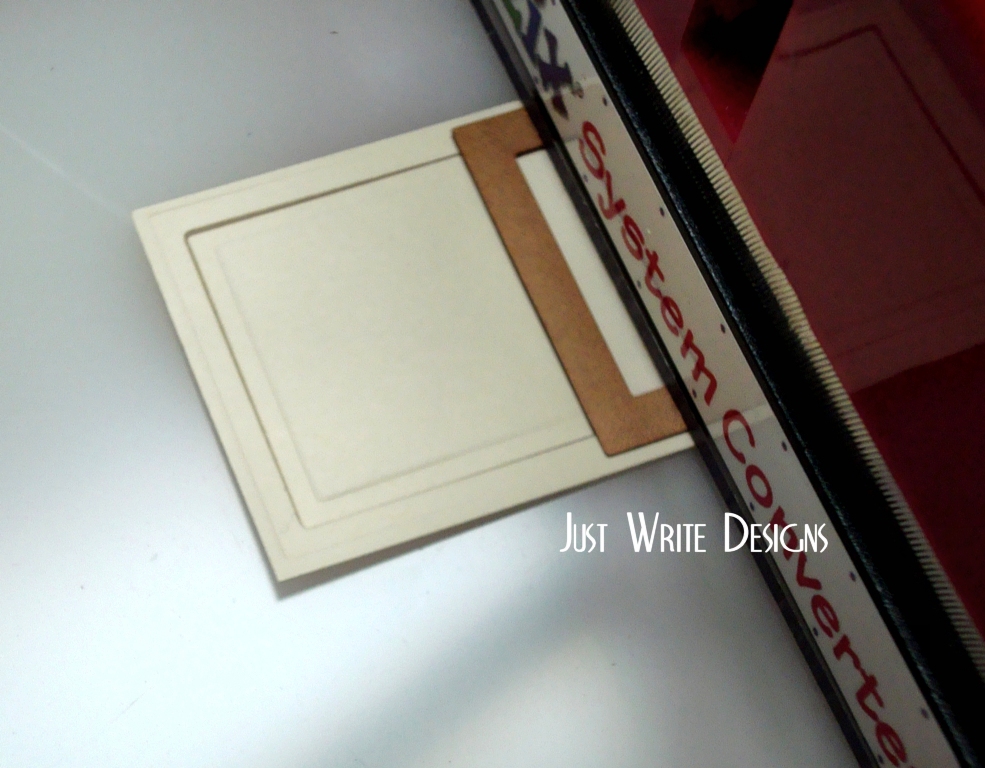
    2. Push the cutting plate into the machine, but leave the last 1/2″ closest to the center of the card stock, out of the machine. We don’t want to cut this edge.

    Julie Warner - justwritedesigns - https://thewritestuff.justwritedesigns.com

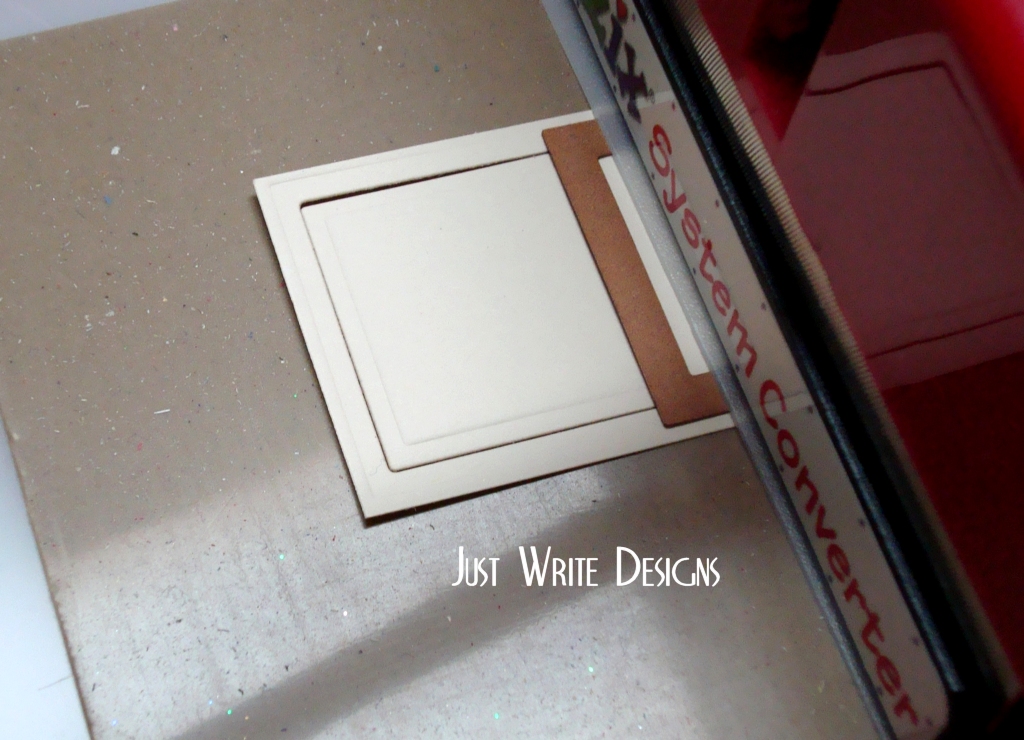
    3. Remove the die, carefully place the embossing mat under it and emboss as usual, remembering to not emboss the last center 1/2″.

    Julie Warner - justwritedesigns - https://thewritestuff.justwritedesigns.com

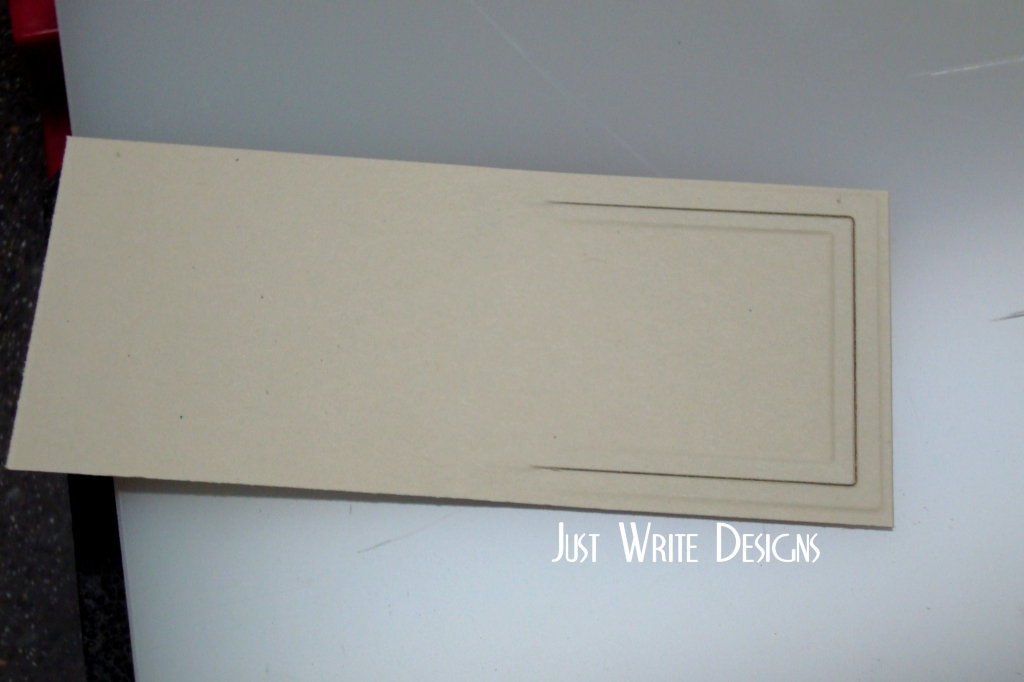
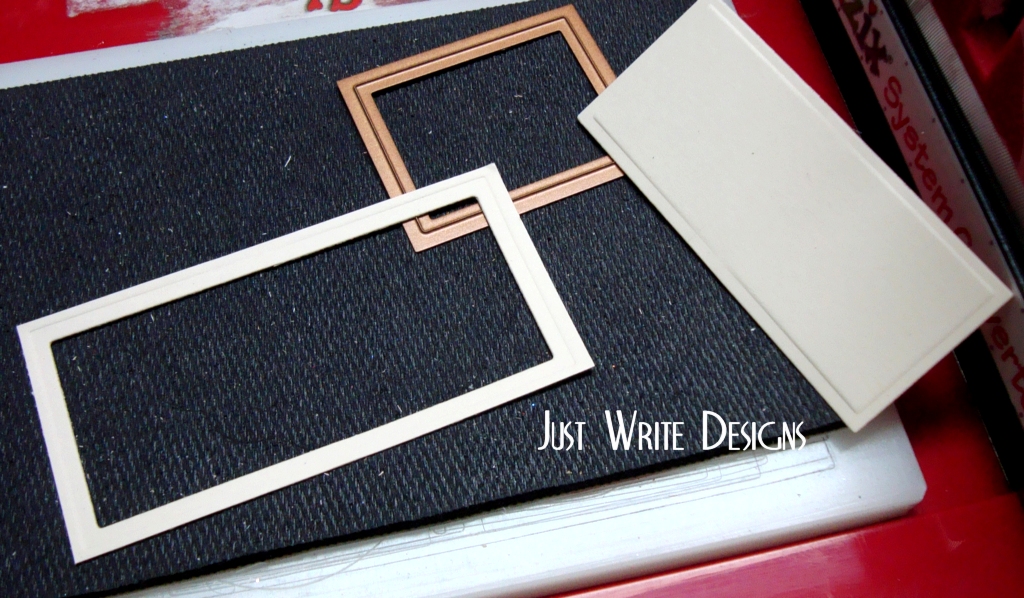
    4. Remove the die from the card stock. This is what the back side should like with only the right half cut and embossed.

    Julie Warner - justwritedesigns - https://thewritestuff.justwritedesigns.com

    5. Turn the half cut card stock around. Place the die on the uncut half, very near the edge as before. Take care to line up the edges of the die with the already cut edges.

    Julie Warner - justwritedesigns - https://thewritestuff.justwritedesigns.com

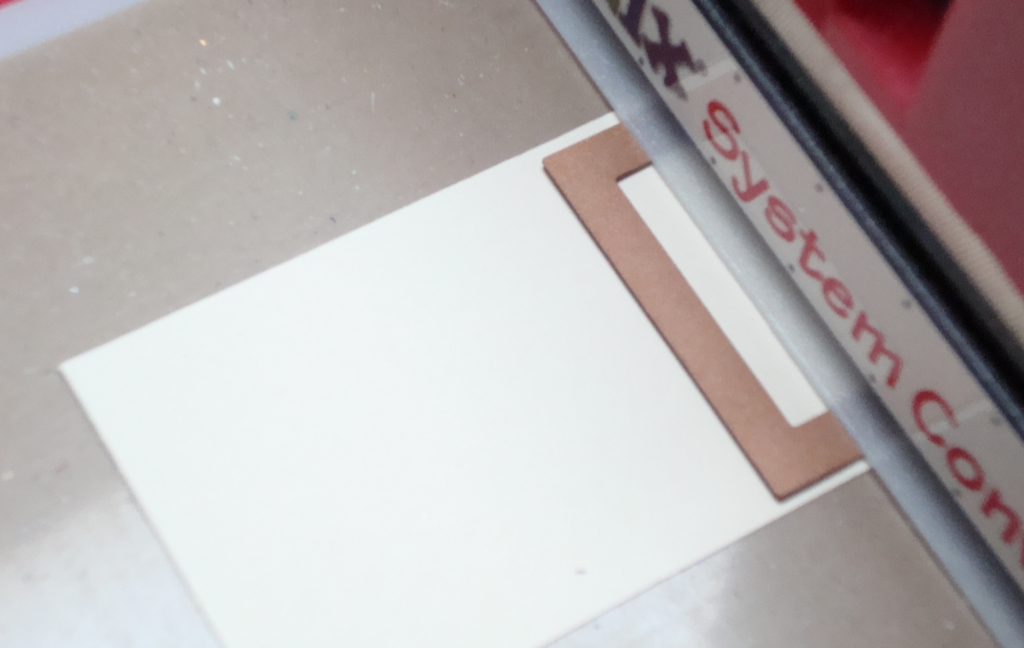
    6. Place the cutting pad with the die in the machine, as before. Again, leave the last 1/2″ in the center out of the machine. We do not want to cut this part.

    Julie Warner - justwritedesigns - https://thewritestuff.justwritedesigns.com

    7. Carefully place embossing mat underneath and emboss as before. Remember not to emboss the last 1/2″ in the center.

    Julie Warner - justwritedesigns - https://thewritestuff.justwritedesigns.com

    8. That’s it! Here’s the finished product. My new long rectangle measures just over 3″ L x 1 5/8″ H. The leftover frame is also fun to use.

    I’ve done this technique using many different die shapes. As long as the die is symmetrical, it has worked. This technique also works if you want to shorten the size of your die cut. 

    Julie2 sig


  • Ombré Watercolor Resist

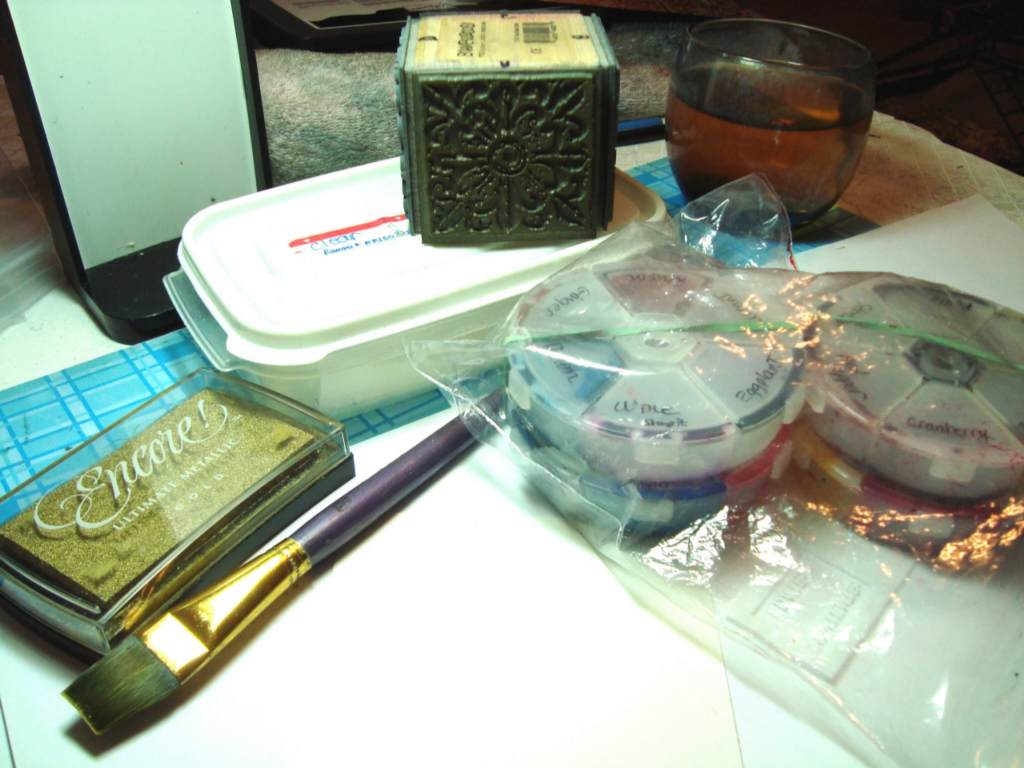
    Supplies Needed
    Supplies Needed
    Supplies:
    1. Watercolor paper
    2. ¾” Flat Wash Paint Brush
    3. Adirondack reinkers in Butterscotch, Ginger, Raisin and Eggplant (I keep drops of mine in these little round, divided craft containers-it’s fine when they dry out; just reactivate with a little water)
    4. Tiled Quad Cube stamp (Stampendous)
    5. Encore Ultimate Metallic Gold ink (Tsukineko)
    6. Clear Embossing Powder & Heat Tool
    7. Water


    (Click any picture to enlarge)

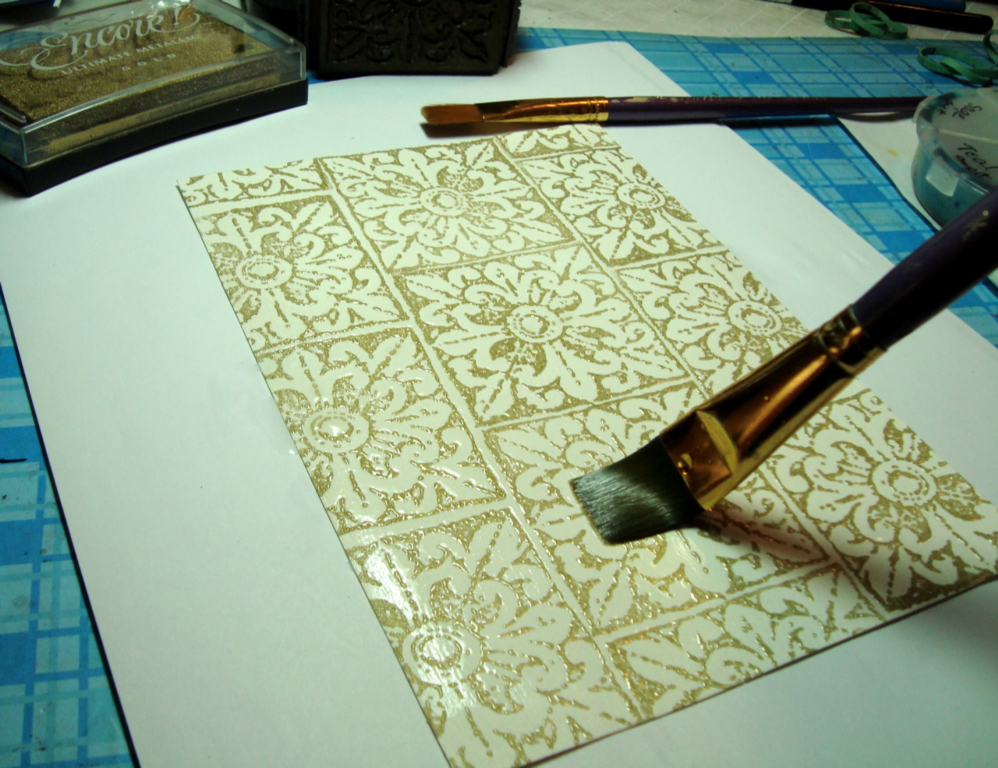
    Step 1
    Step 1 & 2

    Step 1:

    Stamp image repeatedly onto watercolor paper using the gold ink. Coat with clear powder and heat emboss.

    Step 2:

    Use the paint brush to wet the entire piece.

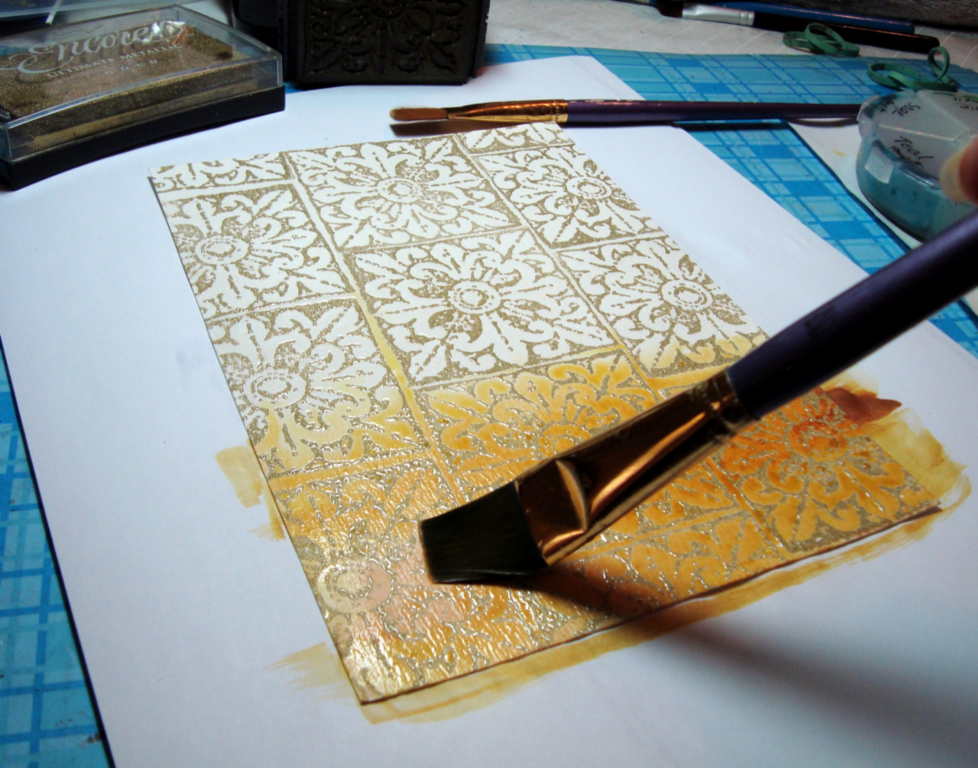
    Step 3:

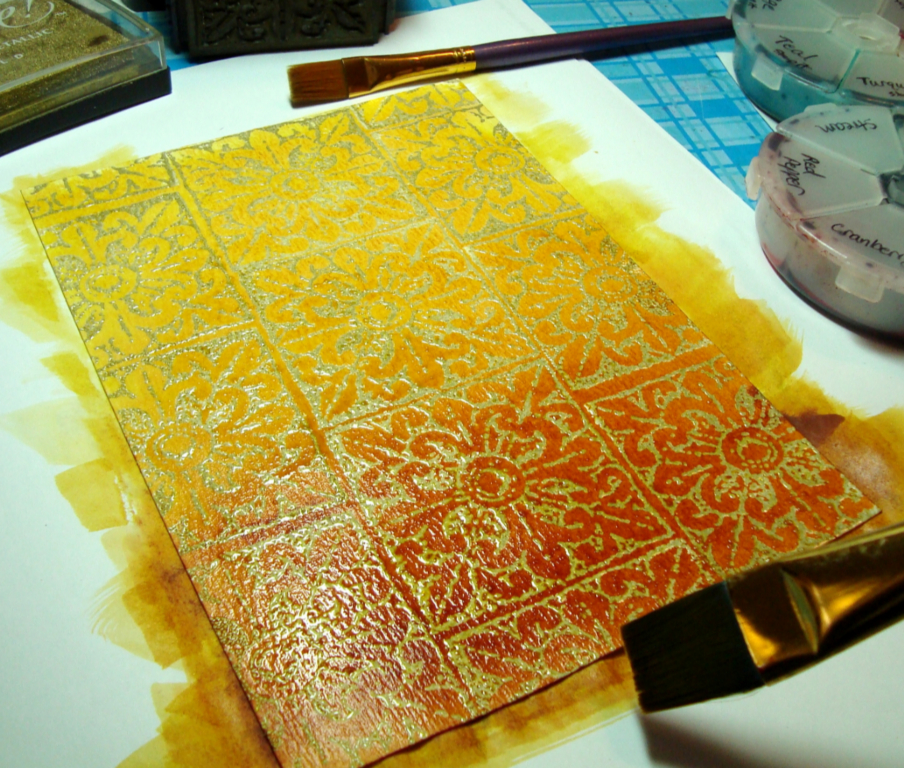
    With the water loaded paint brush, pick up some of the Butterscotch ink and begin washing it across the wet background. Begin at the lower edge and work your way up. The ink will become lighter as you move up the page. When adding more ink, always begin at the lower edge.

    Step 2
    Step3


    Step 3 after application of Butterscotch ink
    Step 4
    Step 4

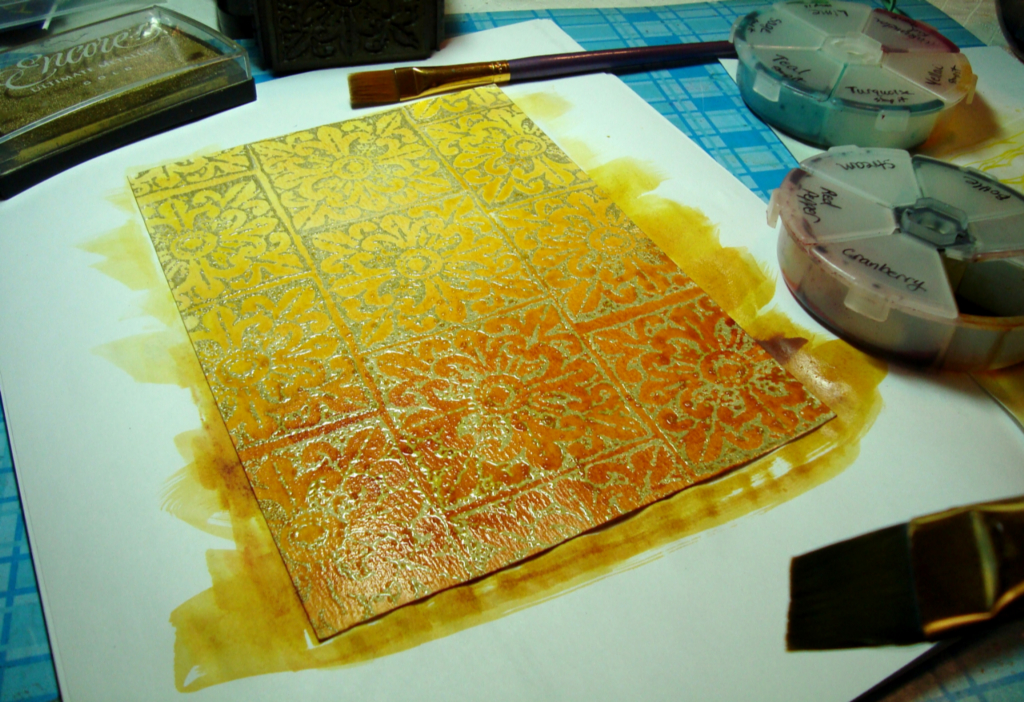
    Step 4:

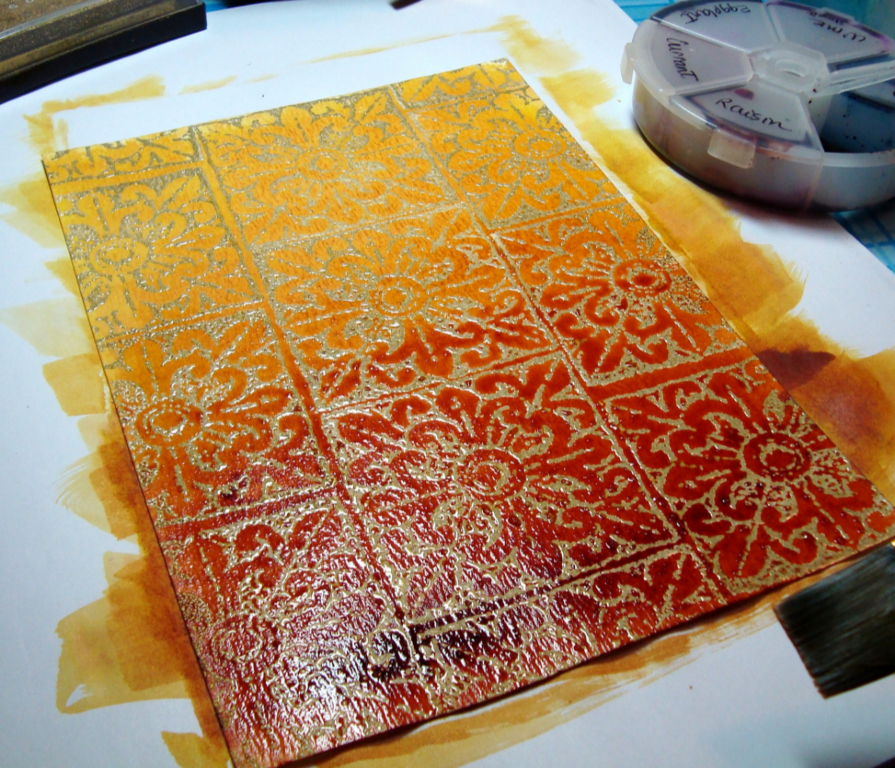
    With the water loaded paint brush, pick up some of the Ginger ink and float in only on the bottom ½ of the piece

    Step 5
    Step 5


    Step 6
    Step 6

    Step 5 & 6:

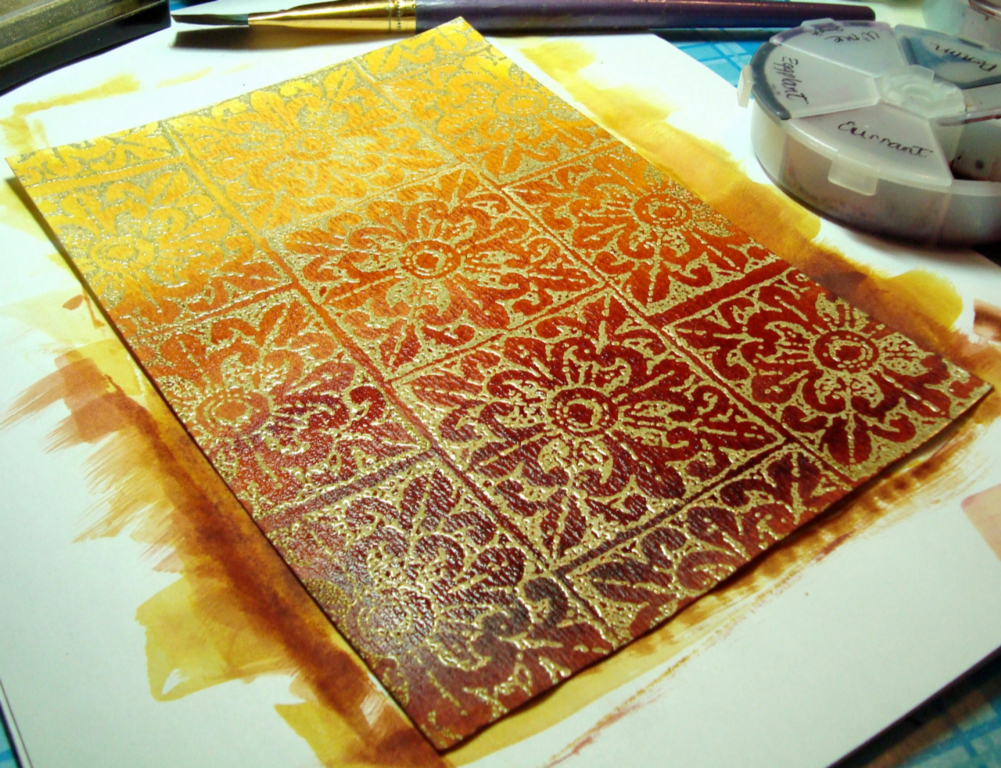
    With the water loaded paint brush, pick up some of the Raisin ink and float in on the bottom 1/3 of the piece. Finally, float in a little Eggplant ink on the lower 1/3. I used Eggplant because I don’t have a darker brown reinker. Since the dk. purple Eggplant is the opposite (or complement on the color wheel) of the orangey yellows it will produce the brown color I need.

    (Optional)

    Let the piece dry for a few minutes, then load the paint brush with water and add a little Eggplant ink. Tap the paint brush against your other hand while holding it over the piece. This will produce a splatter pattern.

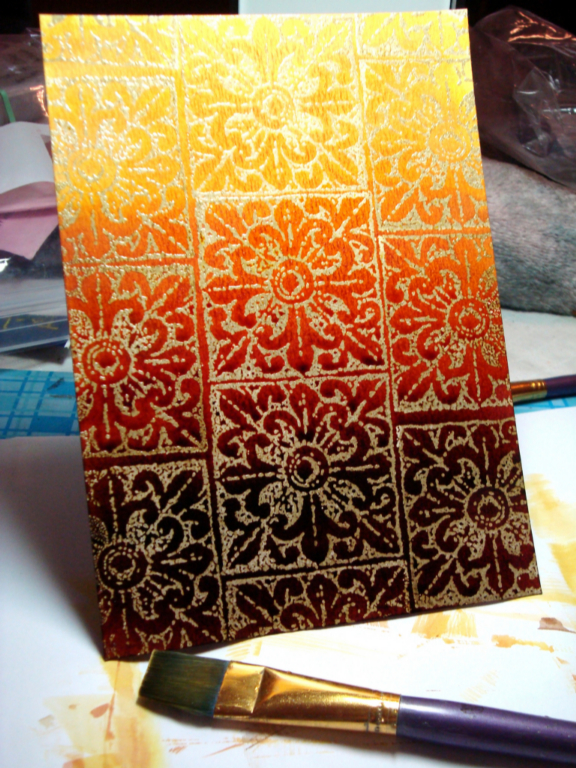
    Finished background
    Finished background

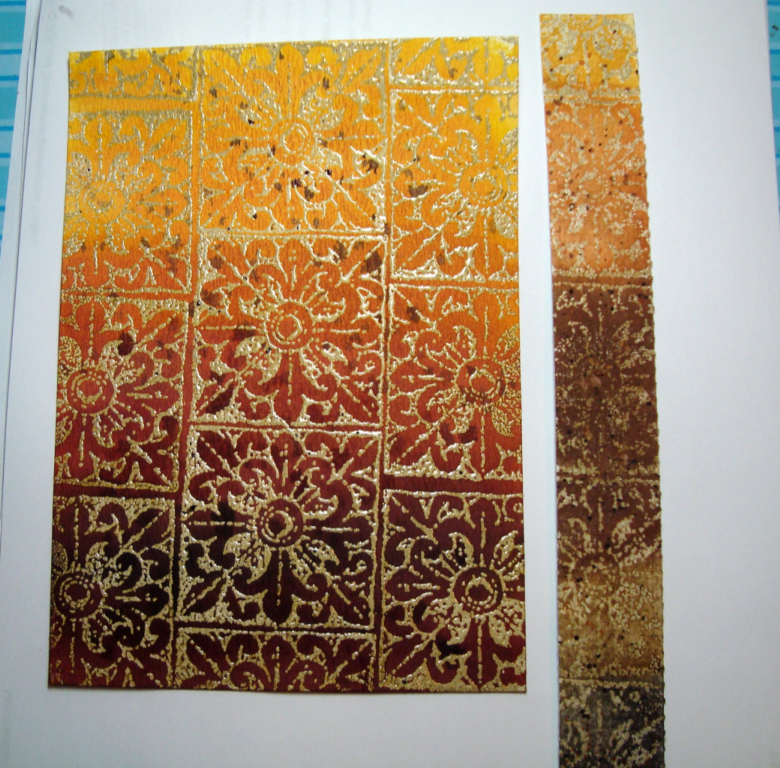
    Finished Piece:Comparasion: left was done with reinkers, right strip was done with traditional watercolor paints.

    Comparison- reinkers on left, tradional watercolors on right
    Comparison- note reinkers are slightly more transparent


    DTGD08Michele DTGD08Christine DTGD08Lauren Model T494a
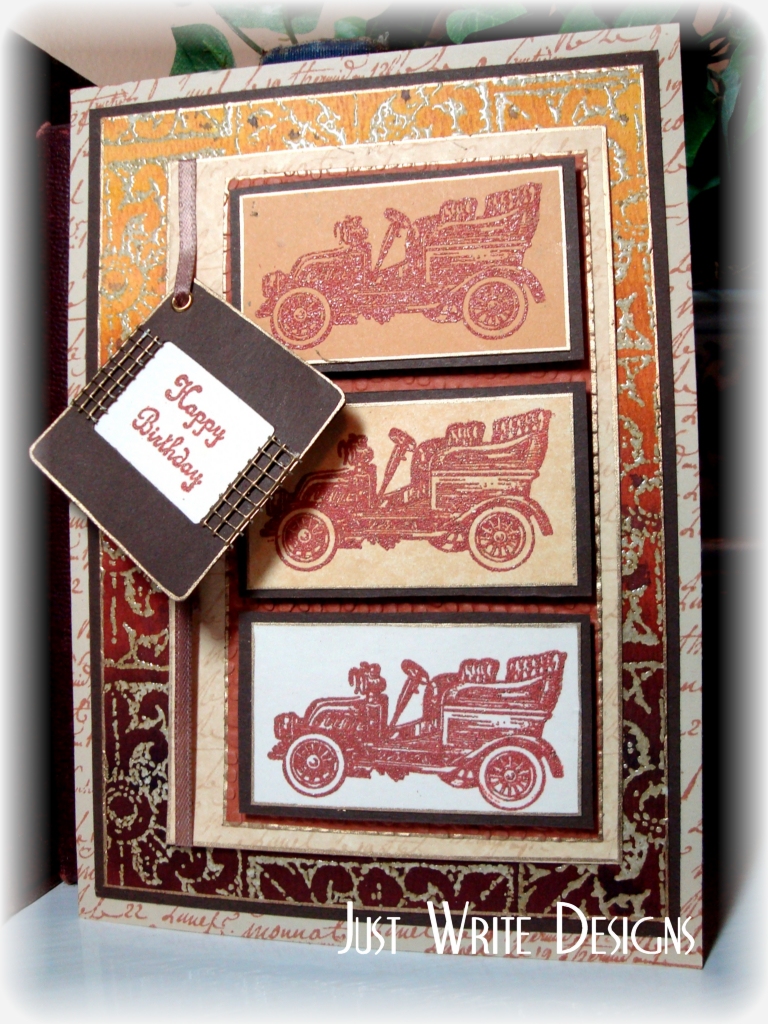
    Finished card using the background


    Julie2 sig