
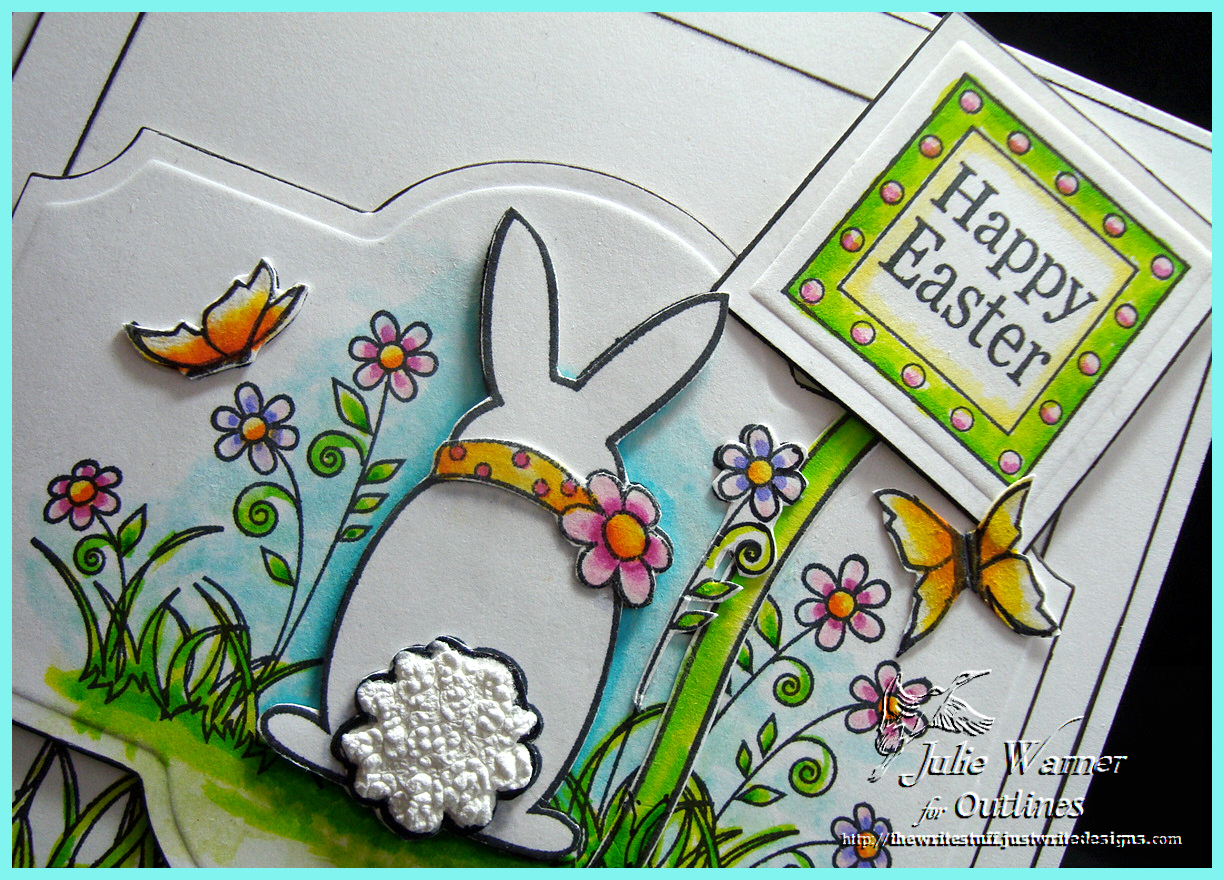
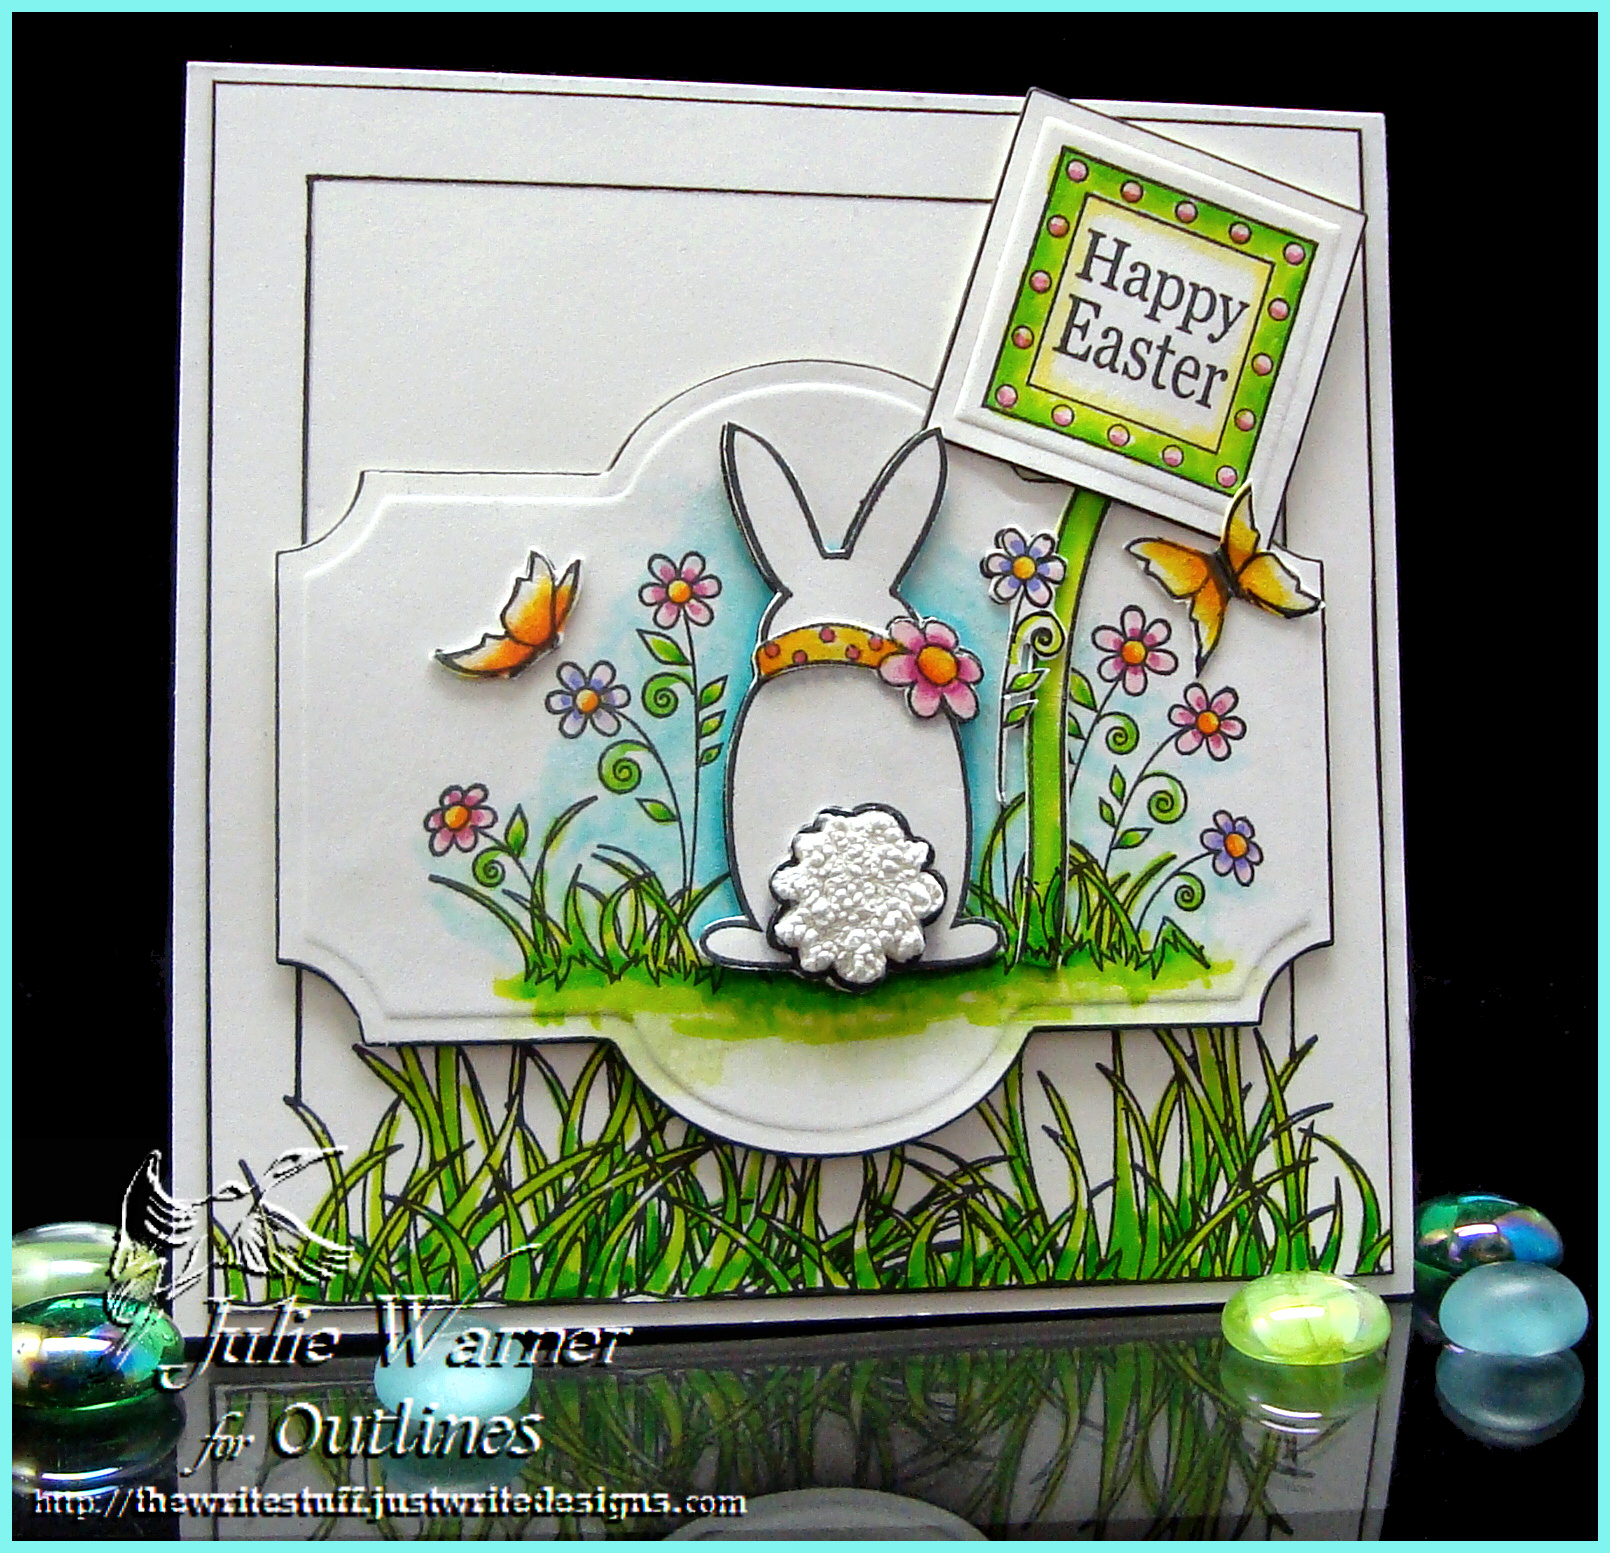
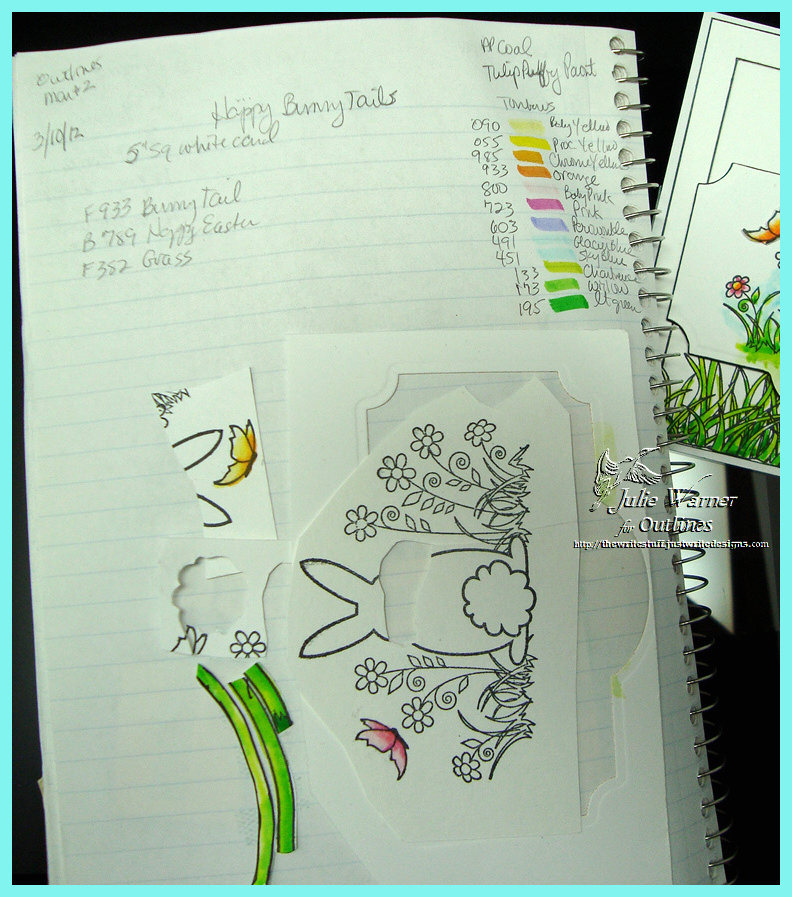
For my card, I stamped the Bunny Tails image twice, colored one w/ Tombow markers and die cut it w/ a Spellbinders labels 21. I cut out parts of the second image and popped them up on top of the base image to add a little dimension. On the bunny tail, I added a little white puffy paint.
The greeting was die cut and I attached on top of a cut out flower stem. The grass border was stamped and colored on the larger layer and I used a black pen and ruler to draw the 3 sided frame. The finished card is 5 x 5.
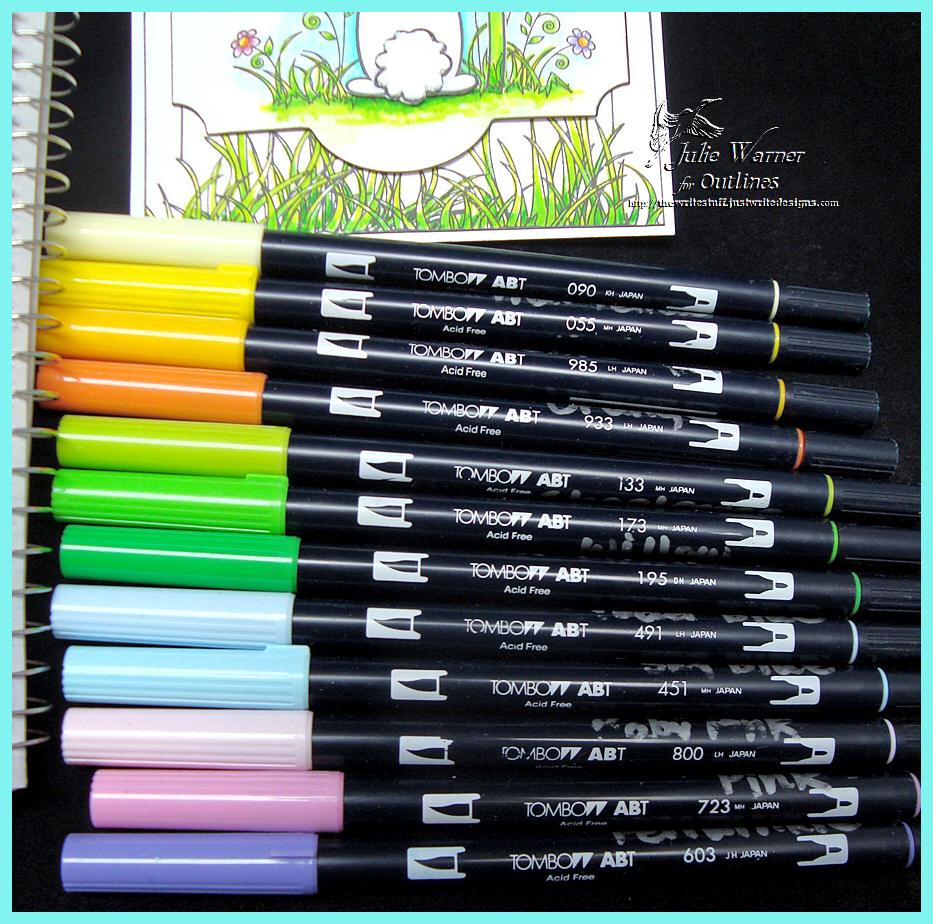
And here are the markers I used and my notebook.
Thanks so much for stopping by! Please check out all of the team’s fabulous cards.
Jenny Gropp
Kecia Waters
Lisa Silver
Sue Kment
Jeanne Streiff
Julie Warner -me!
| Stamps: Outlines –F-933 Bunny Tail, B-789 Happy Easter Sq. Sm., F-382 Grass , B-385 Stem |
| Paper: Neenah white |
| Ink: Ancient Page coal |
| Accessories: Tombow Markers, black micron pen, Spellbinders labels 21 & square dies |

This is beautiful !!
Thanks for inspiring this ‘newbie’!
This is just adorable – I love the grass – the three-sided frame – the flower sign and the little cotton tail! Great card Julie!
Too cool….I love the addition of the sign into this sweet little Easter scene. PERFECT!
Fabulous bright spring colors…just amazing Tombow work AGAIN!
I LOVE THIS CARD!
I admire the ability to leave WHITE SPACE. White space and I are not friends! This is so fun and eye-catching with the bright colors and black bordered white layers! Brilliant idea to create a sign with the stem! You inspire!