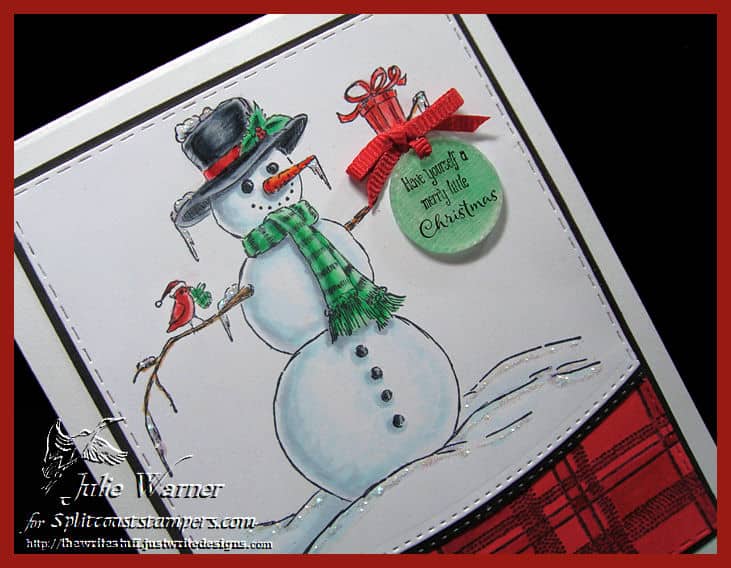

It’s my turn to host the Splitcoast Inspiration Challenge (IC678) & I chose Joss & Main for the site. They have some fab Holiday decorations & ideas. I was inspired by THIS set of canapé plates. I really love the winter images & plaid.

After stamping & coloring my holiday snowman, I stamped the plaid background onto light red cardstock w/ black ink then used a few darker red Copics to add a little tone variation. I die cut both panels then used a curved border die to cut the bottom of the snowman panel. A couple of die cut buttons were added w/ a little glossy dimensional glaze added on top of them. The greeting was a little too large, so I stamped it w/ Stazon on the front of a piece of shrink plastic, die cut it w/ a circle die & most importantly, punched the hole at the top before shrinking it w/ a heat gun. I used a G02 to color the backside before I shrunk it. It was barely even noticeable but look how much darker it became when shrunk. A little Stickles was added to the snow & icicles.
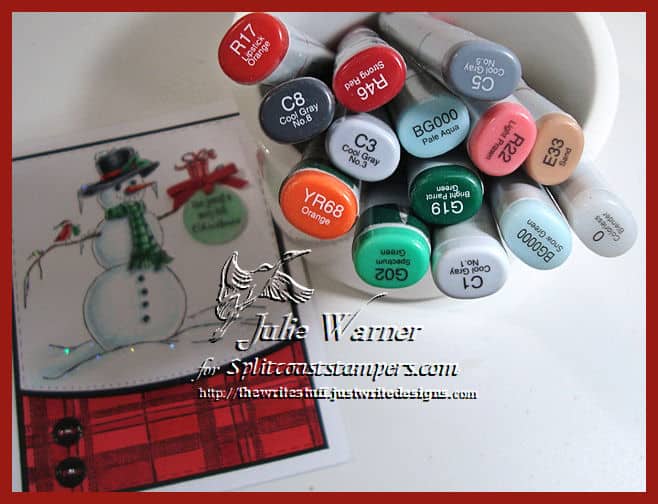
Here’s a look at the inside & below it are the Copics I used.
Thanks so much for stopping by!

Supplies:
| Stamps: Rubbernecker Stamps –Icy Snowman , Have Yourself , Plaid Bg (inside: Merry Christmas Lg ) |
| Paper: Staples 110# white, red, X-Press It Blending Card, black, shrink plastic |
| Ink: Memento tuxedo black, Stazon black |
| Accessories: Rubbernecker stitched rectangles, Borders 3 , Circle Stitch dies, ribbon, Copic Sketch Markers, MISTI, Dimensional Magic, ODBD Matting Circles dies (buttons) |

|

|

|

|

|

|

|

|

|

|

|

|

|

|

|

|

|

|