


Welcome to the North Coast Creations November Release! We have some really cute new Christmas images & a matching Reindeer die this month! You are really going to love these for your Christmas card making.

On my Santa Star card, I decided to make it into a shaker card. I really love shakers & I think they add a little something extra & kids love them. The shaker on this was made using a cellophane pouch I made out of a little envelope that embellishments come in. There’s not a lot of depth or bulk to it so it’s definitely mailable.

After die cutting the white top panel w/ the Double Stitched Rectangles, I positioned the largest Double Stitched Star die at an angle toward the top. The largest Sparkling Star die was used to cut the red frame behind it & I used the smallest star dies to die cut all the sparkly stars I put inside the shaker. After sealing it, I attached it behind the star opening & added a thin foam sheet under it give it a bit of room. I added a green paper star behind it before I attached it all to the striped paper. Santa was colored w/ Copics & fussy cut. The greeting was stamped on another star & the glittery presents added beside Santa.
Here’s a look at the inside & below it are the Copics I used.


Supplies:
| Stamps: North Coast Creations – Ho Ho Ho (retired) |
| Paper: X-Press It white, Staples 110# white, dp (Pebbles -Welcome Christmas, DCWV -Christmas Collection) |
| Ink: Memento tuxedo black, Kaliedacolor fruitcake |
| Accessories: ODBD Double Stitched Rectangles, Pierced Rectangles, Double Stitched Stars, Sparkling Stars, Celebrate & Wish (retired) dies, Copic markers, Misti, sequins, WeR Memory Keepers Fuse Tool, foam sheet |

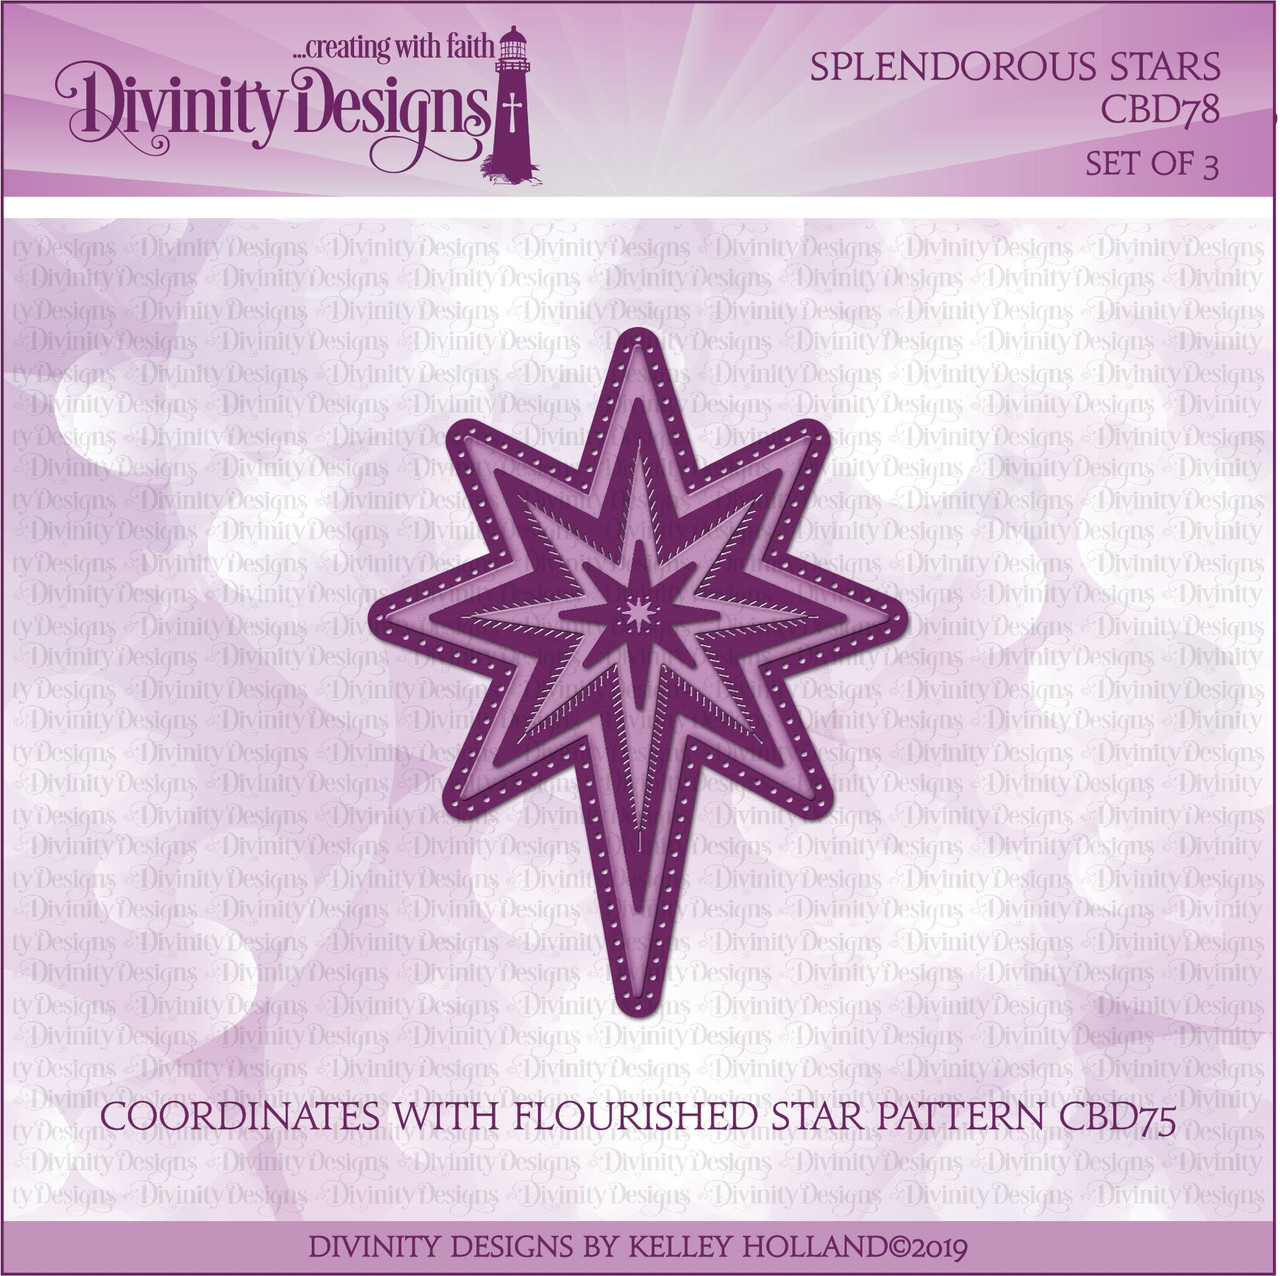
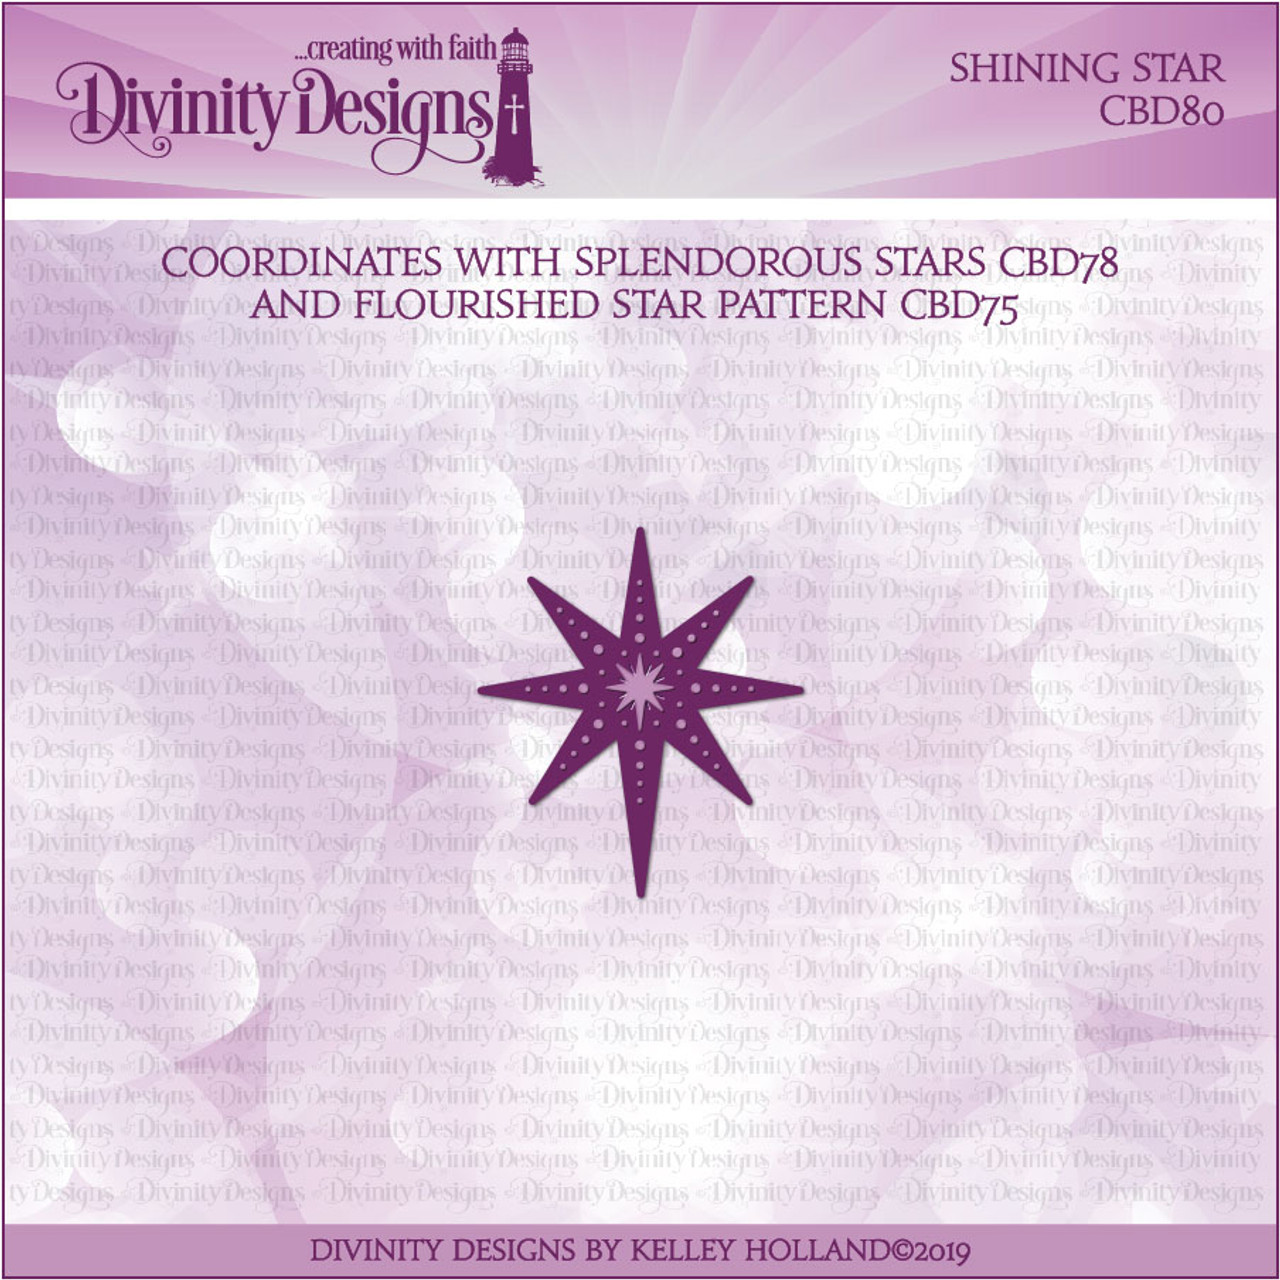
For my Rudolph card, after stamping & coloring him, he was die cut w/ the matching die. I found some paper in my stash that had a row of little red nosed reindeer on it so I cut just that strip & found some other papers that coordinated w/ it. The greeting was stamped on a Stitched Oval & backed w/ a plain Oval & I thought it needed a little something extra so I die cut the stars using the Splendorous Stars & Shining Star dies.

Here’s a look at the inside & below it are the Copics I used.


Supplies:
| Stamps: North Coast Creations – Rudolph |
| Paper: X-Press It white, Staples 110# white, dp (Pink Paislee -Snow Village, TPS- The Shoppe on the Square, DCWV -The Christmas Collection) |
| Ink: Memento tuxedo black, Kaliedacolor fruitcake |
| Accessories: NCC Reindeer die, ODBD Double Stitched Rectangles, Stitched Ovals (retired), Ovals, Splendorous Stars, Shining Star dies, (inside –Double Stitched Circles dies), Copic markers, Misti, Spe |
Please be sure to visit & comment on all the DT Blogs..it will be so appreciated!

|

|

|

|

|

|
|
|

|

|

|

|

|

|

|

|

|
|
|

|

|

Julie your shaker card is so fun! Love it! And your coloring is so amazing especially on Rudolph!!!!
JUlie, you outdid yourself yet again! Your shaker card is so cute with an original idea in the way that you made the shaker. I LOVE your Rudolph card too. It caught my breath the moment my eyes laid on it. You rock!
Super cute cards, Julie!! The Santa card is adorable!!