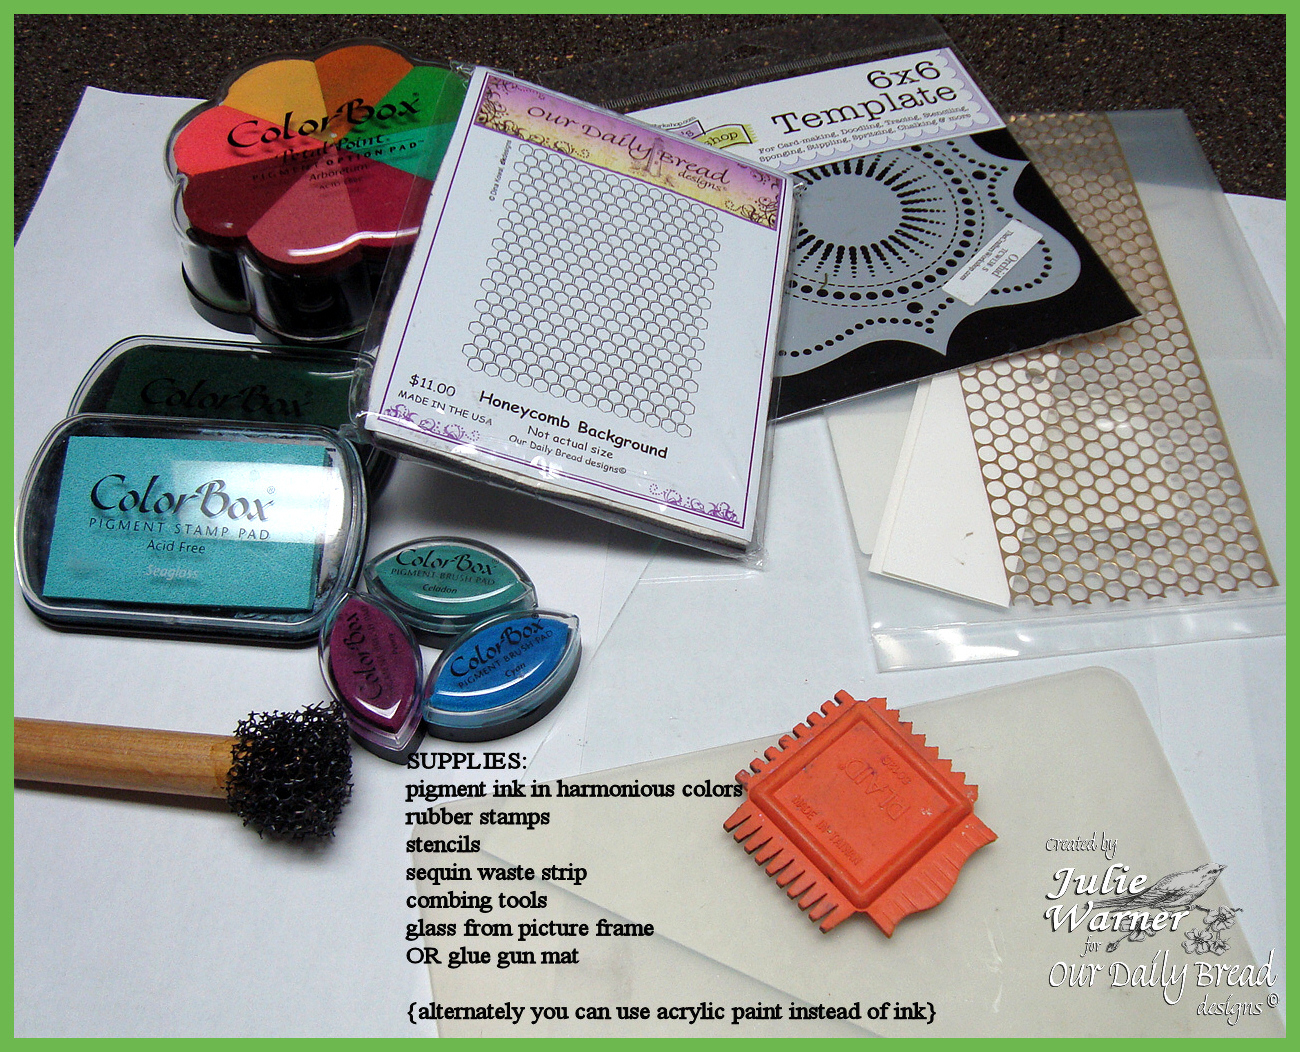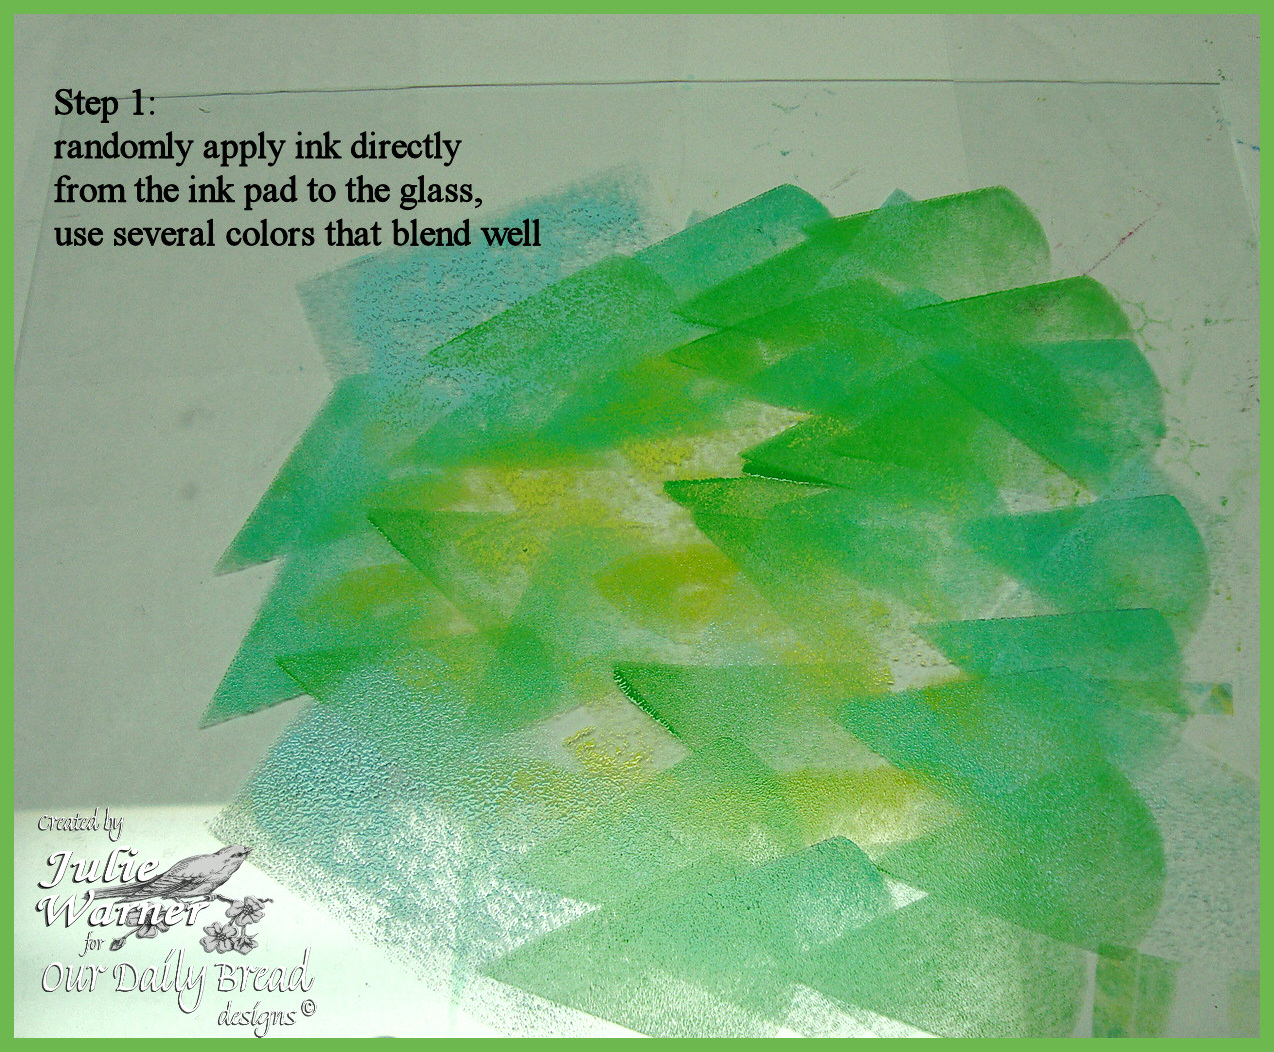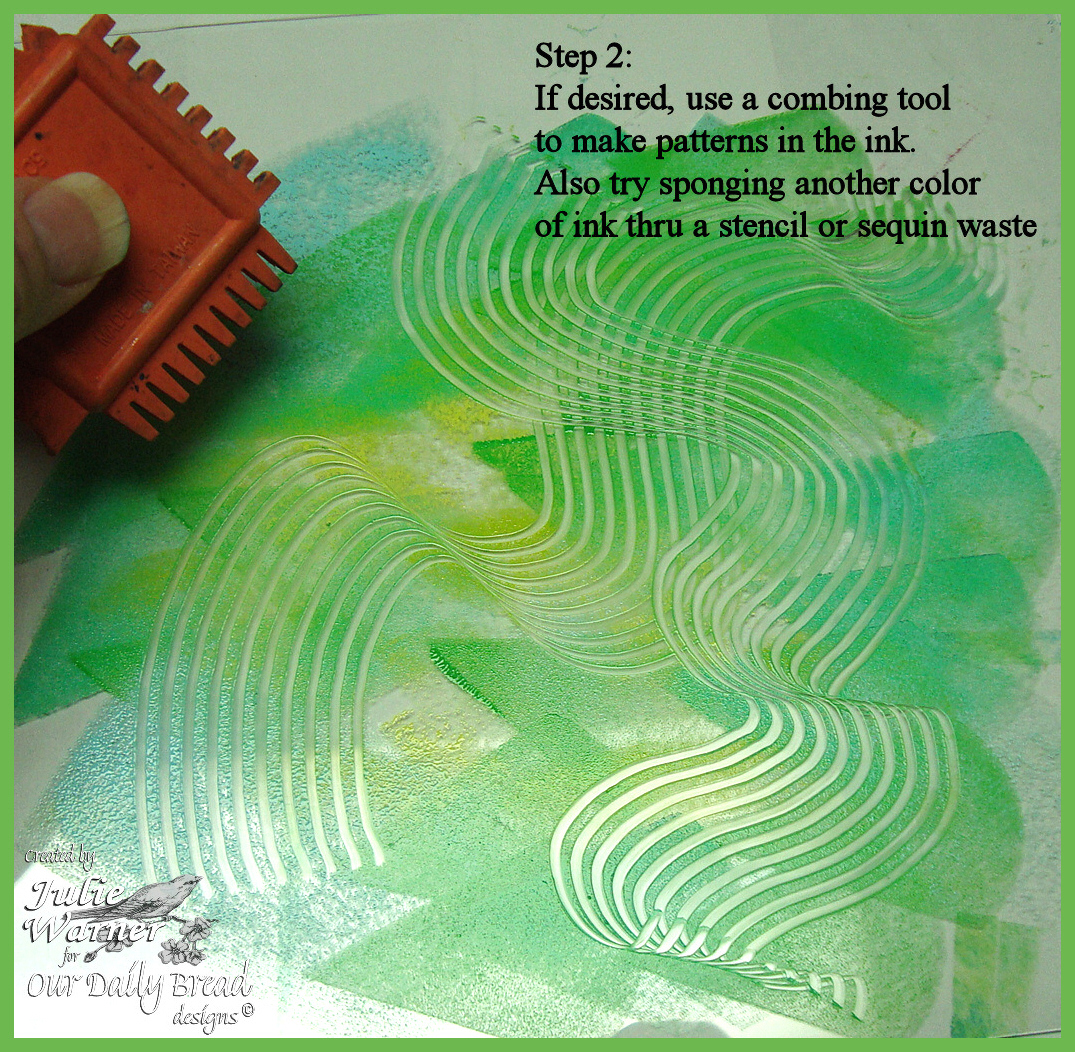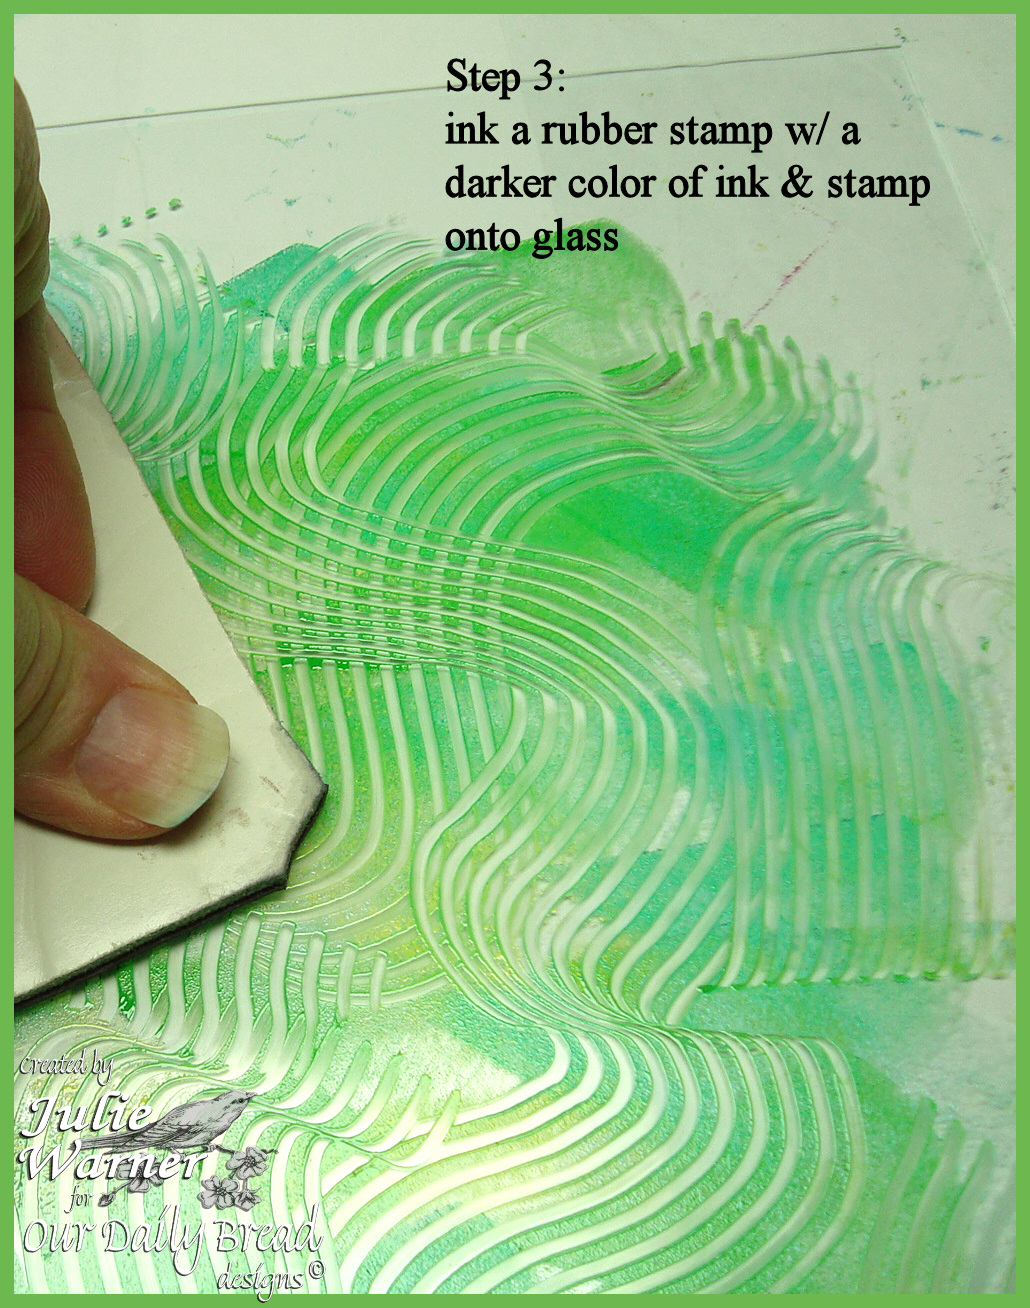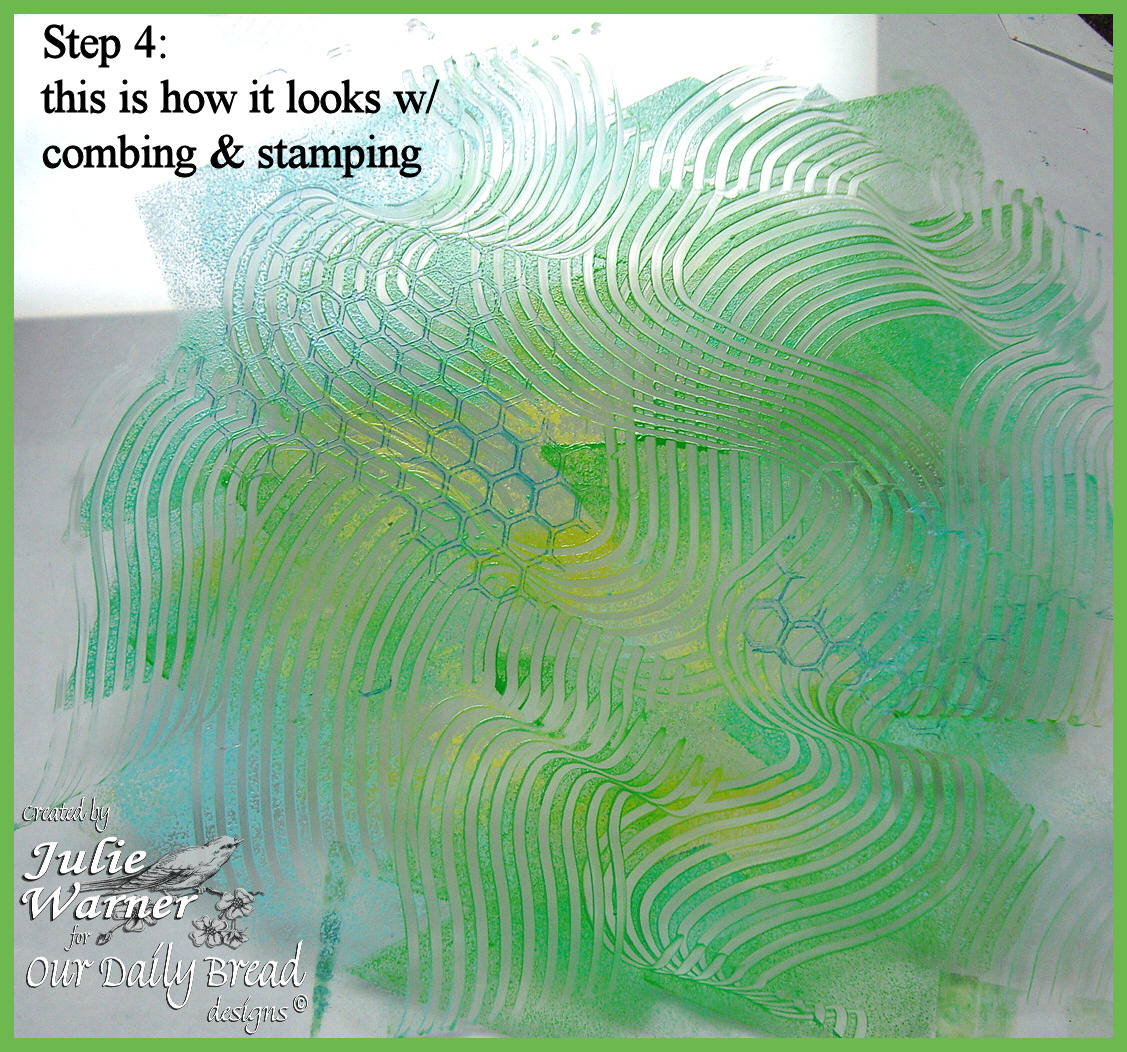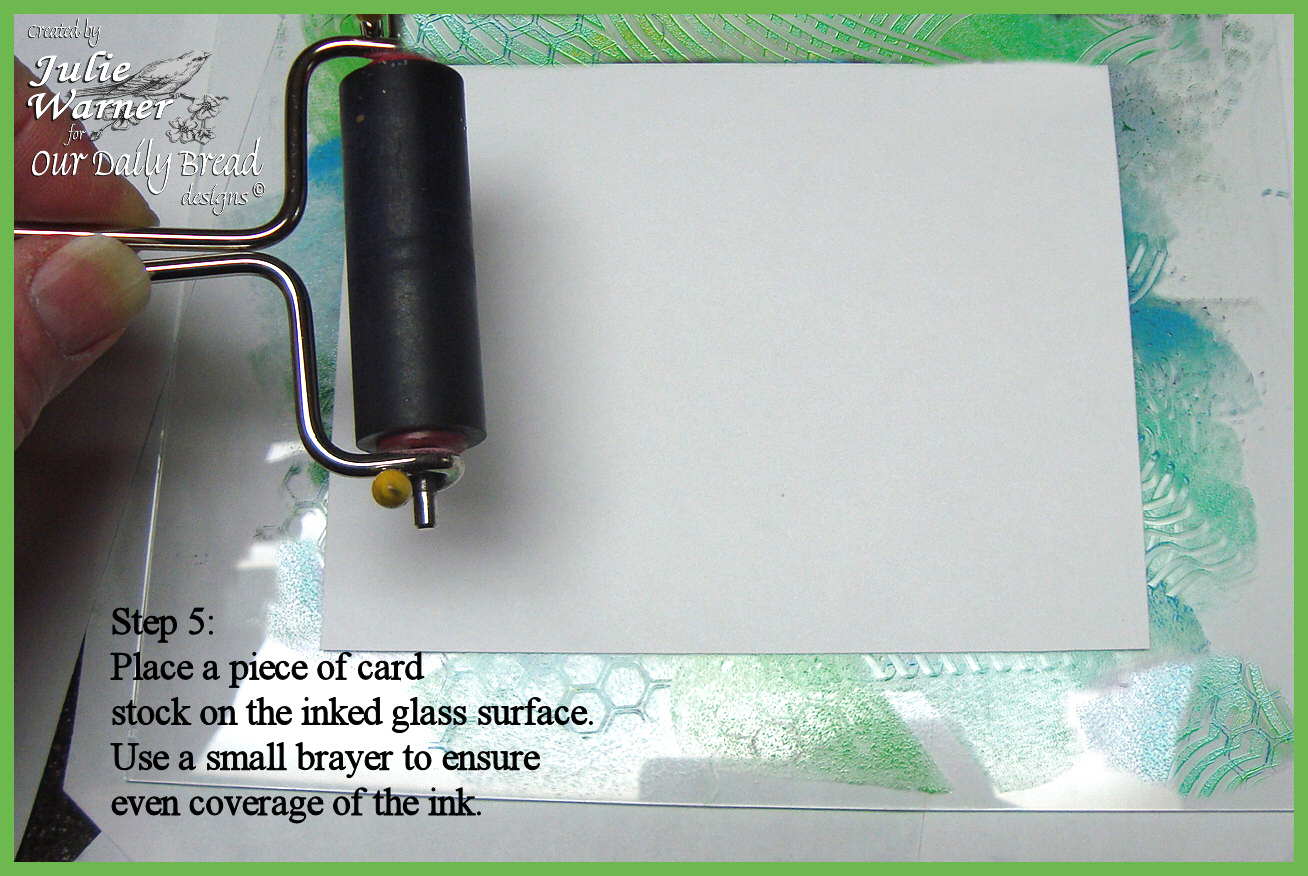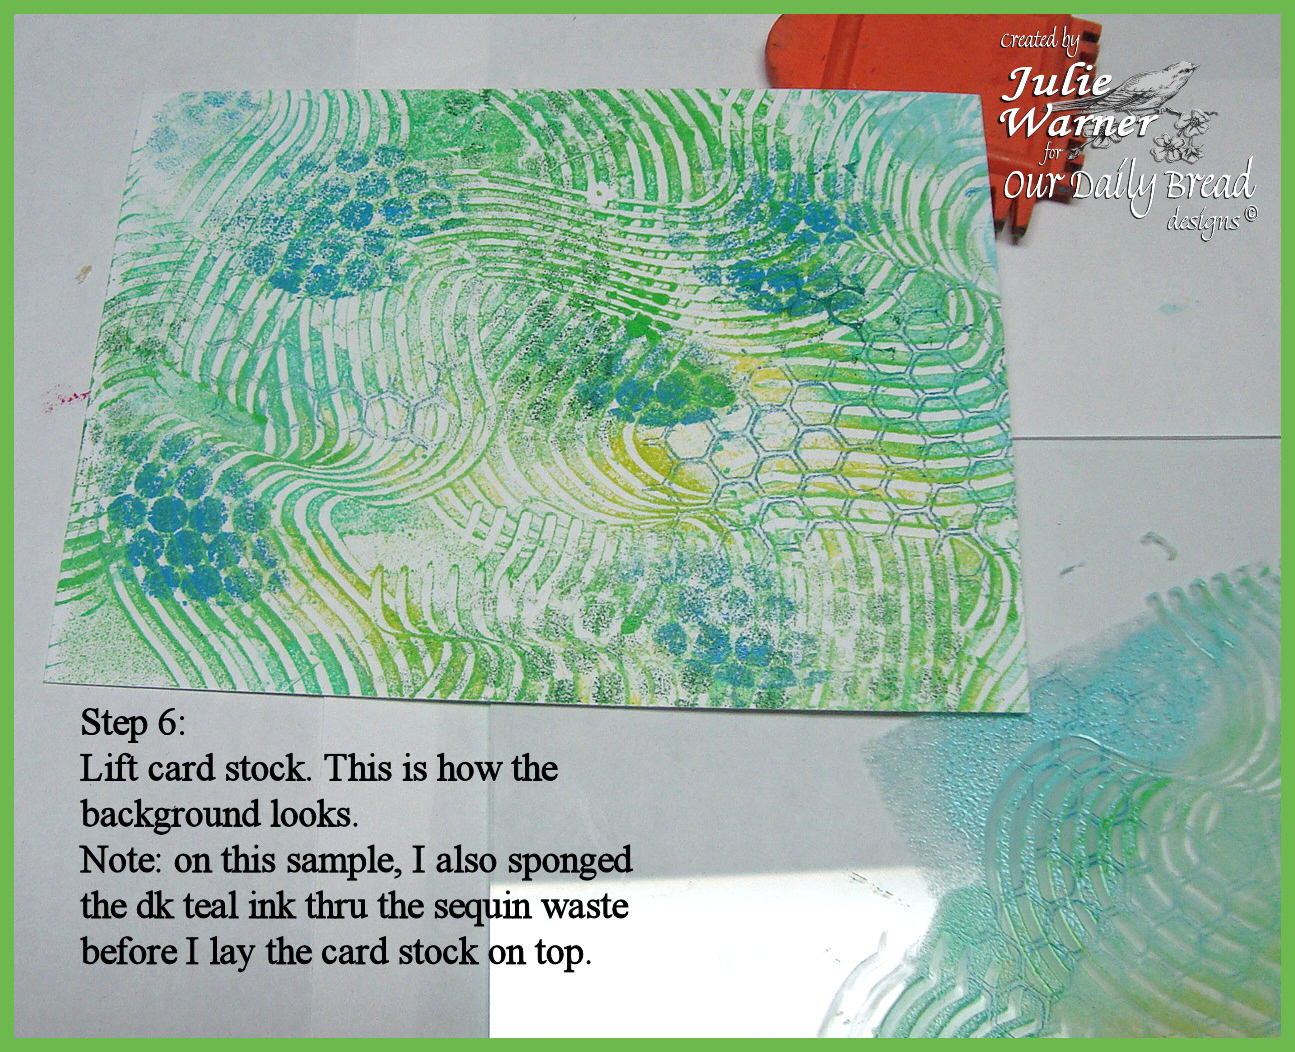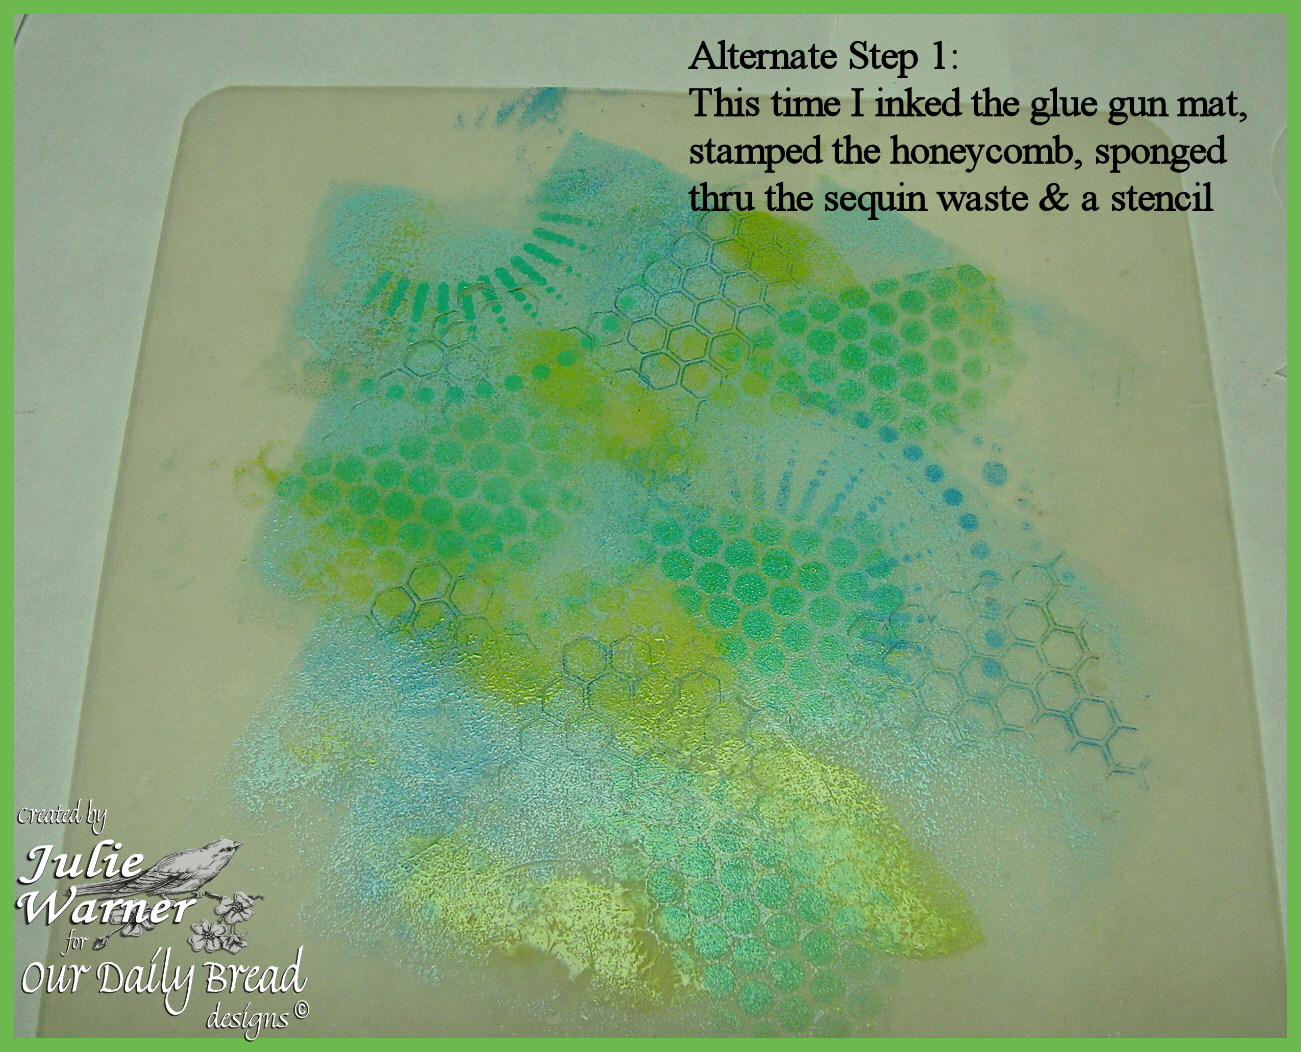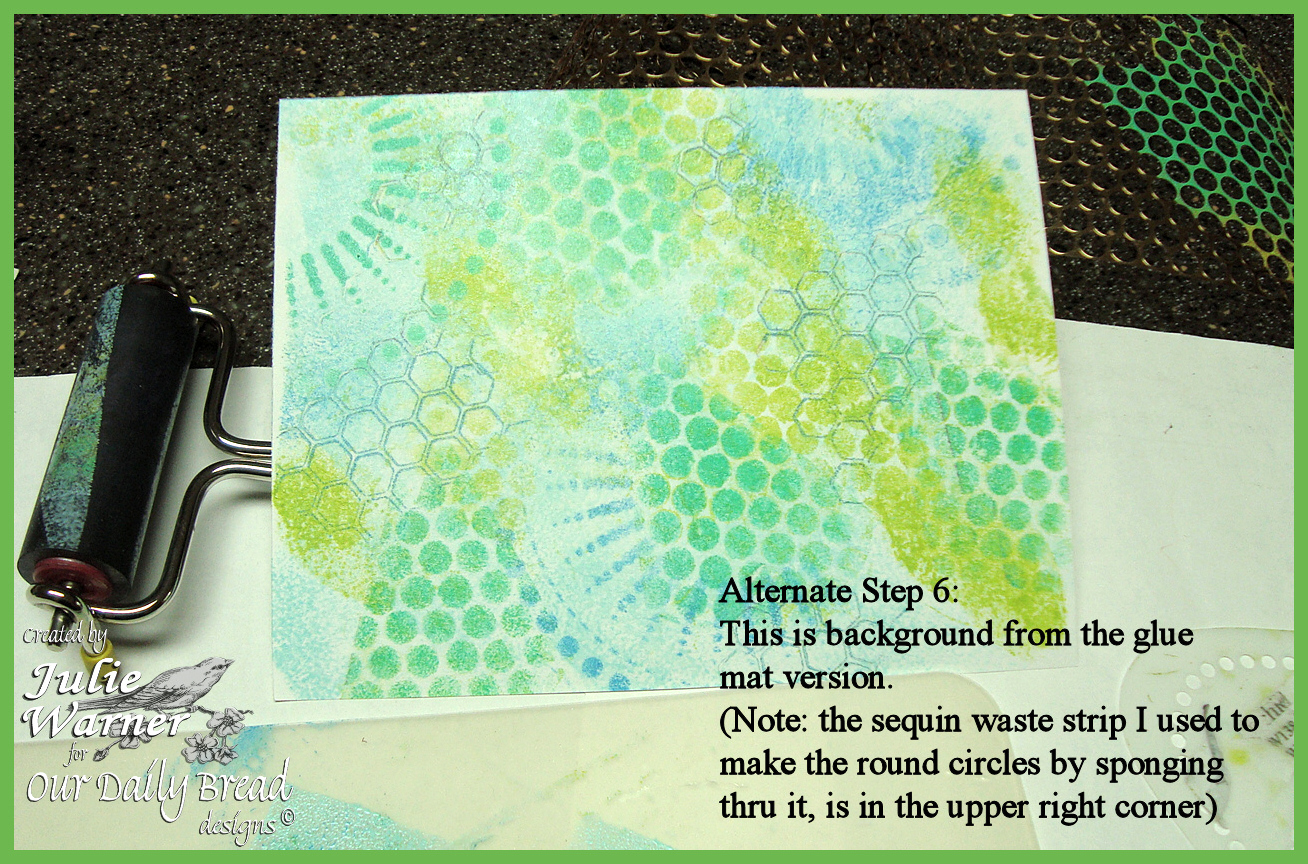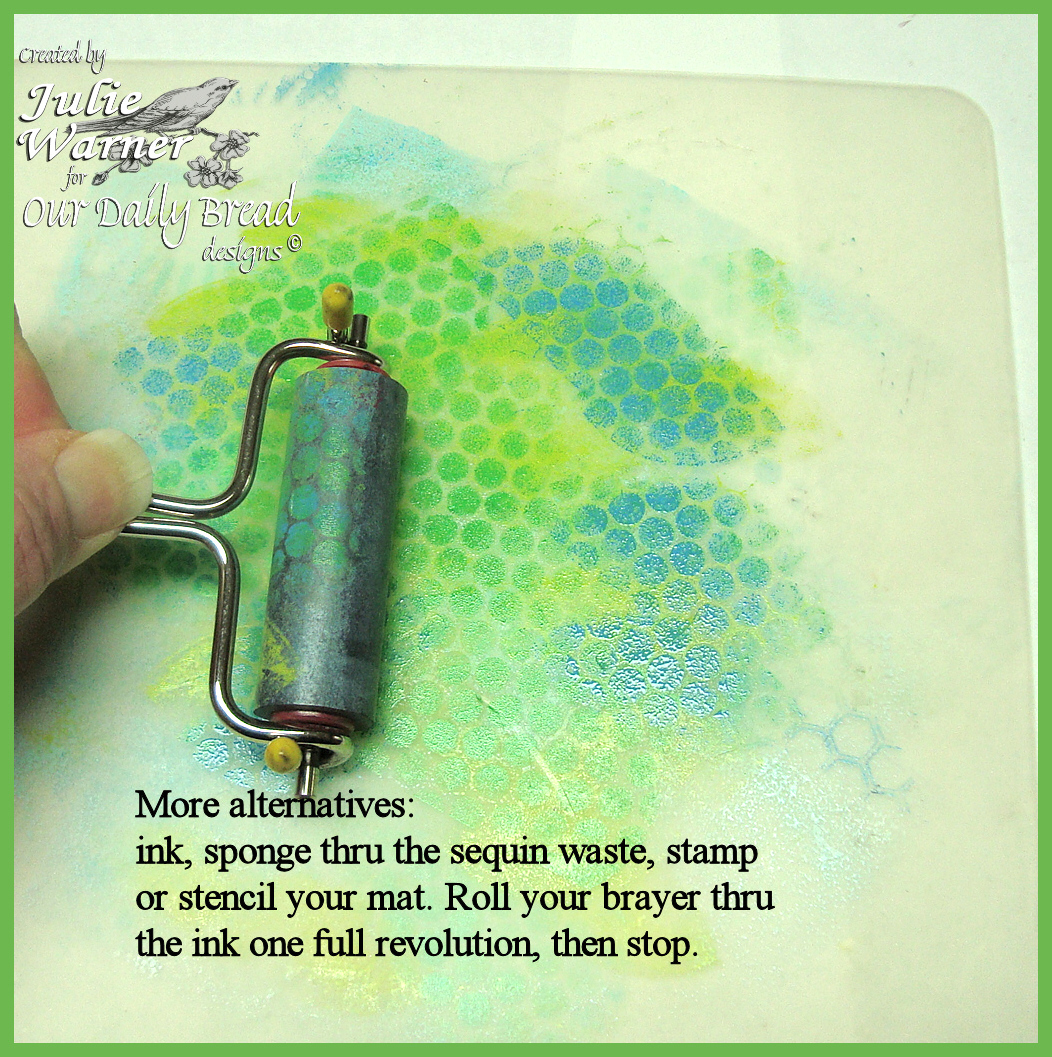
If you’re like me, you’ve been seeing a lot of “gel plate” background techniques using ink or acrylic paint. I haven’t bought a gel plate yet, but then again, I don’t “really” need one. The gel plate backgrounds are a new version of what was called “mono printing”. I even did a tutorial for Splitcoast way back in 2009 on the technique (HERE). So for me it’s, No Gel Plate? No Problem!
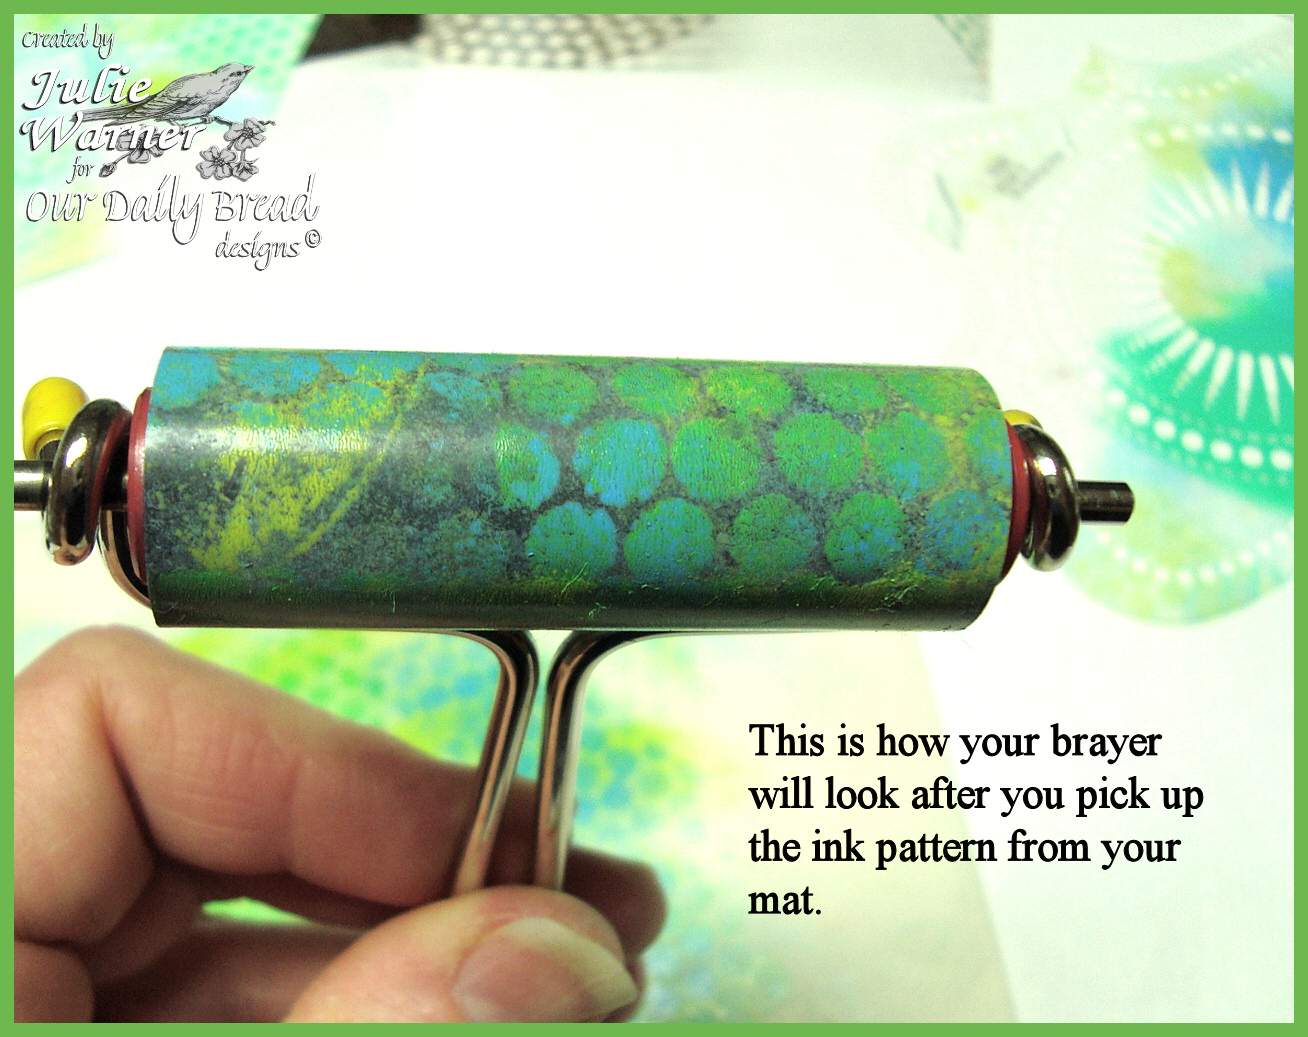
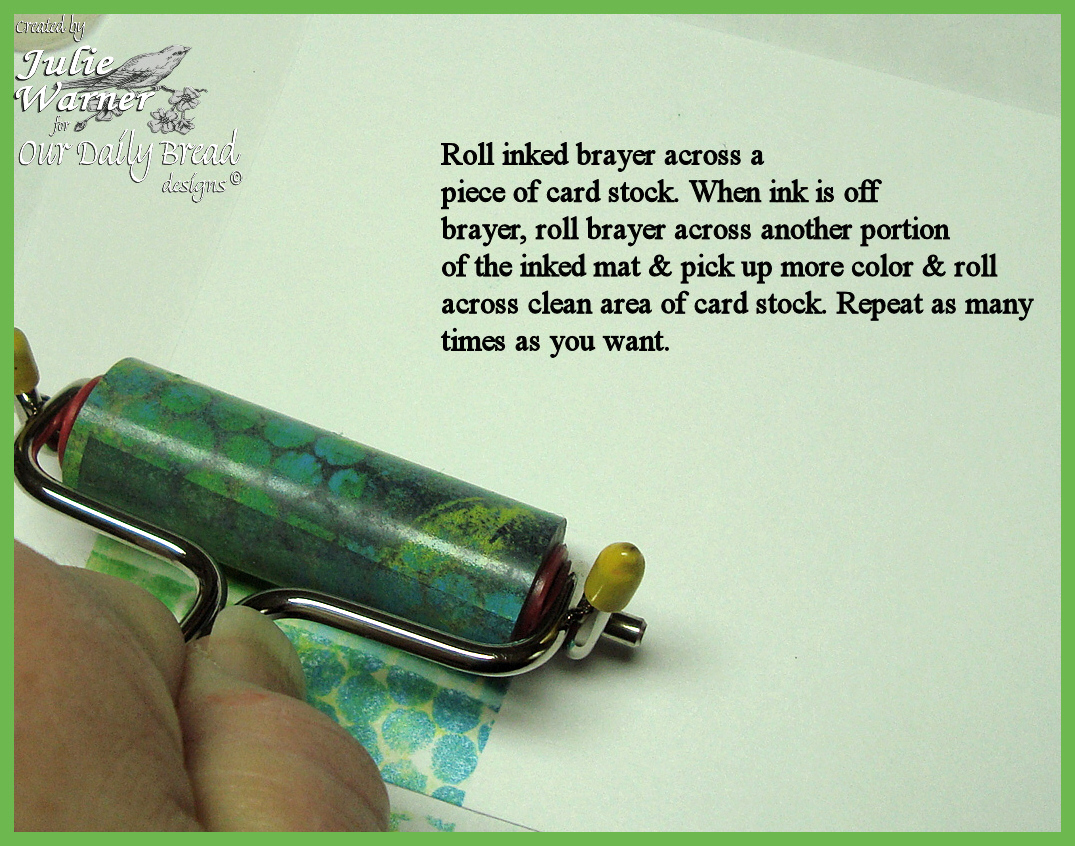
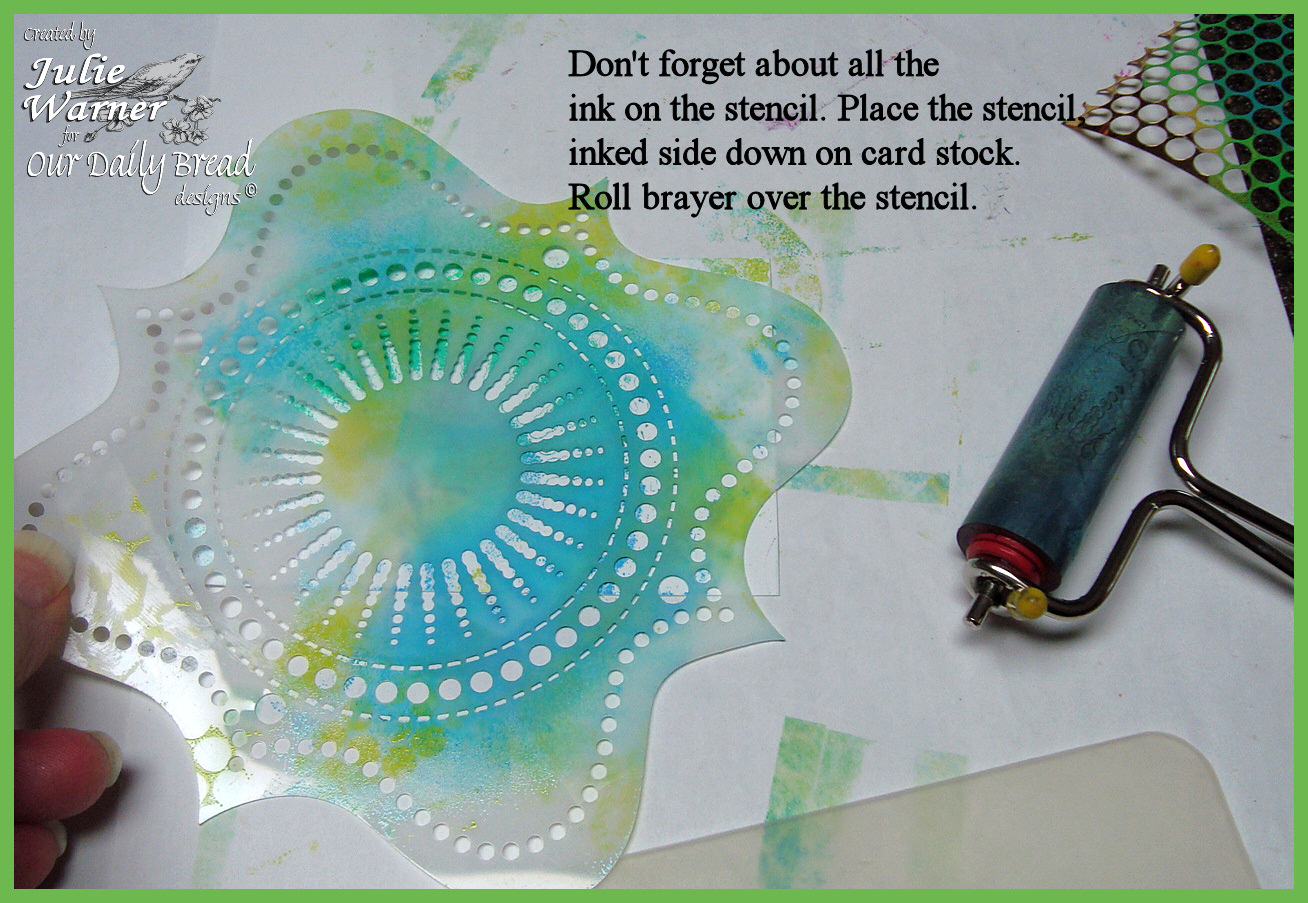
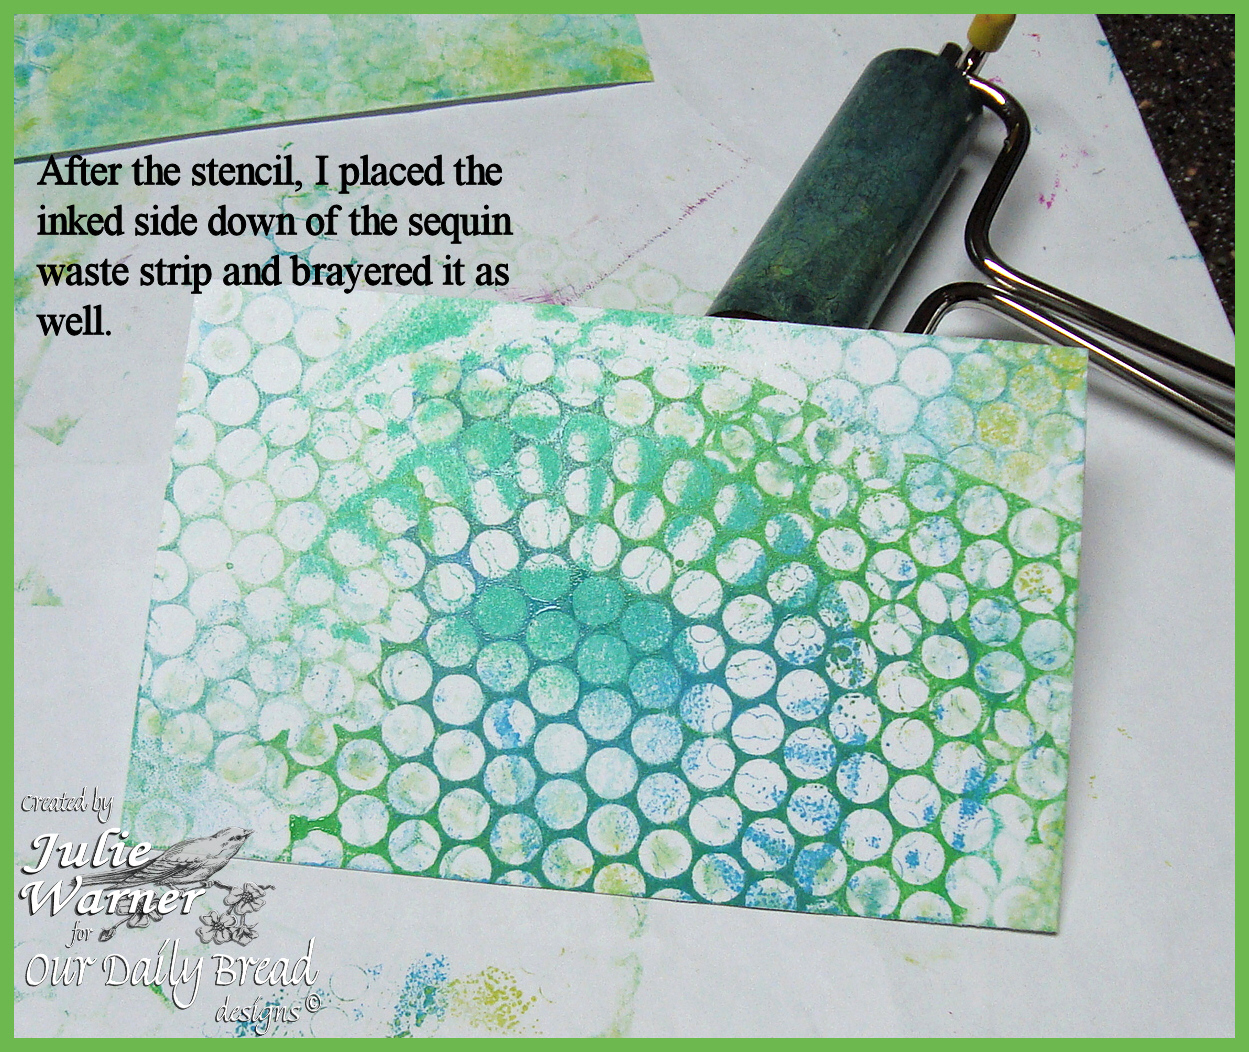
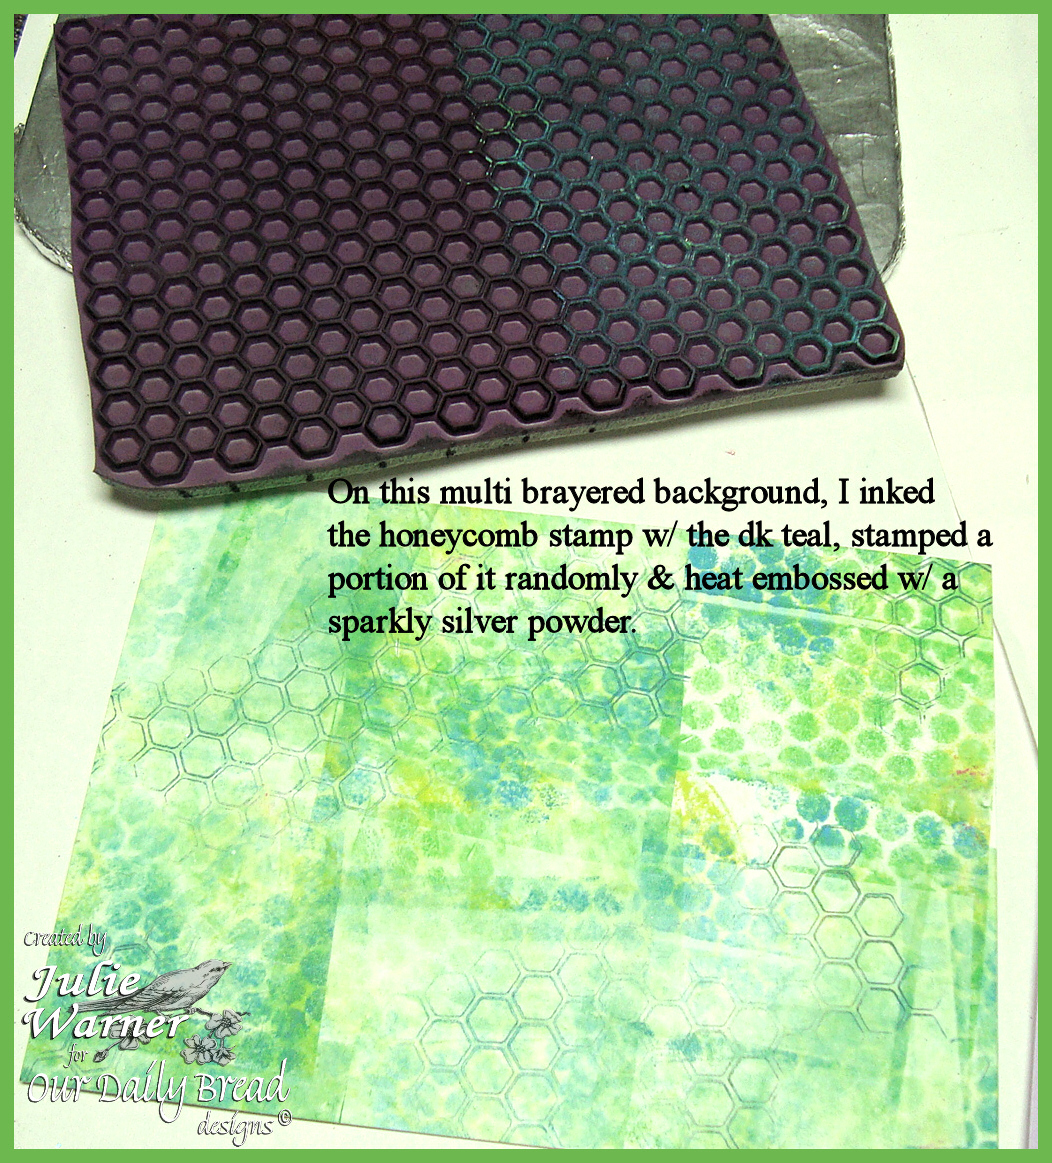
I have lots of pictures to show, so get comfy. And I’m going to show two different plates I used…one is a plain piece of glass (from an 8×10 picture) and the other is a 8×8 hot glue gun mat made out of silicone or something similar. Both work wonderfully and while I’m using pigment ink in both examples, you can also use acrylic paint. You can certainly try other mediums, but with dye based inks or watercolors, you probably won’t be able to do techniques like stamping or combing because the ink is just too thin and will run together. So let’s get started. I’ll show the two different plates and also some fun things to do w/ your brayer, stamps & stencils. The pictures are all annotated and just click to enlarge.
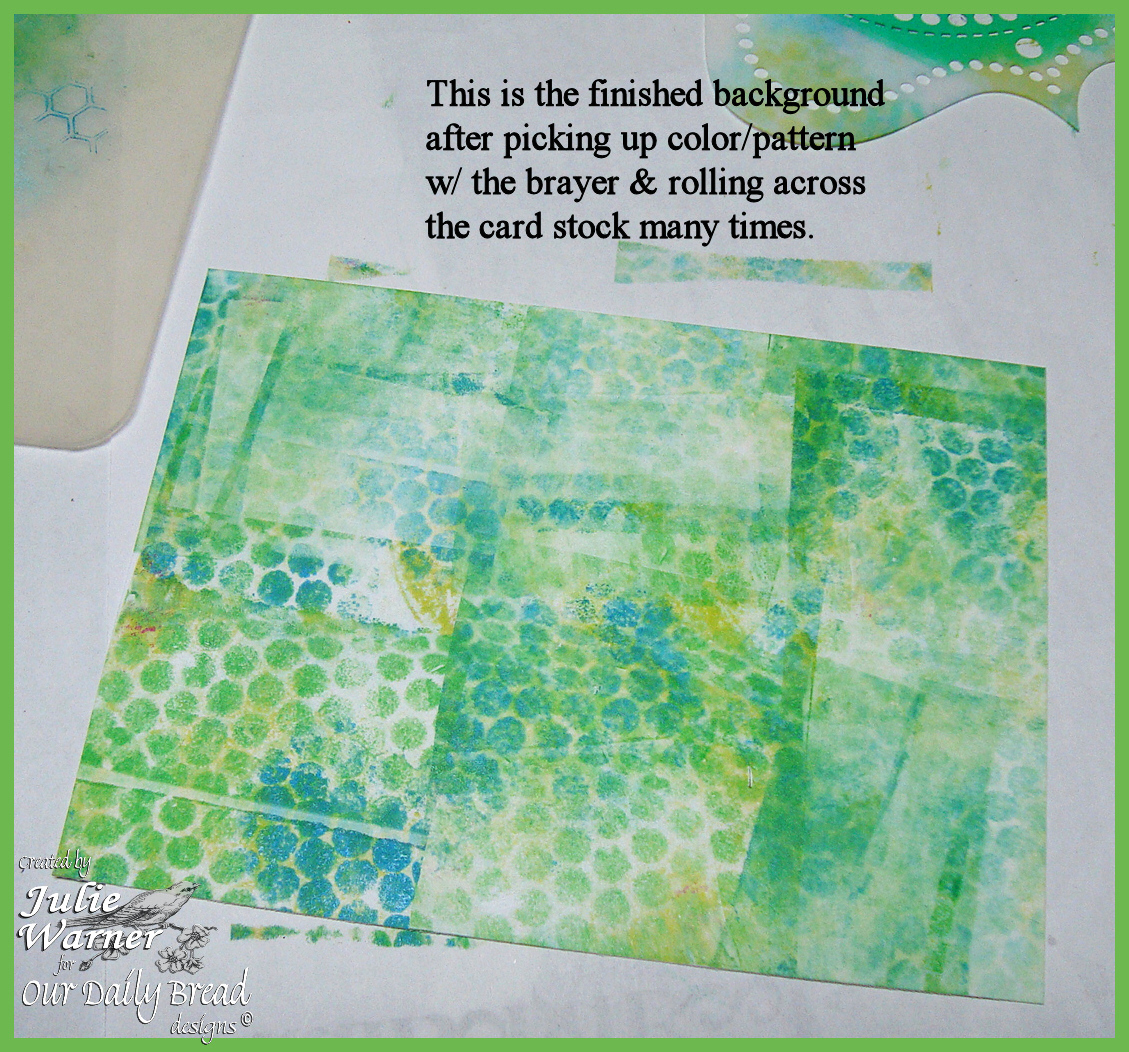
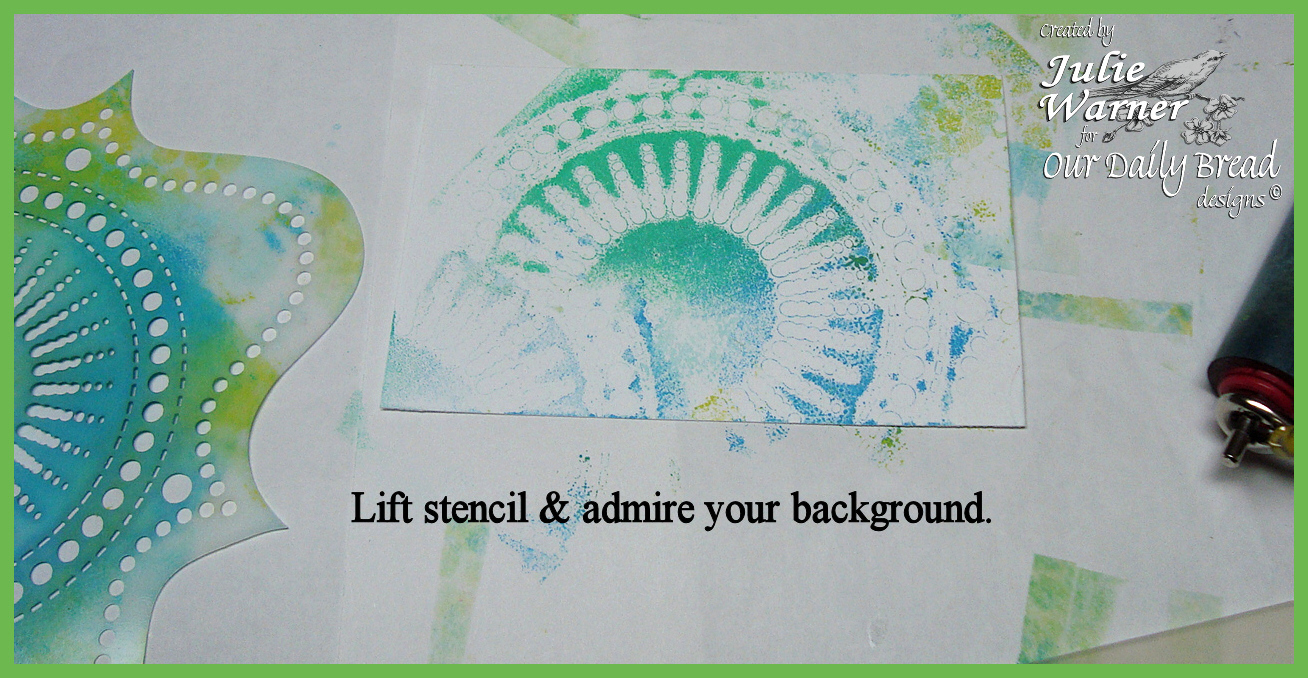
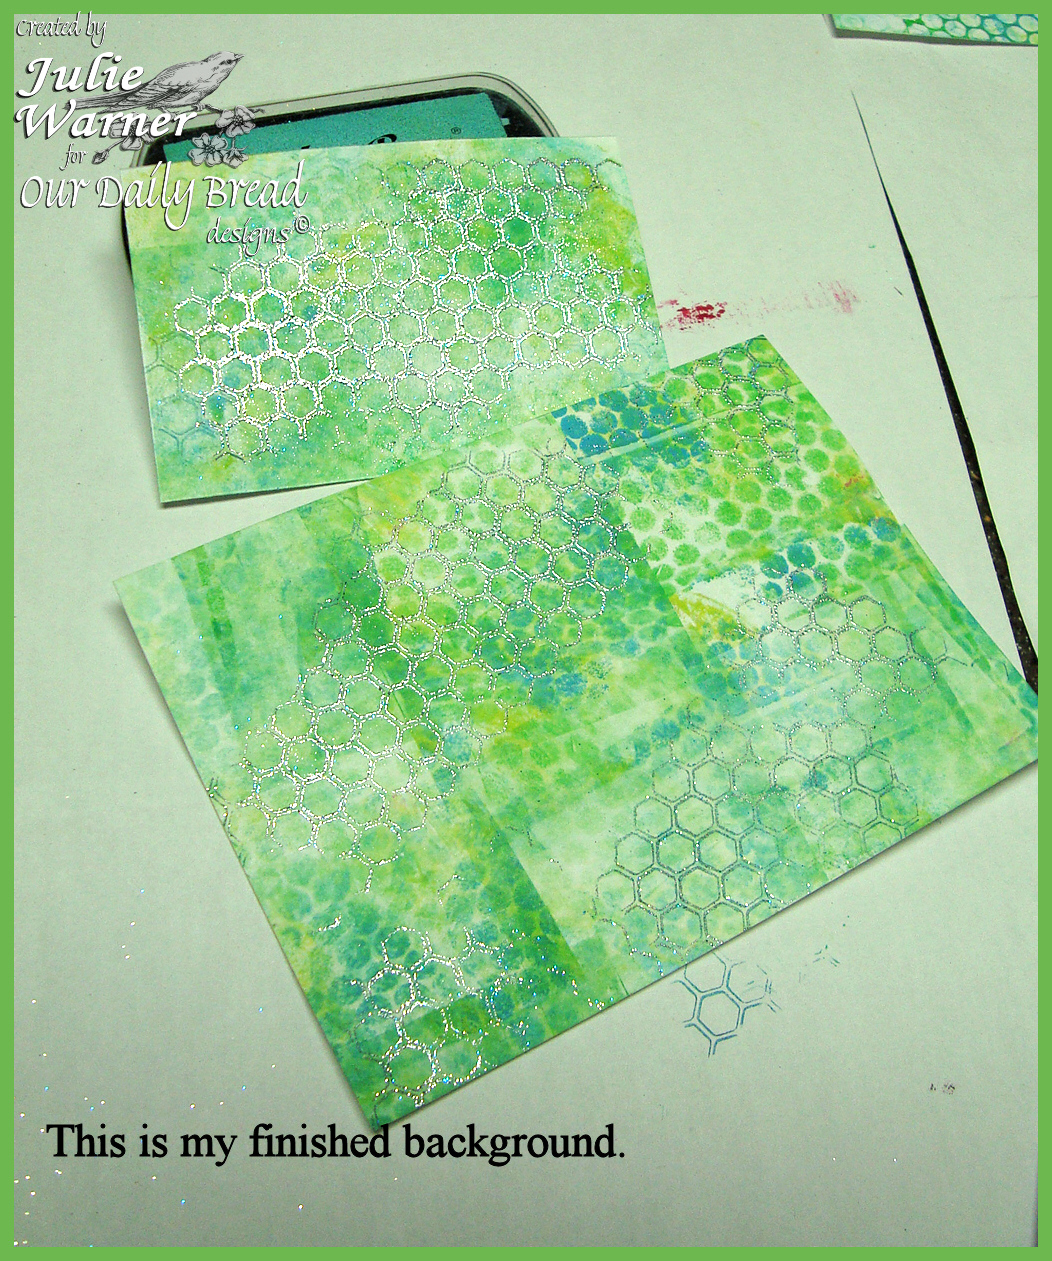
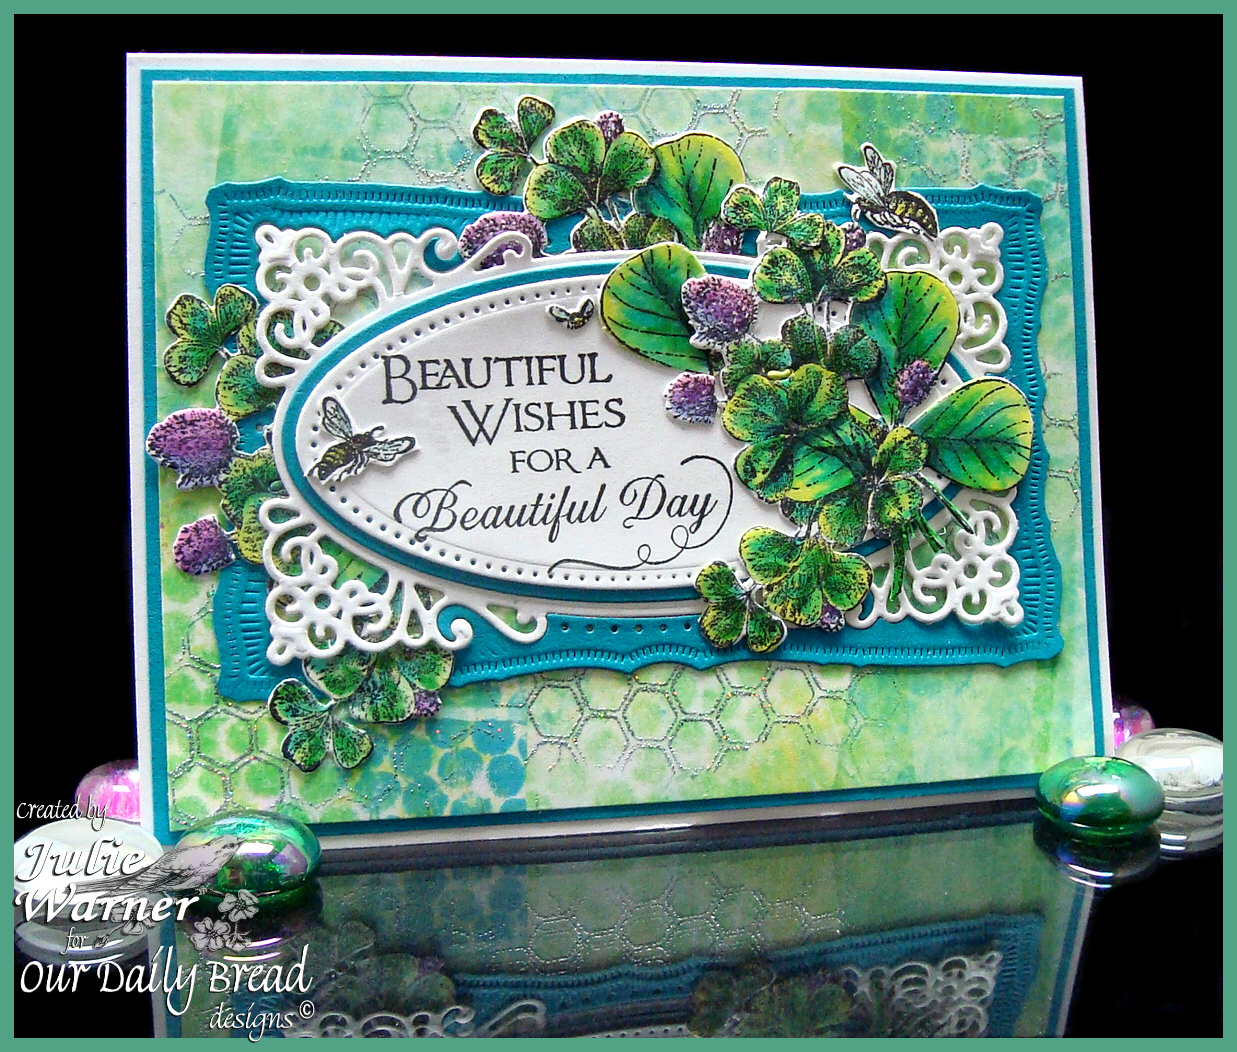
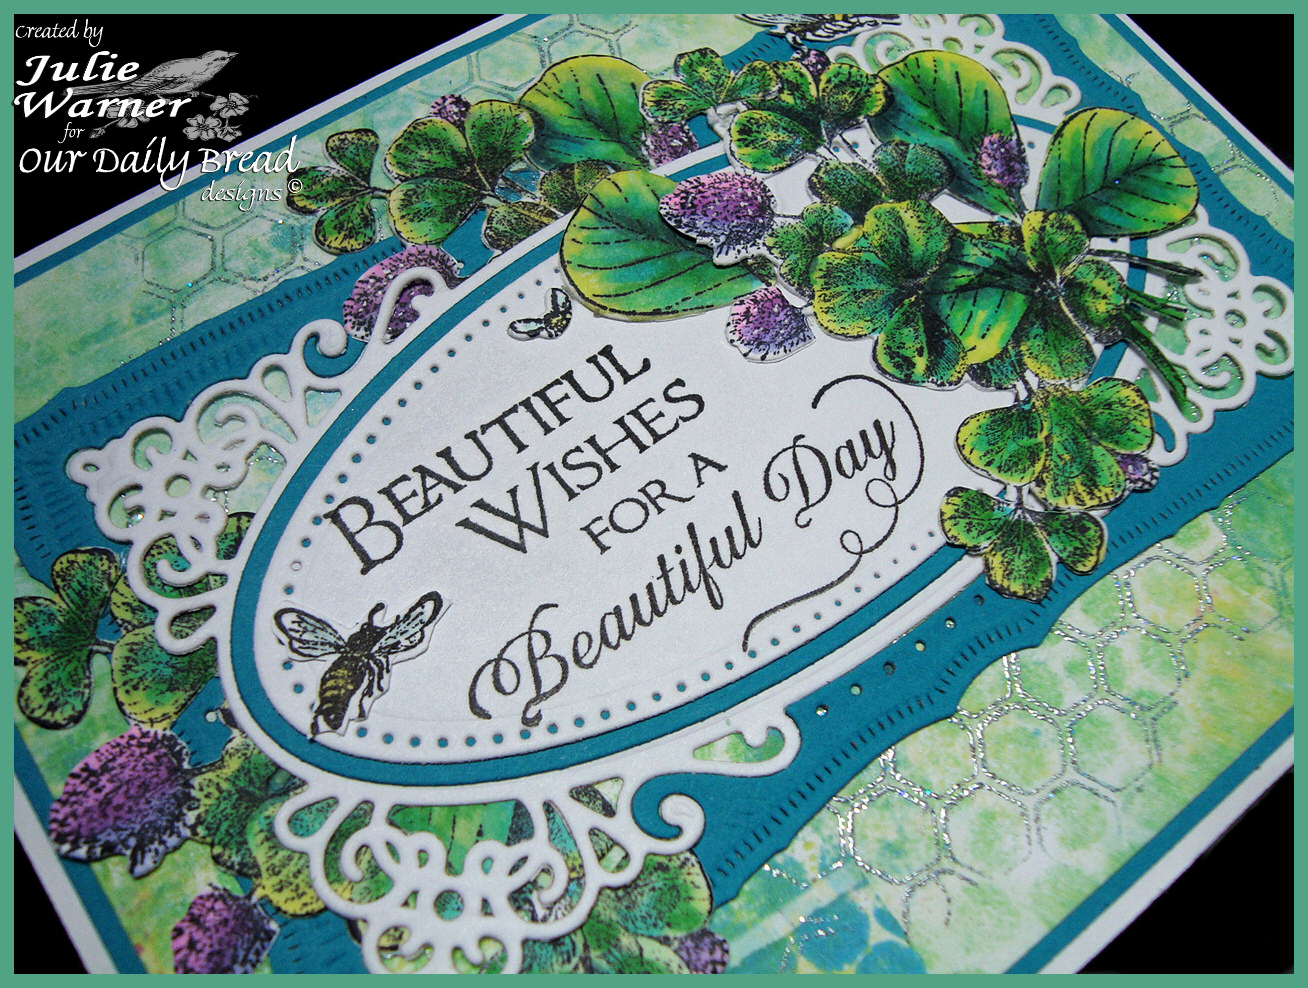
This is my finished card using the background above.
Supplies:
| Stamps: Our Daily Bread designs – Simple Things, Honeycomb Bg, Sentiments Collection 2 |
| Paper: Neenah white, dk teal |
| Ink: Versafine Onyx (for images), Colobox pigment inks in citrine, surf, seaglass, fresh green, evergreen, teal, celadon |
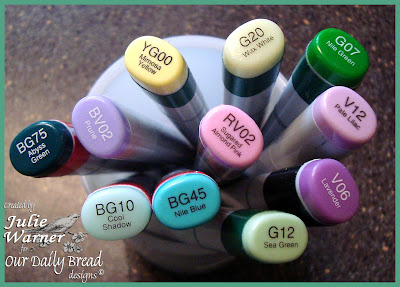
| Accessories: ODBD clover die, Spellbiders mega oval & Radiant rectangles dies, Copic markers, Aegean silver embossing powder, stencil, sequin waste strip, combing tool, 8×10 picture glass, 8×8 hot glue gun mat, small brayer |
