This is an easy, very clean and simple card to help get you a jump on the Chrismtas season. The entire white front is one die cut. Cut it, add some paper behind it and you are done! Change…
- Category Archives Animals/Pets
-
-
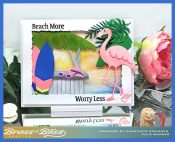 Beach More
X 3 How about a fun, dimensional beach scene card? It just screams summer vacay! Great for a summer birthday or for a friend taking a trip to the islands or beach. Or just to say hi. These…
-
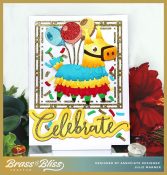 Party Piñata
This card is all about the party. Sparkly balloons and greeting paired with a colorful piñata and falling confetti give it a really festive look. A very glittery frame surrounds the piñat…