• Tag Archives vacation
  • Tropical Paradise

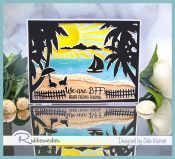
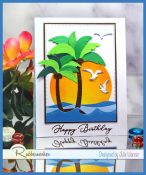
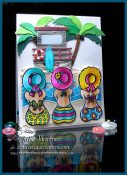
    A colorful, tropical card easy to make w/ these fun dies, some ink & a few colored pencils. Sure to brighten someone’s birthday, vacation or retirement.

    It’s my turn to host the Inspiration Challenge (IC926) and we’re visiting The Classy Home & their Pinterest Board where I found THIS picture to inspire me.
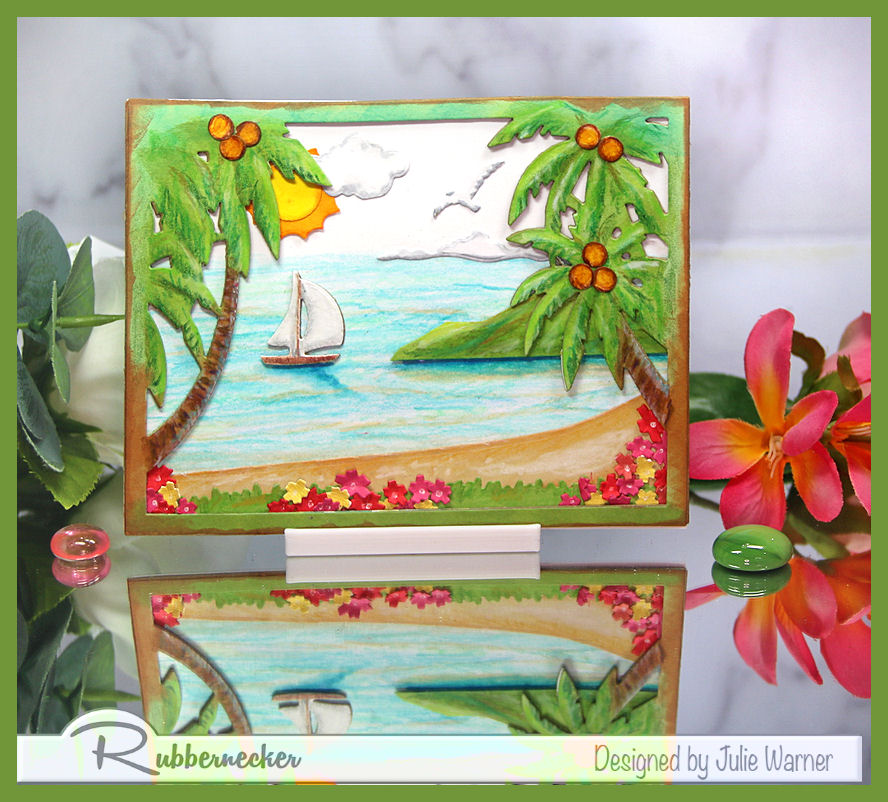
    To make my tropical card, I die cut the palm tree frame out of grass green & stacked it a few times to give it a little depth. I used green, brown & blue-green inks to sponge on top of it, then added some details w/ Prismacolor pencils. I also used the pencils to color in the water on the white layer behind it. The grass, sand & little hilly island were also die cut & shaded w/ inks & pencils. I added the other elements to the white bg before attaching the palm tree frame on top.
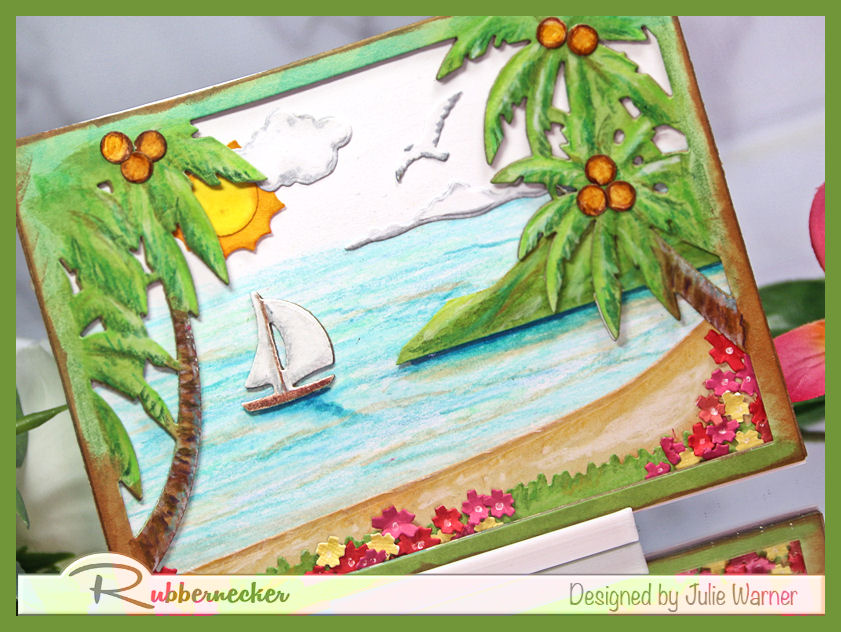
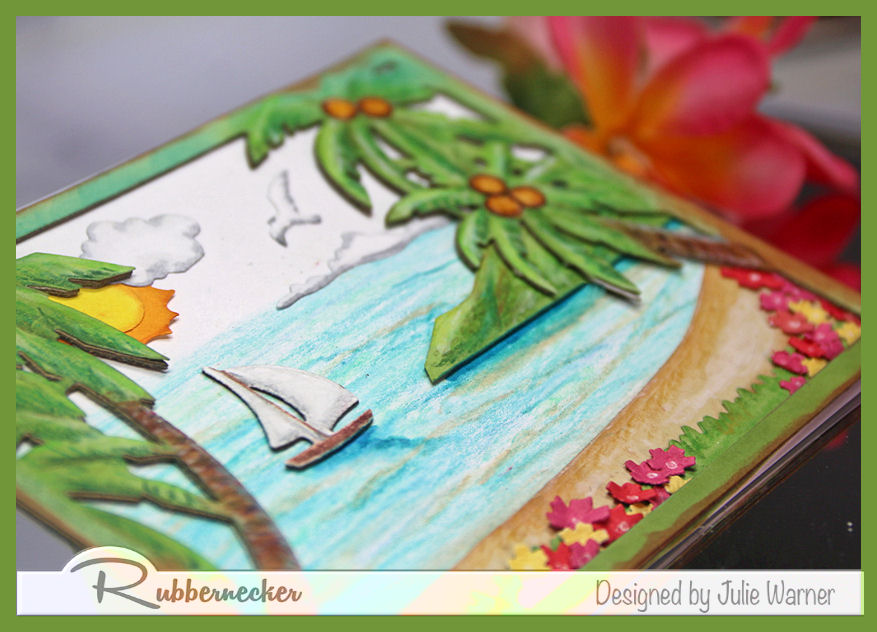
    The small flowers were die cut, shaped & added at the bottom of the frame. The coconuts were made using a small hole punch then colored in.
    Thanks so much for stopping by! 


    Supplies:
    Stamps: Rubbernecker Stamps: none
    Paper:  Staples 110# white, grass green, scraps of yellow, pink, red
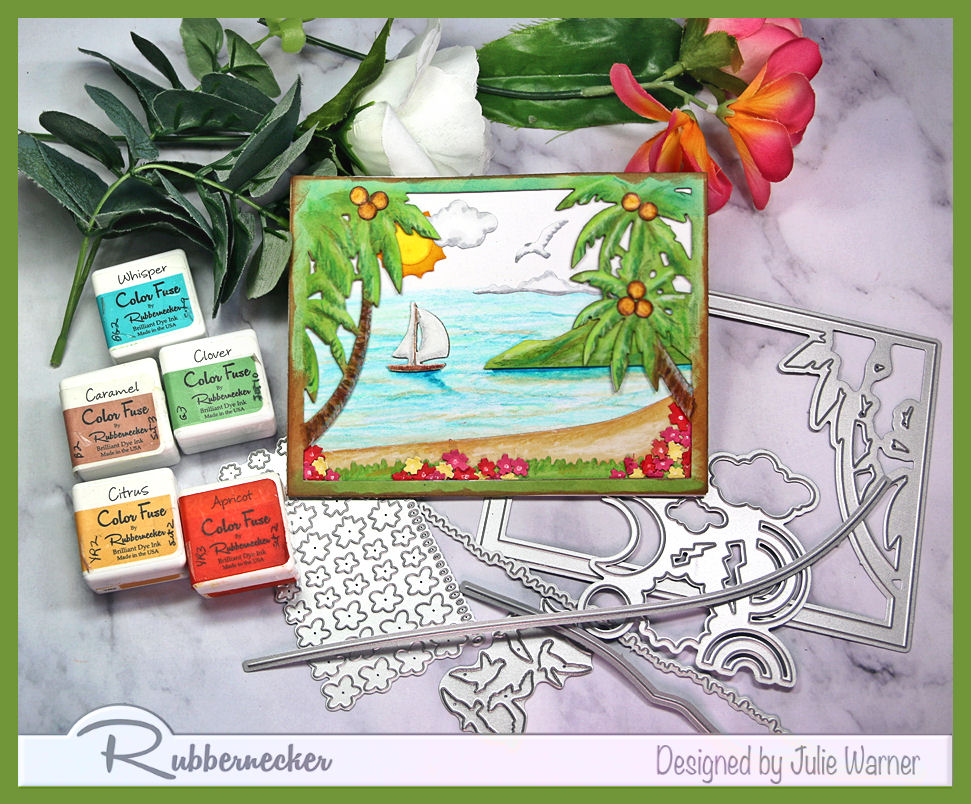
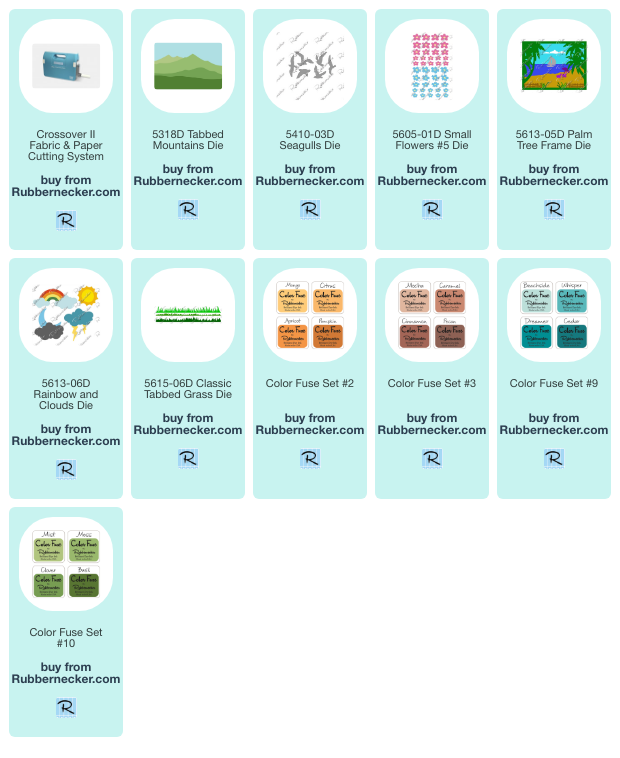
    Ink:   Rubbernecker Stamps: Color Fuse inks:  set #2, set #3, set #9, set #10
    Accessories:  Rubbernecker Stamps: Palm Tree Frame,  Rainbow & Clouds, Tabbed Mountains, Slimline Hills, Classic Grass, Seagulls, Sm Flowers #5 dies, Prismacolor Pencils,  white gel pen


    You might also like:


  • Hey Vacay

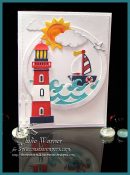
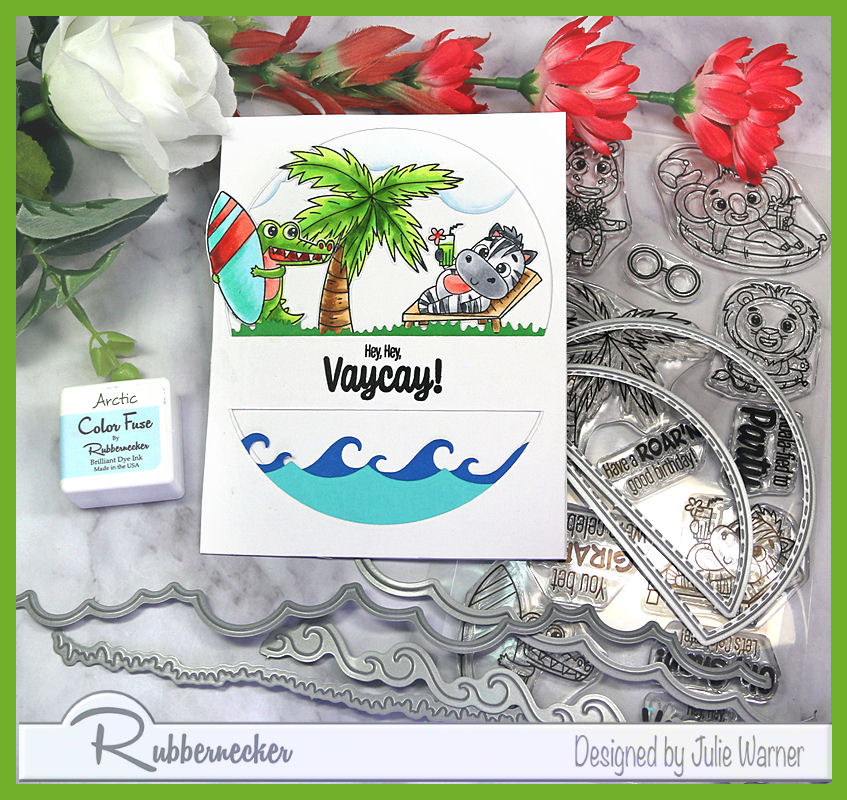
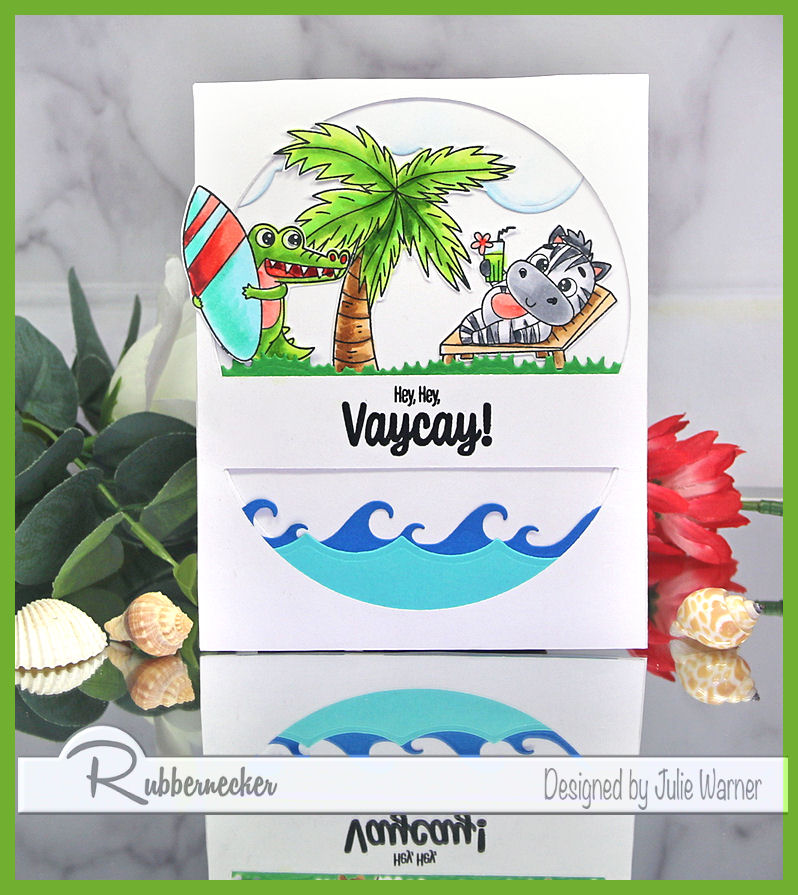
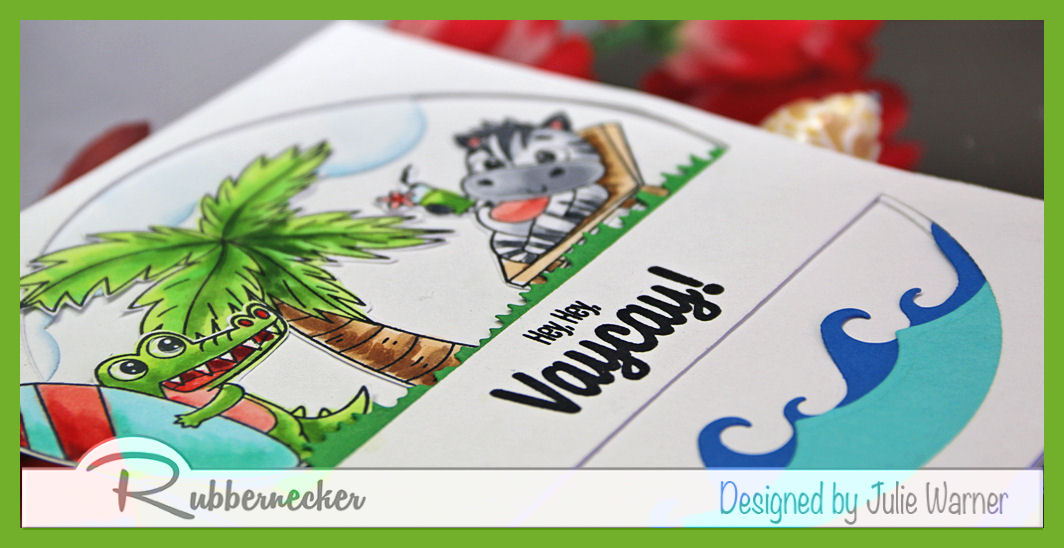
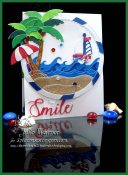
    A fun summer beach vacay card w/ some really cute little critters. Easy to make & so colorful.

    For the Inspiration Challenge (IC912), we’re visiting Primitives by Kathy and their Pinterest site where I found THIS picture.

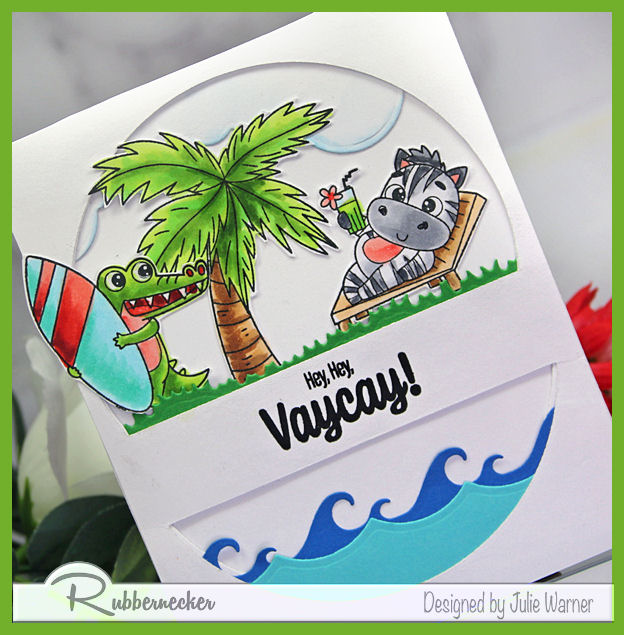
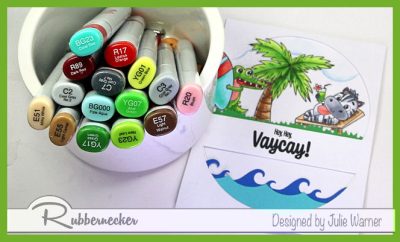
    For my vacay card, I colored & die cut the little animals & fussy cut the palm trees. I used a split circle die to cut out the top of my white panel, leaving the center wide enough to stamp my greeting. I added some die cut clouds & grass on the top section & some waves in two colors on the lower section.

    I added 2 more die cut layers of white under the top panel to add a lift from the background.

    And these are the Copics I used:

    Thanks so much for stopping by!


    Supplies:
    Stamps: Rubbernecker Stamps: Summertime Animals set
     Paper:  Staples 110# white, royal blue, turquoise, green
    Ink: VersaClair nocturne, Rubbernecker Stamps: Color Fuse ink set #7
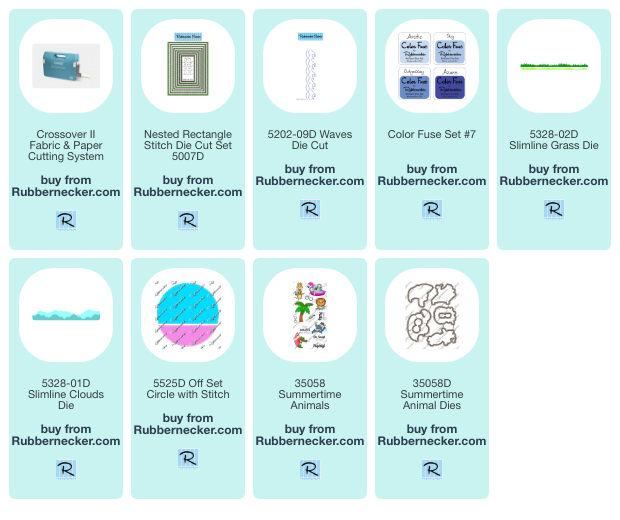
    Accessories:  Rubbernecker Stamps: Rectangle Stitch, Slimline Clouds, Slimline Grass, Offset Circle w/ Stitch, Waves dies,  MISTI, Copic markers


    You might also like:


  • Adventures


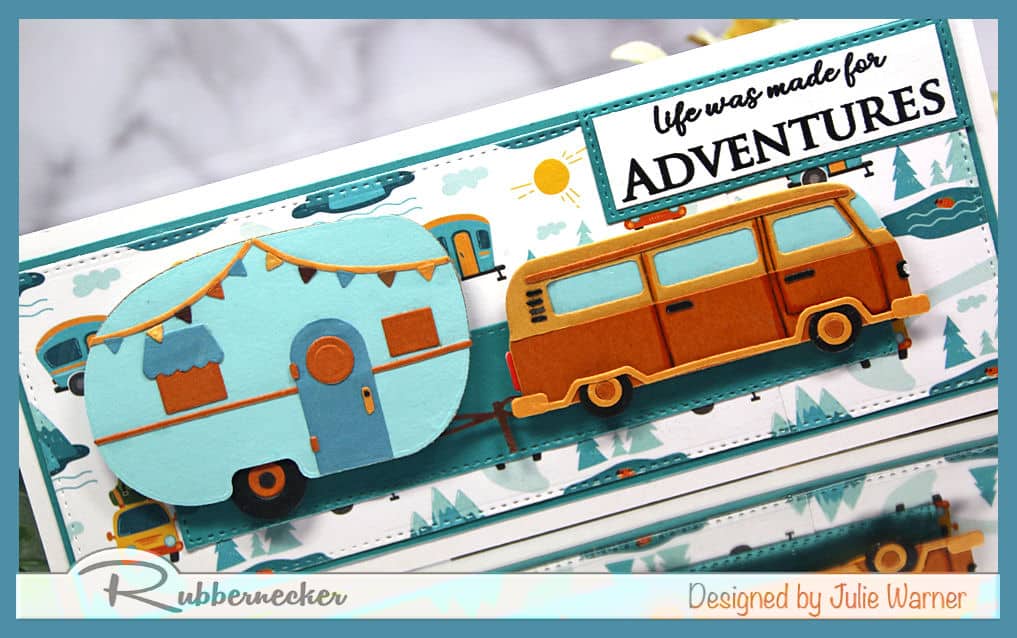
    I hope everyone had a very good Thanksgiving! For the Splitcoast Inspiration Challenge (IC866) we are visiting Colorful Images & their Pinterest Board where I was inspired by THIS picture.

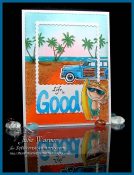
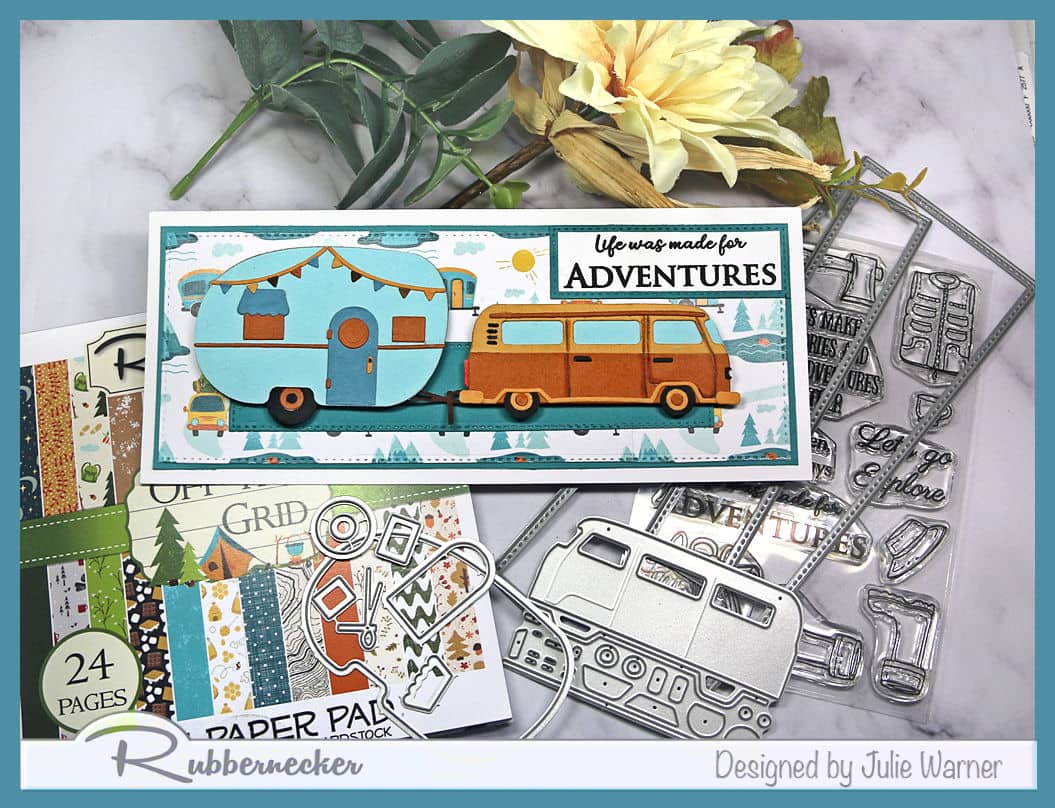
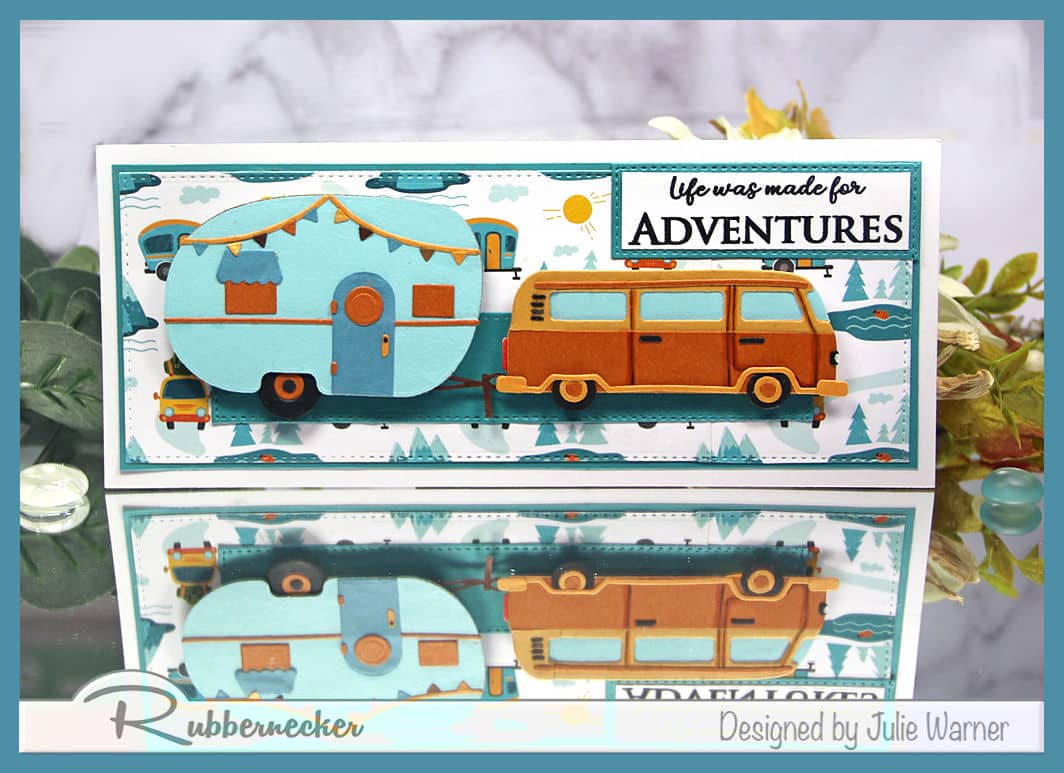
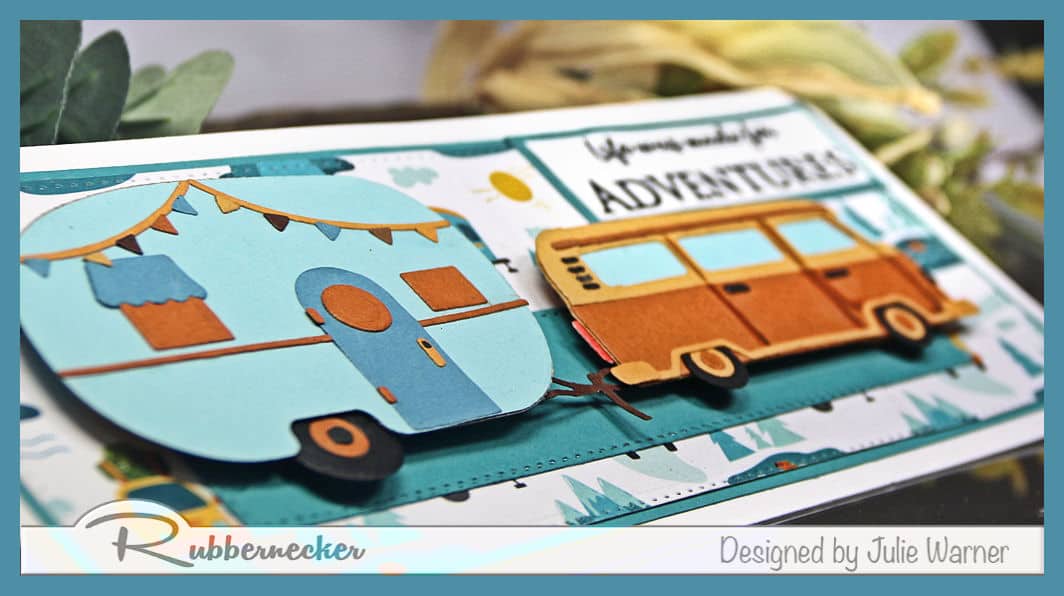
    My slimline card was created using die cuts, some new paper & a greeting from an outdoor stamp set. The cute little camper & van were die cut out of several different colors & pieced together. Normally, the camper faces left, but I needed it to face right, so after die cutting the body of it, I placed just the piece of paper (minus the die) on top the magnetic mat & placed the embossing mat on top & ran it thru the machine. This helped remove the normal indentations from the die. All of the other pieces were ok as is, I just moved them to the opposite side. The van & the camper are both popped up on foam. The paper pad is 6×6, but I discovered one side could be matched up to the other so I carefully did this & I can barely see it in person.

    You can see the dimension here.

    Thanks 
    so much for stopping by! 


    Supplies:

    Stamps: Rubbernecker Stamps: Outdoor set (greeting)
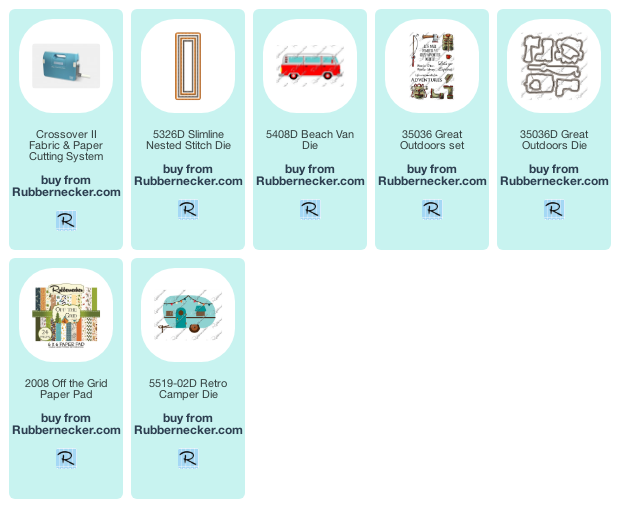
    Paper:  Staples 110# white, rust, lt blue, med blue, golden yellow, teal, black, dp (Rubbernecker Stamps: Off the Grid paper pad)
    Ink: Memento tuxedo black
    Accessories:  Rubbernecker Stamps: Beach Van, Retro Camper, Slimline Stitch, Outdoor set dies, Crossover II, Misti


    You might also like: