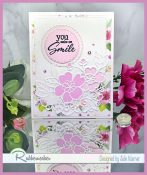
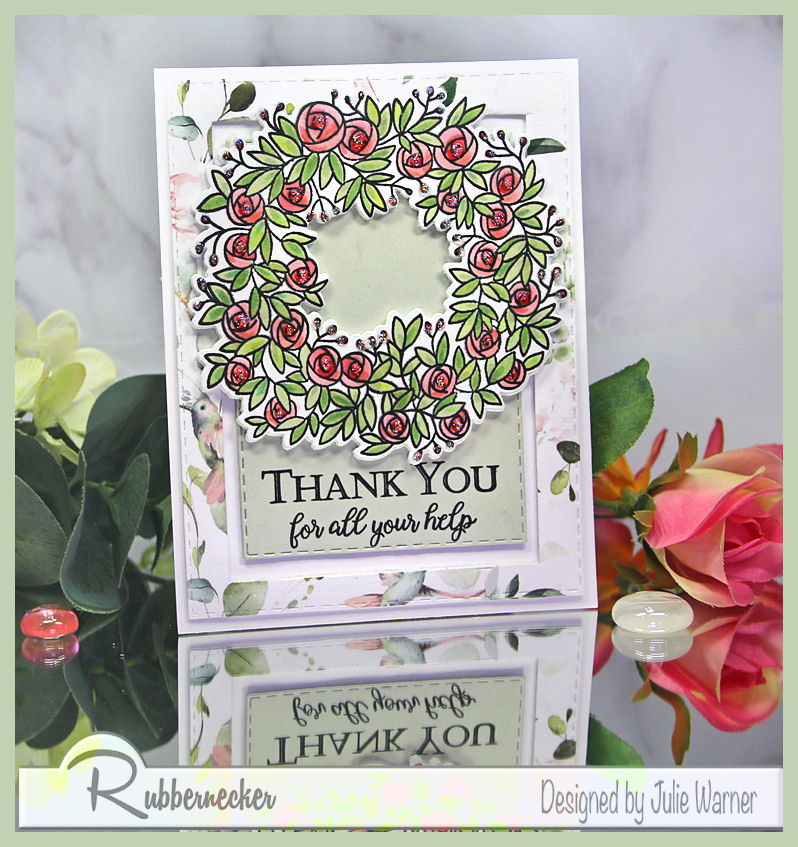
An easy to make Thank You card for someone special. The rose die cut border on top is beautiful over what ever color you want to use. The greeting is half die cut, half stamped, but you can stamp the entire wording, if you prefer.
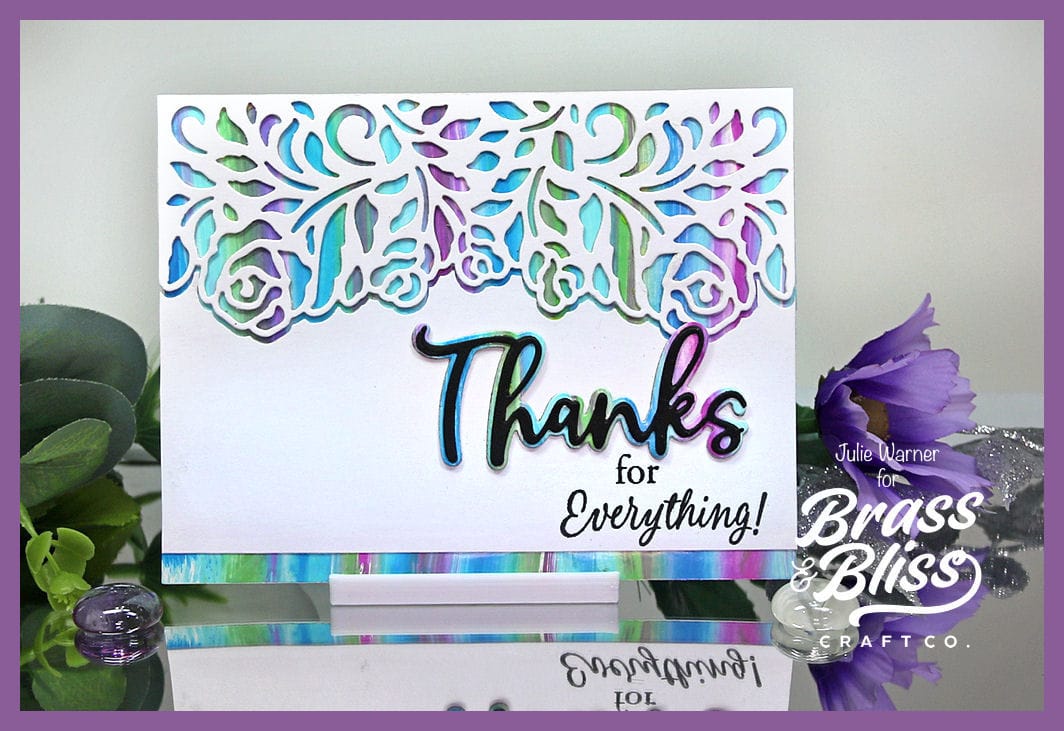
A big congrats to Giovana, the newest Featured Stamper (FS886)! She has a gorgeous gallery & after much window shopping, I chose THIS card to case. I kept the multicolor design, but where she used a stencil I made a stripe background on glossy paper using dye reinkers & a baby wipe. Her white space is the stencil, mine is the die cut on top. I also kept the “everything” part but made mine a thank you card & added more white space for the bottom of my card.

My card was pretty easy to make. The baby wipe (tutorial HERE) bg had been in my stash for a while so I die cut the rose border, added some white cardboard under it for strength, then attached it to the stripe background. The lower section that was cut off from the border was added back on, but I shifted it just a tad down. The very lower edge was trimmed off about 1/2″ so I could add a narrow strip of the background at the bottom.
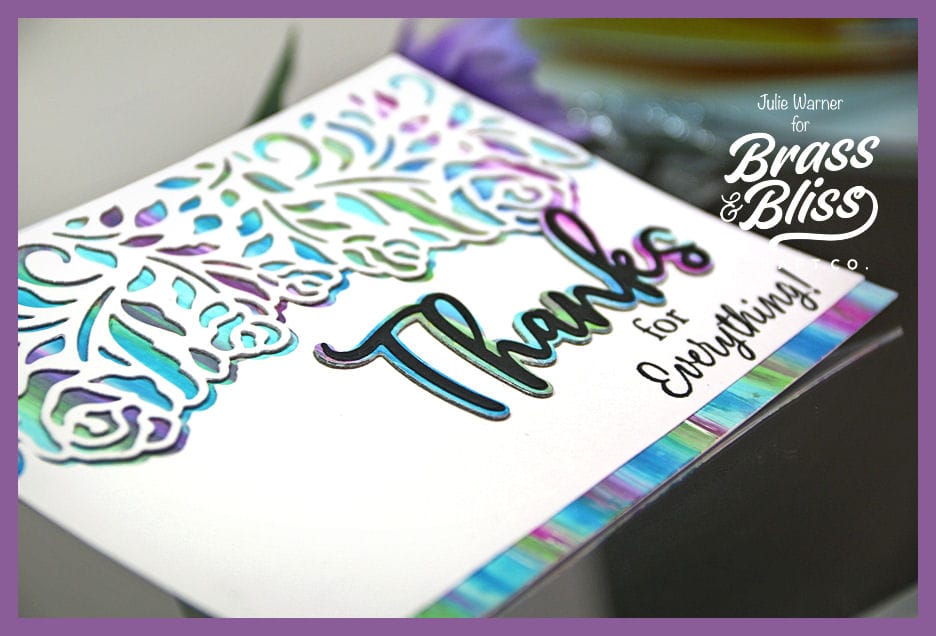
The Thanks die cut was stacked for dimension & the rest of the greeting was stamped underneath it.
Thanks so much for stopping by!

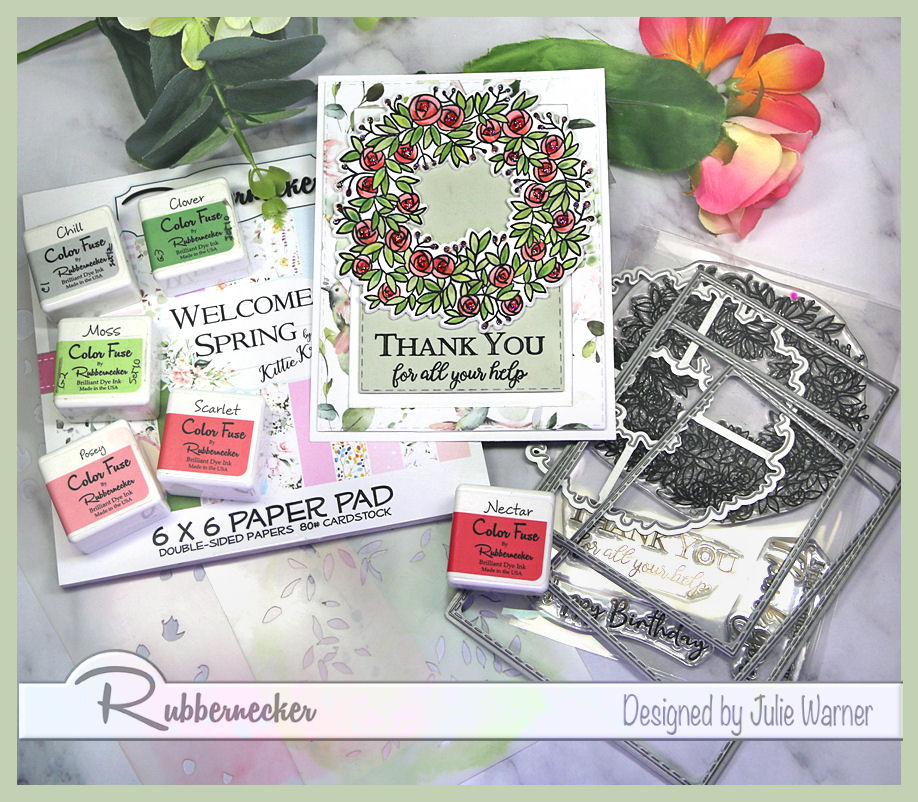
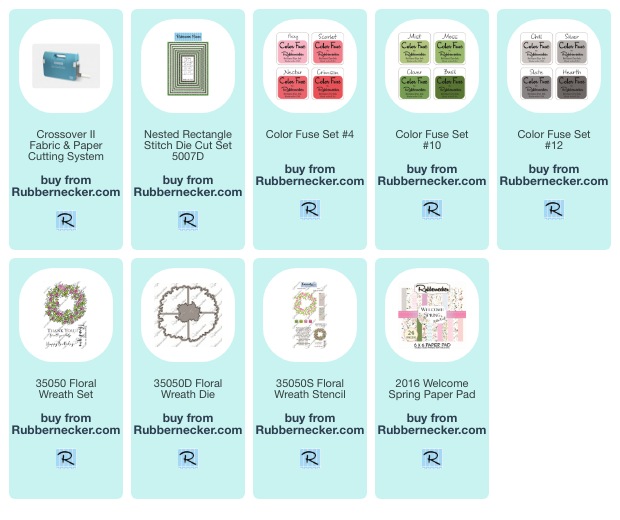
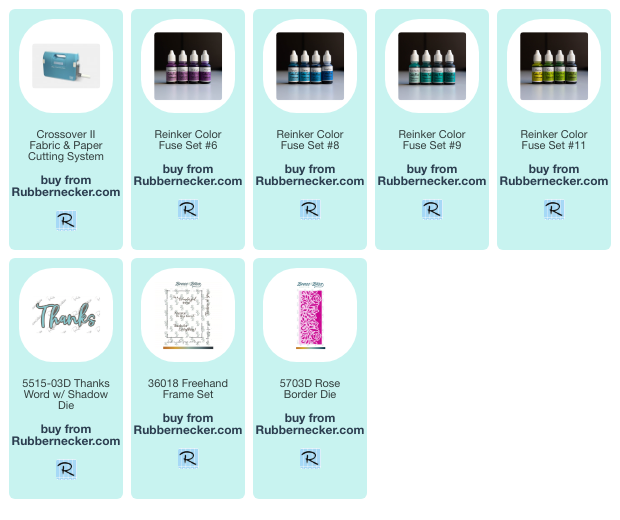
Supplies:
| Stamps: Brass & Bliss: Freehand Frame set |
| Paper: Staples 110# white, glossy white, black |
| Ink: Memento tuxedo black, Rubbernecker Stamps/Brass & Bliss reinker sets: #6, #8, #9 & #11 |
| Accessories: Rubbernecker Stamps/Brass & Bliss: Thanks w/ Shadow, Rose Border dies, baby wipes |

|

|

|

|

|
You might also like: