Welcome to the North Coast Creations November Release! We have a couple of really cute Christmas/Winter images for you!
Prize Information:
Just for commenting on the Design Team Blog Posts, you have a chance to win a $10 NCC Gift Certificate, good towards the purchase of NCC Stamps. You have until November 24, 2014 at 10:00 PM EST to leave a comments on the participating designers blogs for a chance to win! Two random winners will be selected from the comments left on the designers blogs, the winners will be announced on the NCC Blog on November 25, 2014, be sure to check back there to see if you have won!
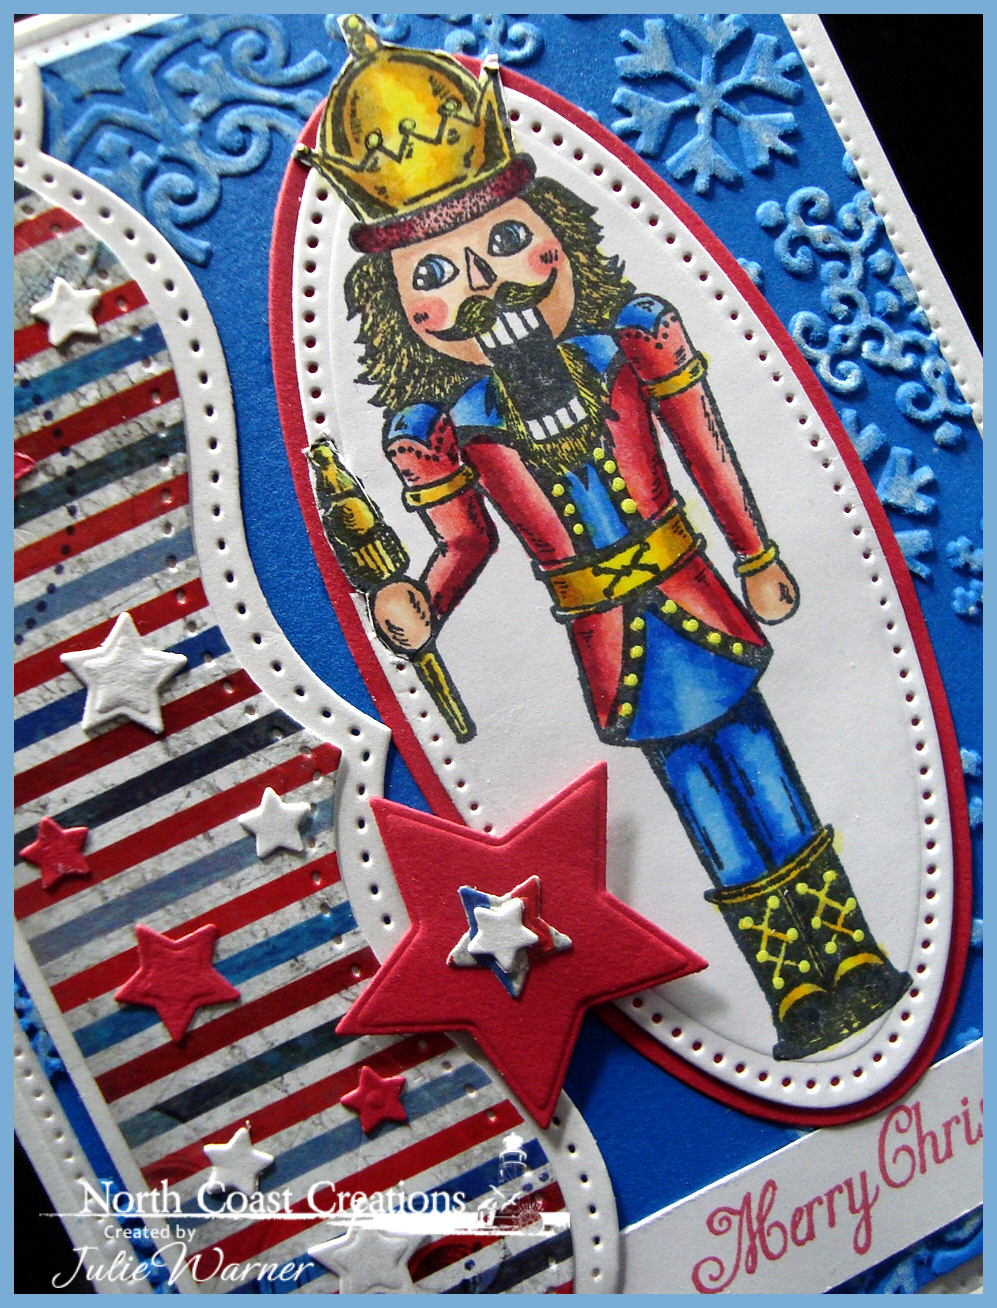
I was very excited when I saw this nutcracker…I really love them and have a number of them I put out every Christmas. This guy just looked like a member of the Royal Guard so I used mostly red, white & blue on him.
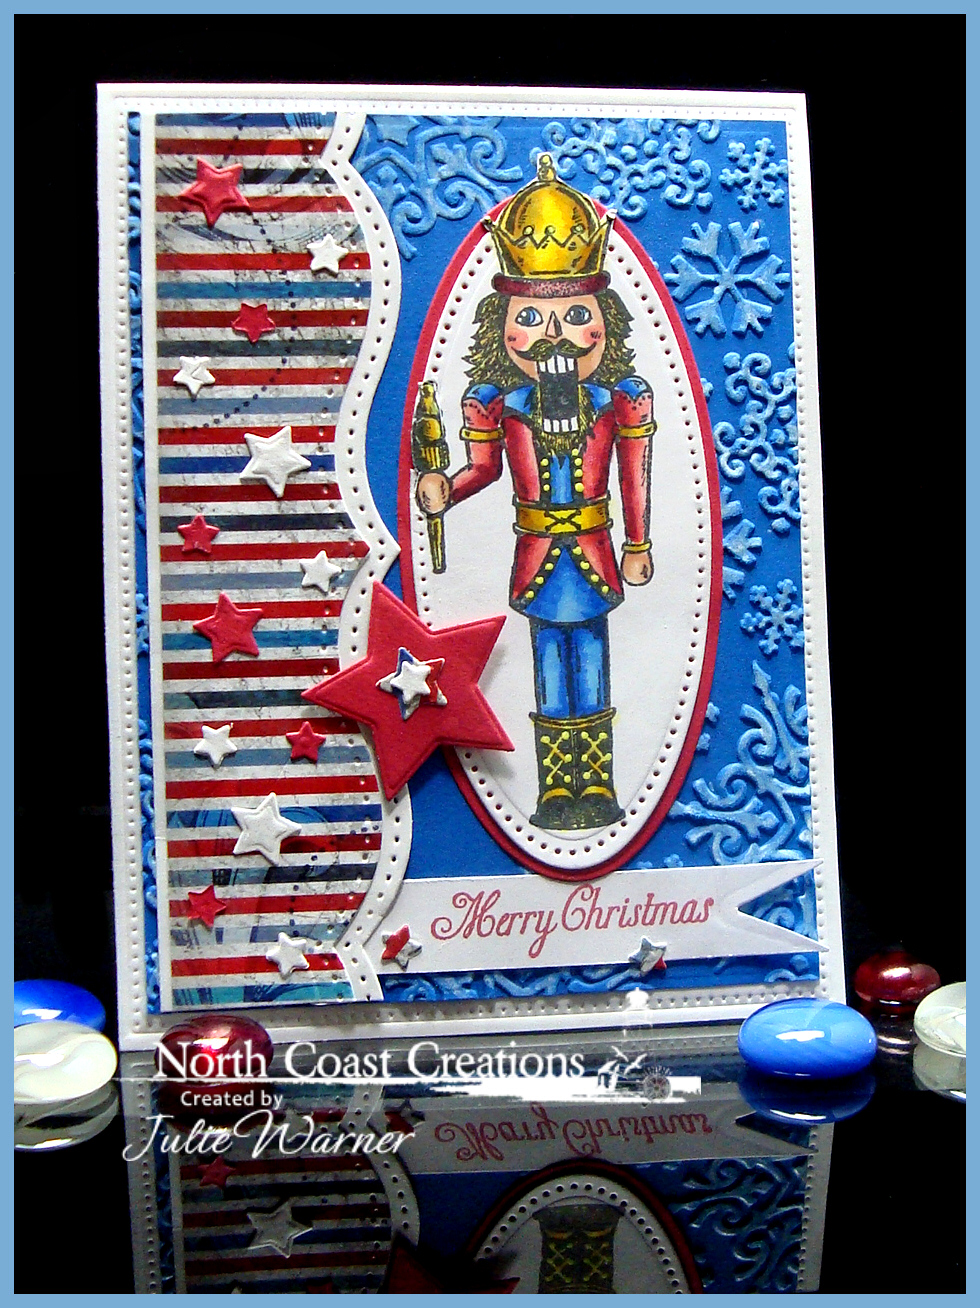
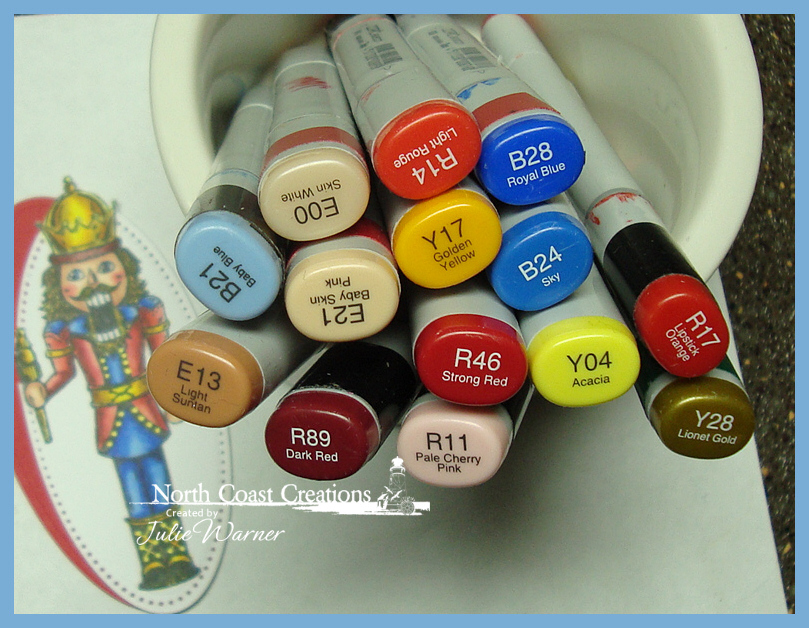
After stamping and coloring, I die cut the nutcracker and matted it with red. The striped paper is a new collection coming soon from Our Daily Bread designs. I die cut the right edge along with a white layer using a bracket border die.The front of the white card was embossed using the largest die of the ODBD Flourished Star Pattern set. I die cut and added all the little stars from the ODBD Sparkling Stars set. I used one of the triangles from the ODBD Pennant dies to make the fishtail on the greeting banner. The blue background was embossed and I used a white chalk maker to highlight the raised embossing. The finished card is 4.25 x 5.50 and these are the Copics I used.
The second image for this release is the sweet little Snow Angel Murphy! I stamped Murphy twice, colored and die cut the circle ornament shape on one and colored and fussy cut Murphy on the other. I added a Santa hat from the Santa Claws set and the greeting from the Santa Paws set.
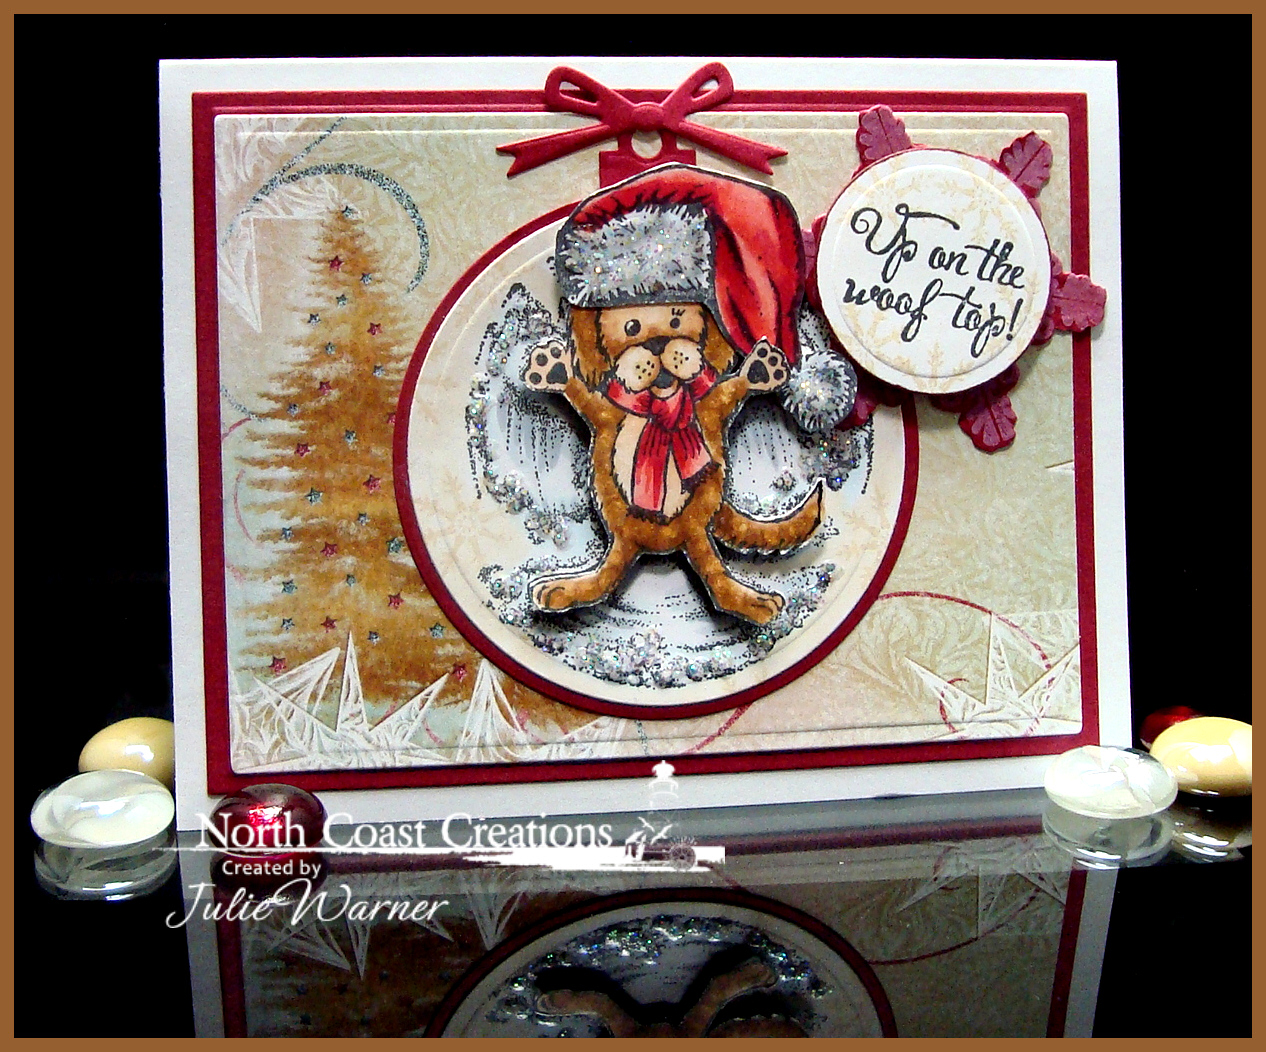
I added a little sparkling snow glitter writer dimensional paint to the snow and fur on the Santa hat for some dimension and sparkle.
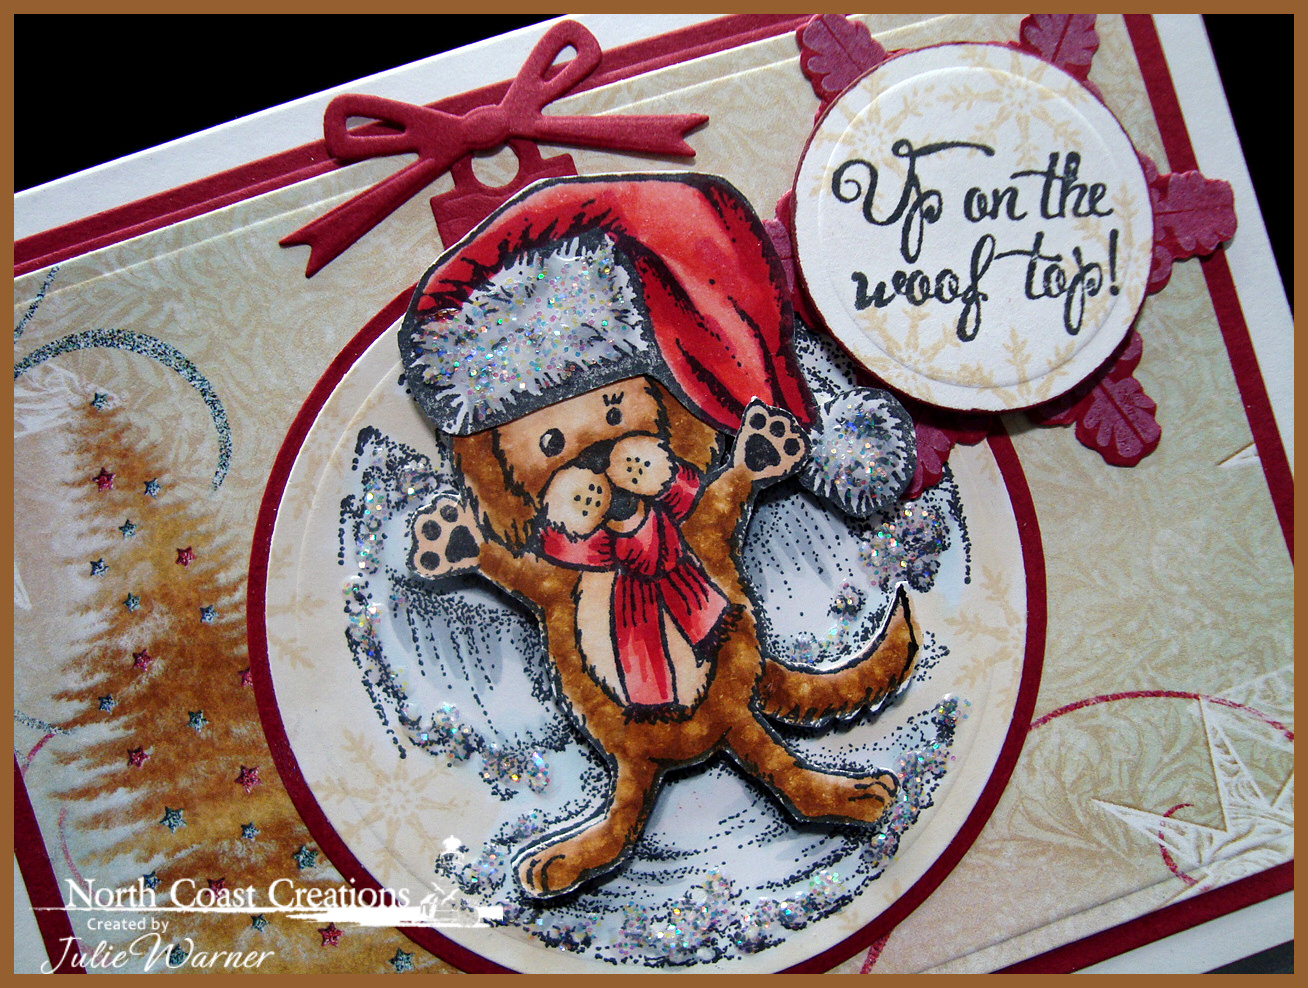
The paper and snowflakes are from Our Daily Bread designs. The finished card is 5.50 x 4.25 and these are the Copics I used.
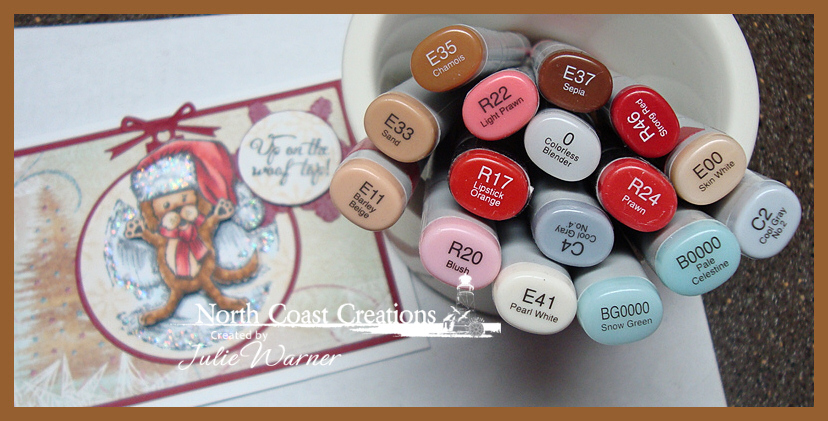
Please be sure to visit all the DT Blogs for more inspiration!
Sandee * Lori * Dawn * Julie * Lisa * Amber
Thanks so much for stopping by!

Supplies:
| Stamps: North Coast Creations –Nutcracker, Snow Angel Murphy, Santa Paws, Santa Claws, Old Fashioned Santa – Our Daily Bread designs – Sparkling Snowflakes |
| Paper: white, ODBD Christmas Collection 2014 paper, ODBD Patriotic paper collection, royal blue, red, wine red |
| Ink: Memento tuxedo black, love letter, Colorbox frost white pigment, Distress ink antique linen |
| Accessories: ODBD Sparkling Stars, Pennant, Matting Circles & Circle Ornaments, Flourished Star Pattern, Snowflake dies, Spellbinders A2 matting basics A & B, bracket border, mega oval, radiant rectangles dies, white chalk marker, Copic markers, sparkling snow dimensional writer, snowflake frame embossing folder (Darice) |
