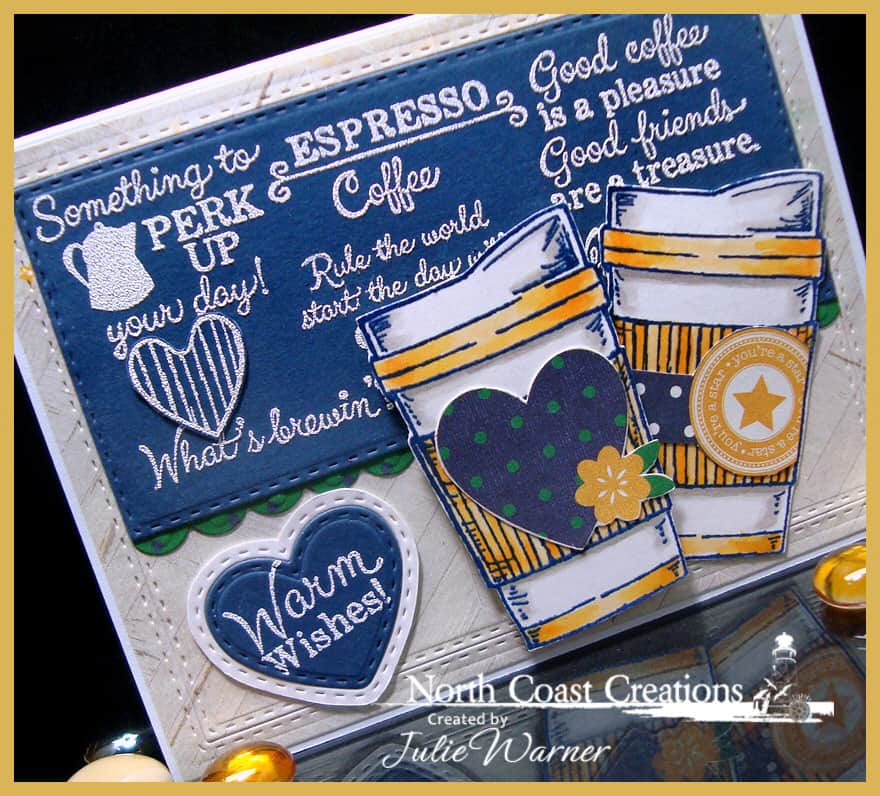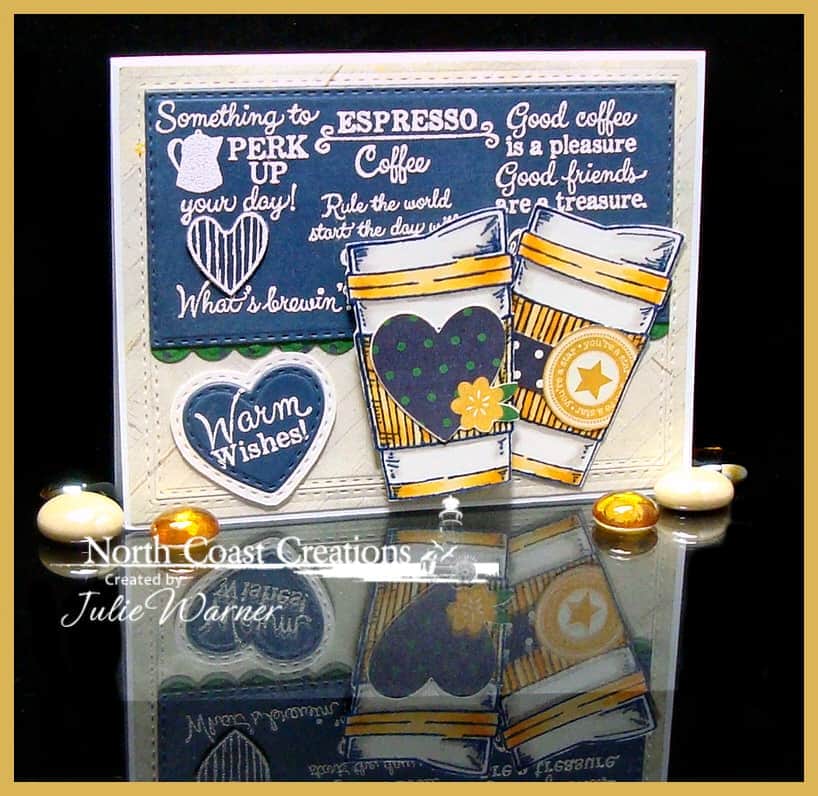

A big Congrats to my sweet friend, Beth, our newest Featured Stamper (FS554) on Splitcoast! She has a beautiful gallery filled w/ so many colorful & creative cards & after much window shopping, I chose THIS to case. I kept the coffee theme & most of the colors, but I used different images, an embossing folder instead of a stamped background & moved the greeting to a circle element.
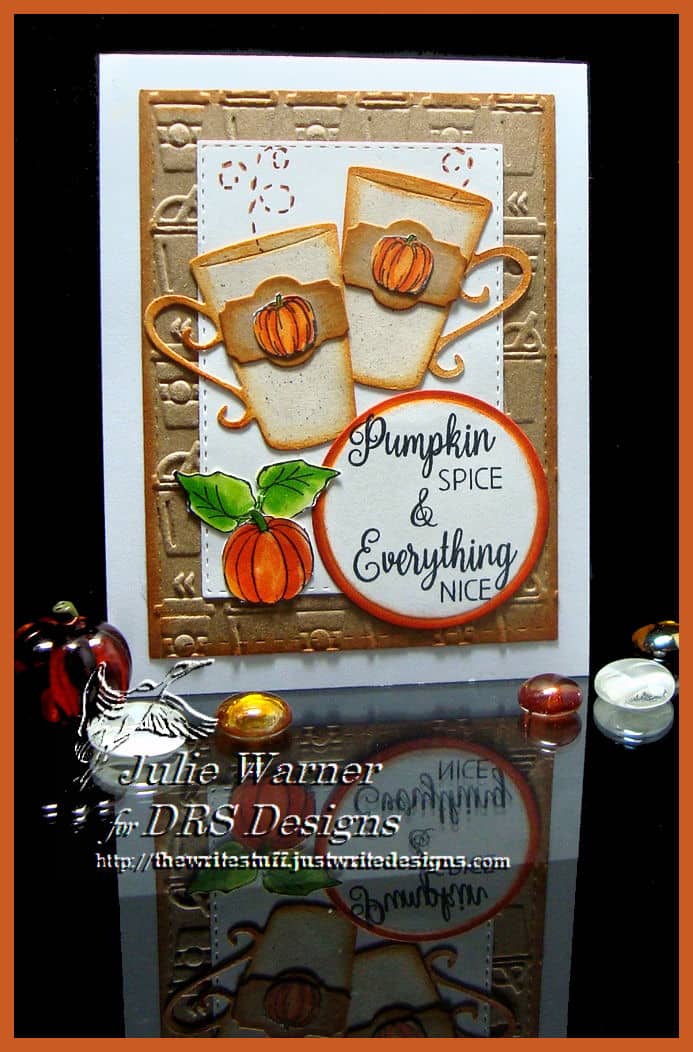
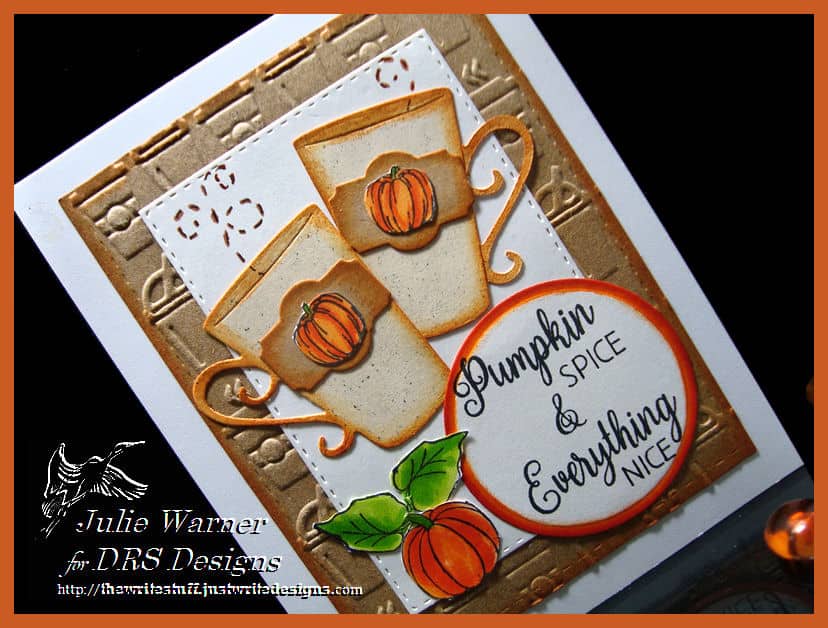
With the fall like temps we’ve had this week, I’m thinking it might be time for some Pumpkin Spice Latte! I’m not a big fan of pumpkin anything, but it sounds good. I thought I had one of those go cup dies, but I didn’t so I used this fancy one instead. After I die cut the cups I sponged the edges & cut one handle off & put it on the other side so they could be facing each other. The Bee Trail was stamped w/ the Distress ink to serve as steam & I added a small label & little pumpkin to each cup. The kraft bg was embossed & the edges sponged then the larger pumpkin & greeting were added.
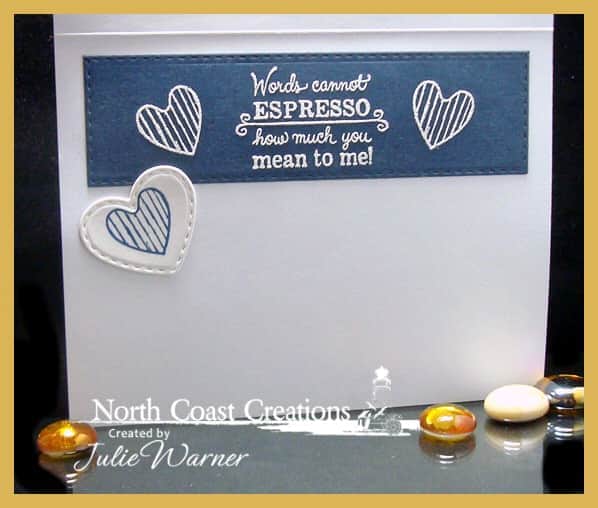
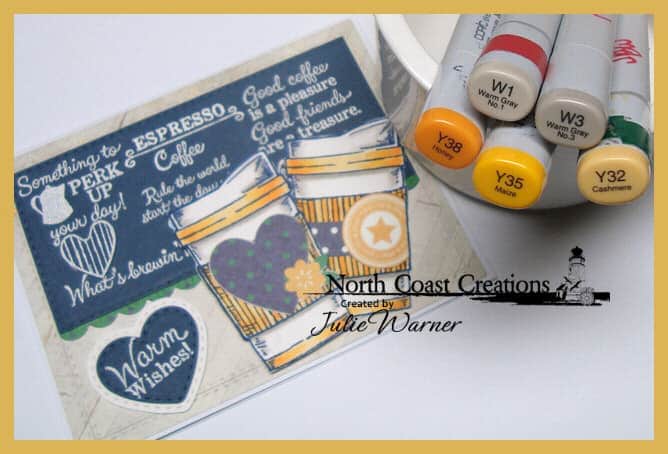
Here’s a look at the inside & below it are the Copics I used.


Congrats again, Beth! Thanks so much for stopping by!

Supplies:
| Stamps: DRS Designs – Pumpkin Spice, Pumpkin Patch (lg pumpkin), Fall Fence (small pumpkins), Bee Trail (inside- Espresso-ly Wonderful ) |
| Paper: Staples 110# white, Kraft, speckled ivory |
| Ink: Memento tuxedo black, Distress inks vintage photo, rusty hinge |
| Accessories: Copic markers, Spellbinders A2 matting basics A & B, circles, Labels 21 dies, Lil’ Inkers stitched rectangles dies, Sizzix embossing folder, Quickutz die set |

|

|

|

|

|

|

|

|

|
|

|

|

|

|

|