Welcome to the February challenge for Serendipity Stamps! We’re switching things up a bit in 2014…The challenges will now be MONTHLY so you have longer to play. The design team will still provide inspiration twice a month (every other Wednesday), but you will have the whole month to play along! The Serendipity Challenge this month is Type Print or Sheet Music. And for the Design Team, we’ve added the twist of a food theme with the print. You can find all the details on how to play along with us at the Serendipity Stamps Challenge Blog. With each challenge we always have a gift certificate up for grabs to a random player. The sale of the week is 40% Off Coupon – from now through February 12th get 40% off the highest priced item in your cart when you enter the code “40fromhigh214” during checkout.
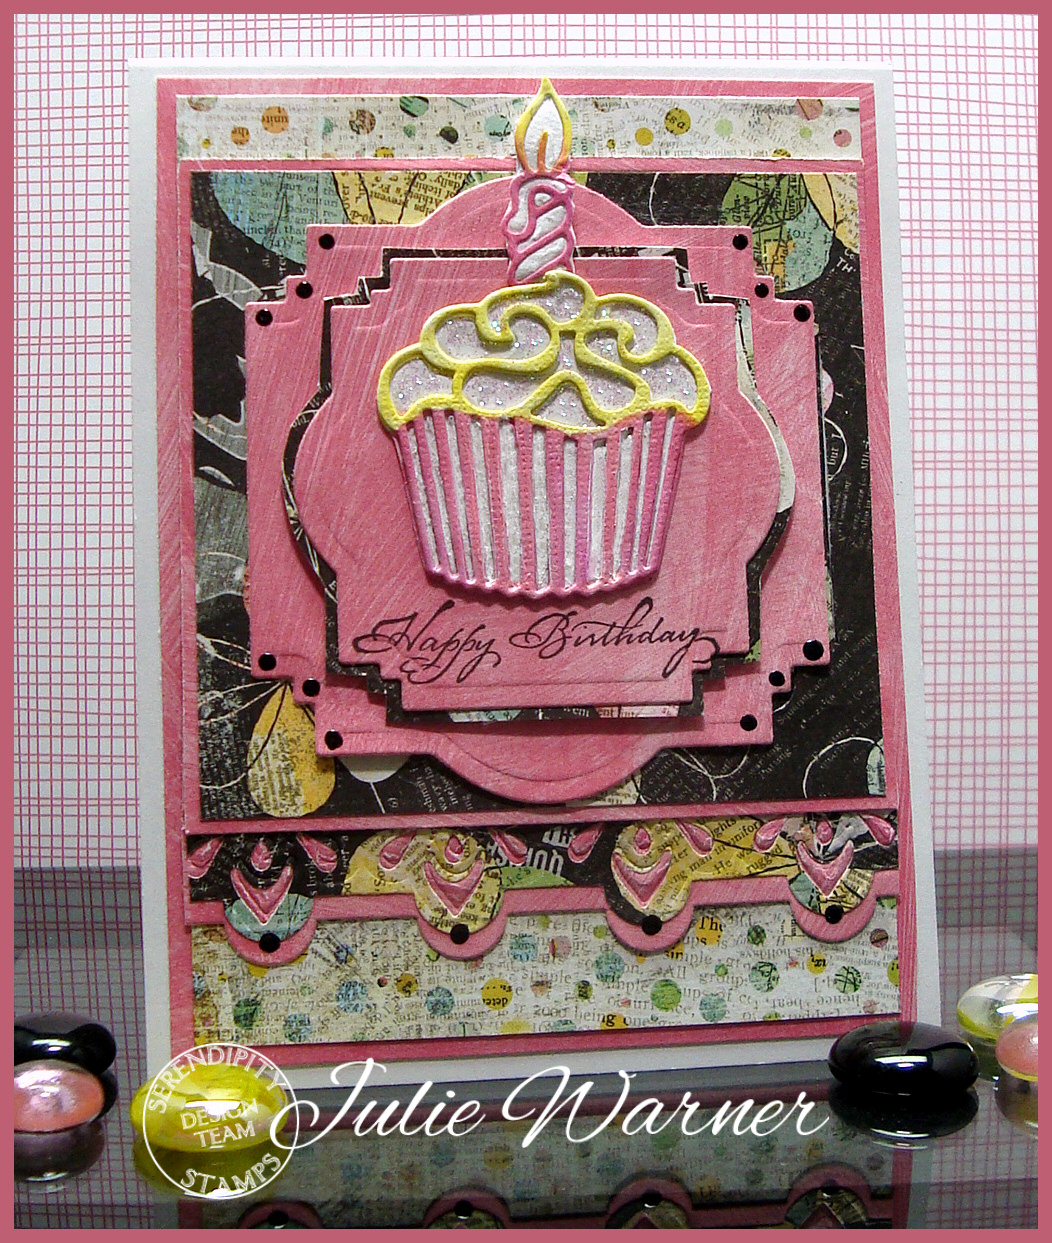
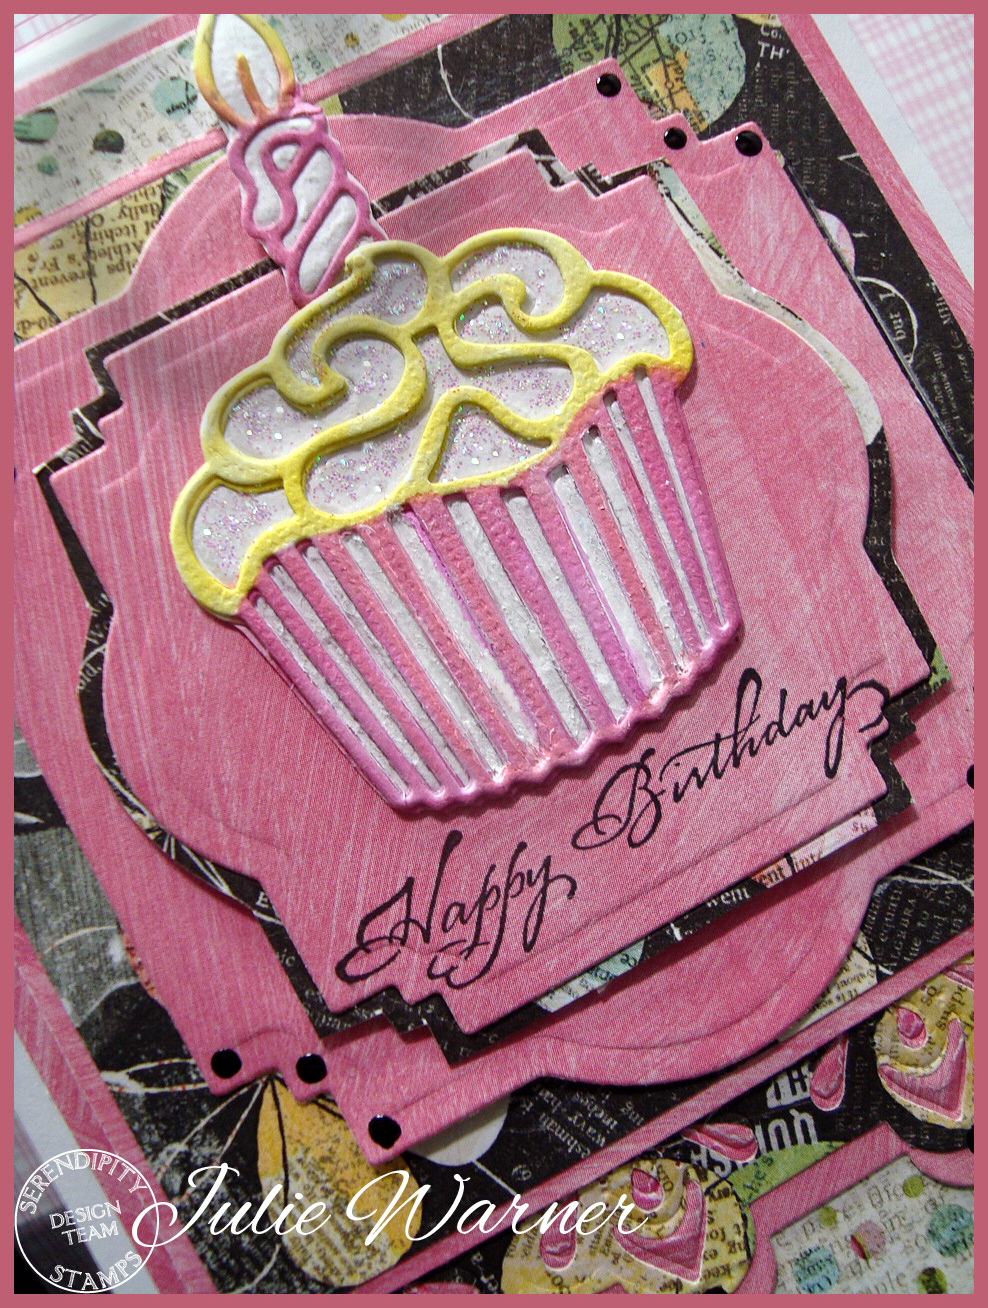
For my foodie card using type print, I chose this sweet cupcake & candle die. I die cut the cupcake a few times out of white card stock, glued two together and attached them over a fussy cut cupcake. To know where to cut the solid version, I use the die to just emboss (not cut) another cupcake, then cut around the outside edge. The third die cut version I colored w/ yellow and pink Copic markers then attached it on top for a little more dimension. Then I added some stickles on the icing for a little sparkle.
The type print is all over the paper I used. I thought this collection of Basic Grey would be perfect as every piece has type print all over it. I die cut the pink layers around the cupcake and fussy cut the black print layer. The bottom of two of the larger layers were die cut with a border die and I used some Ranger black enamel to make the black dots. The finished card is 4.25 x 5.50.
Thanks so much for stopping by! Please be sure to stop by and visit all of the Design Team blogs:
Jeanne Jachna
Marybeth Lopez
Miriam Napier
Pauline Pollington
Jenny Gropp
Vickie Zimmer
Julie Warner – you are here!
Karen Amidon
Anya Schrier
| Stamps: Serendipity Stamps – Everyday Words Small |
| Paper: white, dp (Basic Grey – Out of Print collection) |
| Ink: Memento tuxedo black |
| Accessories: Serendipity Cupcake & Candle die, Spellbinders labels 22 & Classic inserts 3 edge dies, Copic markers, stickles, Ranger black enamel accents |
