
Welcome to Pt. 2 of the May Challenge for Serendipity Stamps! This month the challenge is Flowers…stamped, die cut, designer paper, dried…whatever you have. The sale at Serendipity Stamps this week is Buy 3, Get the 4th Free.. Good through 5/28. And as always, we have a have a gift certificate up for grabs to a random player.
For the design team, we have the added challenge of using a resist technique.

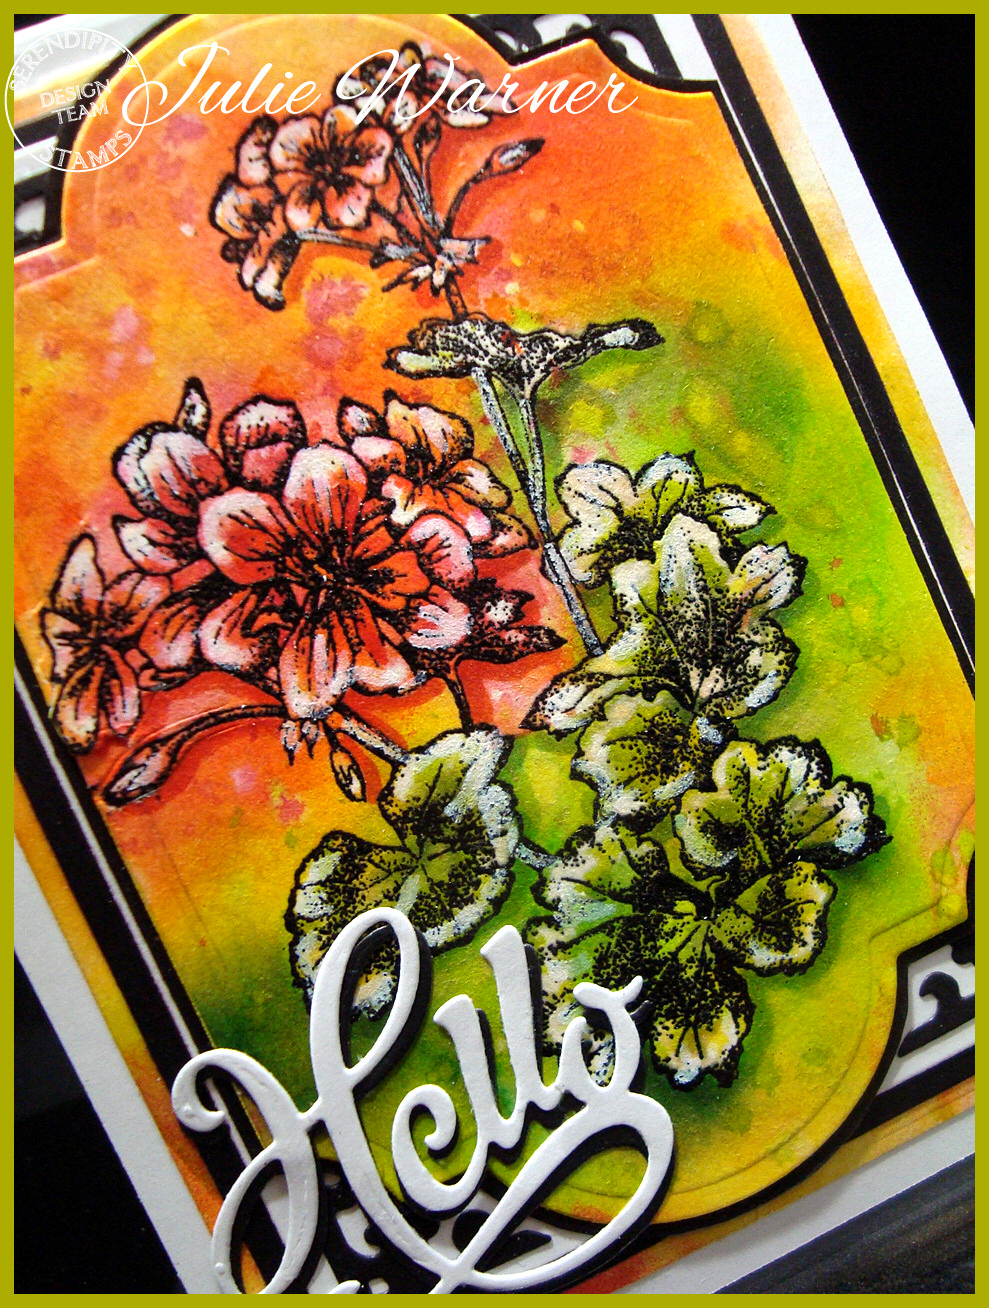
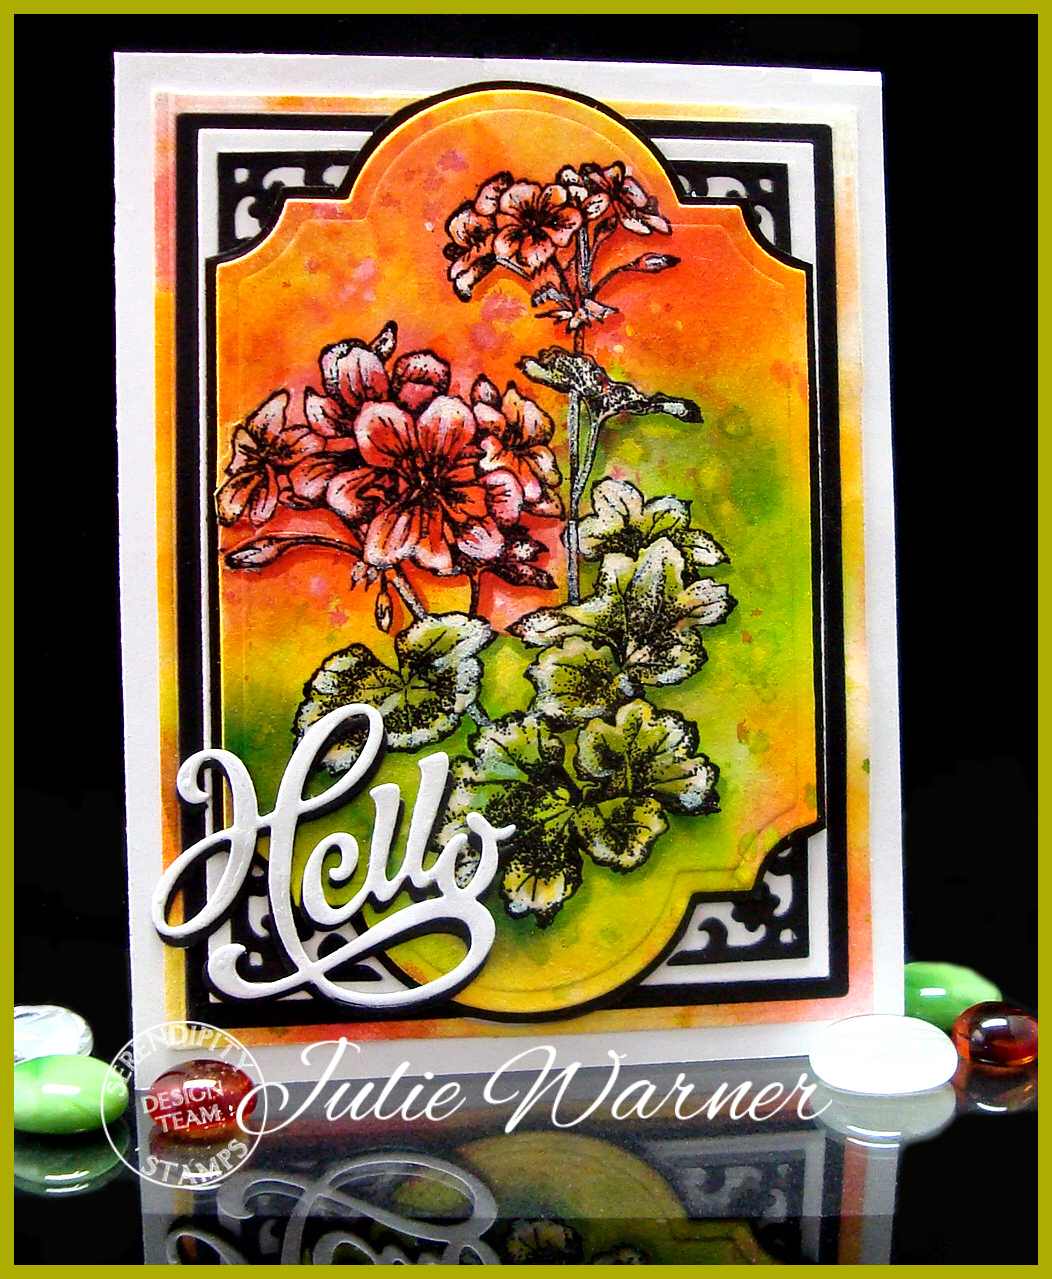 I chose a morphed version of embossing resist. Morphed because I also added the twist of bleach. Most of the time I’ll white emboss the image when I’m doing emboss resist, but it just didn’t work very well with this geranium image. So I black embossed it on water color paper. A note about the paper…this isn’t the good stuff…it’s water color paper from the kid’s art supply section. I’ve found when I’m embossing, it does a better job than the good stuff. It’s smoother and not as heavy but it still stands up to water very well. After embossing, I used a combination of techniques. I added color all over w/ a large paint brush, water & some dye reinkers. To make it a little more intense, I also sponged on some extra colors using two Kaleidacolor ink pads. I also splattered a bit here and there then wet it down a bit to soften the splatter. Now for the twist..I took a tiny acrylic paintbrush dipped in bleach and bleached some color back out inside the flowers & leaves. The embossed lines kept the bleach from traveling. If you try this, you must use an acrylic paintbrush…the bleach will totally eat up the natural hair bristles. To further define the image, I added a hint of shadow using a red Copic & a green Copic below the flowers & leaves.
After die cutting the panel, I added a slightly larger, fussy cut black layer. Black die cut elements were added to the corners on the white layer. After matting this on black, I attached it back on top of the original water color bg the image was cut from. The die cut Hello was also shadowed in black.
Thanks so much for stopping by! Please be sure to visit all the team blogs to be entered to win!

Supplies:
Stamps: Serendipity Stamps – Lg Geranium 1112J
|
| Paper: X-Press It white, black, water color paper (kid’s art supply section) |
| Ink: Versfine onyx, Kaleidacolor melon melody & desert heat |
| Accessories: Serendipity Hello die 027DD, Serendipity Floral Frame die 022RD, Copic markers, Spellbinders matting basics A & B, Labels 28 dies, bleach, tiny acrylic paintbrush, dye reinkers, black embossing powder |
