• Tag Archives Splitcoast
  • SCS Challenge

  • ODBD December Release!

    Julie Warner – https://thewritestuff.justwritedesigns.com

    Welcome to the Our Daily Bread designs December Release! 

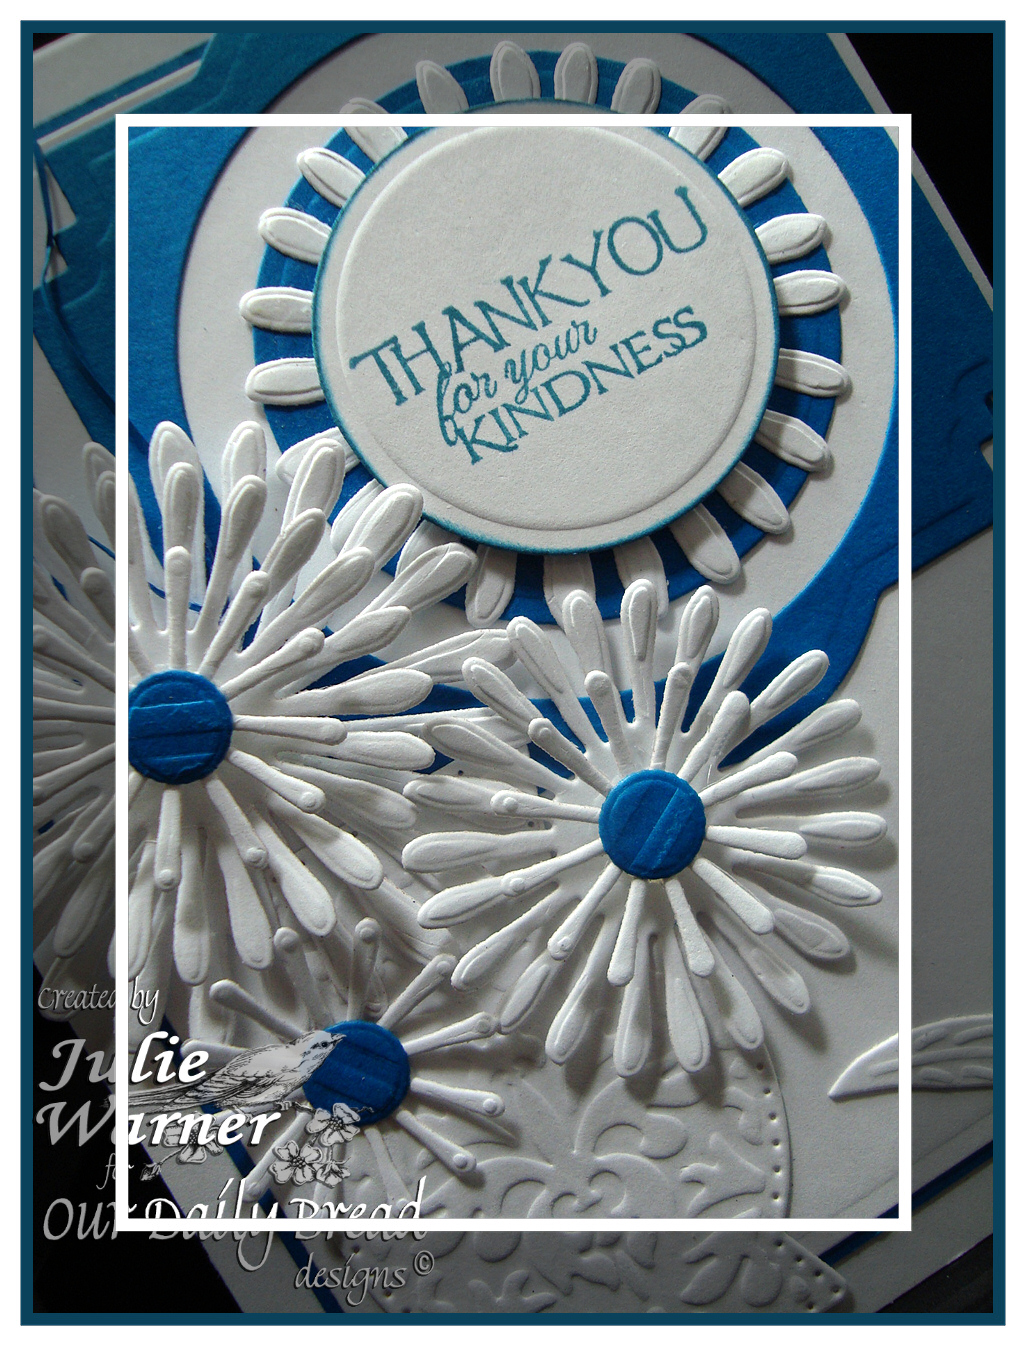
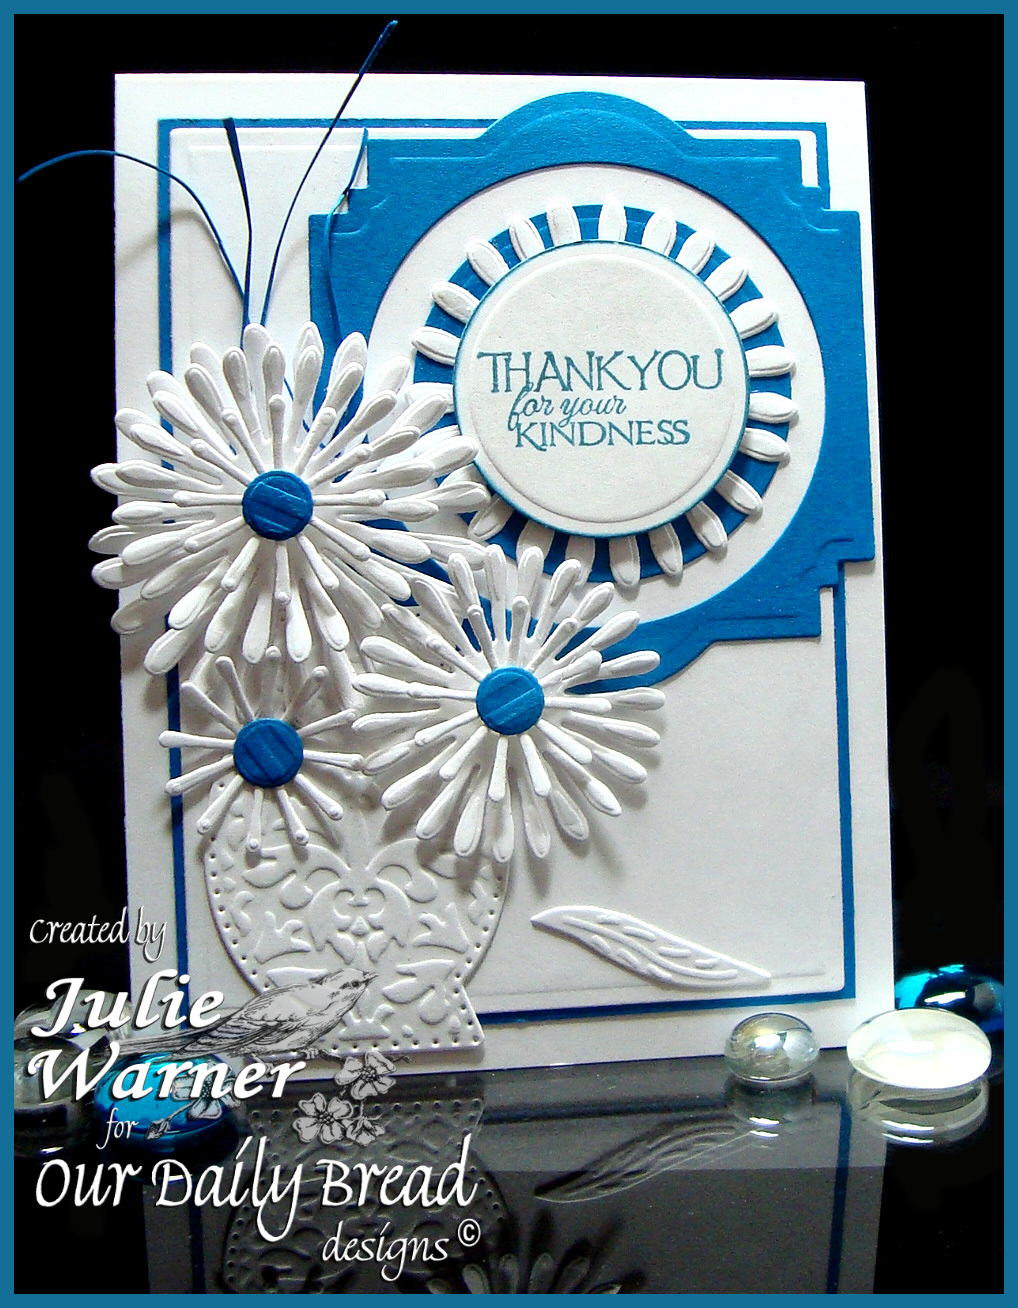
    For my first card, I white embossed all the little flowers and greeting on white card stock then die cut them w/ the matching die. On the greeting flower, I left the die in place and sponged on the berry ink. On the other flowers, I sponged on the lawn, berry & peacock inks. The curvy white strip on top is a couple of left over pieces from die cutting a labels 17. The strips were pierced, attached on top of the two rows of flowers w/ ribbon on top. The large 5.25 x 4.0 white panel was also pierced around the edges. The finished card is 5.50 x 4.25. 

    Supplies:

    Stamps: Our Daily Bread designs – Ornate Borders & Flowers, Ornate Borders Sentiments
    Paper: Neenah white
    Ink:  Distress Ink festive berries, mowed lawn & peacock feathers, Colorbox frost white pigment
    Accessories:  ODBD Ornate Borders & Flowers dies, Spellbinders labels 17 die, ribbon, baker’s twine, button, piercing tool & mat, white embossing powder

    Julie Warner – https://thewritestuff.justwritedesigns.com
    Weekly-Favorite
    On my second card, I started by using a brayer and a large rainbow ink pad to cover a large piece of white card stock. After stamping the Ornate Background, I added some highlights w/ a white gel pen and a white Prismacolor pencil. I then added black enamel dots all over the design. The two border/frame images were stamped, colors and die cut w/ the matching dies. The greeting was die cut w/ a small petite oval and I cut along the edges of the design to insert it. The finished card is 5.50 x 4.25.

    Supplies:

    Stamps: Our Daily Bread designs – Ornate Borders & Flowers, Ornate Borders Sentiments, Ornate Background
    Paper: Neenah white, pale pink, butter yellow
    Ink:  Versafine onyx, Big & Juicy sunset rainbow ink pad
    Accessories:  ODBD Ornate Borders & Flowers dies, Spellbinders small petite oval dies, Copic markers (for greeting layers), Ranger enamel accents in black. white gel pen, white Prismacolor pencil


    Julie2 sig


  • Happy Thanksgiving!

    Julie Warner - https://thewritestuff.justwritedesigns.com
    A big Congrats to Julie, the newest Featured Stamper! Wow, what ginormous & beautiful gallery! I chose THIS card to case. I kept the colors and basic layout, but I used a die cut as my main element and moved the oval a bit to accommodate it.

    This is a very CAS card. Made even easier because I die cut the pumpkin out of an already brayered/stamped piece I had. I didn’t like the way it looked as it was, so I die cut it & since the die cut is so open, it really came out looking much nicer 🙂 The greeting is stamped directly on the card front w/ the rust and textured white layers having die cut ovals around it. I added a bit more of the die cut flourishes around the oval.

    Congrats again, Julie! Enjoy your week! Happy Thanksgiving to all!

    Thanks so much for stopping by!
    Julie2 sig
    Supplies:

    Stamps: DRS Designs  – 1 Line Happy Thanksgiving
    Ink:  Memento morocco, Kaleidacolor Tahiti
    Paper: Neenah white, Bazzill white, rust
    Accessories: Spellbinders oval dies, Cheery Lynn pumpkin die, brayer

  • ODBD November Release Recap

    Julie Warner - https://thewritestuff.justwritedesigns.com
    Weekly-Favorite
    Today, we are reviewing the ODBD November release.  Aren’t these ornament images and dies lovely? So perfect for all your Christmas cards and so easy to customize with whatever colors and papers you want to use. For my ornament, I stamped it w/ the concord ink and added color w/ Copic markers. The greeting was stamped on a strip of the same snowflake paper (from the ODBD Christmas Paper Collection), added a hint of color before attaching it across the ornament w/ a couple of purple mini brads.  For the snowflake paper layer, I used a French curve ruler and a craft knife to cut the curvy borders. After piercing along the edges, I added a bunch of graduating sizes of circles. These were die cut and although I didn’t use the actual die cut, I liked all the little rounded dots.

    Julie Warner - https://thewritestuff.justwritedesigns.com
    The snowflake paper was attached on top of another piece of designer paper. On this dp, I enhanced the lt blue areas w/ a Copic marker. After everything was attached, I added some stickles to the dots and also the centers of the snowflakes on the ornament.

    Thanks so much for stopping by!

    Julie2 sig
    Supplies:

    Stamps: Our Daily Bread designs – Christmas Pattern Ornaments
    Paper: Neenah white, soft sky, ODBD Christmas Paper Collection 2013, other dp
    Ink:  Distress Ink dusty concord
    Accessories:  ODBD Circle Ornament dies, Spellbinders Asian accents die (under ornament topper),  fading dot border die (for all the little purple dots), Copic markers, stickles, French curve ruler, piercing tool & mat, brads