

Happy New Year!
Welcome to the Our Daily Bread designs January Release! We have some beautiful images & fabulous dies for you this month! They will have y’all “Wishing” you already had them!

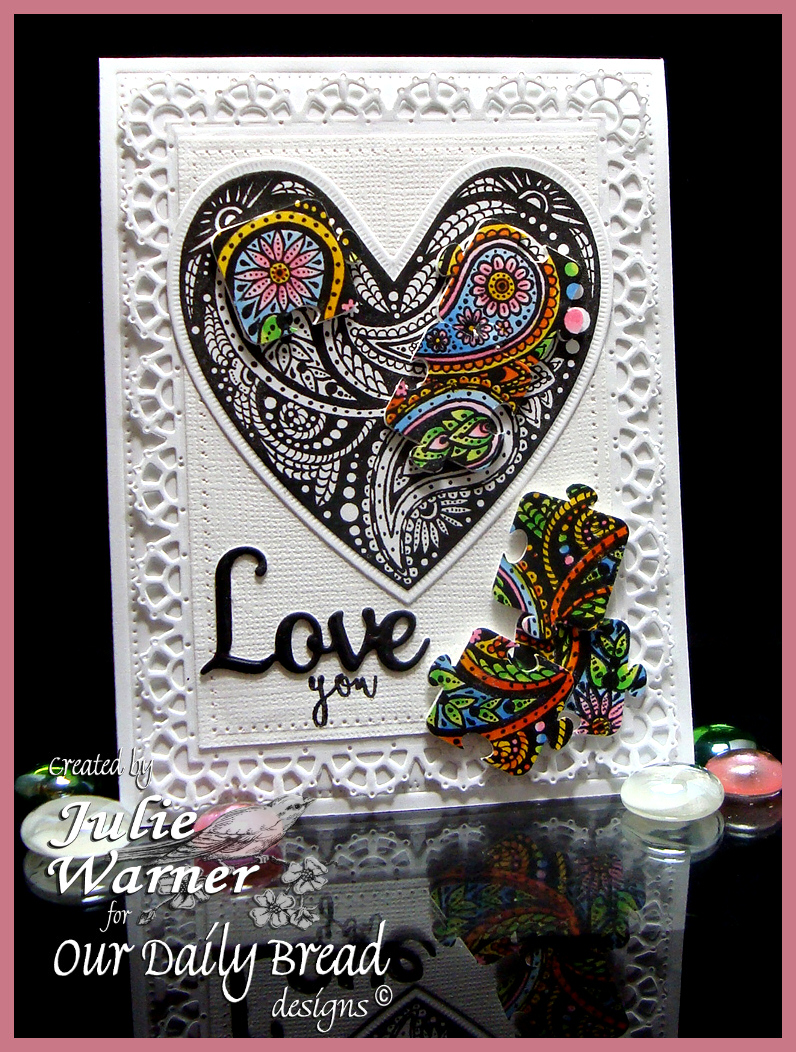
For my first Wishing card, I came across this white piece already embossed w/ the oval frame & thought it would work as a backdrop. I die cut 3 of each size of Aster then sponged 1 of each size w/ the stonewashed ink. The two little flowers are from the Bird & Nest dies & were already in my stash, so I sponged & curled them. The centers for all flowers were made by cutting a strip of white (about 1/2″ wide) & using fringing scissors all down one side (be careful not to cut all the way to the other edge). Then take tweezers or a quilling tool & roll. The longer your strip, the bigger around it will be. Add a drop of glue to the end & remove the tweezers & fluff a little. Then I sponged just the tips & added them to the flower centers.

I added white leaves & fronds from the other dies, then die cut one white Stitched Oval & one plain Oval out of the blue designer paper. I used the denim ink to stamp the Wishing on the oval & also the rest of the greeting on a separate piece I die cut using the Double Stitched Rectangles & Rectangles.
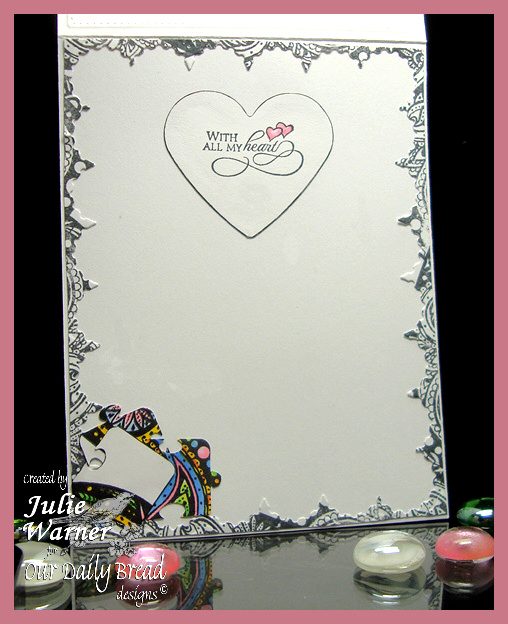
Here’s a look at the inside:

Supplies:
| Stamps: Our Daily Bread designs – Wishing Words, (Wishing Well – inside) |
| Paper: Neenah white, designer paper (ODBD – Christian Faith collection) |
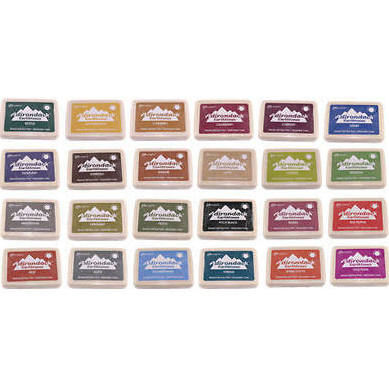
| Ink: Adirondack denim & stonewashed |
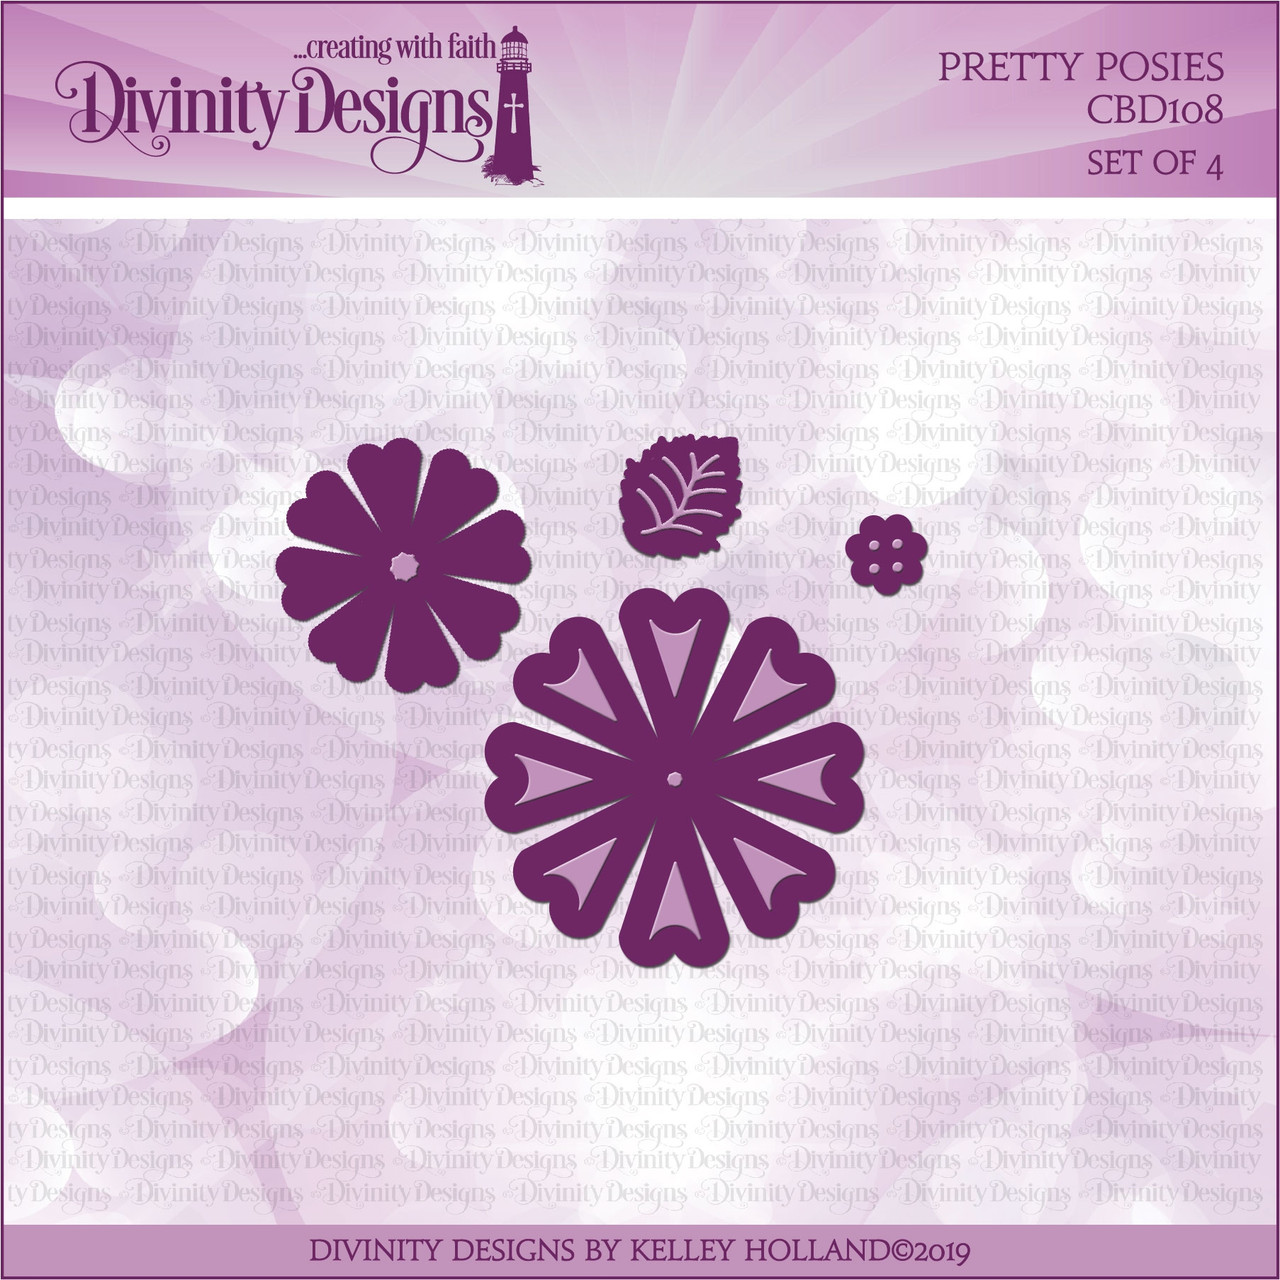
| Accessories: ODBD Flourished Star Pattern, Asters (retired), Pretty Posies, Lovely Leaves, Rectangles, Double Stitched Rectangles, Ovals, Stitched Ovals (retired), Birds & Nest (small flowers) (retired) dies, fringing scissors (Martha Stewart), Sizzix embossing folder (bird & wreath set) |
I am adding the above card to Seize the Birthday Challenge – Anything Goes!


My second Wishing card features this wonderful Wishing Well set & the Wishing die. There are so many different greetings for just about any occasion using this set & the Wishing Words set. Add the Wishing die, & you are able to cover a multitude of occasions & always have the perfect card!

For me, it’s a little challenging to use so much brown on an image. Of course, you can color the stones any color you wish, but I’m always up for a challenge. So I used a lot of different browns so it wouldn’t all run together. And I used the blender pen to add the mottled look on the stones. After I colored it all in, I over stamped w/ the Versafine (the image was still in my Misti) then die cut it using the Circles & Double Stitched Circles. I sponged the vintage photo ink lightly around the edge of the image circle then put it back inside the stitched circle. For the white Pegboard background, I used my resizing technique to make a long rectangle die cut out of a square die then added the Double Stitched frame out of the designer paper on top. The Wishing die was cut twice & stacked for dimension.
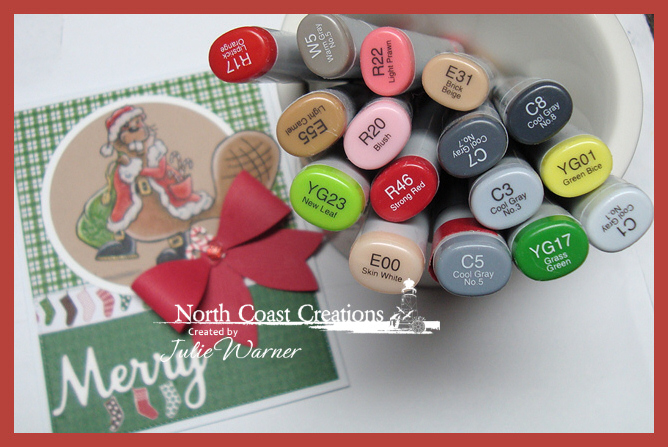
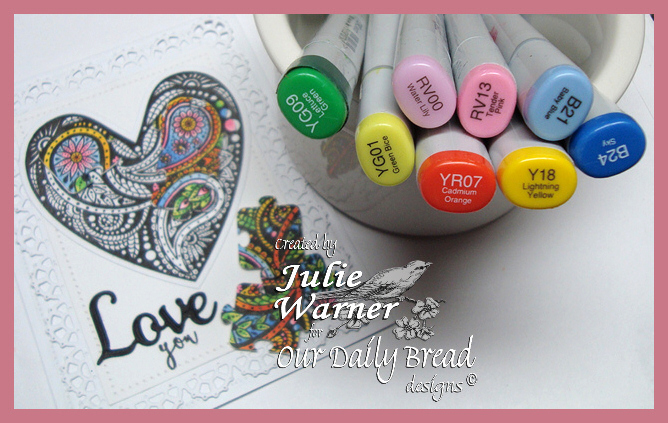
Here’s a look at the inside & below it are the Copics I used.

(To explain the browns..I used the E13, E15, E19 on the roof of the well. E55, E57, E59, N2 & N4 for the beams. E30, E31, E35, E37, W1, W4, W5, W7 for the stone.)

Supplies:
| Stamps: Our Daily Bread designs – Wishing Well, (Living Water, Wishing Words –inside) |
| Paper: Neenah white, X-Press It white, designer paper (ODBD – Vintage Ephemera ) |
| Ink: Memento tuxedo black, Versafine onyx & sepia, distress ink vintage photo (for sponging) |
| Accessories: ODBD Flourished Star Pattern, Rectangles, Double Stitched Rectangles, Ovals, Stitched Ovals, Circles, Double Stitched Circles, Pegboard dies, Copic markers, Misti |
Thanks so much for stopping by!

Please be sure to visit & comment on all the DT blogs. It will be so appreciated & also increase your chances of winning!
Cathy * Julie * Dawn * Robin C. *Robin T. *
Lori * Sandee * Angie * Lisa * Chris *

|

|

|

|

|

|

|

|

|

|

|
|

|

|

|

|

|

|

|

|
|

|

|

|

|

|

|


