• Tag Archives fall
  • Handpicked Pumpkin

    Julie Warner - justwritedesigns - https://thewritestuff.justwritedesigns.com

    Congrats to Chrissy, today’s Featured Stamper (FS239) at Splitcoast!What a wonderful gallery! Having been on a couple of design teams w/ Chrissy, I’ve seen her work up close. Hope you’re feeling better, Chrissy!

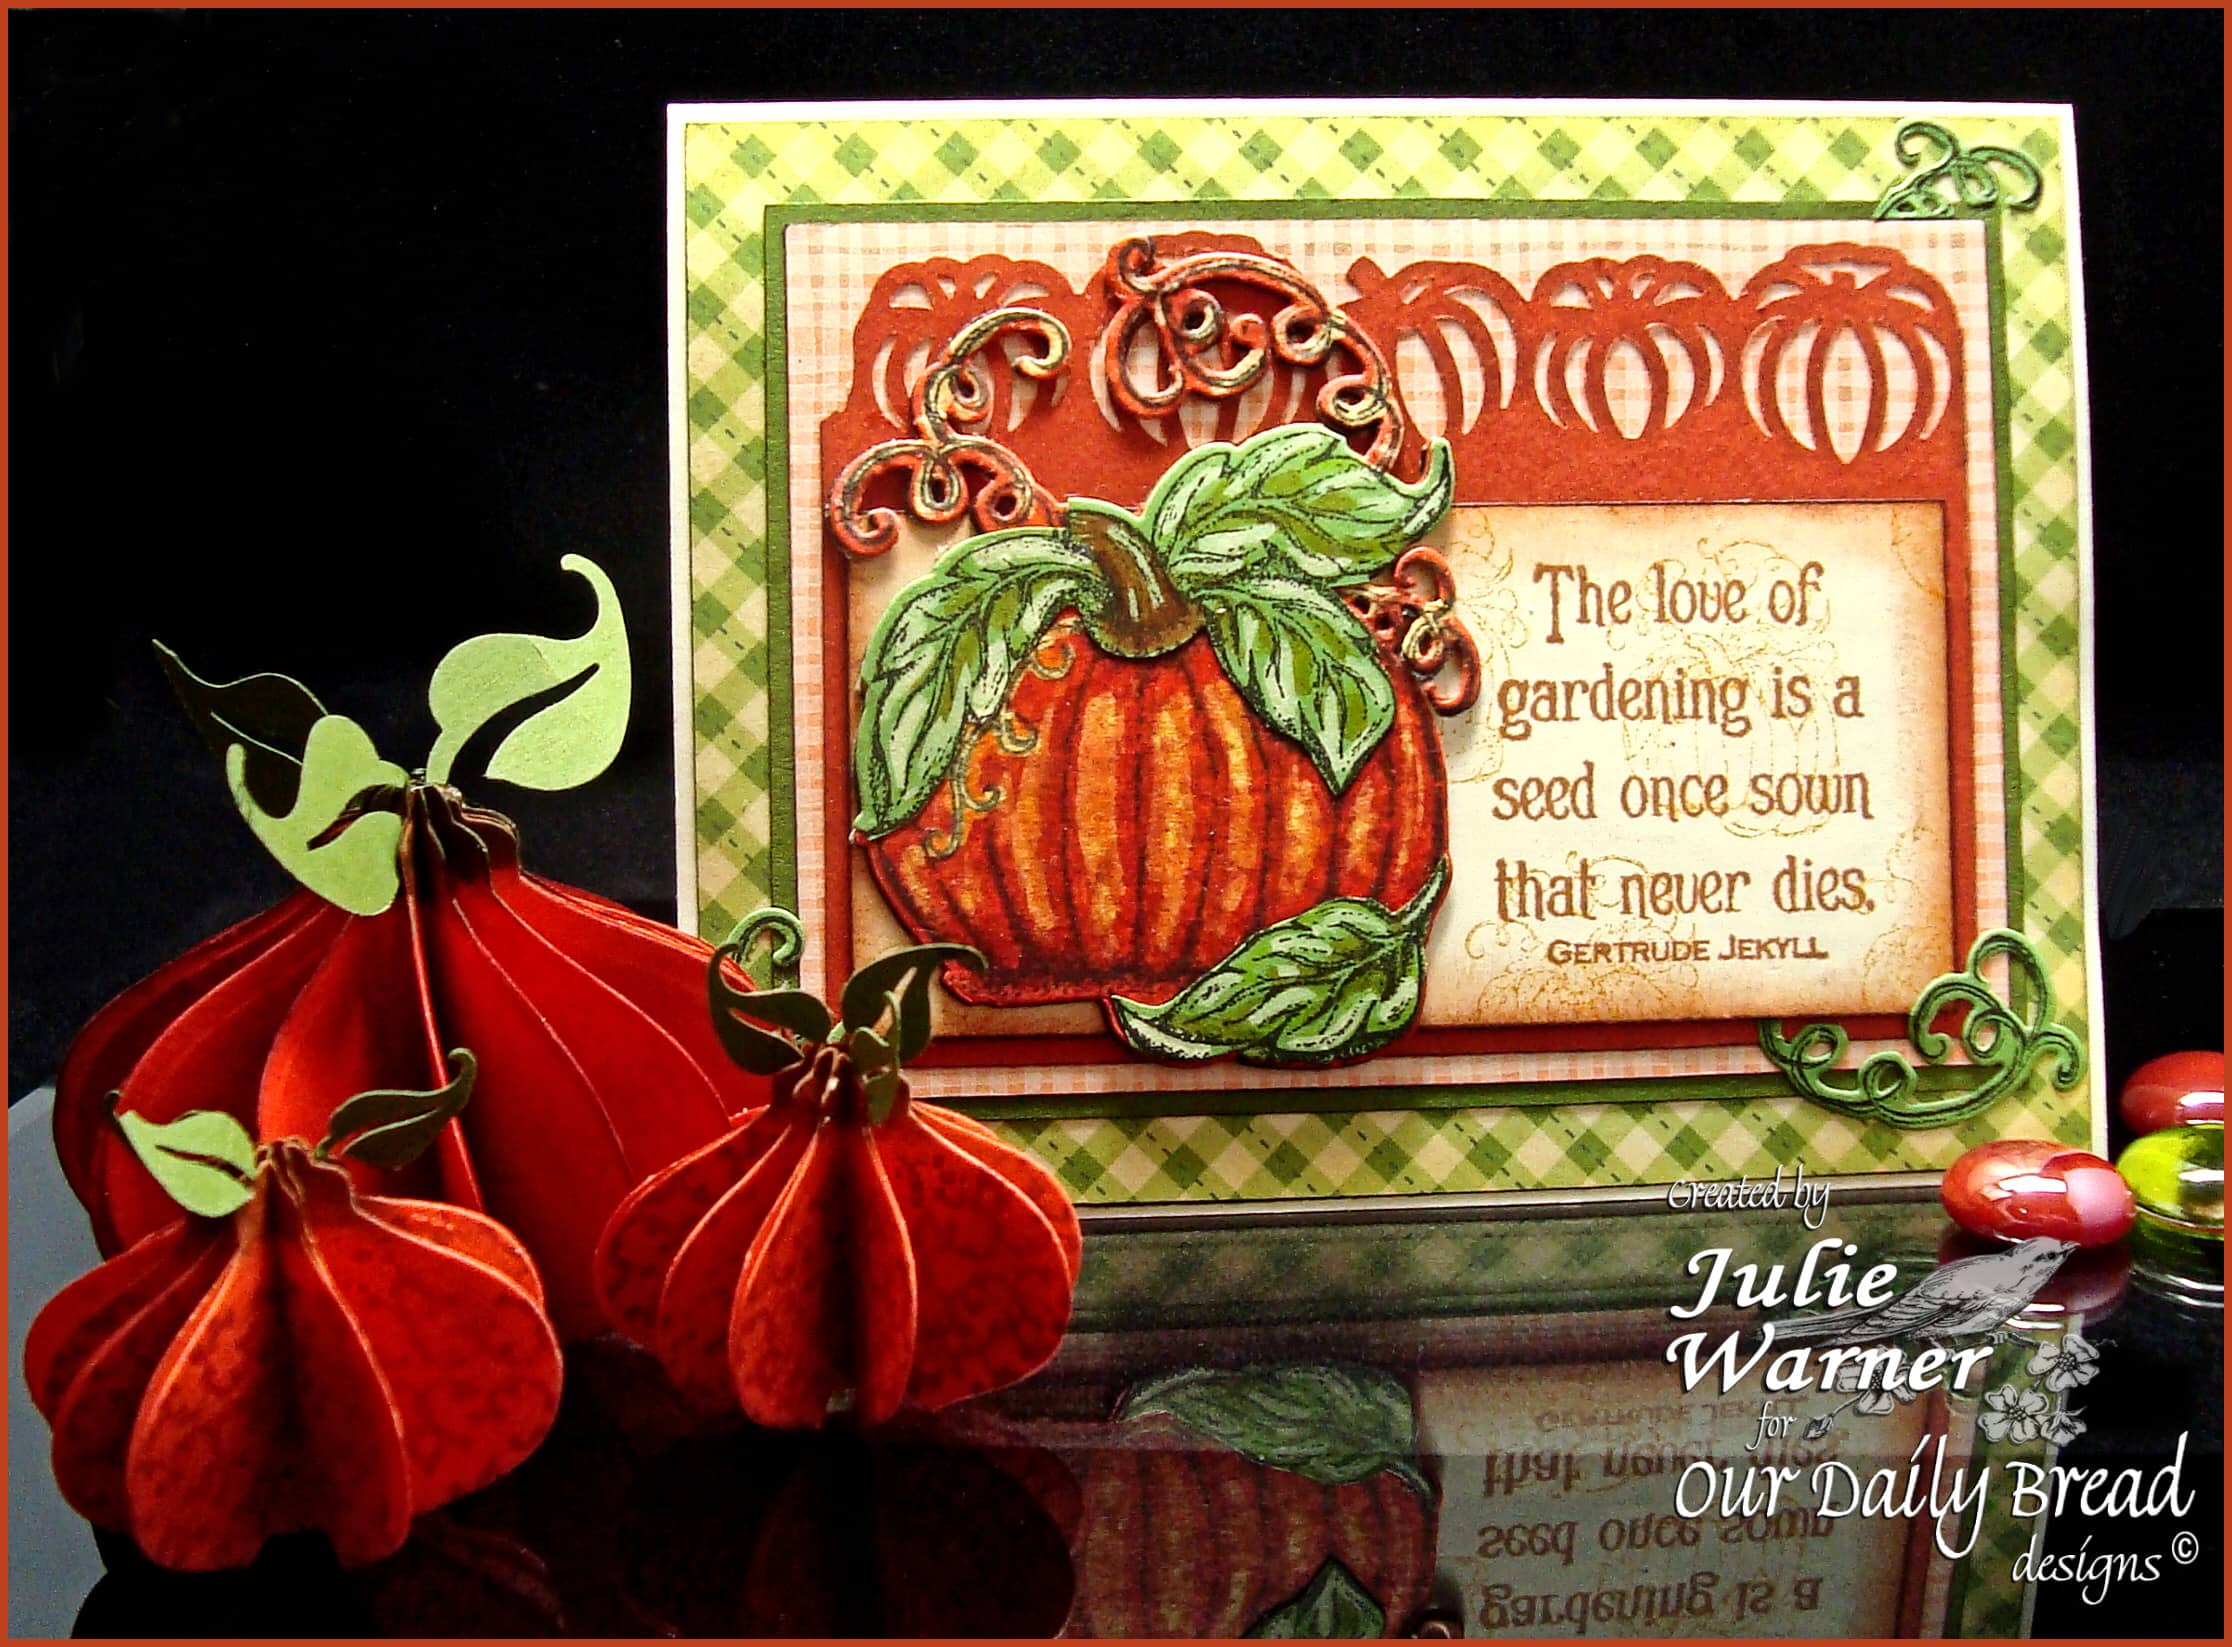
    I chose her Apples to Apples to case. I changed the apple to a pumpkin, changed the colors, images and embossing folder but kept the layout and fruit/veggie theme.

    For my version, I stamped the pumpkin on polka dot dp and used the matching die to cut it out. The leaves were stamped on a scrap of moss and I added a few highlights by painting on a little bleach.

    The left side was cut by hand and embossed w/ the pumpkin folder and a layer of plaid dp added. The sentiment was stamped on the 4.25 x 5.5 card front and I added three Faux Brads  in place of Chrissy’s buttons. All images are Our Daily Bread designs,

    Thanks so much for stopping by!


    Supplies:

    Stamps: ODBD – Pumpkin, Pumpkin Tag set
    Paper: ivory, dp (Cosmo Cricket -Garden Variety collection), scrap of moss green
    Ink: VersaFine Onyx
    Accessories: ODBD pumpkin die, Spellbinders square dies, Cuttlebug pumpkin harvest embossing folder, bleach, 1/4 inch hole punch, Tombow markers


  • DTGD11 Are you playing in the Dirt this week?

    You should be! It’s been Dare to Get Dirty Challenge week all week long on Splitcoast and there’s still time to play along. Come on, wouldn’t you love to play in the dirt pile with some of the Dirty Dozen current and Alumni? Take the challenge!

    Last year, I hosted a couple of challenges, but this year I provided some samples for a couple of the challenges. This card is for Karen Barber’s DTGD11 challenge for 8/5/11. You can read all about it HERE, but you’ll need to be a Fan Club member. So I won’t tell you what the challenge is, but I will tell you a bit about the card.

    Julie Warner - justwritedesigns https://thewritestuff.justwritedesigns.com/

    All images are Sparkle N Sprinkle. I just love these art deco images and I couldn’t decide which to use, so I used all three. There is one more on the sheet, but I think I worked as many in as I could, lol. They were all stamped, colored w/ markers and cut out. I added a little sparkle w/ some fire engine red glitter just in a few places. The frames on the red layer and the turquoise layer are actually much smaller but I used a stamp positioner to extend them and added some highlights w/ a white gel pen. The sentiment was die cut w/ a ribbon tag then I trimmed off the ends of the tag. The finished card measures 4.25 x 5.5.

    While I’m on the DTGD challenges, here is another sample card I made for Suzanne Dean’s DTGD challenge on 8/3/11. I promised to post it here, then totally forgot. It also features images by Sparkle N Sprinkle.

    Julie Warner - justwritedesigns https://thewritestuff.justwritedesigns.com/

    For this one, I stamped the fall image twice on water color paper w/o reinking. I used the fainter image for my inside oval and stamped the greeting above it. I used the largest oval die to cut just the top and went out of the box for the rest. The center oval was stamped w/ the frame using the Kpad.The strip down the left side was punched and pierced and a little flourish was added behind the butterscotch colored scallop oval. The finished card measures 5.5 x 4.25.

    Thanks so much for stopping by! Besides being a lot of fun, there are some serious prizes involved if you participate in the DTGD challenges. So check it out!

    Julie2 sig

    Supplies for Deco Faces:

    Stamps: Sparkle N Sprinkle – Mon Ami set 430, Thoughtful Frames set 436
    Paper: white, red, mint, turquoise
    Ink: VersaFine onyx
    Accessories: Spellbinders circle & ribbon tag dies, Tombow markers, white gel pen, SAMJ (stamp-a-ma-jig), Quickie glue pen, Fire Engine Red glitter

    Supplies for Autumn Smile:

    Stamps: Sparkle N Sprinkle – Harvest Pumpkins set 228, Autumn Swirl set 410, Thoughtful Frames set 436
    Paper: vanilla, butterscotch, dp (leaf bg is Basic Grey Indian Summer, sm print is SEI Moonrise)
    Ink: Archival sepia, Kaleidacolor Creole Spice
    Accessories: gold rhinestones, Fiskars leaf border punch, Spellbinders classic oval, scallop ovals & Symbology dies, Tombow markers, paper piercer


  • DDIC40 & ISC Nov Day 2


    Julie Warner - justwritedesigns - https://thewritestuff.justwritedesigns.com

    Welcome to the Divine Diva Inspiration Challenge! Today our picture comes from The Perfect Remedy. Since this is also a release day for ISC, I have two projects to show. I’m using all ISC images for both, so combining the posts works out really well.


    For my first one, I’m using Marvels of Nature III for the tree and greeting images, and Christmas Trinkets for the building and background image. Out of the box is one of my fave techniques and I’m really enjoying the reverse (sort of into the box) of it. The principal is the same it’s just what you cut that is different. For this, I first stamped the tree with the green and brown inks and added highlights with a marker. I traced the Spellbinders long rectangle around the tree and cut around the part of the tree that was inside the rectangle. Then I  cut the rectangle the same way I do in the out of the box method. The building image was stamped first with green ink, then overstamped with the honey ink.  I used a smaller rectangle to die cut it. The green background was stamped with a medallion image from the Christmas set.  Finished card measures 5.5 x 4.25.

    Julie Warner - justwritedesigns - https://thewritestuff.justwritedesigns.com
    Supplies:
    stamps: ISC – Marvels of Nature III & Christmas Trinkets
    paper: white, moss, mustard
    ink: Ancient Page pine green & chocolate, Distress Ink wild honey
    accessories: Tombow gold ocher marker, Spellbinders long rectangle set, Quickutz rectangle set

    Please be sure to stop by and visit the rest of the Diva team. I know they’ll have some wonderful creations for you!

    • Lori (chanteuse)
    • Chris (glowbug) (taking this week off)
    • Anne (jdmommy)
    • Donna (donnarie)
    • Julie (justwritedesigns) you are here!


    For my second project, the ISC team was challenged to make a gift card holder. I have a purse/notecard pattern I drew about 5 years ago and thought with a little alteration, it would make a nice holder for a gift card.  If you would like the pattern, please click for my free PDF file. Asymetrical Flap Purse pattern instructions The pattern will print out in the actual size. (Click any of the pictures to enlarge.)

    Julie Warner - justwritedesigns - https://thewritestuff.justwritedesigns.com

    For the outside of my purse/holder, I stamped it with a  distressed background image and a combo of the red inks. The flap liner was stamped with a combo of the green ink. Both were edged w/ markers. The holly images were colored w/ makers and cut out. I used a small Velcro circle (cut in half) for the closure.

    Julie Warner - justwritedesigns - https://thewritestuff.justwritedesigns.com
    I used all of the pattern pieces except for the side gussets. These were left out in order for the purse to open completely. The gift card holder insert was attached to the bottom section but could just as easily be attached to the top.  I used a Basic Grey notch tool to cut the half circle tabs but you could easily cut these w/ a kraft knife or use a slot punch. The small card with the greeting is not attached as you can see in the picture below.
    Julie Warner - justwritedesigns - https://thewritestuff.justwritedesigns.com
    Supplies:
    stamps: ISC – Christmas Trinkets, Christmas Elements, Holidays,  Dimensional Elements Edges #1
    paper: white
    ink: Brilliance rocket red, rocket red gold, gamma green, pearlescent ivy
    accessories: Tombow markers, Basic Grey notch tool,  narrow ribbon, 1/8 inch hole punch (to insert ribbon handle), stickles, Velcro dot

    Thanks so much for stopping by!
    Julie2 sig