• Tag Archives Lil’ Inker
  • Let it Snowflakes

    Let it Snowflakes cu08237
    Weekly-Favorite
    Today’s Ways to Use It Challenge (WT567) is about how cold it is! It’s definitely been on the chilly side here…we had sleet most of the the afternoon & we’re supposed to have snow tomorrow afternoon & on into Sat. morning. Maybe it’s just me, but when it’s already that cold, just go ahead and snow. It’s much preferable to the frozen rain, sleet & ice. Those are just accidents waiting to happen! And besides…I would much rather see lacy, pretty snowflakes like these than frozen pellets of ice. 
    Let it Snowflakes2 08236
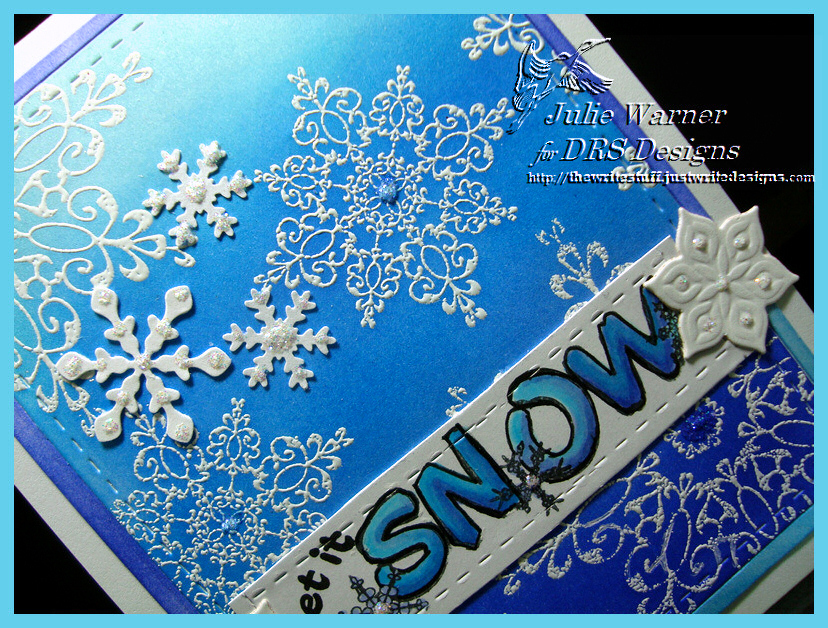
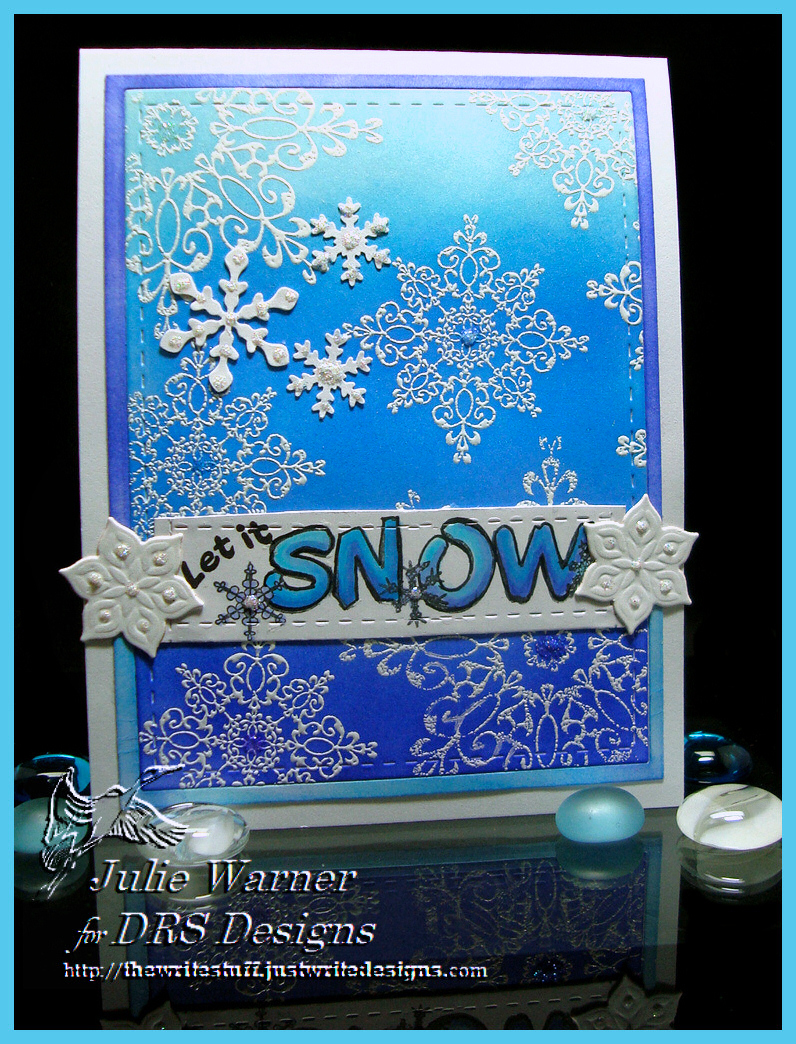
    To make my wintry blue card, I first die cut the largest layer, then die cut the smaller inset w/ a stitched rectangle.  Then I heat embossed the large & smaller snowflakes w/ white powder onto the smaller inset then sponged on the blue inks from the Kaleidacolor ink pad. I also sponged the larger frame but reversed the colors w/ the dark on top & light at the bottom. 

    The greeting took a bit of finagling. I used a stamp positioner & masking to rearrange the vertical SNOW into a horizontal direction & colored it w/ a few blue & blue-violet Copics. I added a couple of die cut shapes that reminded me of snowflakes, a few punched snowflakes & some stickles for a little sparkle.
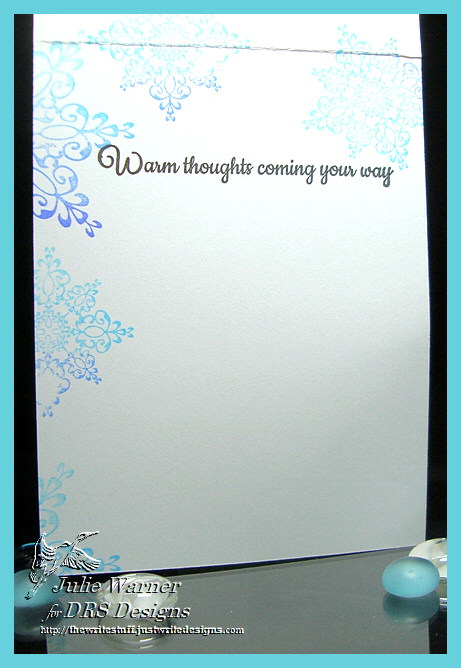
     

    Here’s a look at the inside..just some simple stamping.
    Let it Snowflakes inside 08239
    Thanks so much for stopping by! If you haven’t, please head on over and check out the DRS Thursday Challenge..this week it’s a color challenge. DRS images are not required & there’s a nice prize up for grabs!
    Julie2 sig
    Supplies:

    Stamps: DRS Designs – Med. Filigree Snowflake, Lg. Filigree Snowflake,Vertical Let it Snow,  (Warm Thoughts-inside)
    Paper:  Neenah white
    Ink:   Kaleidacolor blue breeze, Colorbox frost white pigment
    Accessories:  Spellbinders pierced A2 matting basics A , Persian Accents dies, Lil’ Inkers Stitched Rectangles, stickles, Copic markers, snowflake punches

  • Snowing Hearts


    Raining Hearts cu 08170
    Weekly-Favorite
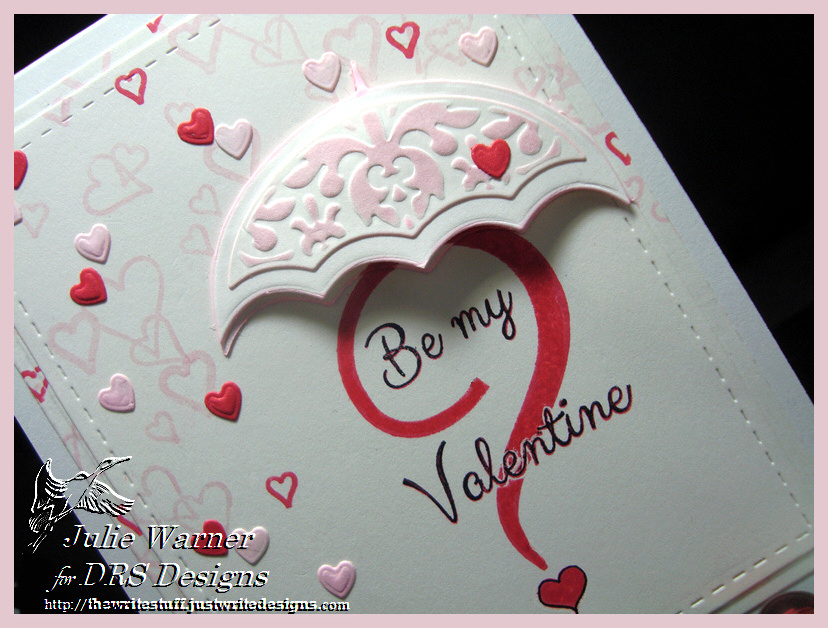
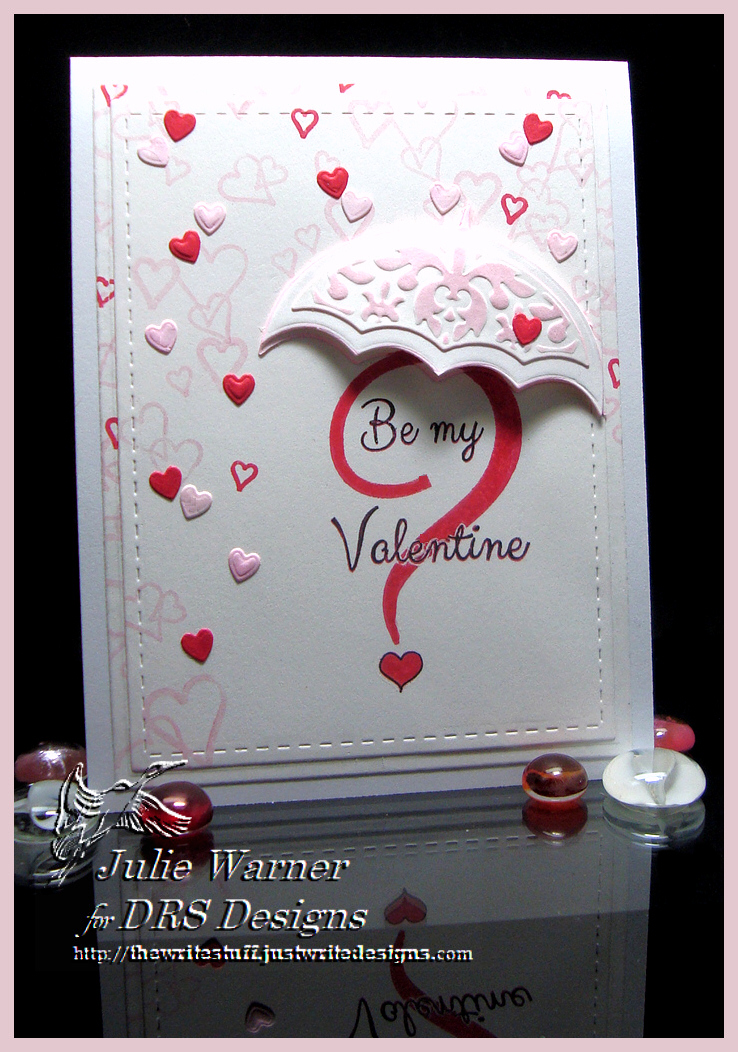
    Today’s Inspiration Challenge (IC527) is a Pinterest board of Winter White. I was inspired by THIS picture w/ the pink umbrella, but instead of falling snow, I have it snowing/raining hearts. 
    Raining Hearts 08169
    I kept the backgrounds all white & except for some stamped falling hearts using the pink ink w/ just a few in red. I also added some die cut pink & red hearts (from the Umbrella die set). The top umbrella was popped up in the middle and under it I stamped the Valentine question mark in red ( I thought it would make a cute umbrella handle). I went back & inked just the words w/ a black marker & stamped that part again & used the same marker to outline the red heart.

    Thanks so much for stopping by!
    Julie2 sig

    Supplies:

    Stamps: DRS Designs- Be My Valentine Question Mark,  Interlocking Hearts Bg
    Paper: Neenah white, small scrap of red
    Ink: Memento angel pink & love letter
    Accessories:  Spellbinders A2 matting basics B  dies, ODBD Umbrella dies, Lil’ Inkers stitched rectangles dies, black Tombow marker

  • Marbled Water Color Ornaments

    Marbled Ornament cu07937
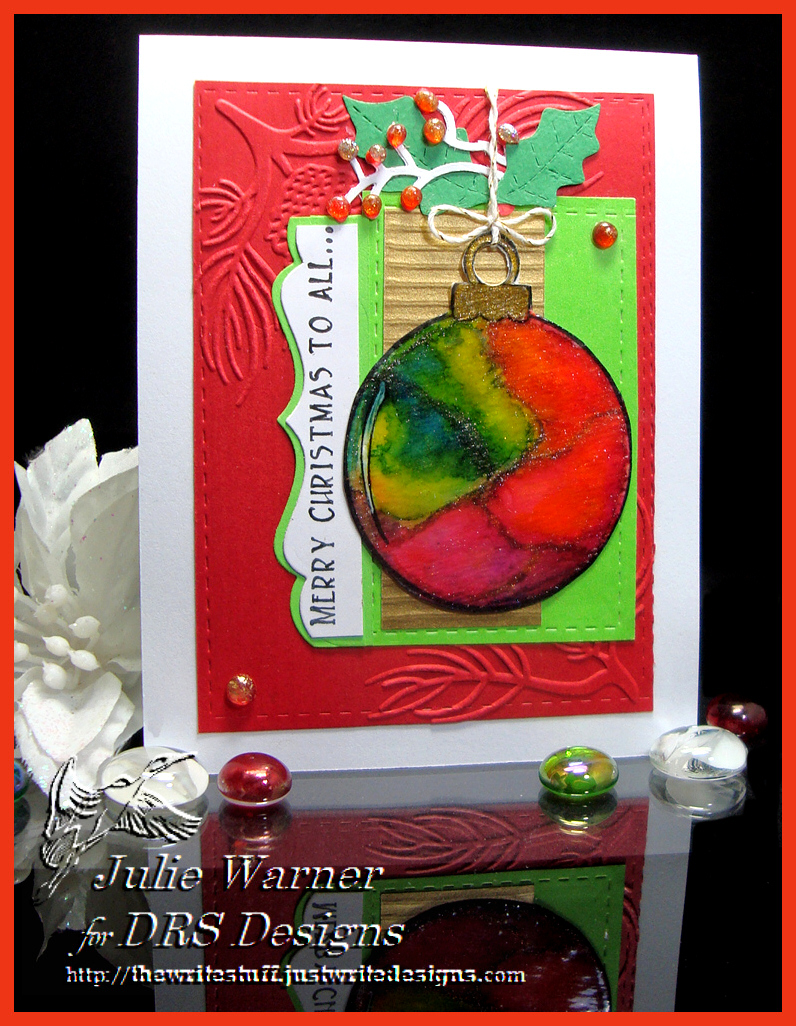
    Today’s MIX Challenge (MIX149) has us playing with water colors or scraps or tags or all 3. I have all 3. And also references a water color ornament tutorial from Wednesday. And I admit, I started this “playing” last weekend before either was posted so I guess Dina & I must have been on the same wavelength, though I did go about mine a little differently.
    Marbled Ornament 07929
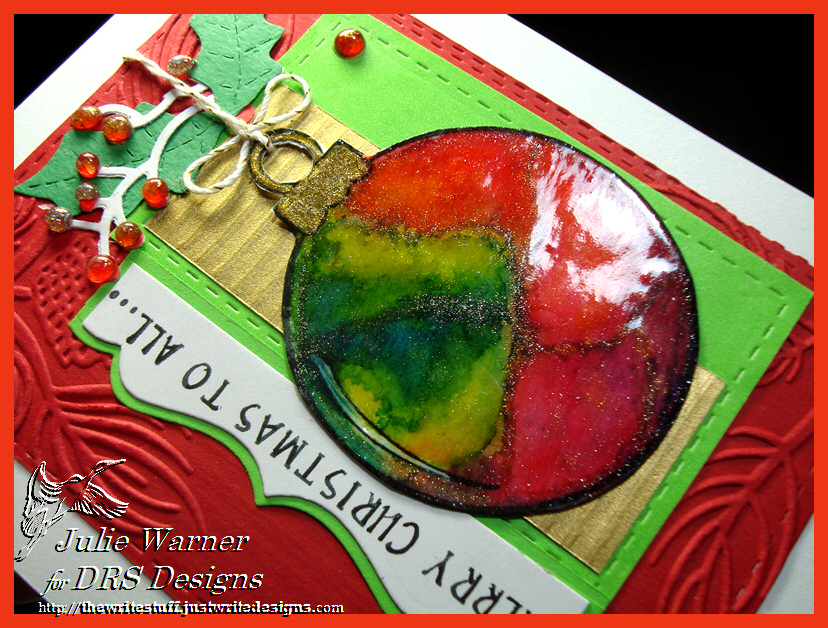
    For this one, I stamped the ornament on water color paper then took a gold gel pen and drew squiggly lines across it to imitate marbling. Then I wet areas of the ornament. From experience I knew the water would make the gold gel pen run & that’s what I wanted. I added reds & bright pinks on one side then dried it w/ a heat gun. Then I did the yellows, blue & greens on the other side & dried it. The gold from the gel pen added a wonderful little bit of gold glitter across the ornament. I fussy cut it then covered it w/ clear embossing powder & heated it. I did this twice so it’s really glossy. The red, lime & gold pieces were all scraps that I either embossed, die cut or used as is. The little reddish drops are a bonus from making the ornament on the tag below.

    Supplies:

    Stamps: DRS Designs-   – Simple Ornament, Christmas to All Greeting
    Paper: water color, Neenah white, grass green, lime green, red, scrap of gold
    Ink:   Vesafine onyx, Versamark
    Accessories:  Peerless water colors, gold gel pen, clear embossing powder, baker’s twine, pine branch corners embossing folder (Darice), holly die (Sizzix), Spellbinders labels 16 die, Lil’ Inkers stitched rectangles die, paper crimper, Misti

    Ornament Tag cu 07892
    Weekly-Favorite
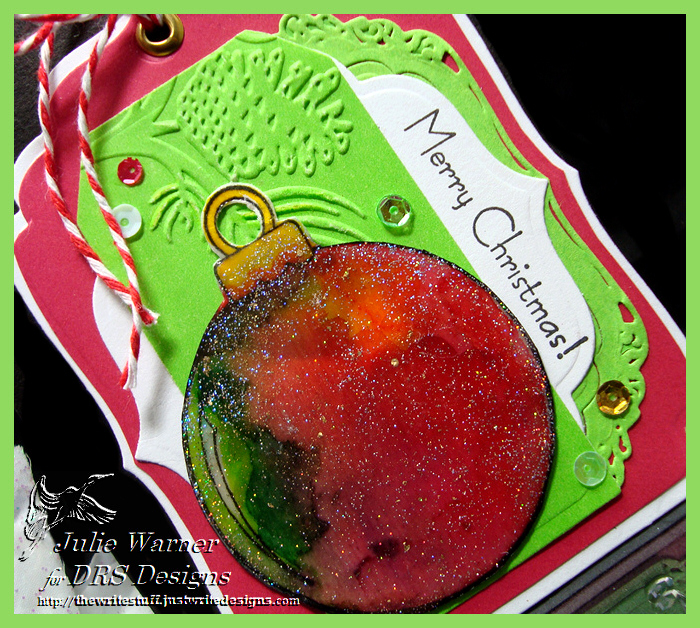
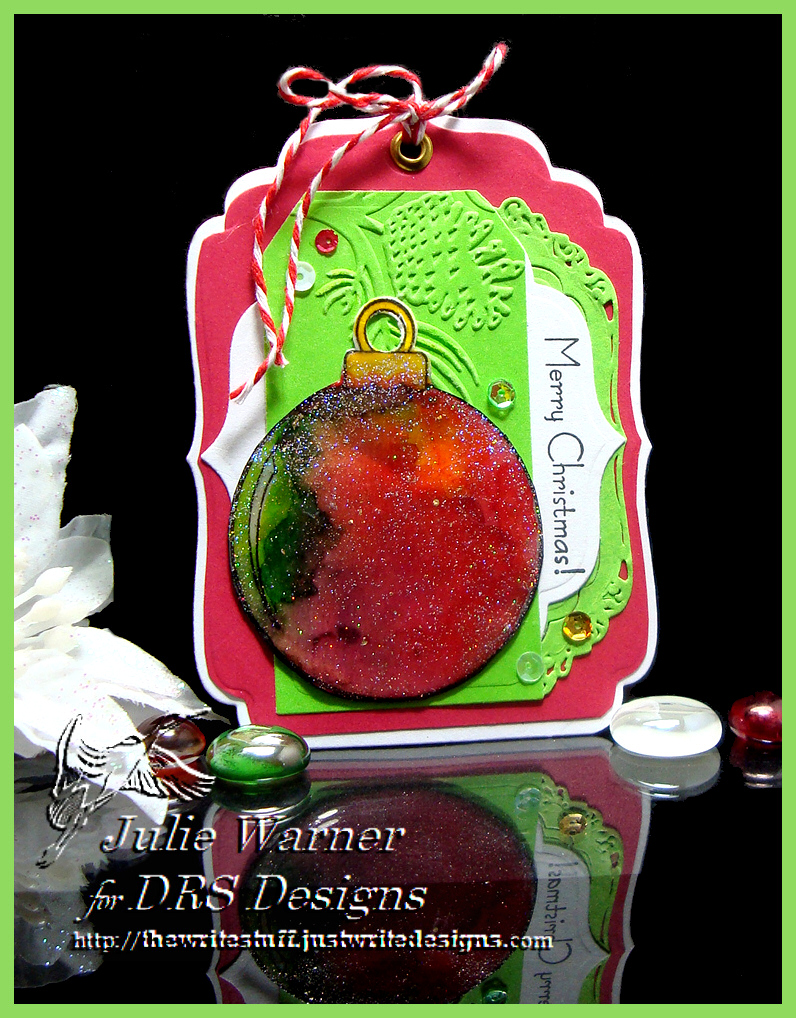
    On this ornament tag, I stamped the ornament like above & water colored similarly, but I did not use the gold gel pen. After 3 coats of clear embossing powder, it started to do a cracked glass thing, so I heated it & tilted it until these perfect little round drops of melted ep dripped off onto my craft sheet. Then I added a layer of a holographic ep but decided it was too much & heated it until most of it dripped off. Now just a little sparkle is left & I like it much better.
     The perfect little round “dew drops” of melted ep were glued on as berries & embellishments on the first card.

    Ornament Tag 07894
    Again, I used scraps of die cuts & embossed them. The white & red layers were cut w/ a Grand Label 4 and I just trimmed off the bottom so the tag would stand upright.

    Supplies:

    Stamps: DRS Designs-   – Simple Ornament, Merry Christmas
    Paper: water color, Neenah white, lime green
    Ink:   Vesafine onyx, Versamark
    Accessories:  Spellbinders tag, Grand labels 4, gold label 4 dies, Misti, sequins, baker’s twine, eyelet, clear embossing powder, stardust embossing powder

    Thanks so much for stopping by! If you haven’t, head on over and check out the DRS Thursday Challenge…this week, Tags! Make a tag or have one on your project. DRS images are not required & there’s a nice prize up for grabs.

    Julie2 sig