• Tag Archives Spellbinders
  • Gingerbread House

    Julie Warner - justwritedesigns - https://thewritestuff.justwritedesigns.com

    Weekly-Favorite
    Best of 2011

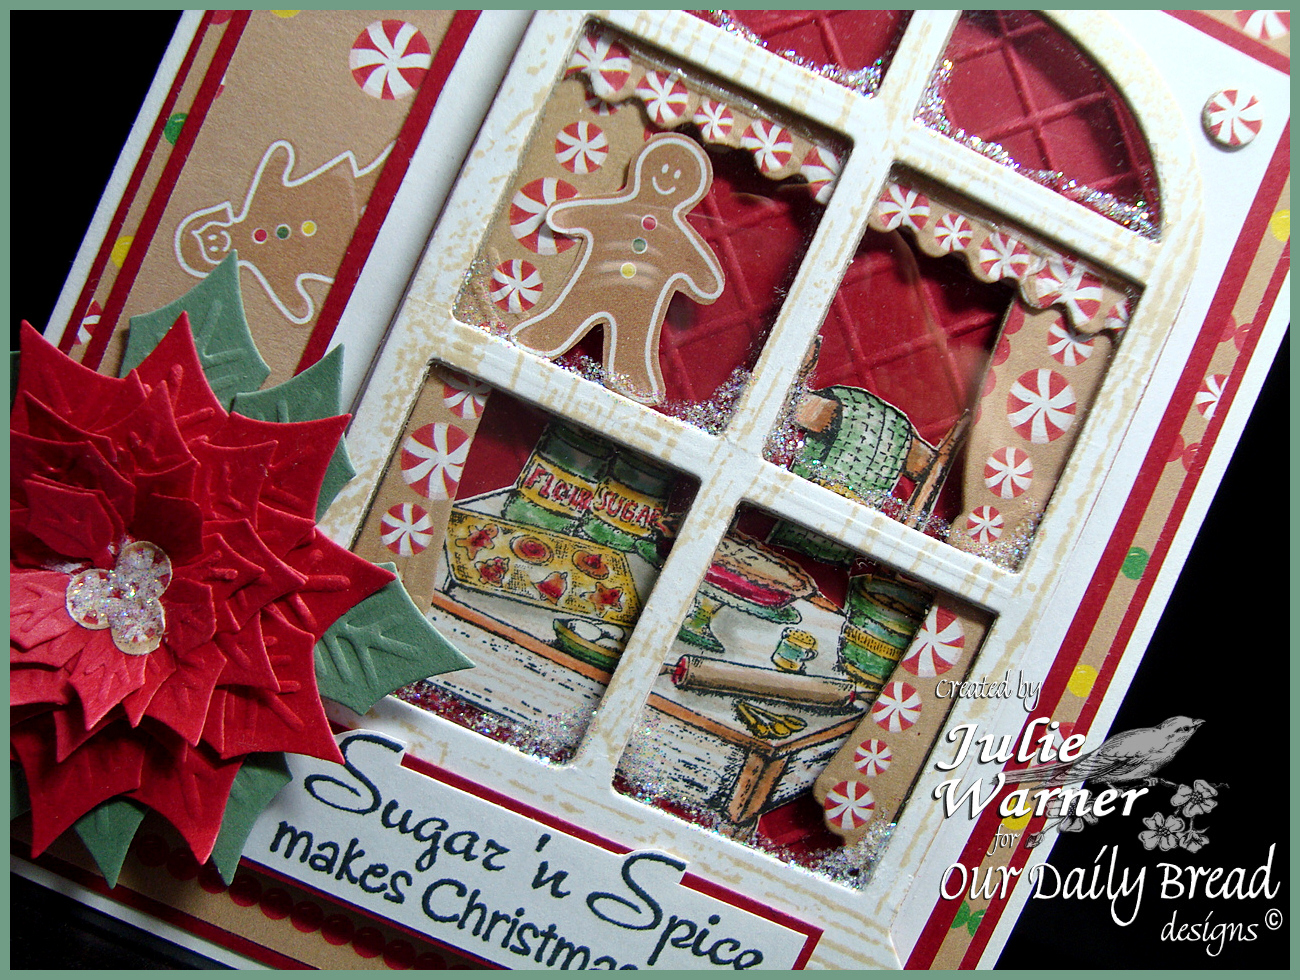
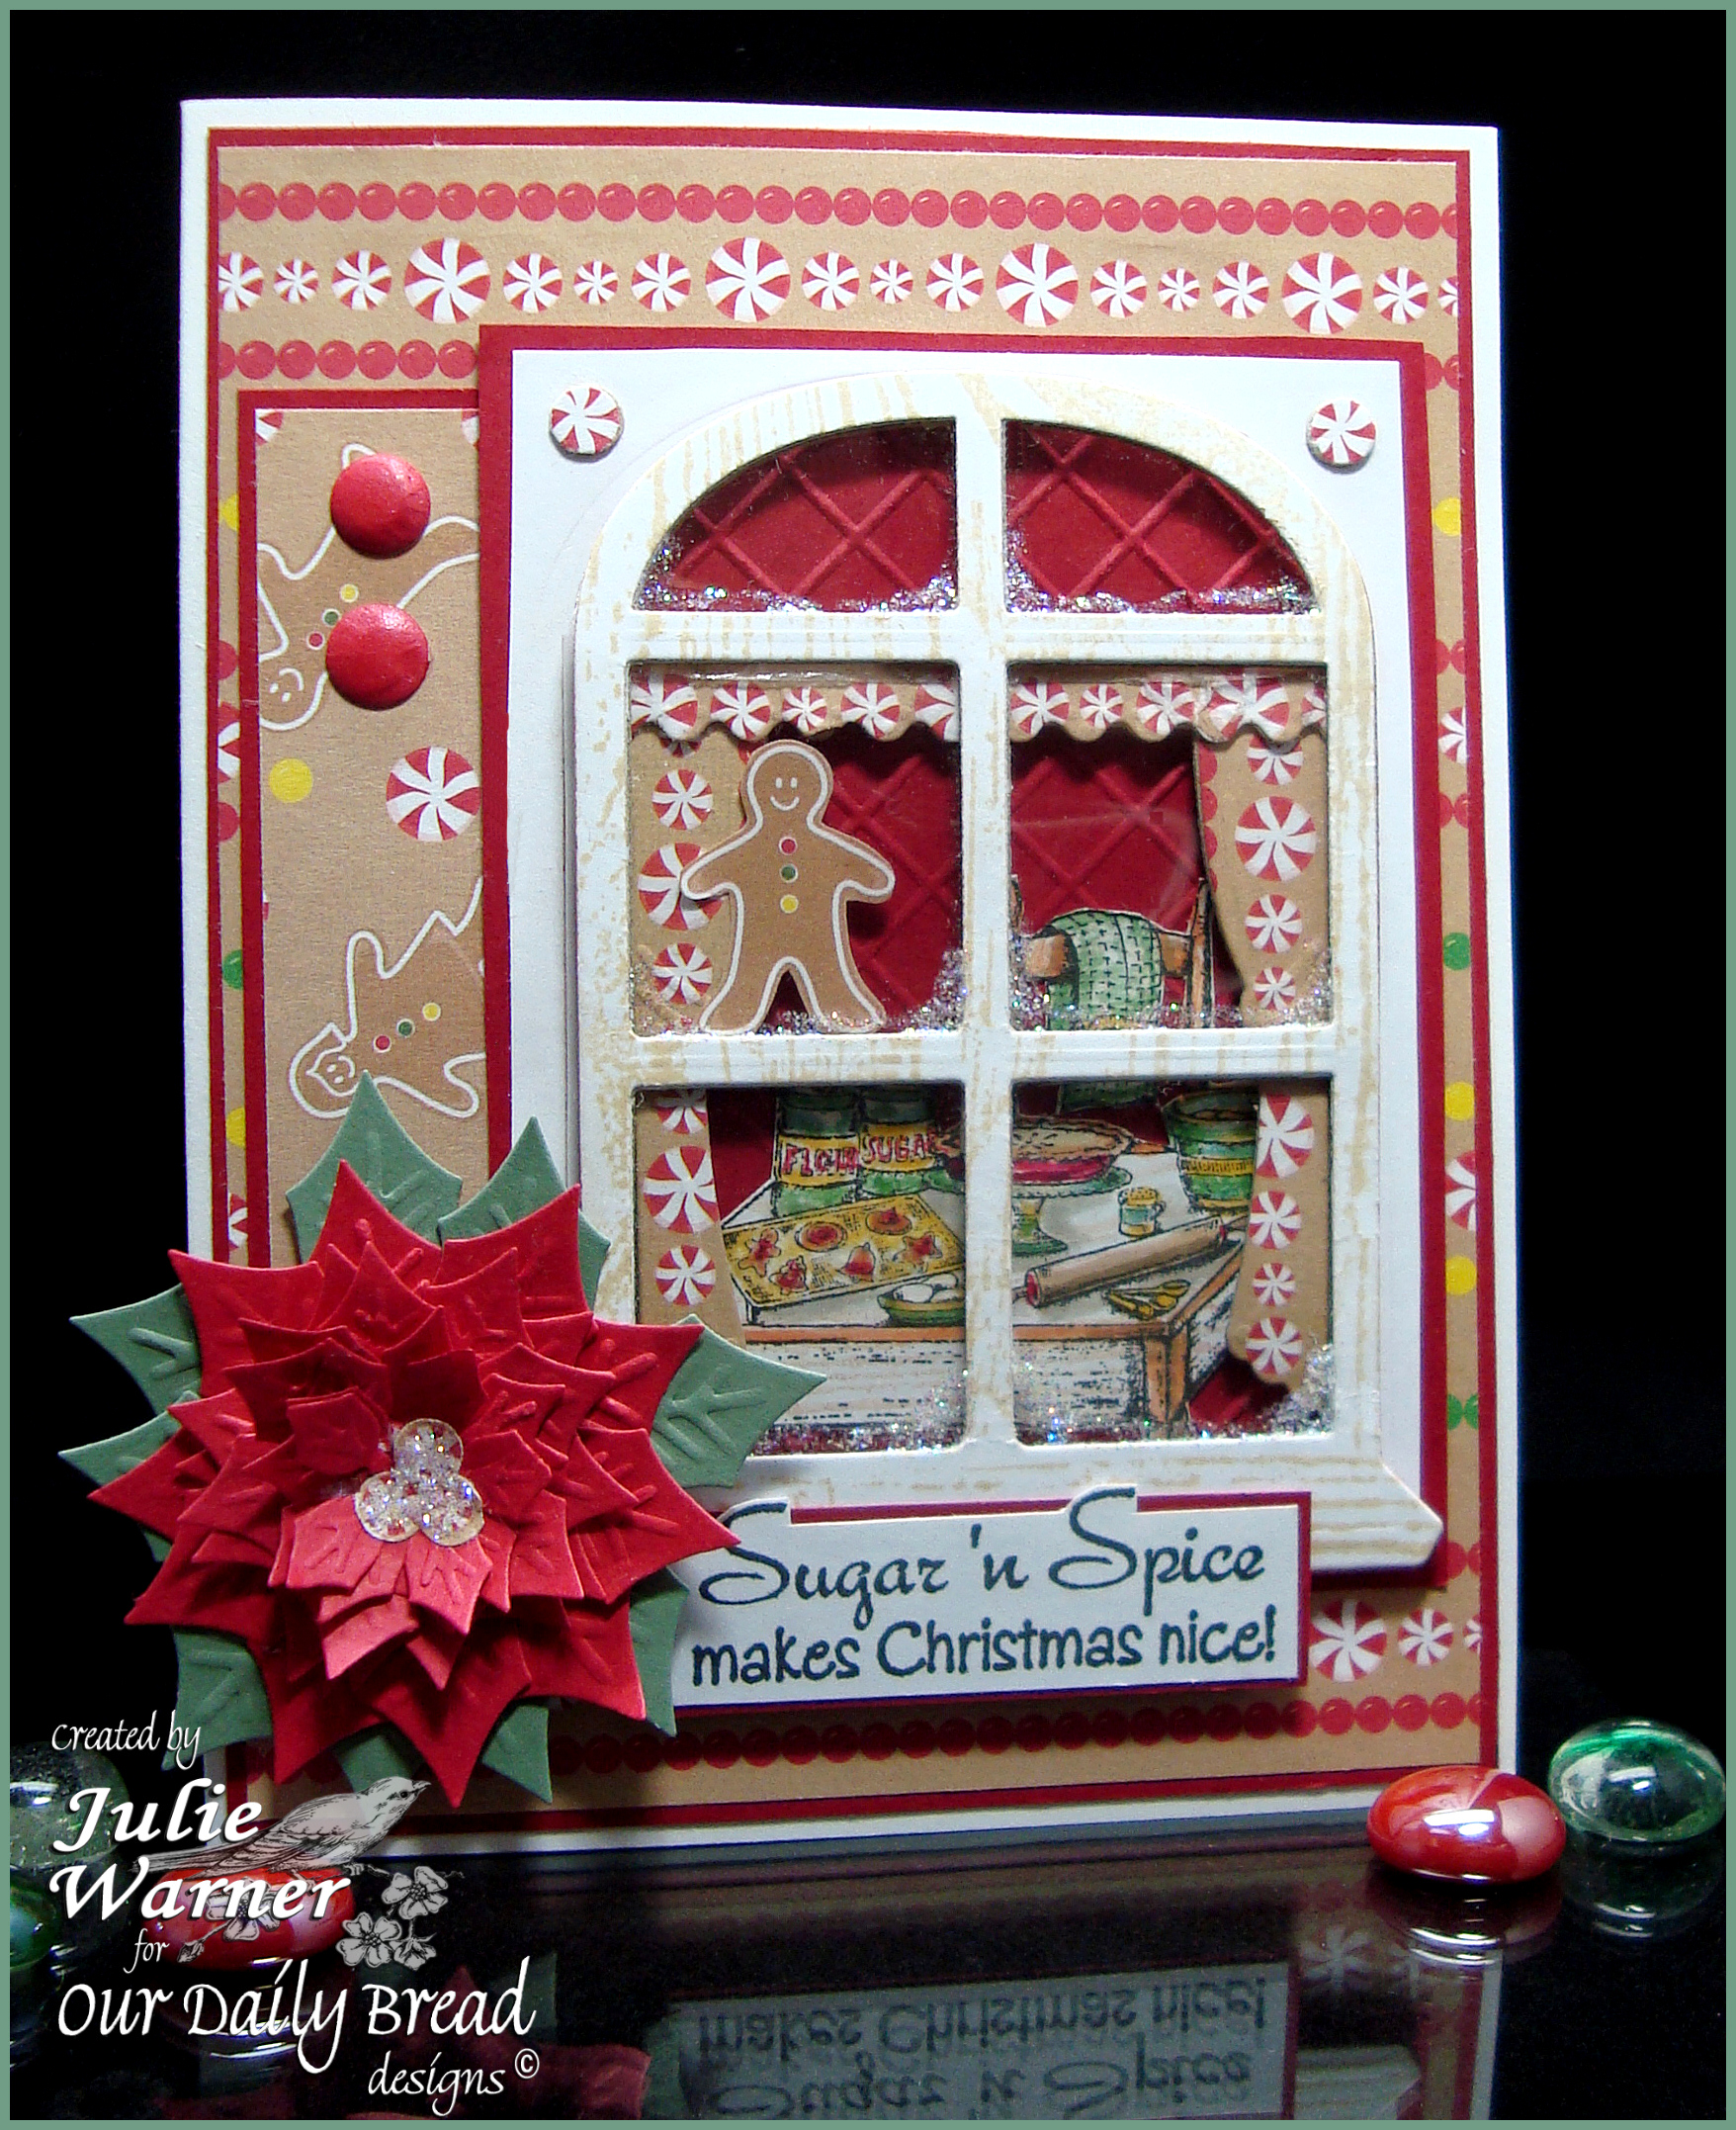
    t’s a wonderful sketch today (SC358) on Splitcoast and as you can see, my version morphed a little. It started out good, but then I had to move my window over to make room for the big poinsettia and found it looked better to have the window lower than the frame around it. Oh well.

    All images & window die are Our Daily Bread designs. The little kitchen scene was stamped, colored and cut out. I used part of a Sizzix ef to emboss the dk red and attached the scene on top. The wood grain was stamped on the white c/s before the window was die cut. The curtains were die cut out of one of the dps. Both of the dp patterns are from an older Christmas stack and I cut out one little gingerbread man for the window. I cut two windows out of card board, sandwiched a piece of acetate between them then attached the window frame on top. I added a little stickles in the lower corners.I put the window back inside the leftover rectangle frame.
    Julie Warner - justwritedesigns - https://thewritestuff.justwritedesigns.com
    The poinsettia was also die cut and put together. I used a hole punch to punch some of the peppermint candies from the dp and used them for the center and also for the corners of the window frame. The finished card is 5 x 6.50 (A6).

    Thanks so much for stopping by!

    Supplies:

    Stamps: ODBD – Sweet Christmas Wishes, Wood Bg
    Paper: Neenah white, dk red, dp (DCWV Christmas stack), red & holly green for poinsettia
    Ink: Ancient Page coal, Memories soft sand
    Accessories: Tombow markers, ODBD window die & poinsettia die (both by Spellbinders), Candi dots, stickles, Sizzix TY set ef, 1/4 inch hole punch, Grand Calibur


  • Window Snowscene

    Julie Warner - justwritedesigns - https://thewritestuff.justwritedesigns.com

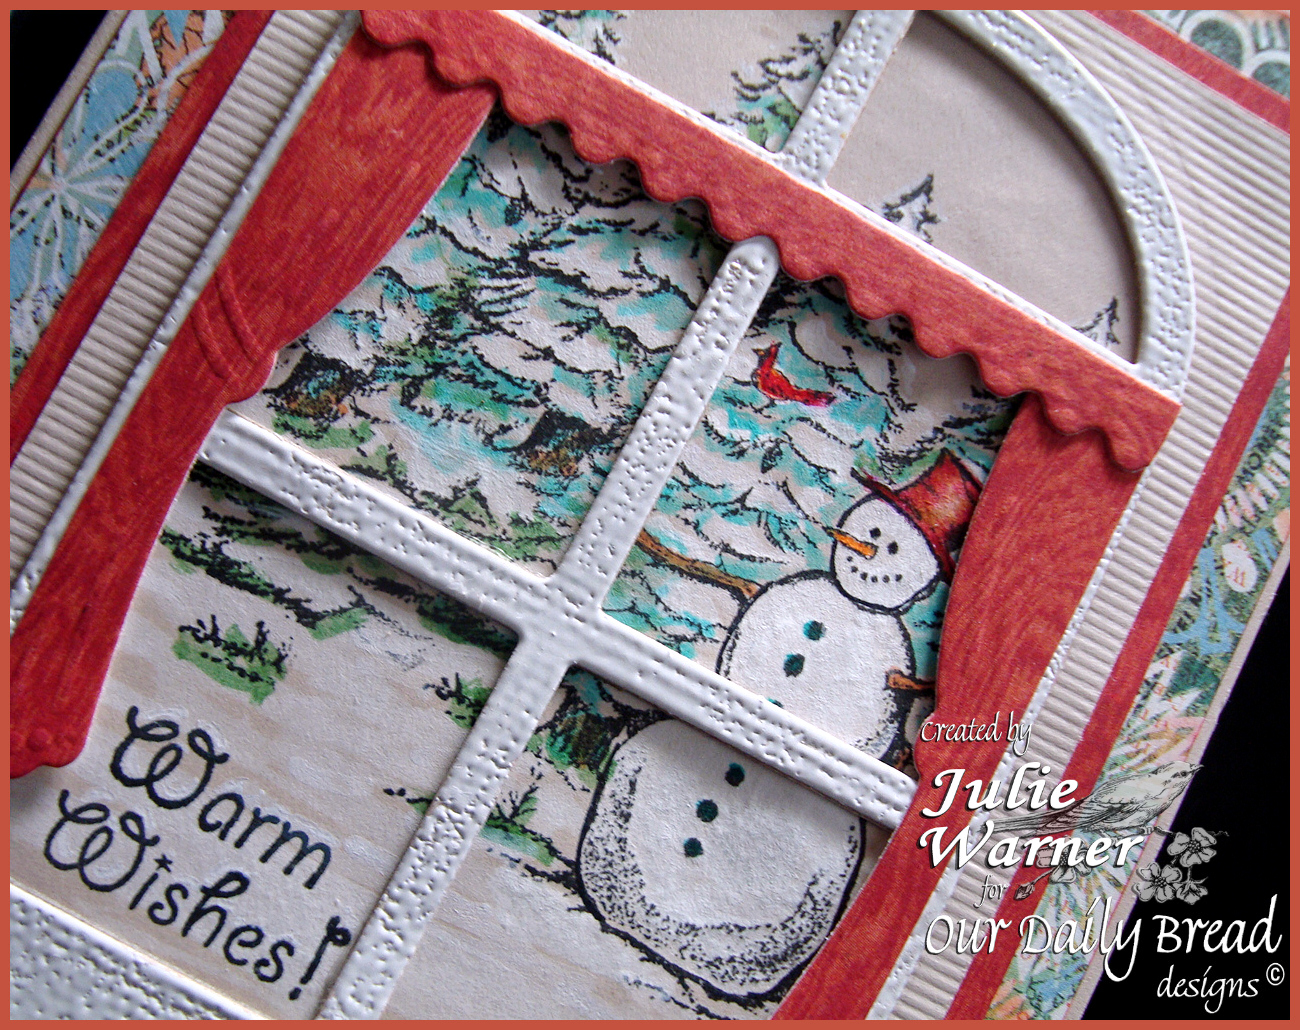
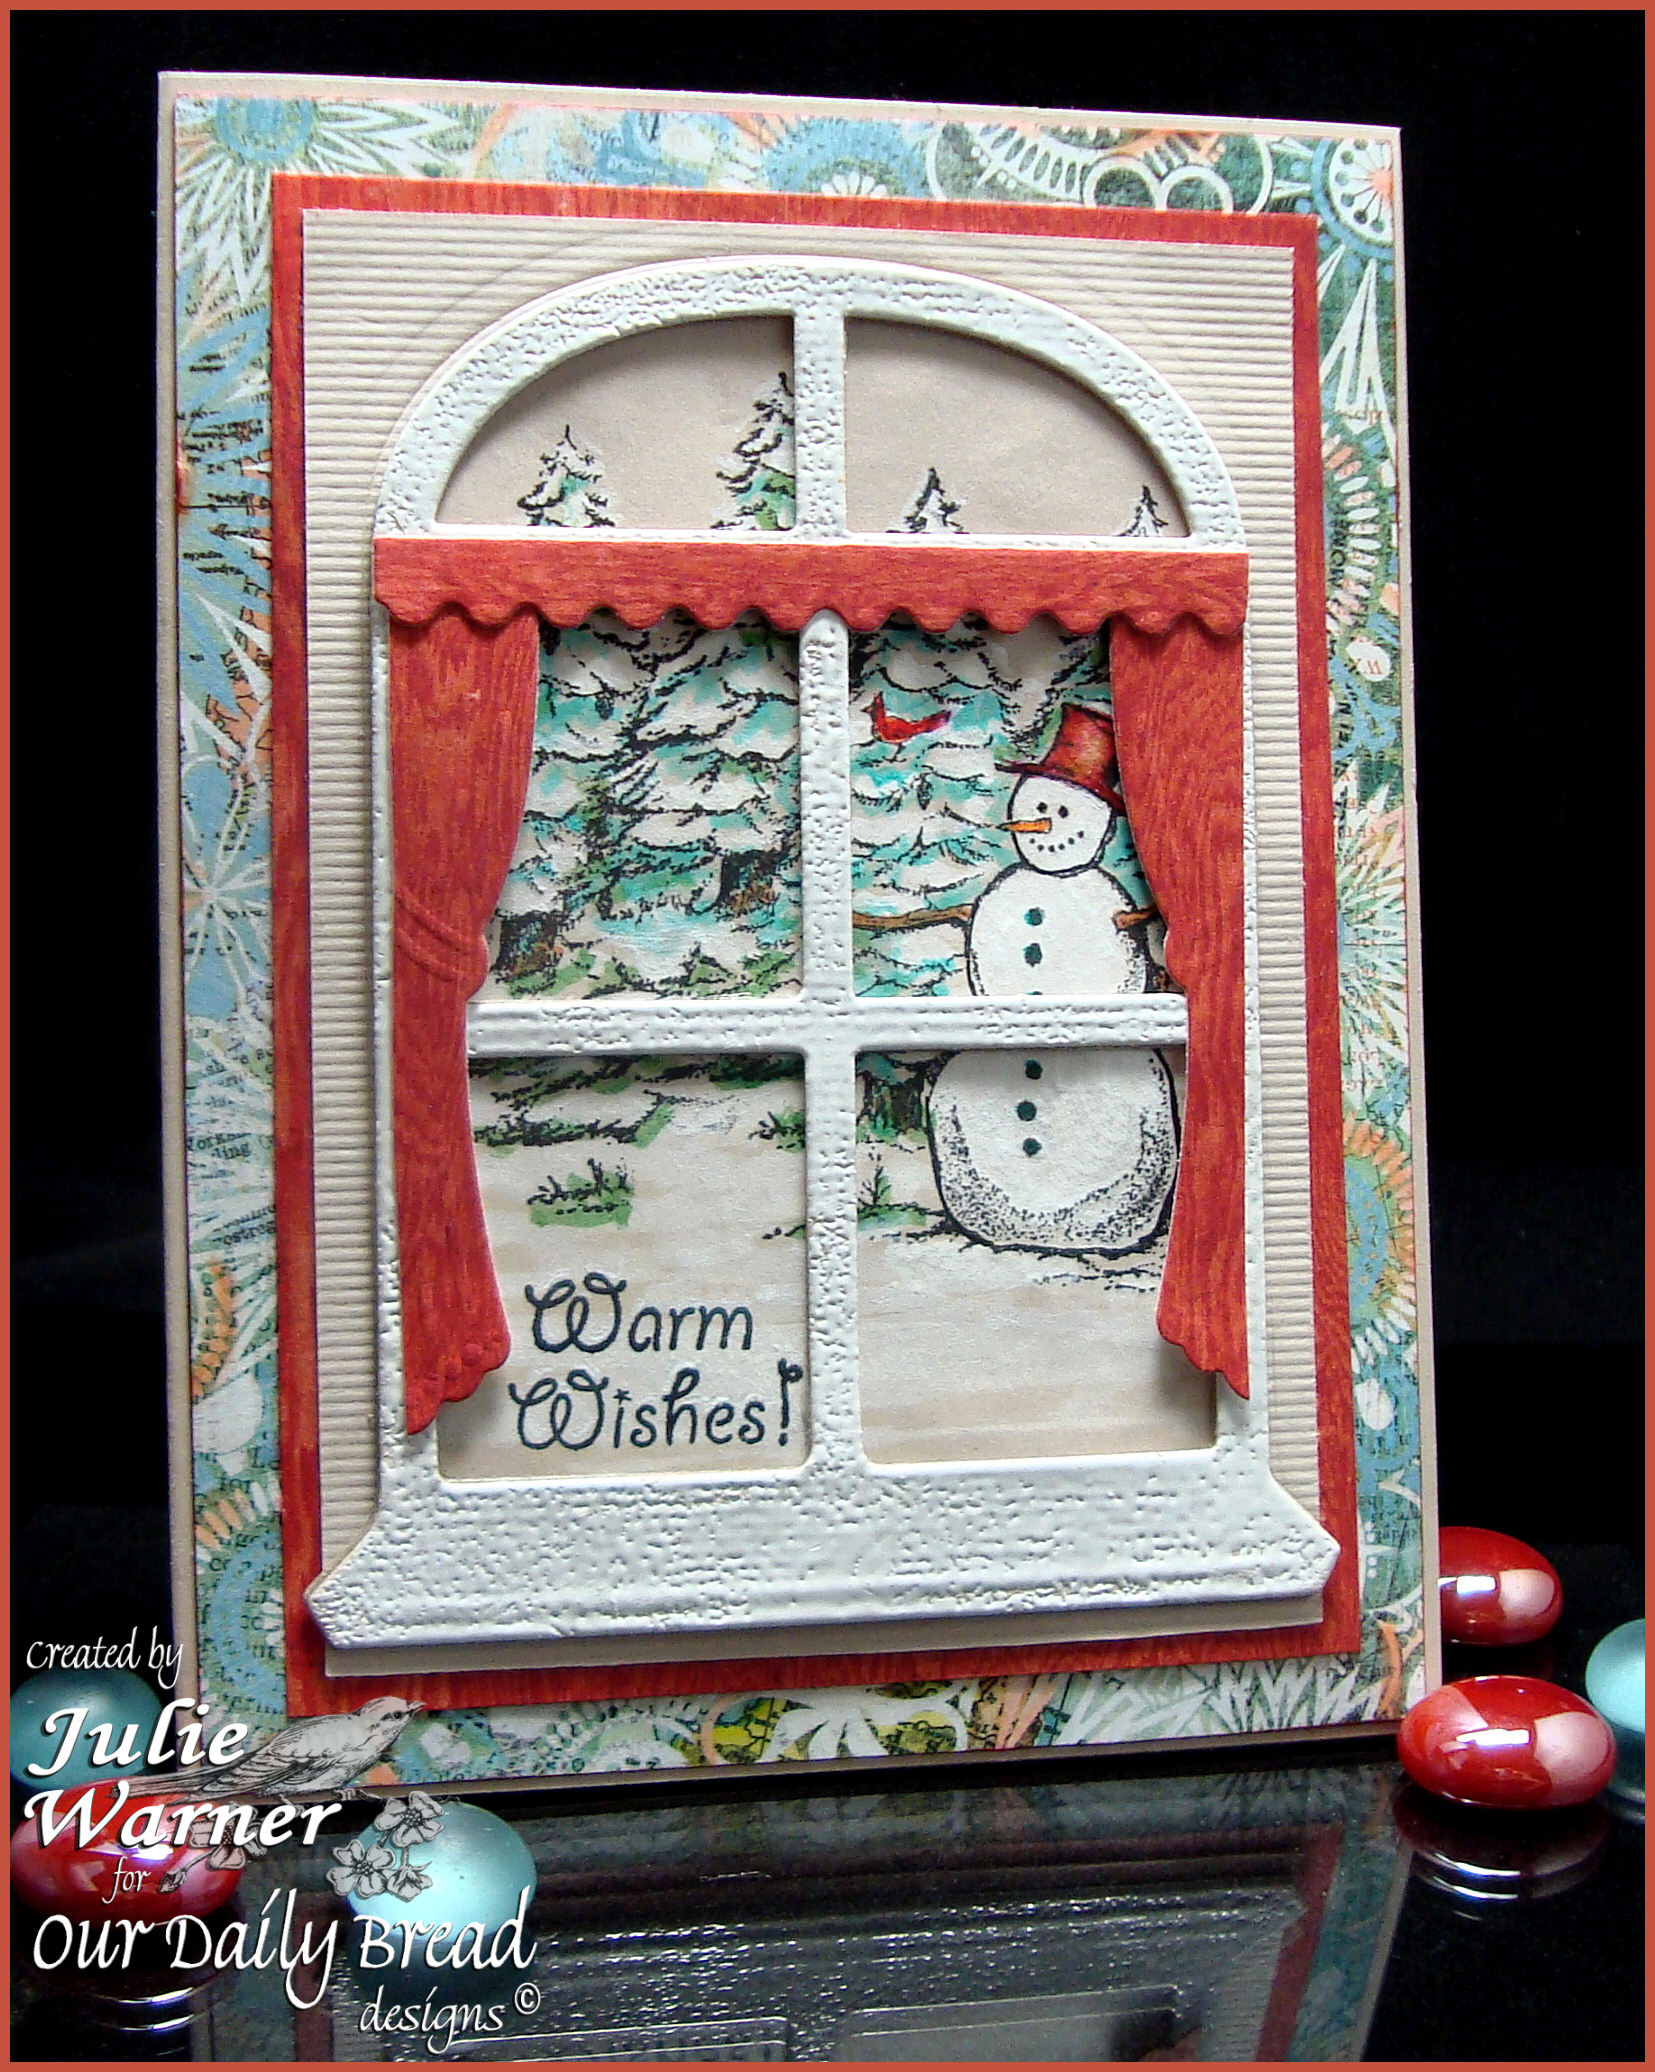
    Fun color combination today  in today’s Color Challenge (CC348) at Splitcoast! I liked it more than I thought I would even though it was a little challenging for a Christmas card. I have this cute new snowman scene and window die and I really wanted to use it so I hunted around and found some dp that had the colors.

    After stamping the scene on kraft (images and dies are Our Daily Bread designs), I masked it and stamped the trees again for a fuller look. With a tiny acrylic paint brush, I painted bleach onto the snowman and snow areas of the scene. I used markers to add some color to the scene. The window was cut into a ridged kraft c/s and then I decided it needed to be lighter so I rubbed white ink over it and embossed it.

    Julie Warner - justwritedesigns - https://thewritestuff.justwritedesigns.com
    The curtains were die cut out of the cajun color dp and added on top. The turquoise dp had a little of the peachy cajun color in it but I added a bit more w/ markers. The finished kraft card is 4.25 x 5.50.

    Thanks so much for stopping by!

    Supplies:

    Stamps: ODBD – Warm Wishes
    Paper: kraft, ridged kraft, white, dp (Basic Grey – print is Out of Print collection, solid is Life of the Party collection)
    Ink: Ancient Page coal, Colorbox frost white pigment
    Accessories: Tombow markers, white embossing powder, bleach, ODBD window die 
    Techniques: water color w/ markers, embossing, masking

  • ODBD November Release Blog Hop!

    Julie Warner - justwritedesigns - https://thewritestuff.justwritedesigns.com
    Welcome to the Our Daily Bread designs November Release Blog Hop! If you arrived here from Angie’s fabulous blog, you are in the right place. If not you might want to start at the Our Daily Bread designs Blog and start from the beginning. If you get lost along the way, simply return there where the entire hop is listed with links.

    Julie Warner - justwritedesigns - https://thewritestuff.justwritedesigns.com

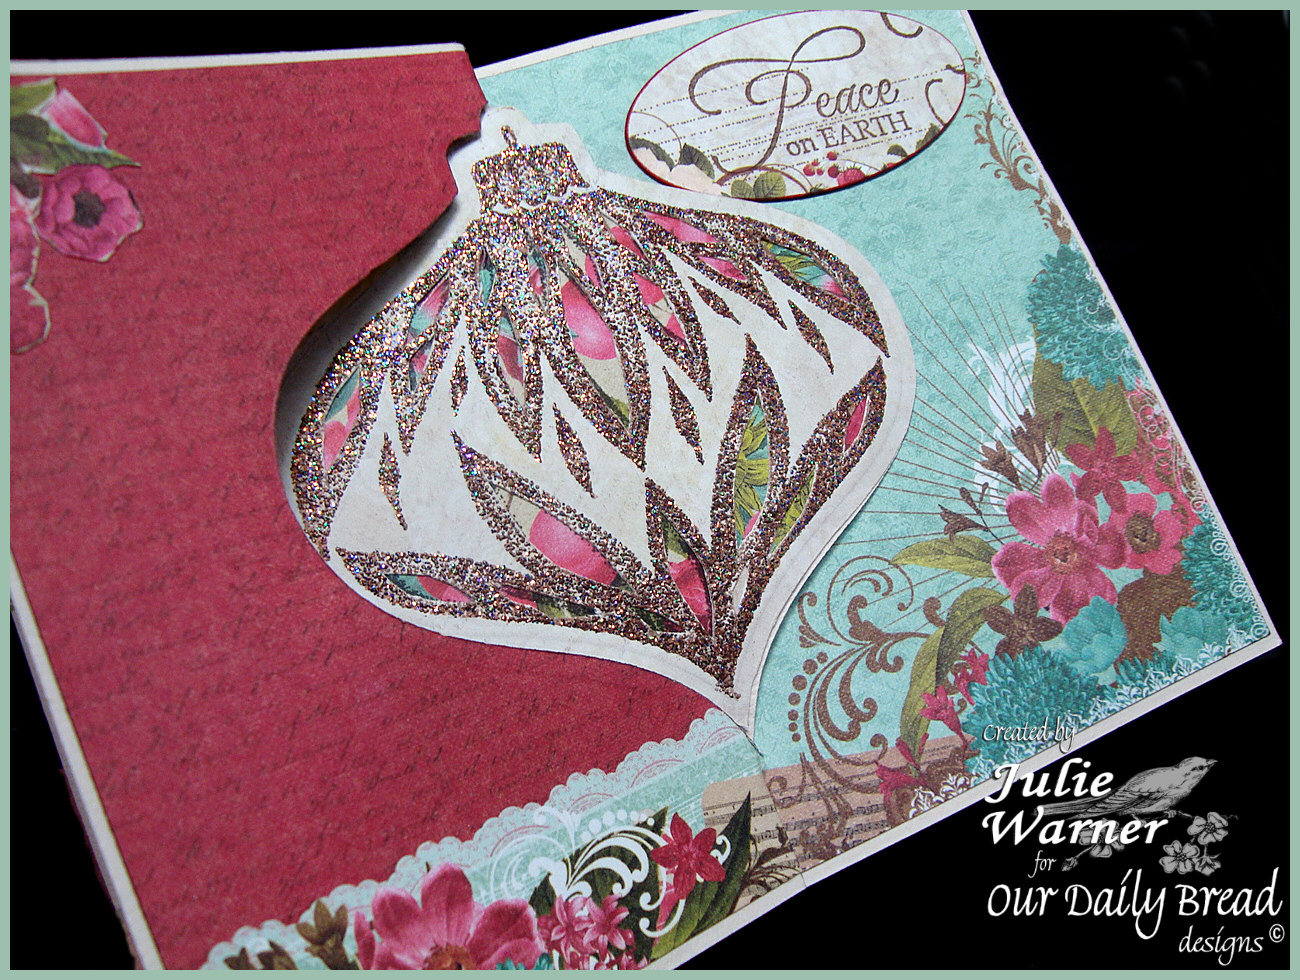
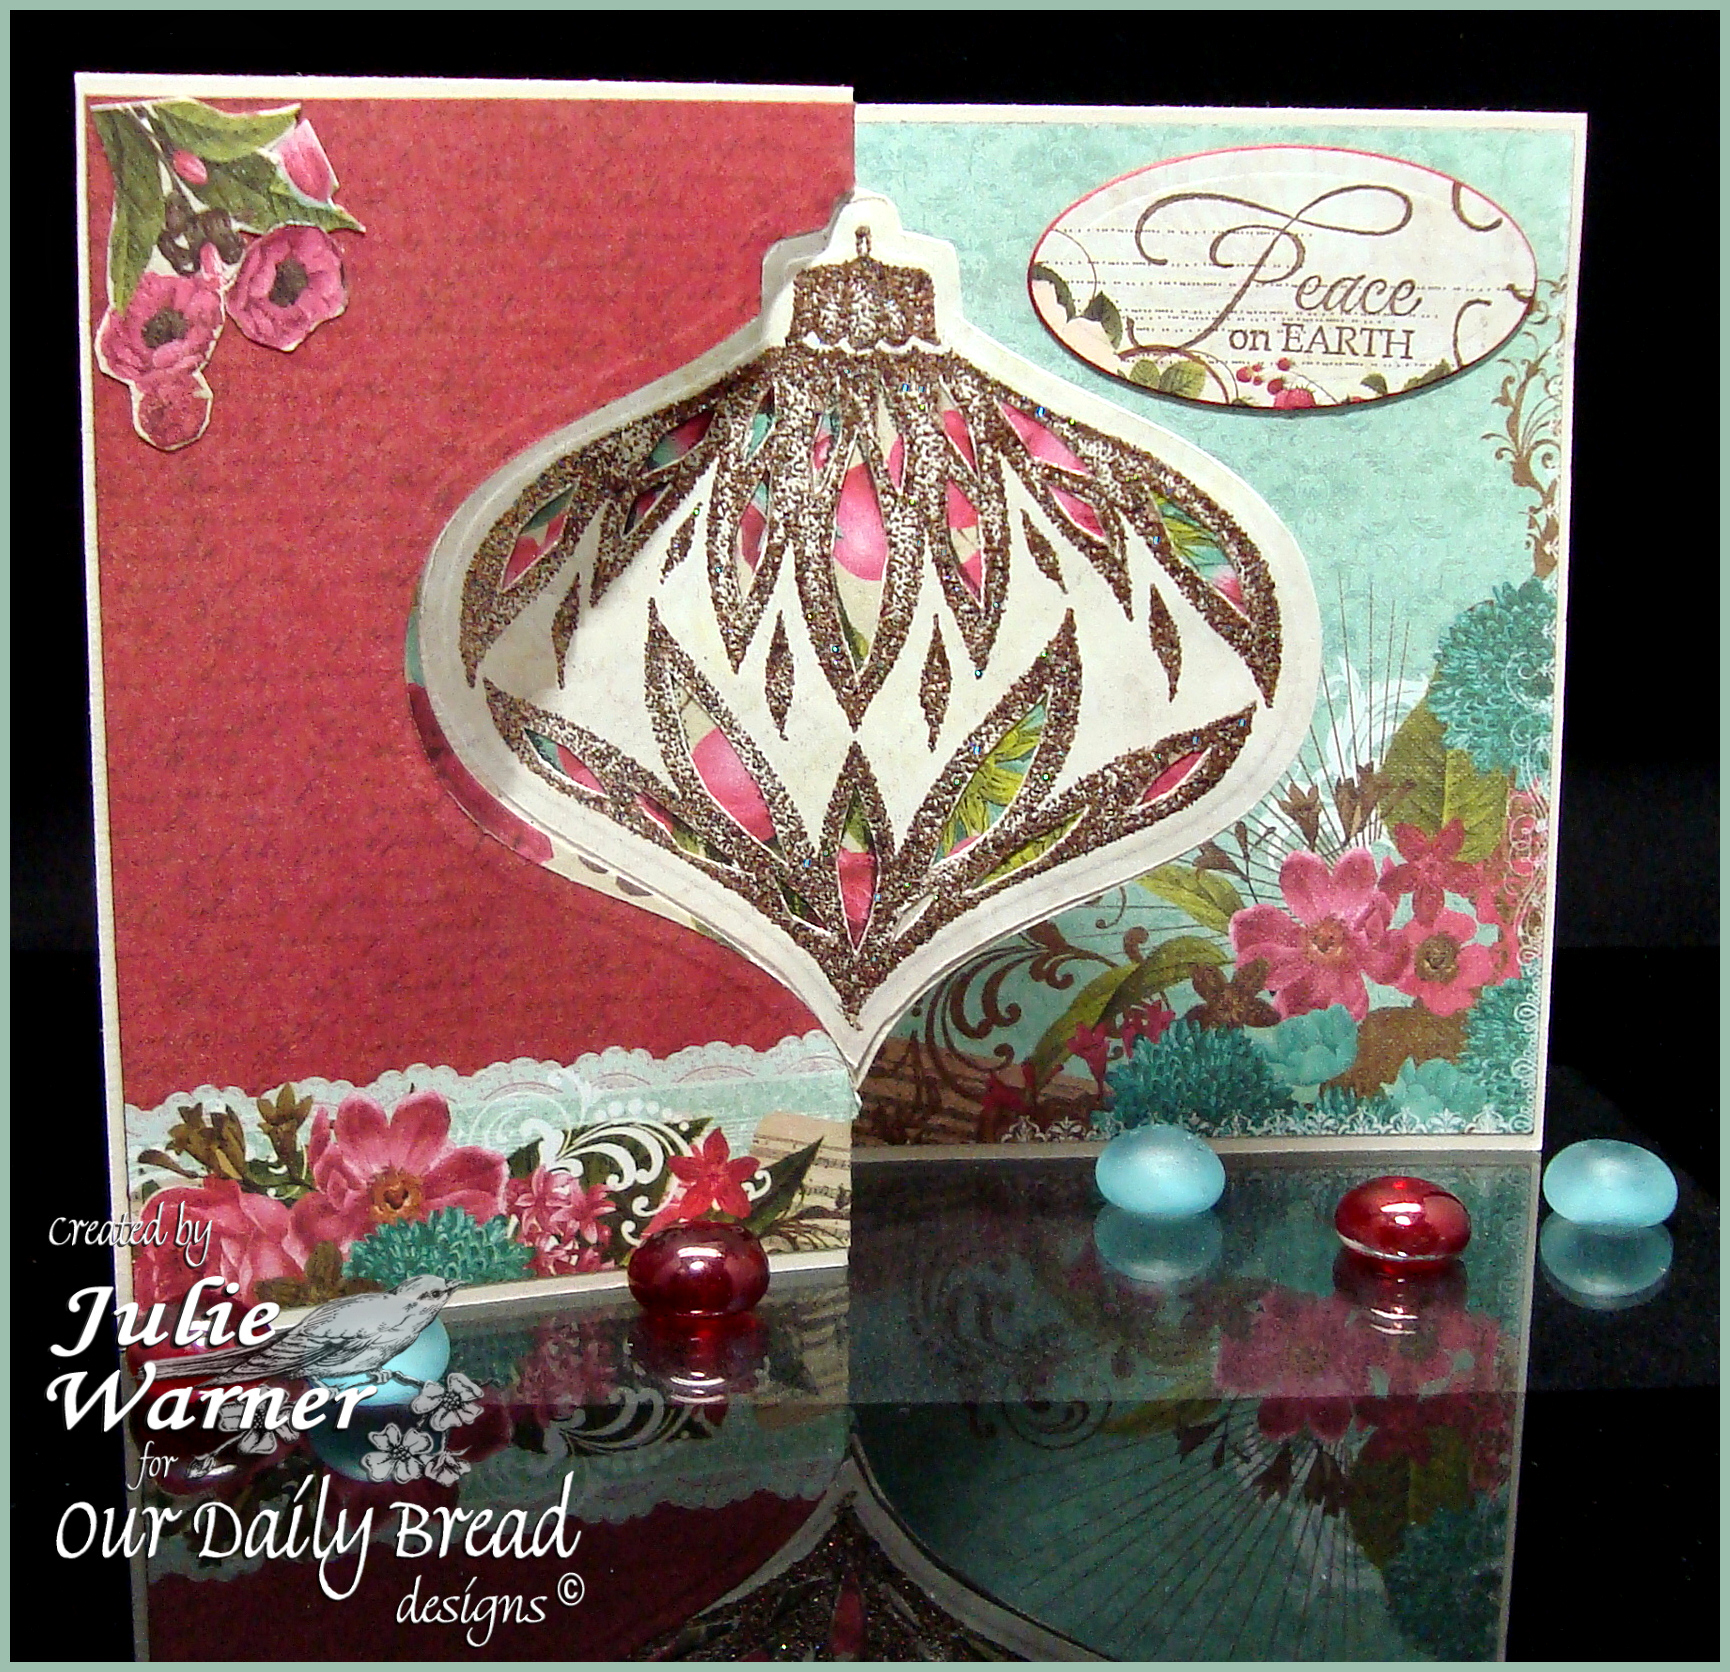
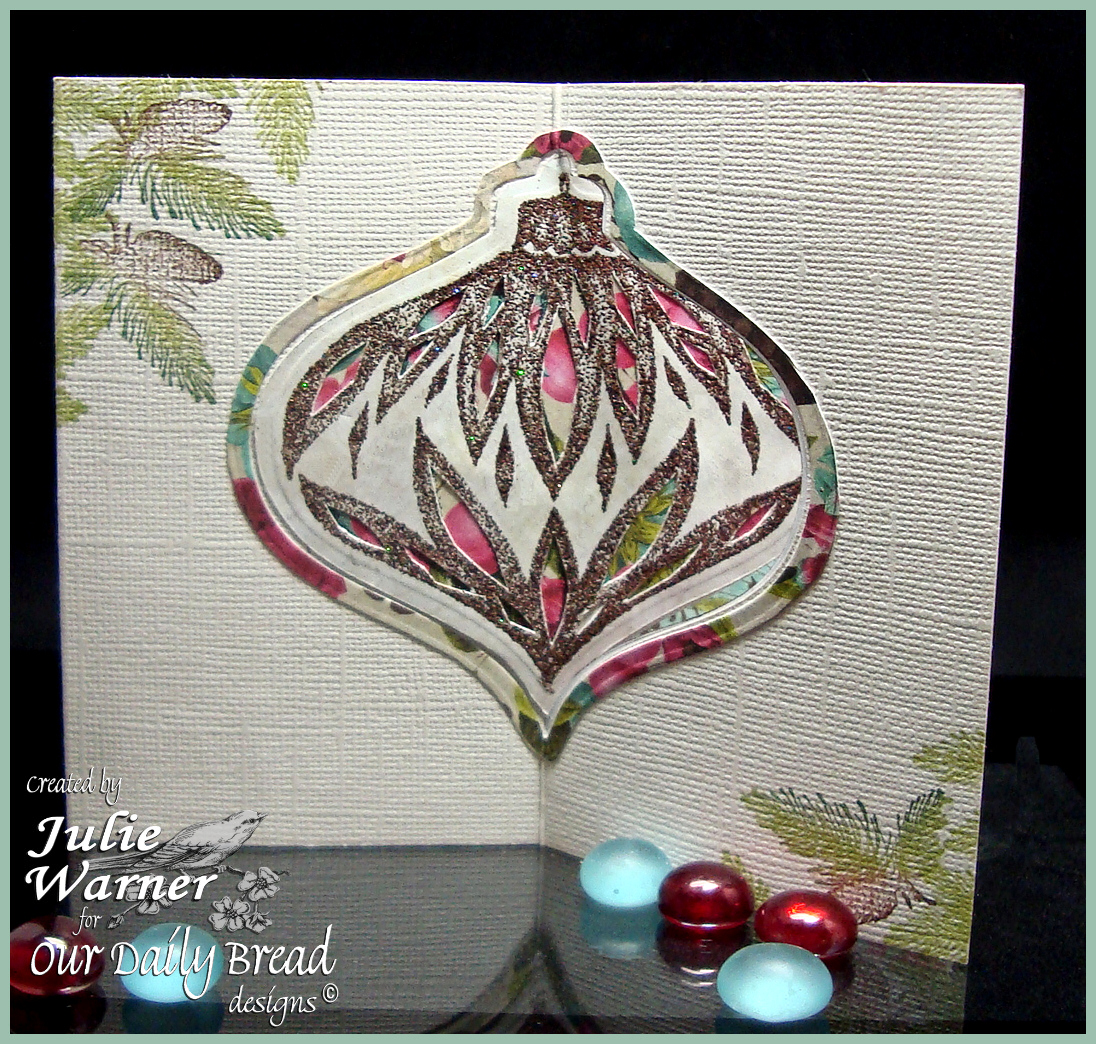
    For my card, I made a Swinging Z-Fold  card. There is a tutorial for this HERE. My card started as a 4.5 x 12 piece of vanilla Bazzill. I made the main card fold 6 1/8 inches from the right side and the Z fold 2 7/8 inches from the left side.  I added a red piece of dp to the left and a turquoise piece on the right. Per the tutorial, I opened the fold and die cut half of the ornament thru the left front. For the ornament itself, on coordinating dp, I stamped and embossed the ornament image then die cut using the new Spellbinders 2011 Heirloom Ornament die. With a craft knife, I cut out little openings inside the embossing.  I stamped another ornament on a patterned piece of the dp and placed the patterned ornament behind the embossed one and attached it on top of the half ornament cut in the card.

    Though technically the top pic is the front, if you unfold the left, it looks a little plain. So to dress it up a little, I attached a frame left from die cutting the patterned ornament . I also added a few pine bough images in a couple of the corners.
    Julie Warner - justwritedesigns - https://thewritestuff.justwritedesigns.com

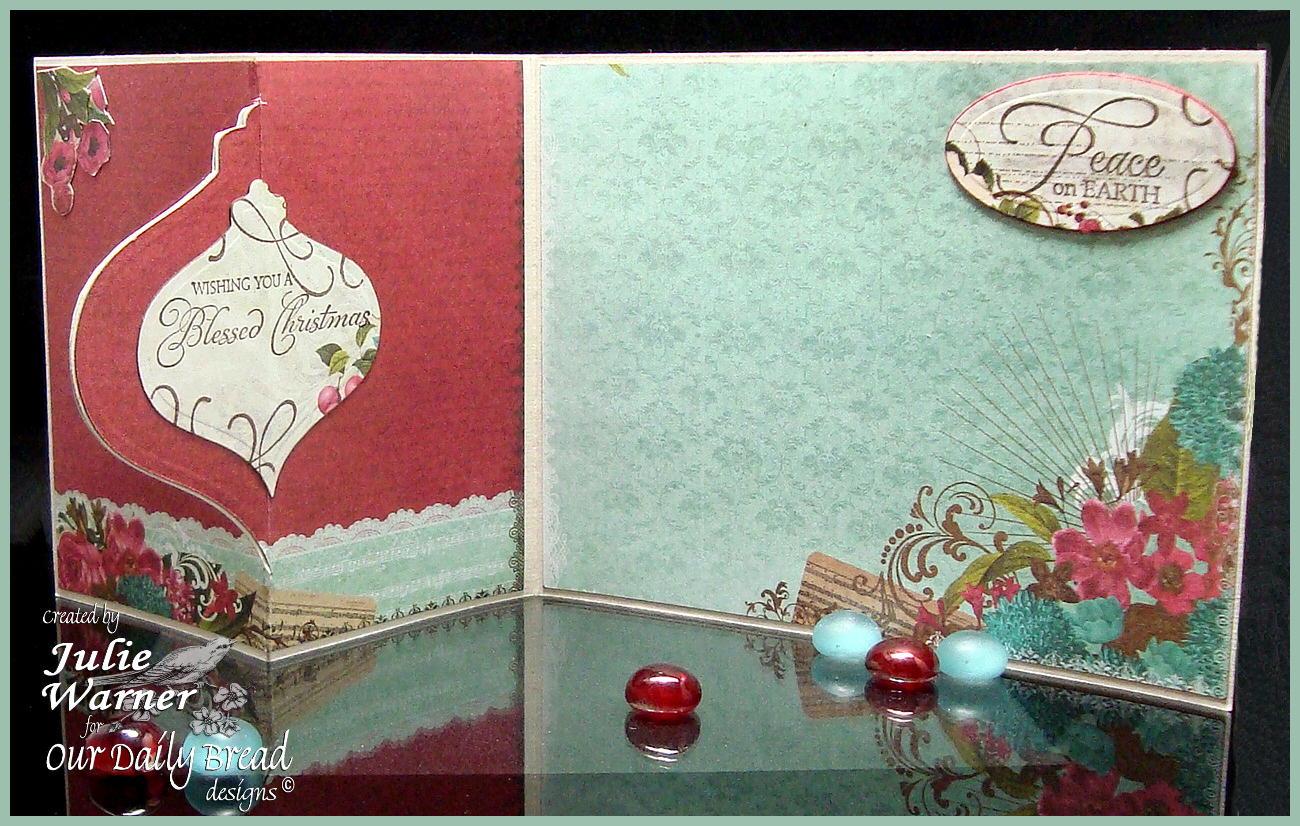
    On the inside, I added a smaller ornament w/ the greeting on the backside of the large ornament.

    Julie Warner - justwritedesigns - https://thewritestuff.justwritedesigns.com

    Thanks so much for stopping by! Now I’ll send you on to Sabrina’s wonderful blog!


    Supplies:

    Stamps: ODBD – Ornaments 2, Mistletoe Tag, Sing for Joy
    Paper: Bazzill vanilla, dp (all from Prima – Madeline collection)
    Ink: Ancient Page chocolate, Encore Ultimate Metallic bronze
    Accessories: chocolate sparkle embossing powder, Spellbinders 2011 Heirloom ornament & petite oval dies, Tombow markers (for inking the pine bough image)