
Welcome to the North Coast Creations January Release! We have some fun, Fun, FUN new images & dies for you this month & you’ll want them all! Space & aliens are so hot right now & these are just too cute for words, so sit & take a look.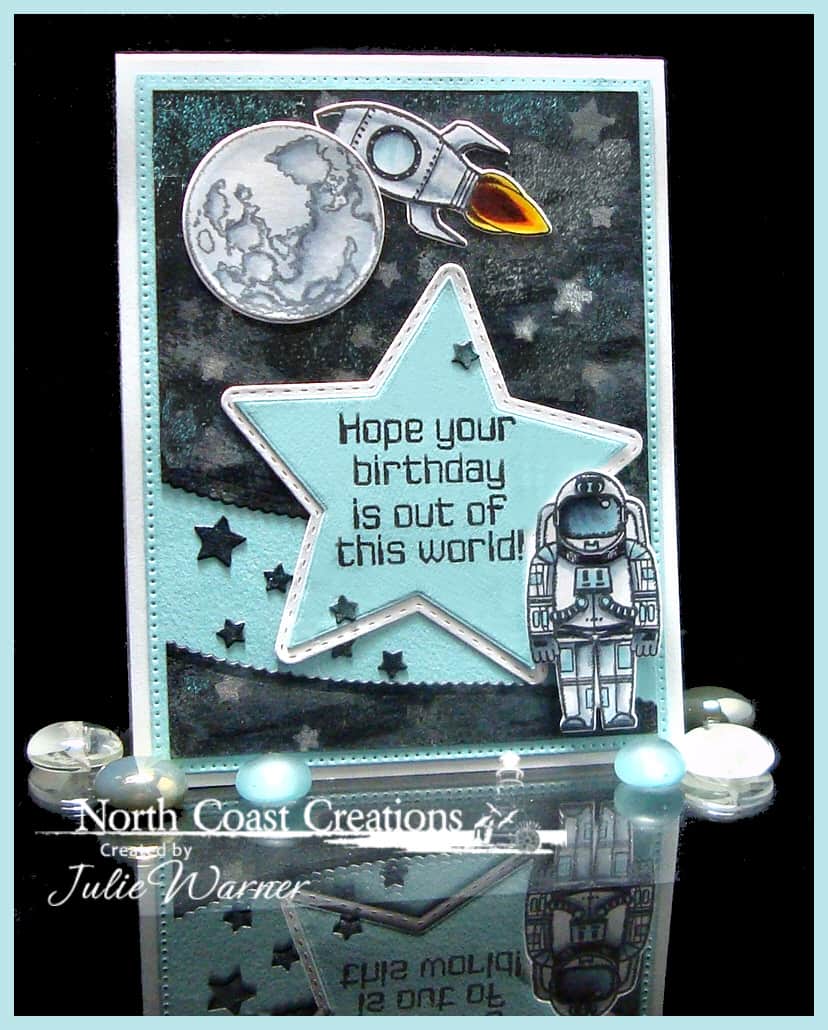
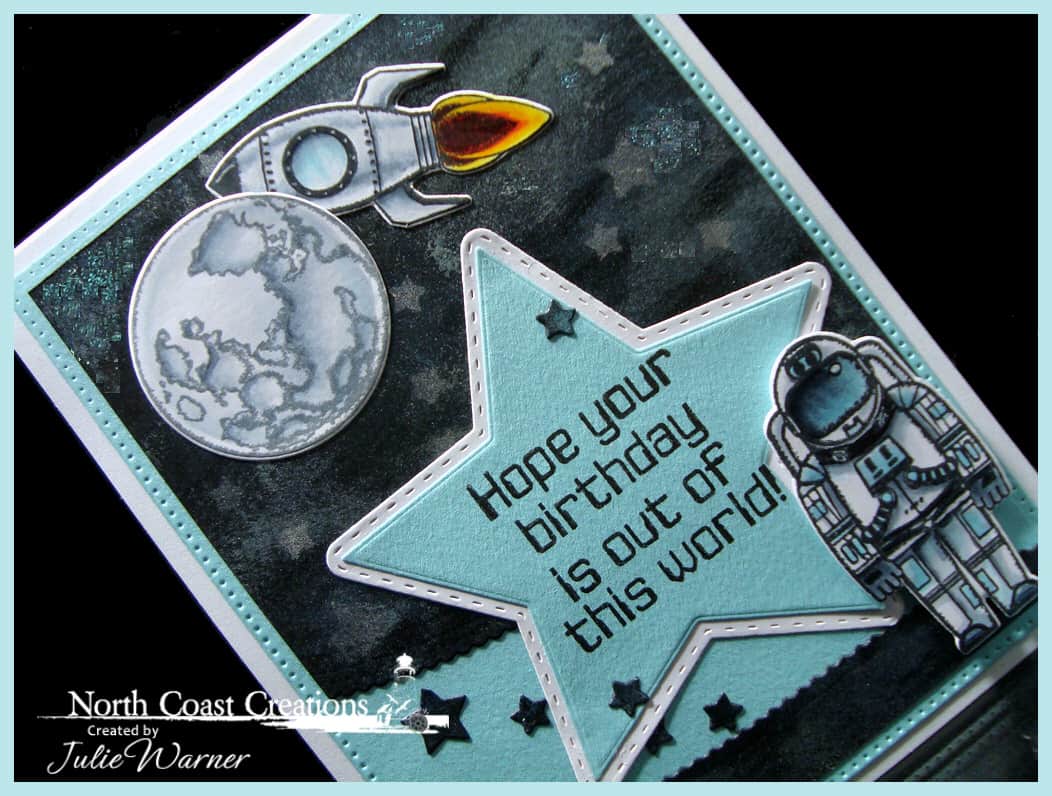
On my space card, I wanted a shimmery, deep space look to highlight the white of the moon, spaceship & astronaut. I used to live in Houston, TX which happens to be Space City & if you’re ever there, be sure to check out the NASA Space Center…it’s amazing! Anyway, for my background, I started w/ black & since I wanted it shimmery, I dug out some long neglected Opalite inks & a stippling brush & added the Milky Way looking areas. I used the Sparkling Stars dies to cut a reverse mask then sponged the stars onto the area w/ the platinum ink.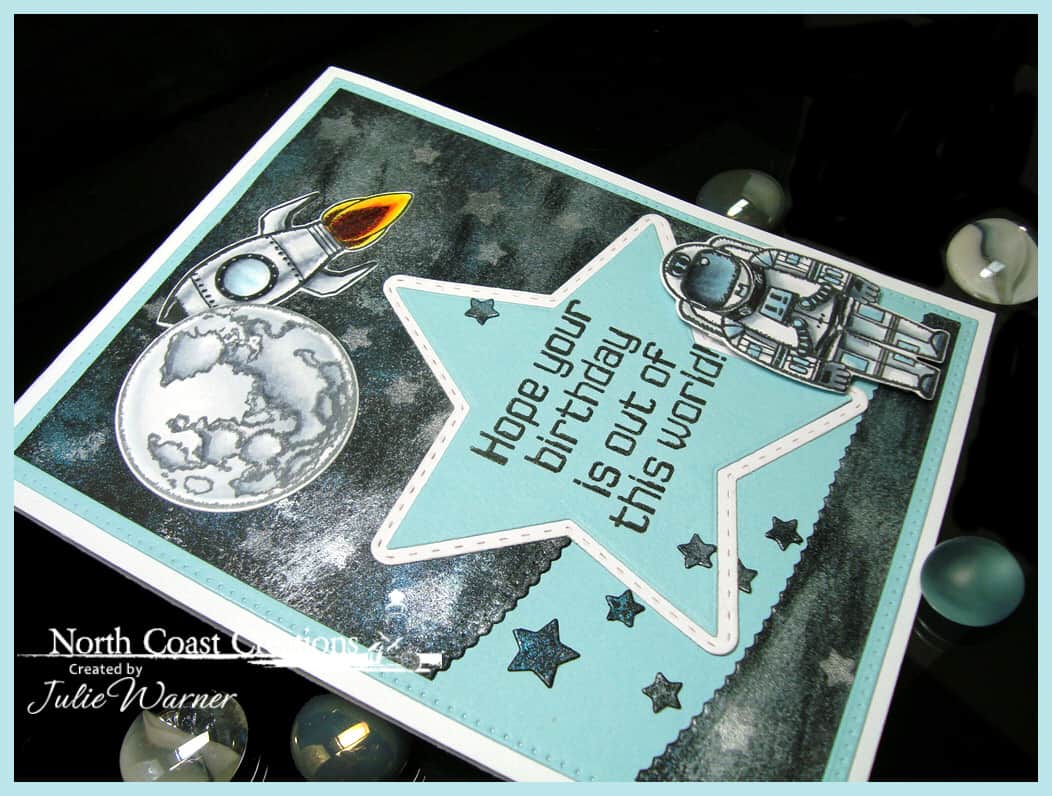
Then I die cut the black panel w/ the Leafy Edged Borders & added the die cut moon, ship & astronaut images w/ the matching dies. The greeting was stamped onto a large Star & I also added some shimmery black stars in the blue band. The blue c/s has a kind of light, felty texture look to it.
Here’s a look at the inside & below it are the Copics I used.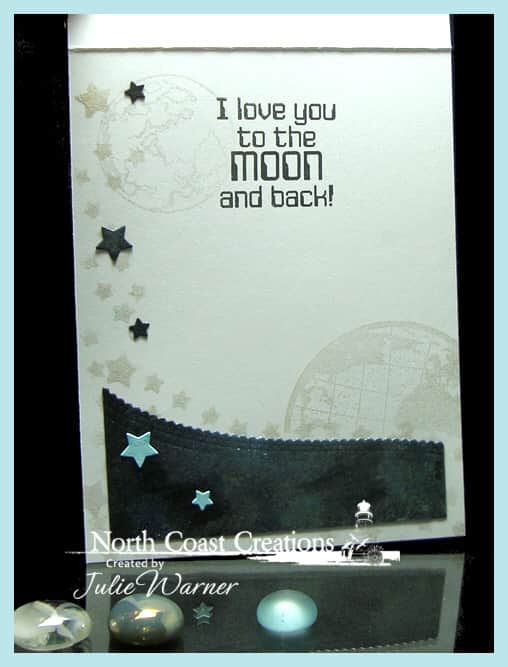
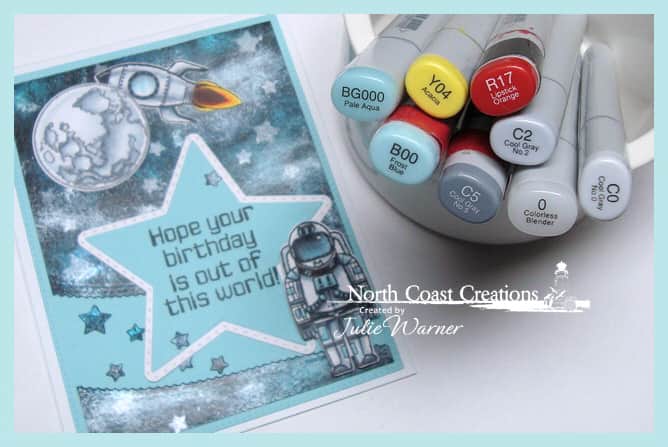
Supplies:
| Stamps: North Coast Creations – Rocket Man |
| Paper: X-Press It white, Staples 110# white, black, lt felted blue (Paper Cut) |
| Ink: Memento tuxedo black, Brilliance platinum planet, Opalite inks Nordic Ice & Glacier blue |
| Accessories: NCC Space Man dies, ODBD Pierced Rectangles, Leafy Edged Borders, Double Stitched Stars, Sparkling Stars dies, Copic markers, Misti, Spellbinders A2 matting basics A, stippling tool |
 x6!
x6!
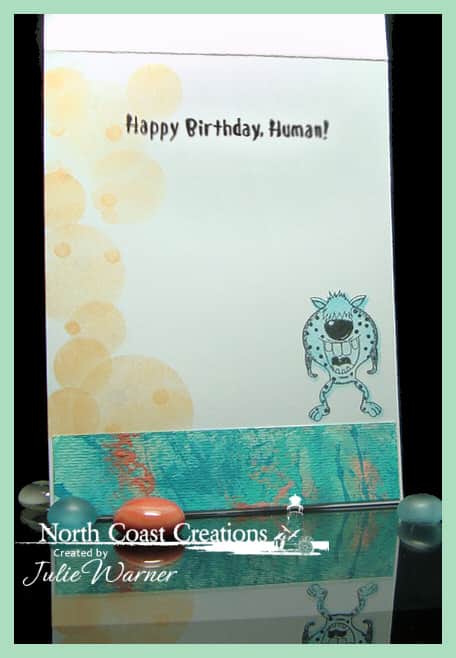
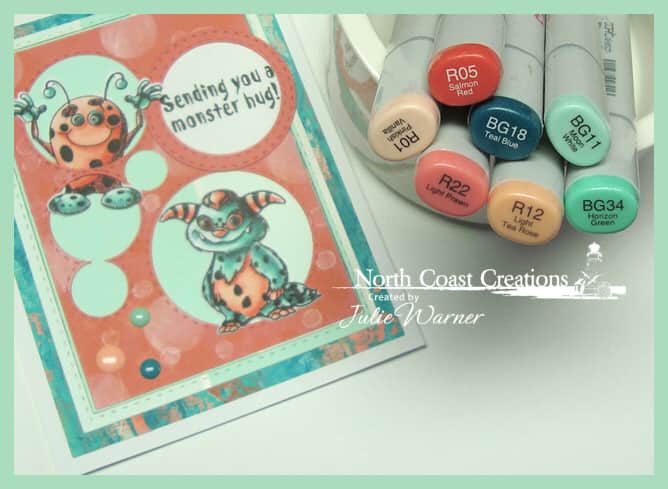
On my second card, I stamped these adorable Little Monsters, colored & die cut w/ the matching dies. I came across this acrylic painted background in my stash (done who knows how long ago) & the colors went perfectly w/ the images. For the coral layer, I used the Circles & Double Stitched Circles to die cut it, then used a mask I made w/ these same dies to sponge some white & marigold inks onto it. When I placed it over the bg & put the monsters inside, there was a little too much going on so I found a shades of mint paint chip, die cut it w/ the Double Stitched Rectangles & placed it behind the coral layer. Much better! The greeting was added on a white circle w/ one of the leftover coral stitched circles around it.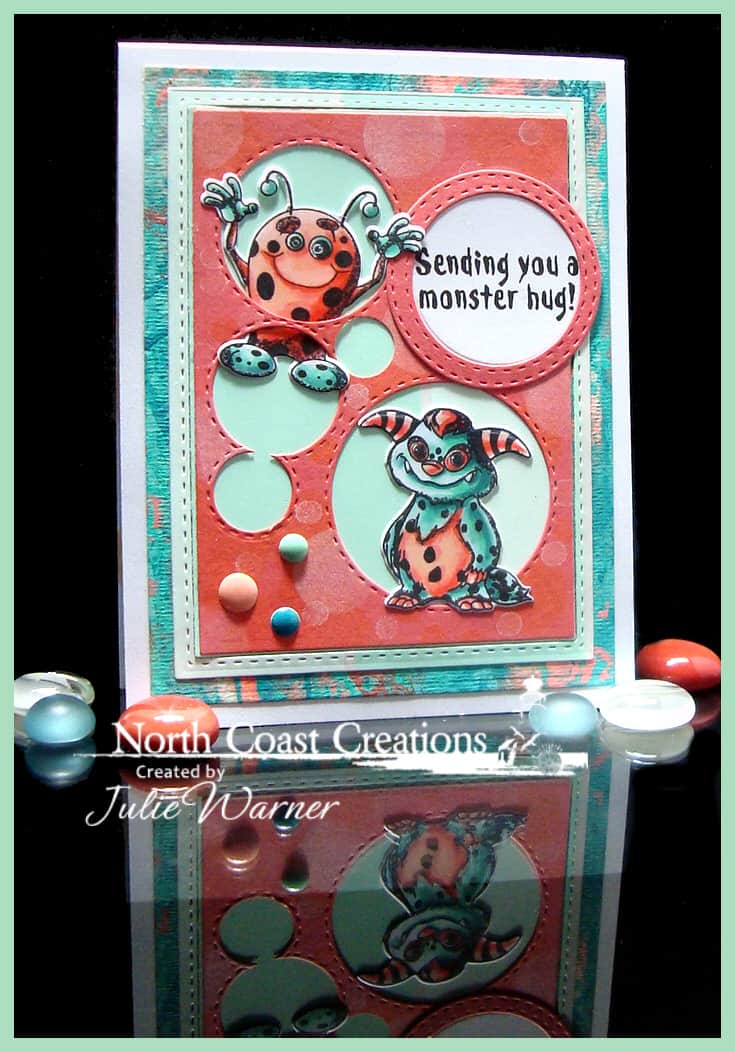
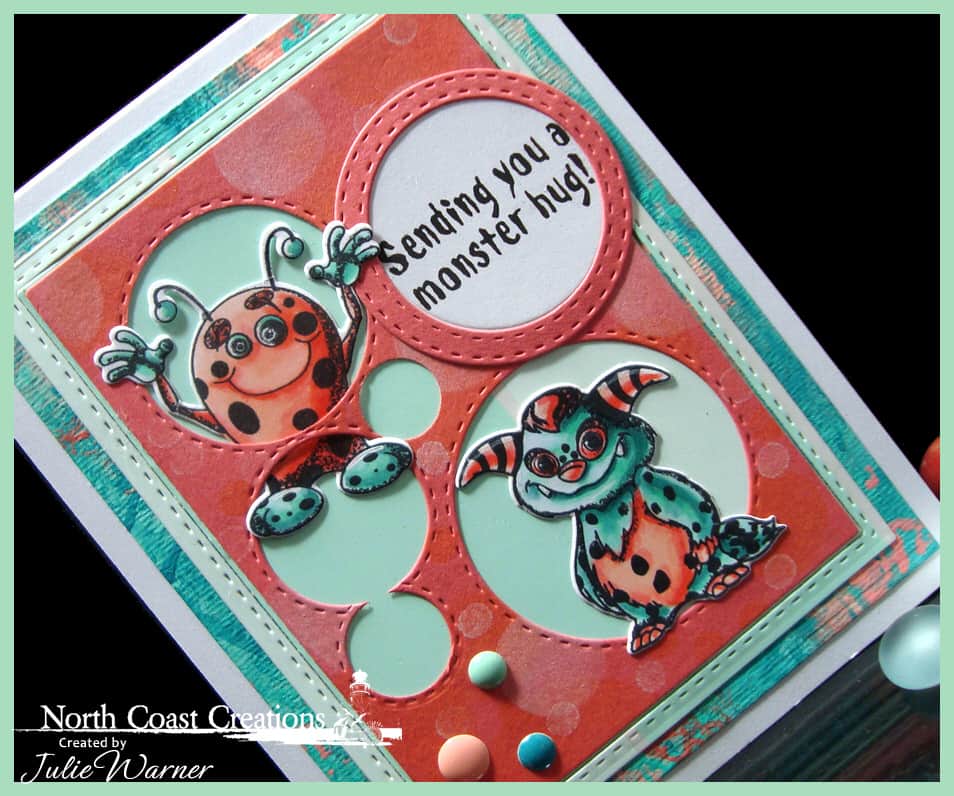
Below, is a look at the inside & under it are the Copics I used. For the monster, I used the reverse mask of the monster as a stencil, added the color then stamped the image on top. More sponged circles were added down the left side.
Supplies:
| Stamps: North Coast Creations – Little Monsters |
| Paper: X-Press It white, Staples 110# white, varied mint paint chip, coral, watercolor paper |
| Ink: Memento tuxedo black, Colorbox frost white pigment, Distress ink dried marigold |
| Accessories: NCC Monster dies, ODBD Double Stitched Rectangles, Rectangles, Circles, Double Stitched Circles dies, Copic markers, Misti, Spellbinders A2 matting basics A, acrylic paint, enamel dots |
Be sure to visit all of the DT blogs…I can’t wait to see how they used these cuties!
Dawn * Sandee * Robin * Julie * Lori
Thanks so much for stopping by!


