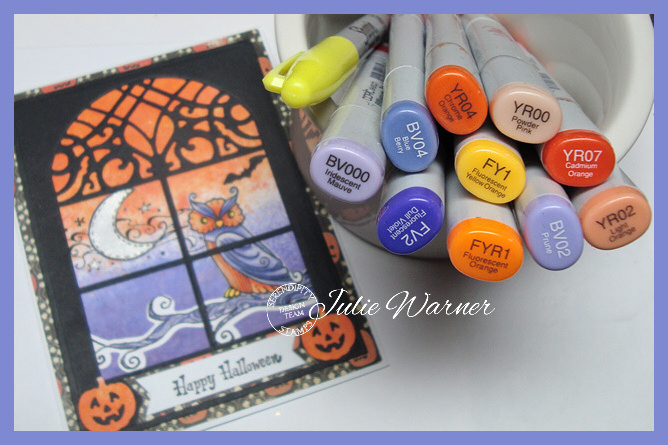
• Tag Archives Halloween
  • Starry Halloween

    Starry Halloween cu 04887
    A big congrats to Annette, the newest Featured Stamper (FS403) on Splitcoast! She has such a fun, fab gallery and I chose THIS card to case. I really liked the starry background w/ the greeting stamped all around it & the cute little images at the bottom so I kept those. I used different images, different colors and made mine a Halloween card since I needed one more.
    Starry Halloween 04885
    On a black square, I white embossed the starry bg image then die cut a white frame to go on top. The two greetings were stamped around the frame and the little Count Porkula & two jack o’ lanterns were colored & fussy cut. I also added a cut out moon w/ bat and a punched bat fence on top of the starry bg. The finished card is 4.25 x 5.50 and these are the Copics I used.
    Starry Halloween copics 04884
    Congrats again, Annette! Thanks so much for stopping by! If you haven’t, be sure to check out the DRS Thursday Challenge. This week…So Thankful. Create a thanks, Thanksgiving, Give Thanks card. DRS images are not required so head on over and link up!
    Julie2 sig
    Supplies:

    Stamps: DRS Designs-  Count Porkula, Small Bat & Moon, Peculiar Pumpkin Patch, Starry Background, Vertical Halloween, Smell my Feet Greeting (1st line only)
    Paper: white, black
    Ink: Memento tuxedo black, Colorbox frost white pigment
    Accessories: Copic markers, white embossing powder, Spellbinders A2 matting basics A & square dies, bat fence punch (Martha Stewart)


  • Serendipity Stamps SSCC #36 pt 2 Autumn/Fall

    Halloween Pumpkins cu 04807
    Welcome to the October Challenge for Serendipity Stamps! This month the challenge is appropriately…Fall/Autumn! You can get all the details over on the Serendipity Challenge Blog.  The DT has the added challenge of making a Halloween card. And as always, we have a  have a gift certificate up for grabs to a random player. The sale this week is Buy 3, Get the 4th Free …  good through Oct 22nd.
    SS Button_design team_res
    Halloween Pumpkins 04810
    For my fun little Halloween card, I used the really cute Pumpkins on a Fence image and colored it with Copics. I used a cloud stencil I made with acetate & scallop scissors and sponged on light clouds using antique linen ink. After die cutting, I added a frame from designer paper that just happened to be the exact right fit. There’s actually a faint pattern in it but it’s a bit hard to see. I framed it with some orange paper from the same collection and since I really liked the swirl pattern, I cut around part of it at the bottom and slid the image panel under it. Originally, I was going to add a bigger greeting in the upper left, but it just didn’t work, so I die cut the big pumpkin out of printed halloween paper and backed it with a black print. A few sequins, a Candi dot to anchor the little greeting and a big glass beaded button in the upper left finished it. 

    The finished card is 5.50 x 4.25 and these are the Copics I used.


    Halloween Pumpkins copics 04782
    On the inside, I  used a piece I cut out behind the black frame on the front and stamped the greeting I started to use on the front. 

    Halloween Pumpkins inside04811
    Thanks so much for stopping by! Please be sure to visit all of the DT for some fabulous inspiration for your Halloween cards! 

     Special Guest Designer: Julia Stainton

    Julie2 sig
    Supplies:

    Stamps: Serendipity Stamps – Pumpkins on a Fence 1249G, Happy Halloween small 659B, Have a Wicked Good Day 1228D
    Paper: X-Press It white, designer paper (Recollections & Making Memories)
    Ink: Memento tuxedo black, Distress ink antique linen
    Accessories: Serendipity Pumpkin die 009LD, Spellbinders A2 matting basics A & B dies, black sequins, black shimmer Candi dot, black glass beaded button

  • Halloween Pair

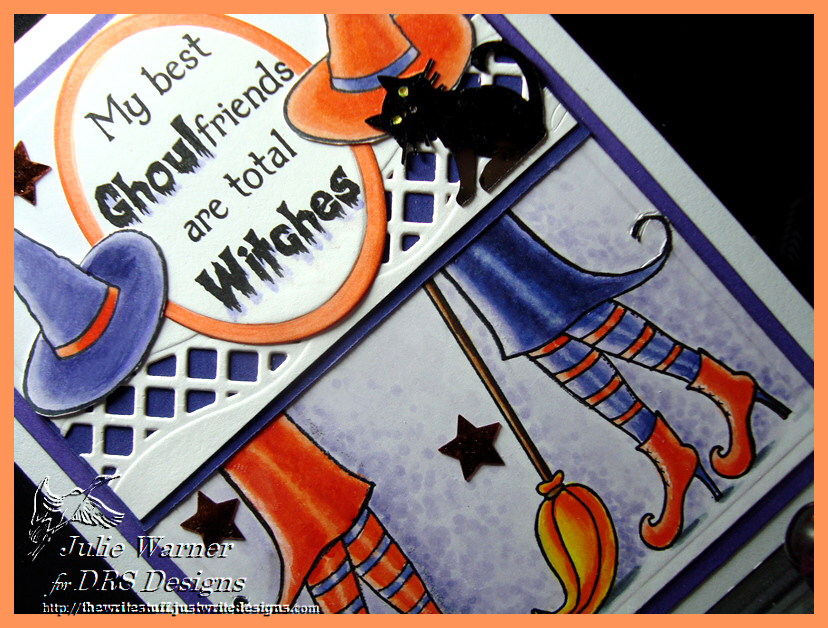
    Witchy Halloween 04394
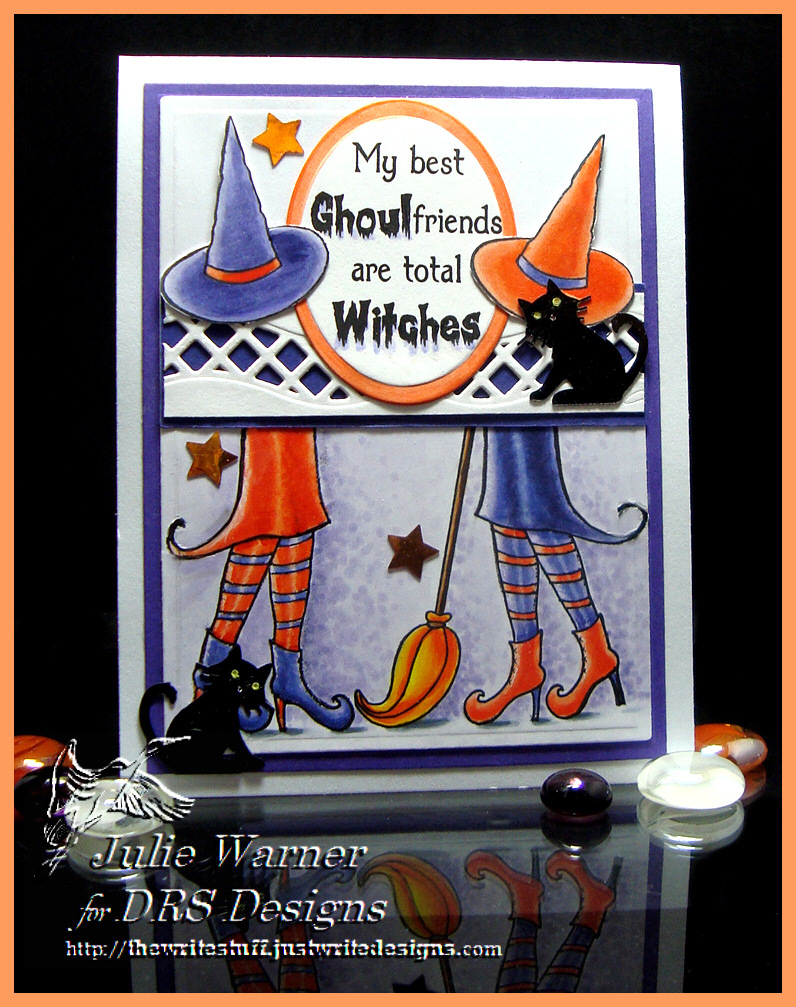
    Today’s Ways to Use It Challenge (WT500), has us caseing our own first uploads to our Splitcoast galleries. Yikes! Since that’s a scary proposition, I went with 2 Halloween cards I uploaded my first week as a member on Splitcoast. For this card, I cased THIS one of mine (below). 

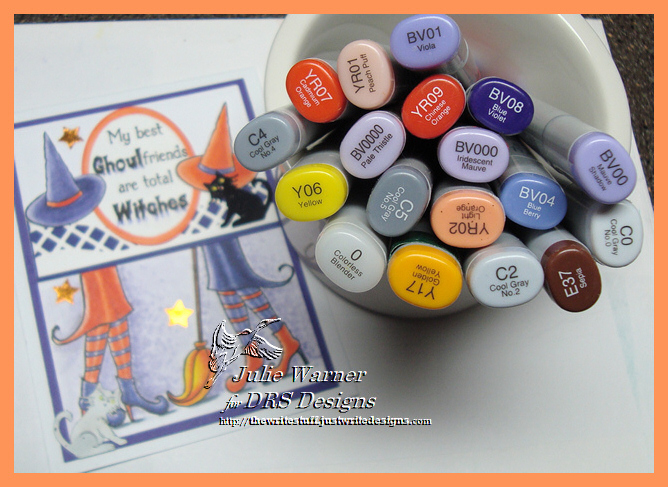
    witch_shoesFor new card, I used a piece of glitter sticker back c/s for the upper section. It was silver but I used an orange Copic to color it then a curved border die to cut it.The little cat in the moon was also stamped on some of the glitter c/s & colored before fussy cutting. The witch legs were colored w/ Copics and I added some stickles to the purple stripes of her stockings. A few sequins were sprinkled around for more glitz. The finished card is 5.50 x 4.25 & these are the Copics I used.
    Witchy Halloween copics 04370
    Spooky Jackolanterns 04589
    On my second card, I cased THIS card from the very next day (below) which was appropriately, from the very first WT Challenge I did! 

    WT111 Fright NightFor my new card, I have no clue as to why I thought it would be a good idea to split the pumpkins image in two. After I did that, I spent probably an hour trying to figure out how to arrange them. 2 of something in most cases doesn’t look as pleasing as 3 of something. So I have a tiny little greeting underneath (no room for anything larger). 
    Spooky Jackolanterns cu04587
    After coloring & die cutting the pumpkins, I matted them on larger black squares and added a stacked die cut button to sort of “join” them. I had this fun orange/black polka dot ribbon but the orange was too light so I took a darker orange Copic and colored over the dots. The finished card is 5.50 x 4.25 and these are the Copics I used.
    Spooky Jackolanterns copics 04581
    Well, that’s my updated cases of my early uploads. I don’t think I can take any more embarrassment today after looking at my first uploads, lol.

    Thanks so much for stopping by!  If you haven’t, please head on over and check out the DRS Thursday Challenge…this week, Food (include an image, die cut, punch of something you can eat). DRS images are not required so be sure to link up your creation.
    Julie2 sig

    Stamps: DRS Designs-  Witch Legs cardWitching You Greeting, Silhouette Cat & Moon, Witch Feet       Jackolantern card – Peculiar Pumpkin Patch, Halloween Brewed by
    Paper: Witch Legs card white, black, silver glitter sticker back c/s   Jackolantern card– white, black, orange
    Ink:    Witch Legs cardStazon black, versafine onyx (for greeting) Jackolantern card– Memento tuxedo black
    Accessories: Witch Legs cardCopic markers, Spellbinders A2 matting basics A & B, curved borders dies,sequins   Jackolantern card- Copic markers, ribbon, Spellbinders squares & scalloped borders 3 dies, word window punch (McGill), button & scallop button dies (Memory Box)Copic markers, stickles, narrow olive ribbon, Spellbinders A2 matting basics A & B, acorn confetti, Micron pen