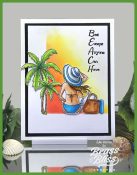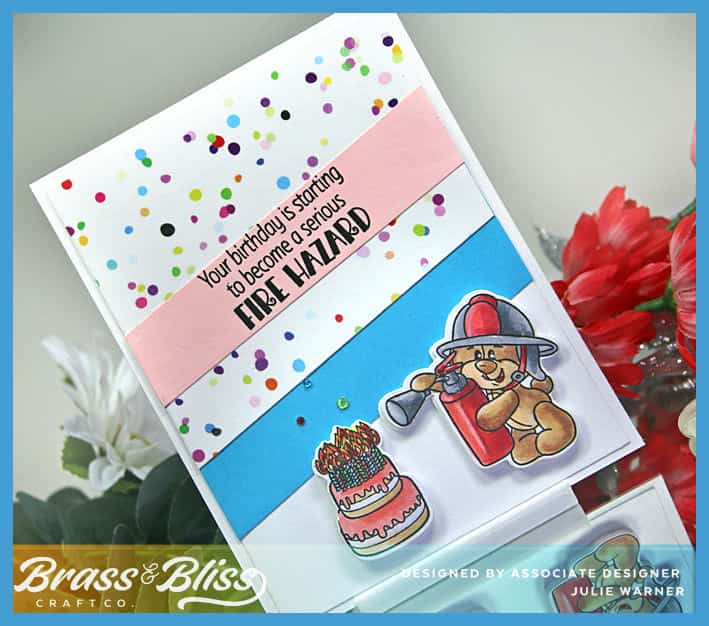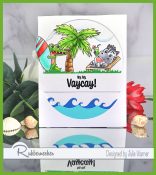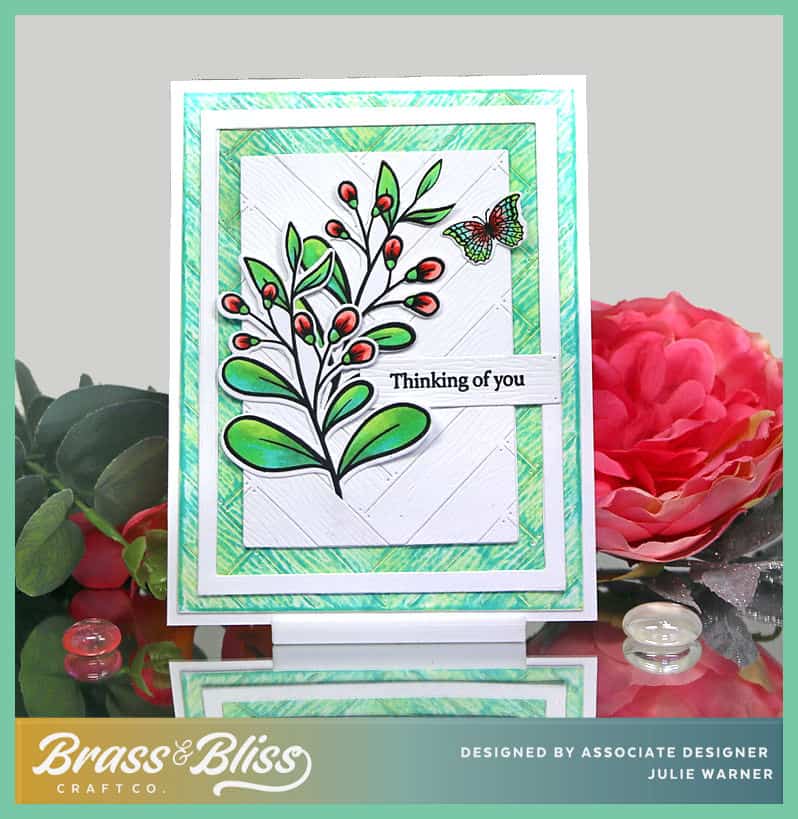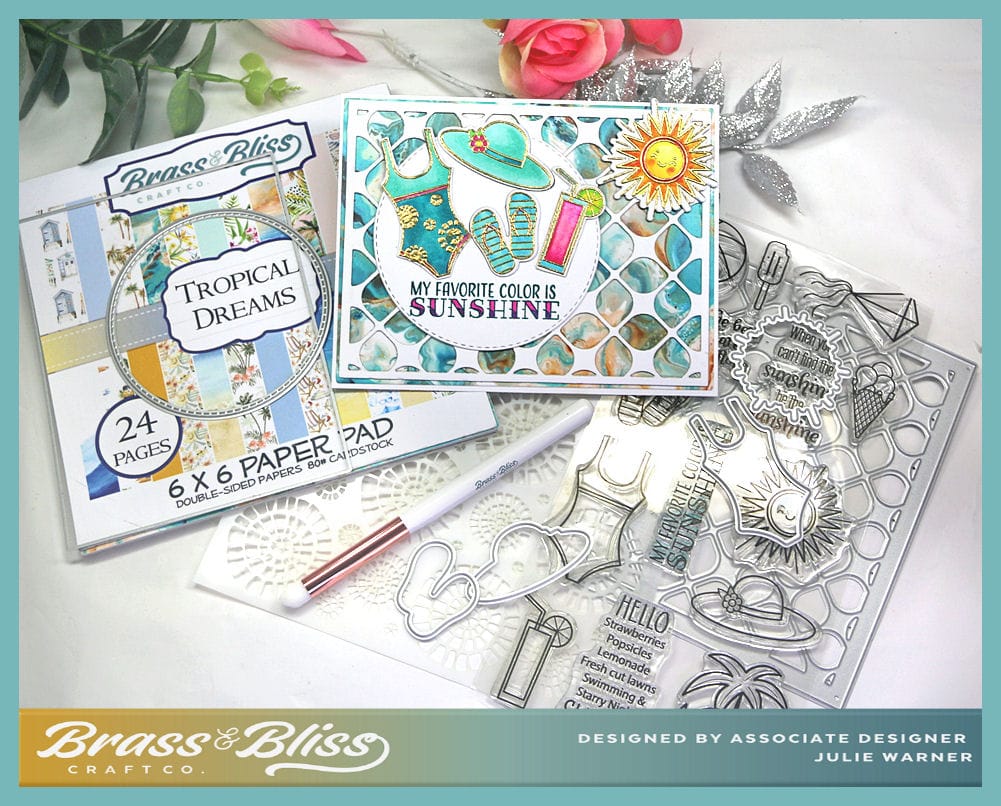
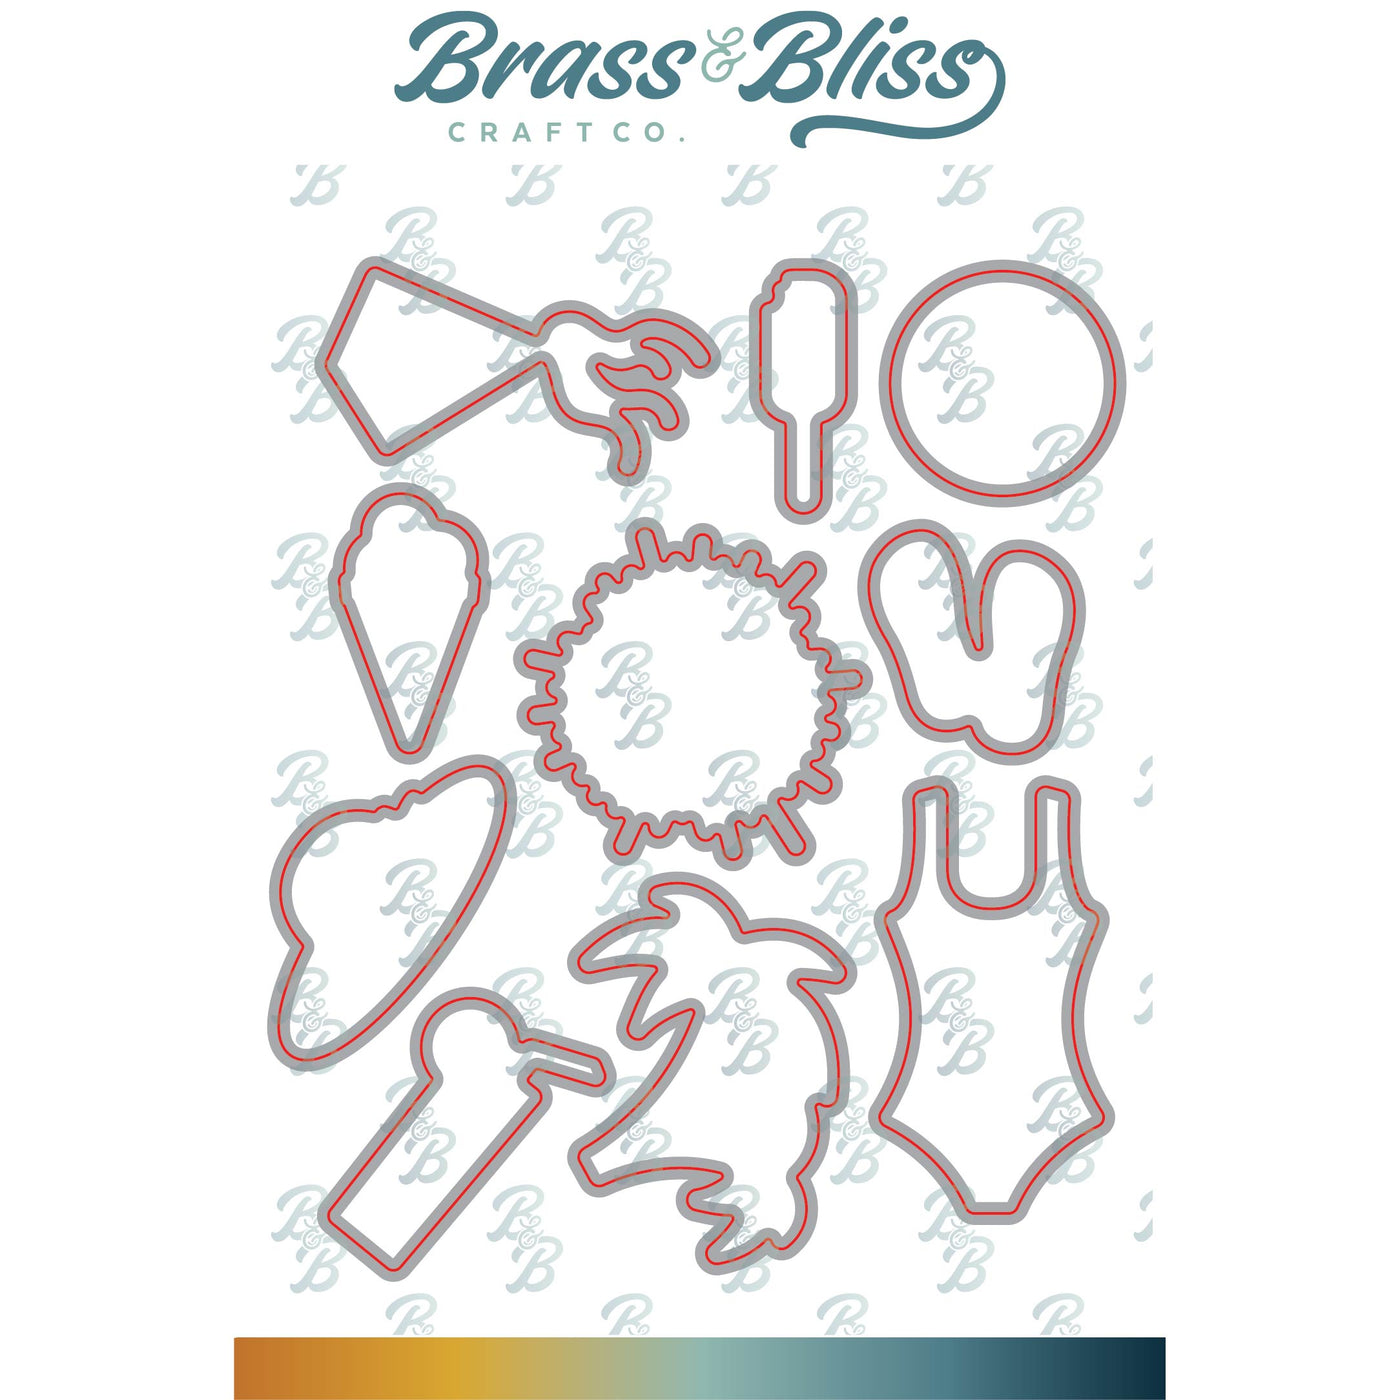
Are you ready for summer? It’s almost here! Swimsuits, beaches, pools, vacations..This is such a fun, summery set & the coordinating dies and beautiful paper make it a snap to put together. A card for a summer birthday or bon voyage or meet you at the beach and don’t forget your swimsuit!
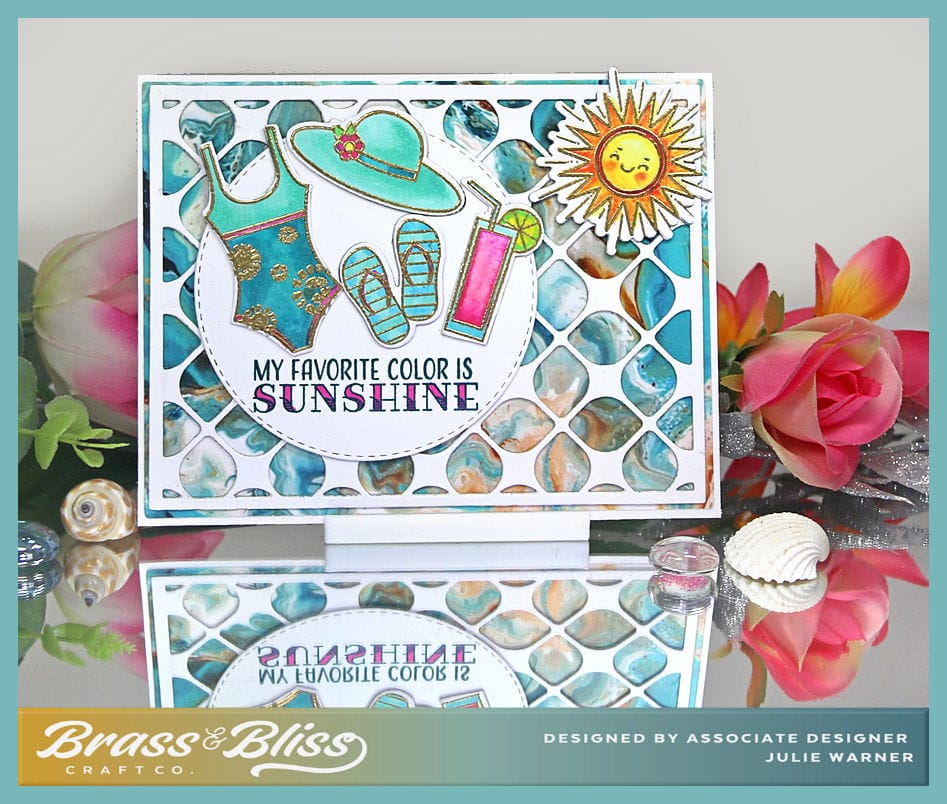
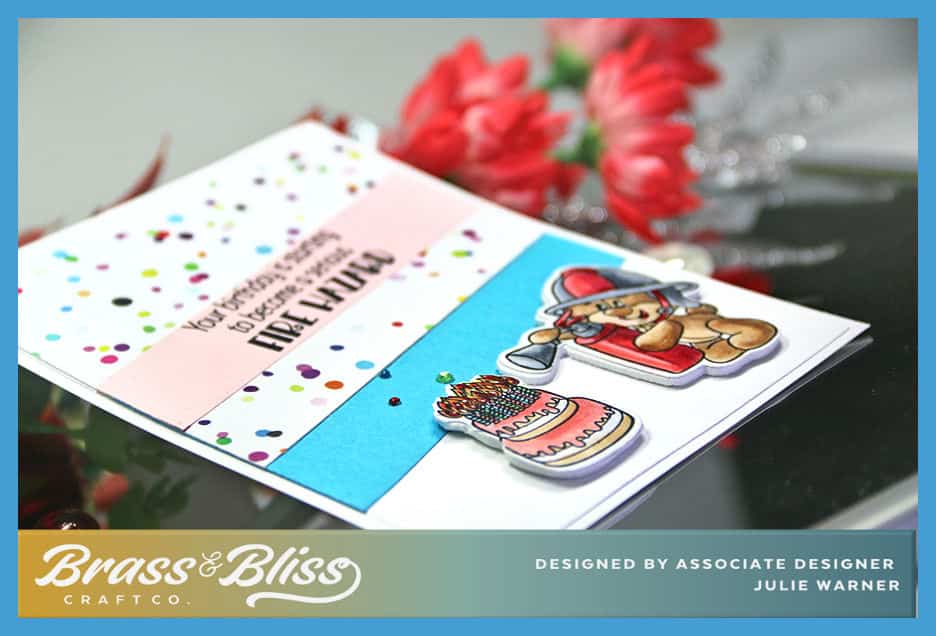
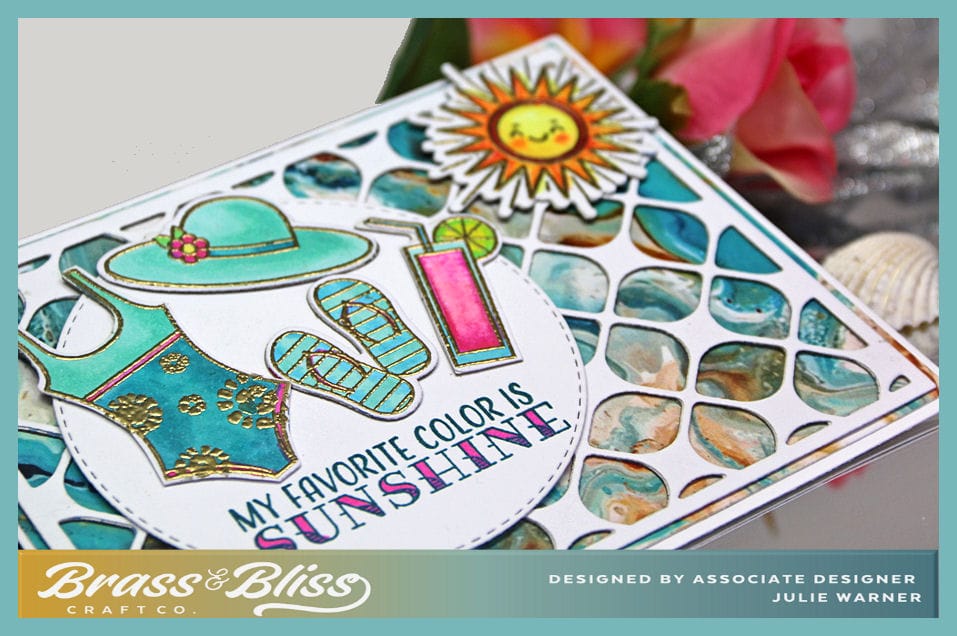
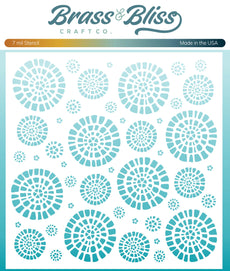
For the Inspiration Challenge, we are visiting Made in B & their Pinterest site where I found THIS wrapping paper that inspired the colors for my card. I had so much fun picking out the paper to go w/ this summer set. Once I had a paper w/ colors similar to my inspiration, I colored the images I wanted to use. Since I also wanted to gold emboss them for that shimmer, I put them in my Misti, stamped them w/ the toffee Memento, colored them, then stamped over them w/ gold ink & embossed w/ gold powder. Copics & embossing powder don’t play well together, so this allows me to work around that problem. I also wanted a little something something on the swimsuit, so I used part of a stencil, the gold ink, & a fine brush then heat embossed that, as well.
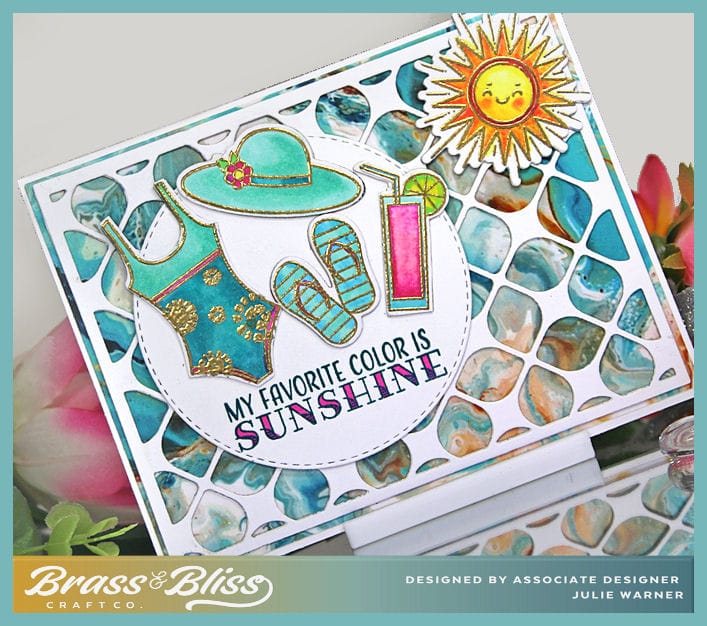
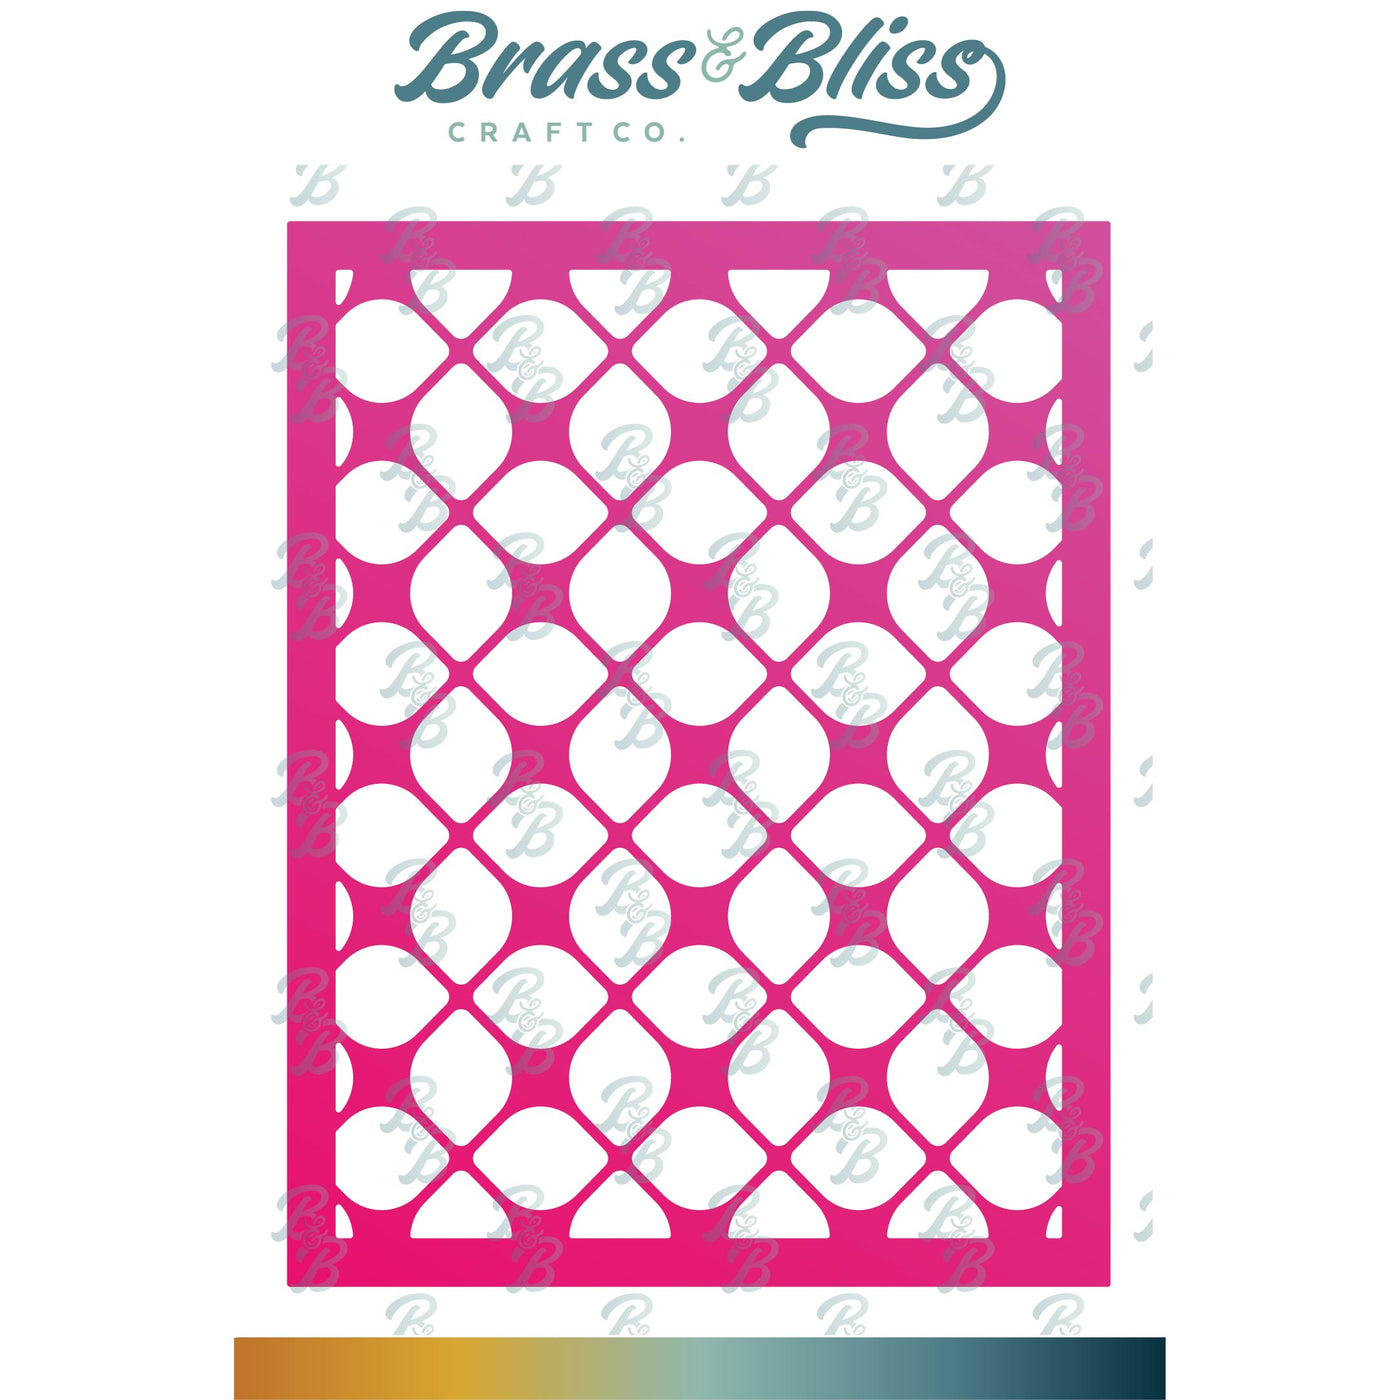
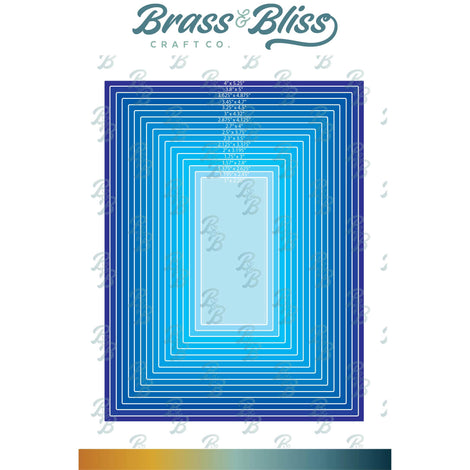
For the greeting, I stamped it w/ teal Memento, colored in the SUNSHINE w/ pink, then stamped over it w/ the Versaclair ink. Again, Copics & Versaclair will ruin your markers, so it pays to go thru the extra step. All of the images & the petal background cover die were popped up for dimension. I also used the largest rectangle die to trim down the size of the Petal Cover in order to let the paper show around the border.
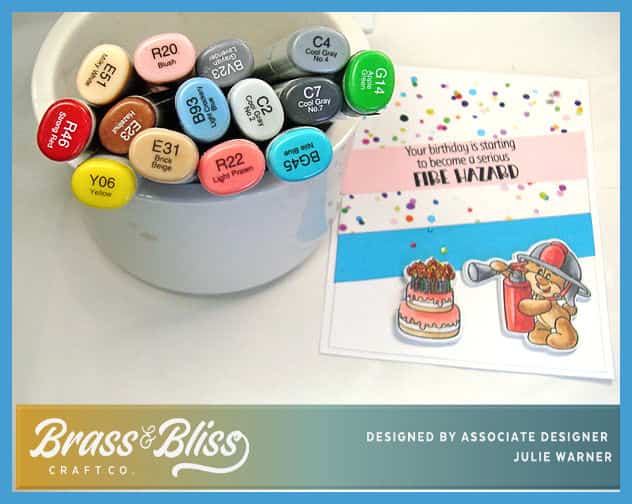
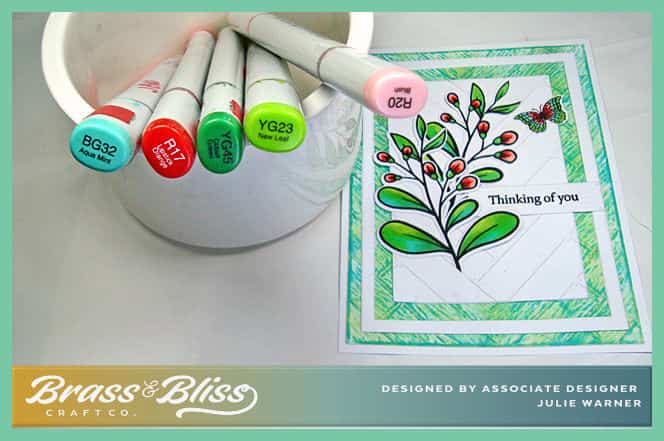
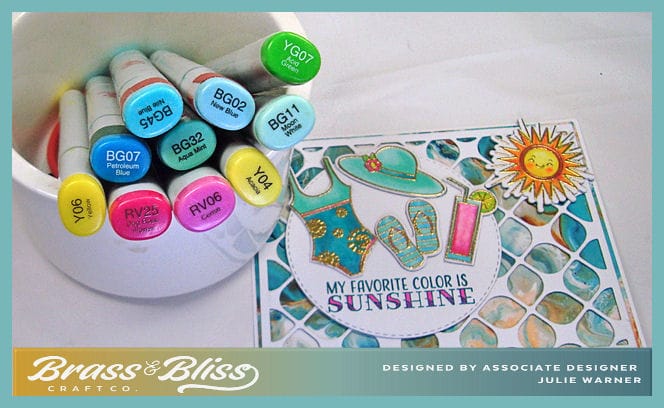
These are the Copics I used:
Thanks so much for stopping by!

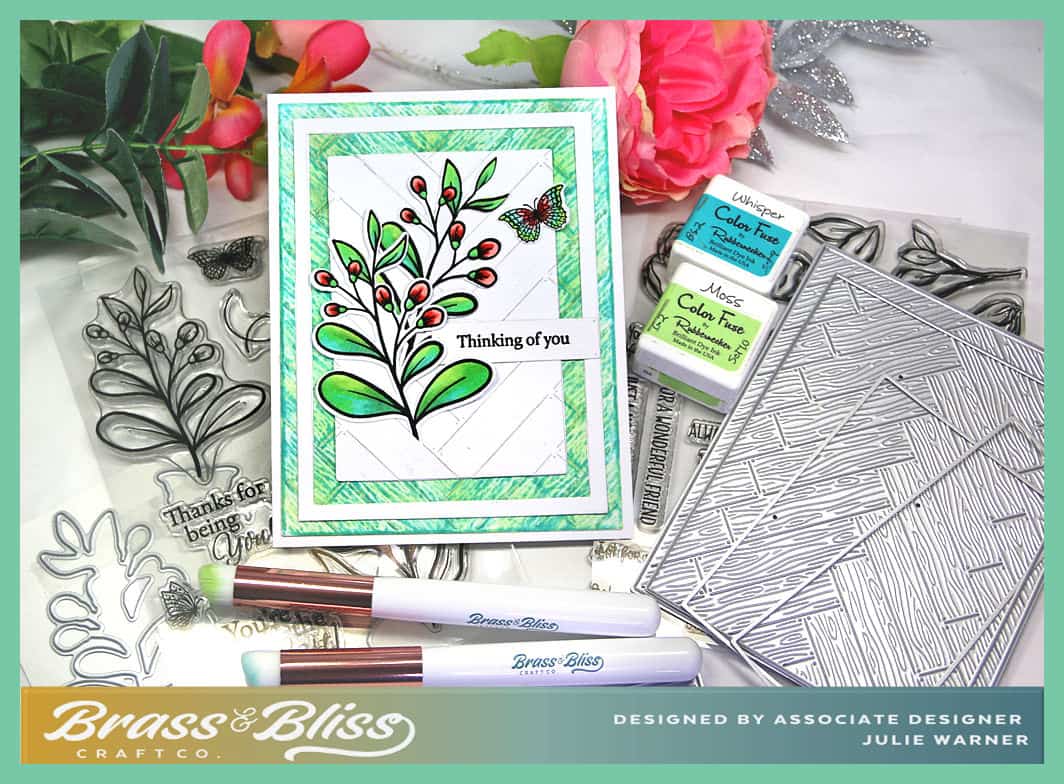
Supplies:
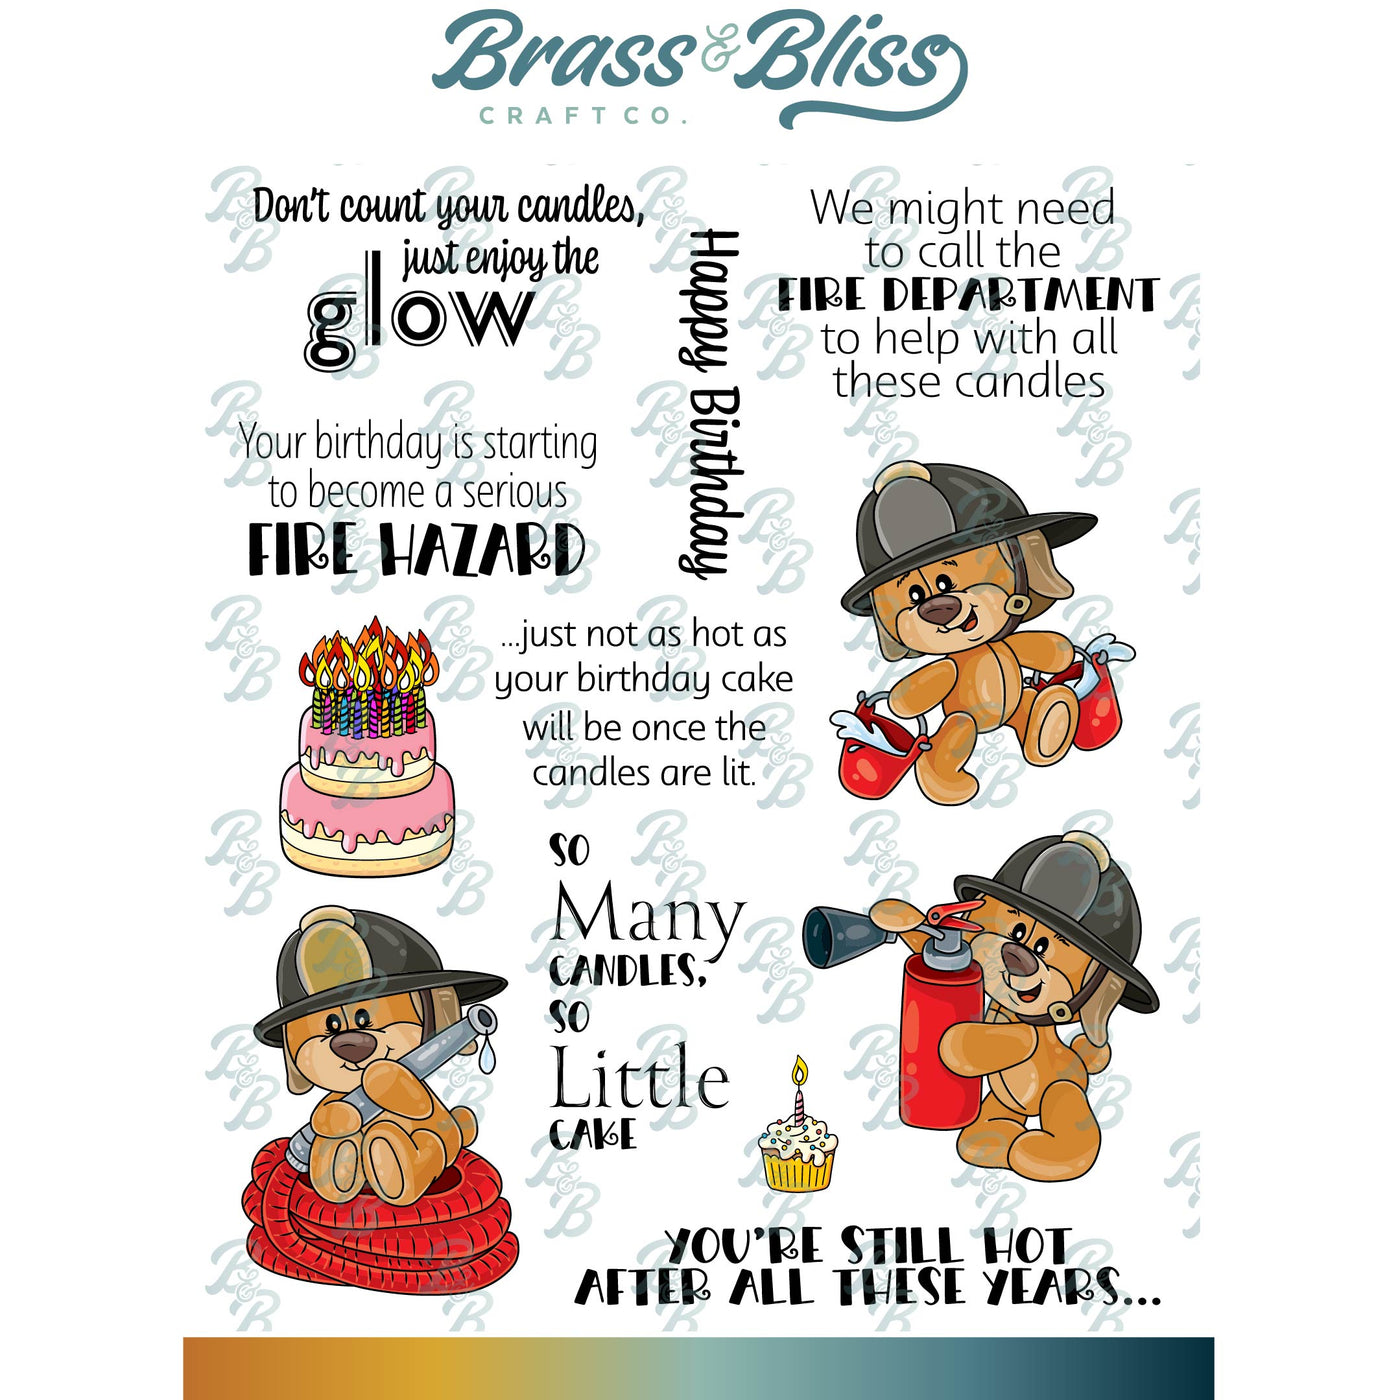
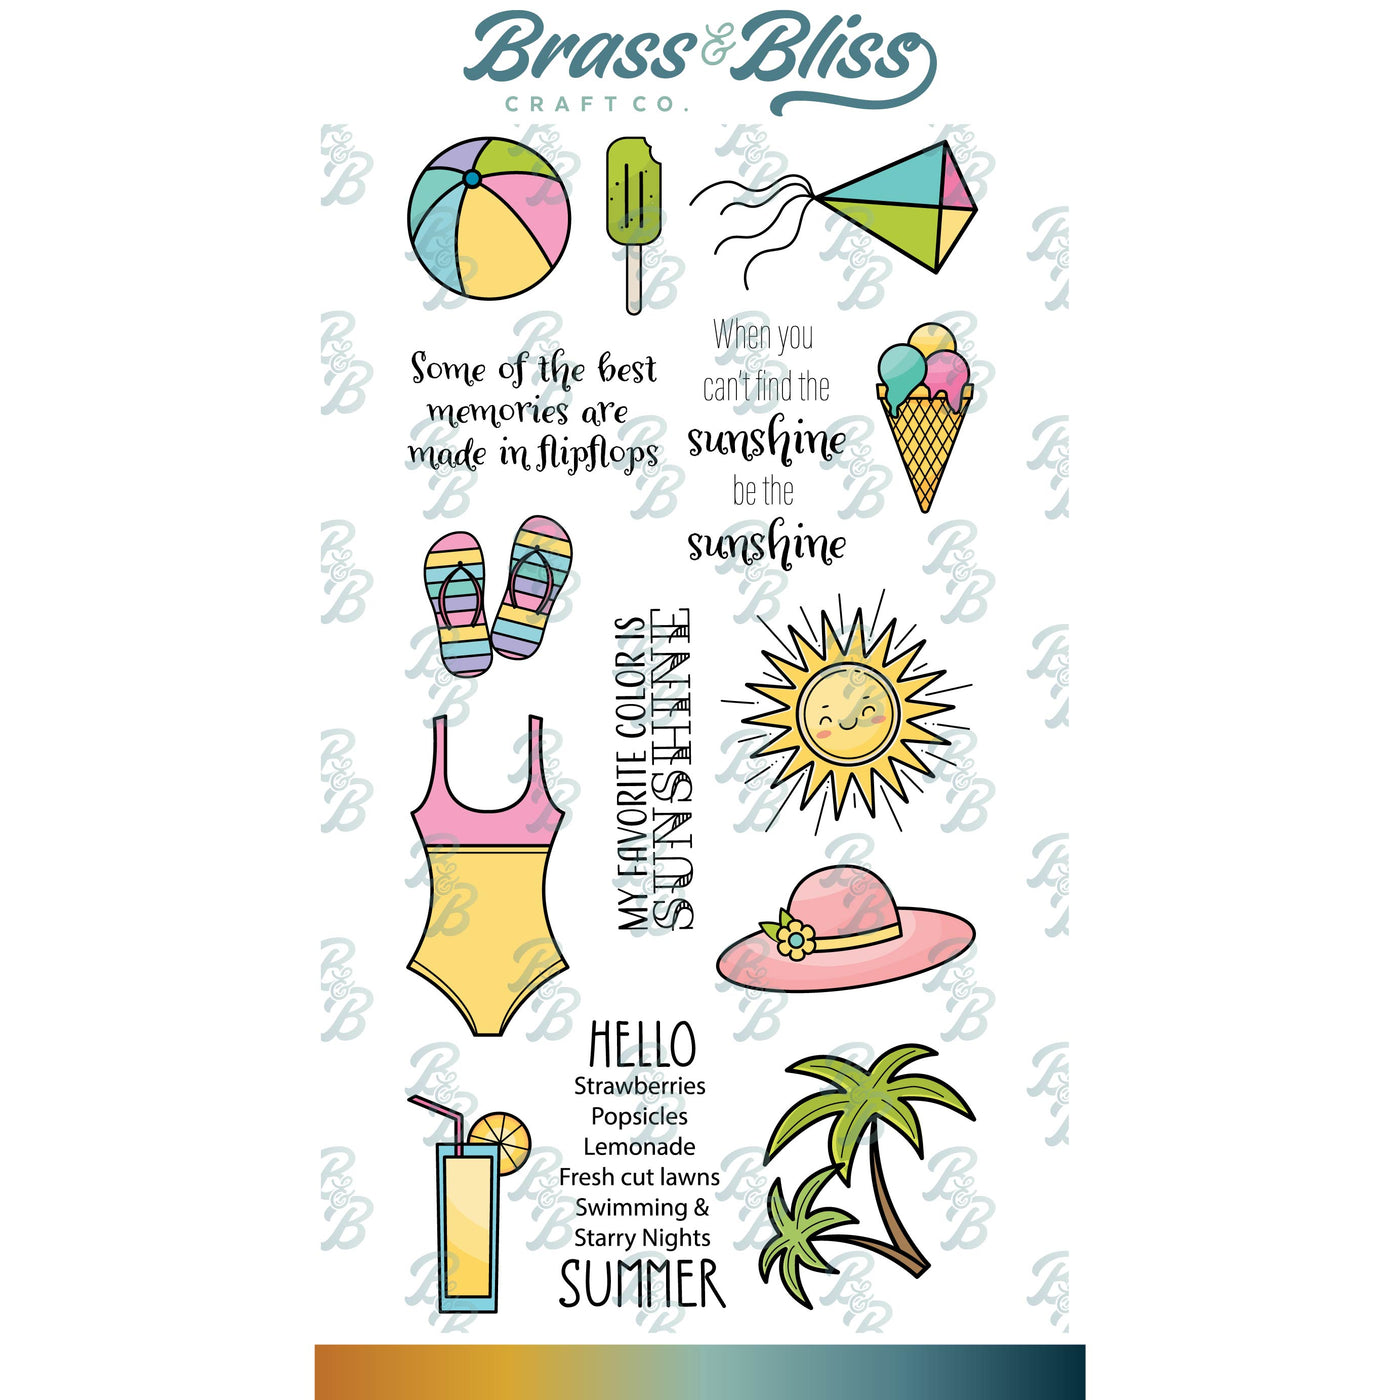
| Stamps: Brass & Bliss: Hello Summer set |
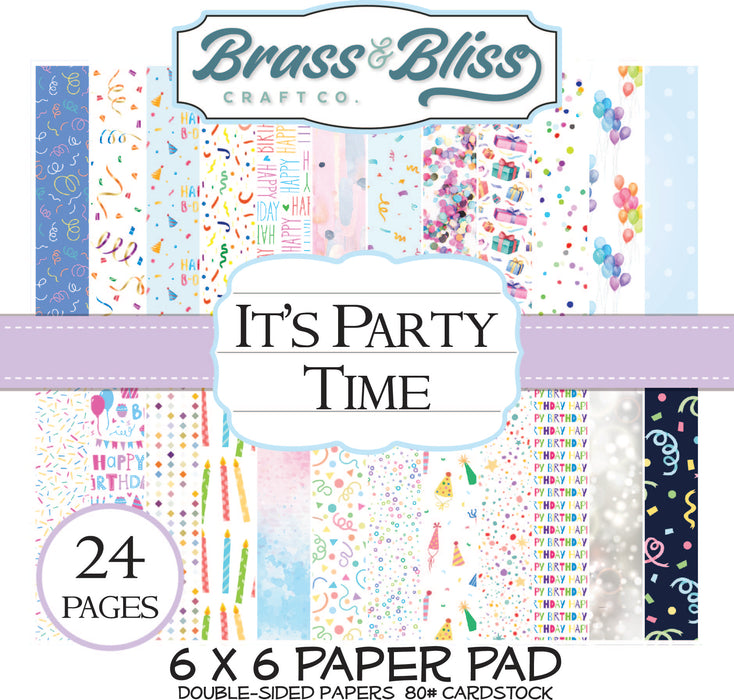
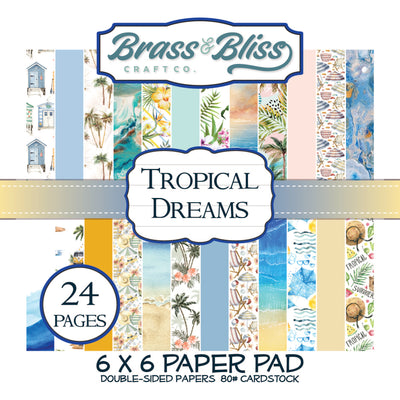
| Paper: Staples 110# white, Brass & Bliss: Tropical Dreams paper pad |
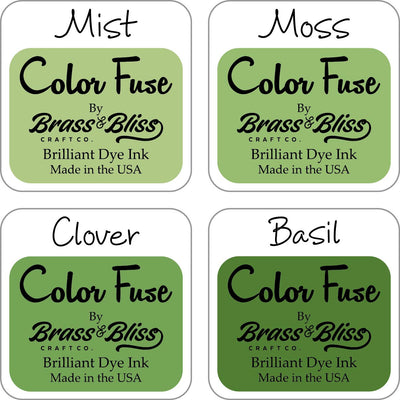
| Ink: VersaClair Warm Breeze, Ultimate Metallic gold, Memento toffee crunch & teal zeal |
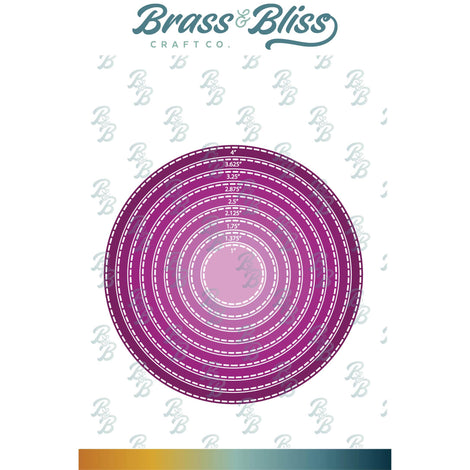
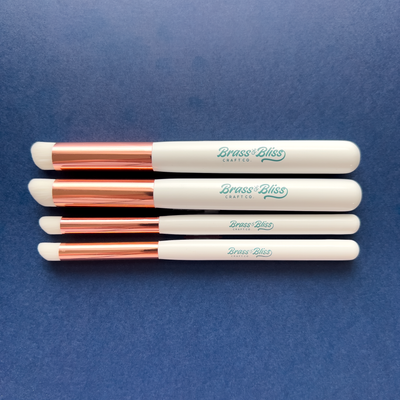
| Accessories: Brass & Bliss/Rubbernecker Stamps: Rectangles, Hello Summer set, Sm Stitch Circles, Round Petal Cover dies, Circled Paver Stencil, Detail Blending Brushes, MISTI, Copic markers, gold embossing powder |
|
|
|
|
|
|
|
|

|

|

|

|

|

|

|

|
You might also like: