Welcome to the Serendipity July Blog Hop! We are showing off some lovely new images & dies! If you arrived here from Jenny’s Blog , you are in the right place..if not, you may want to head over there first.
The Prize – One $20 gift code will go to one random commenter from the blogs. So be sure to visit all the blogs because you don’t know which one the winner will be drawn from. You have through July 5th to leave your comments & Mary will announce the winner on her blog on July 6th. Special: Free shipping on all US orders of $15 or more Contental US only. We have something new…a “Stamp of the Month”. Each month a different image will be 50% off. This month- it’s the Winter Doe. Be sure to check out the great deals on the Clearance Stamps & sale stamps!


As a native Texan, I really love this sweet little Cowgirl! Seriously, I want to go put my boots on right now…just need to decide which pair, lol! She is a joy to color and to give her a little something special, I did what I call an “into the window” treatment. A little like out of the box, but it goes the other direction. After stamping & coloring her with Copics, I die cut it first using the larger die, then used a craft knife to cut around the top and sides in order to slip the lower left corner of the smaller die under her.
Below, you can see that the image was cut on the lines just enough to slip the die under.

Below, after die cutting I put the larger die back in place and embossed them both.

And below is how it looks finished…all ready to attach.

These are the Copics I used to color her.

I used a leftover frame I colored w/ Copics and a die cut circle w/ the star concho from the Bandana die.
Supplies:
| Stamps: Serendipity Stamps – Cowgirl, Sending Smiles (inside) |
| Paper: X-Press It white, dp (SEI) |
| Ink: Memento tuxedo black, Versafine onyx (to overstamp image after coloring) |
| Accessories: Serendipity Howdy & Bandana dies, Spellbinders A2 matting basics A & B, circles dies, Copic markers, MISTI |
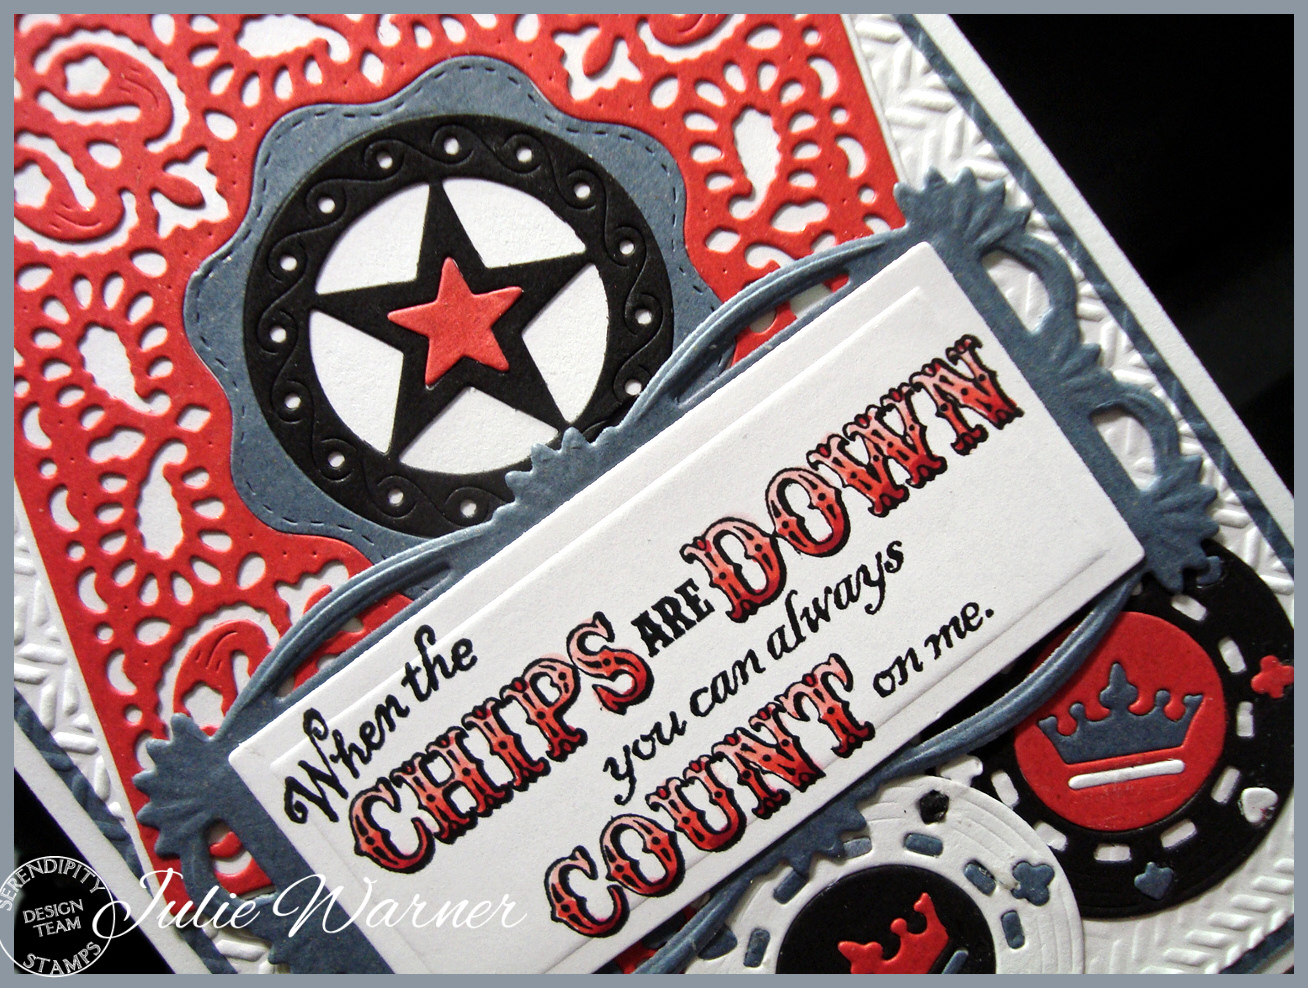
My next card has the wonderful Bandana & Poker Chip dies along with the fun new greeting.

After die cutting all the pieces, I stamped and colored the greeting and attached them to an embossed background. The poker chips took a little patience to paper piece all those little parts. These are the Copics I used for the greeting.

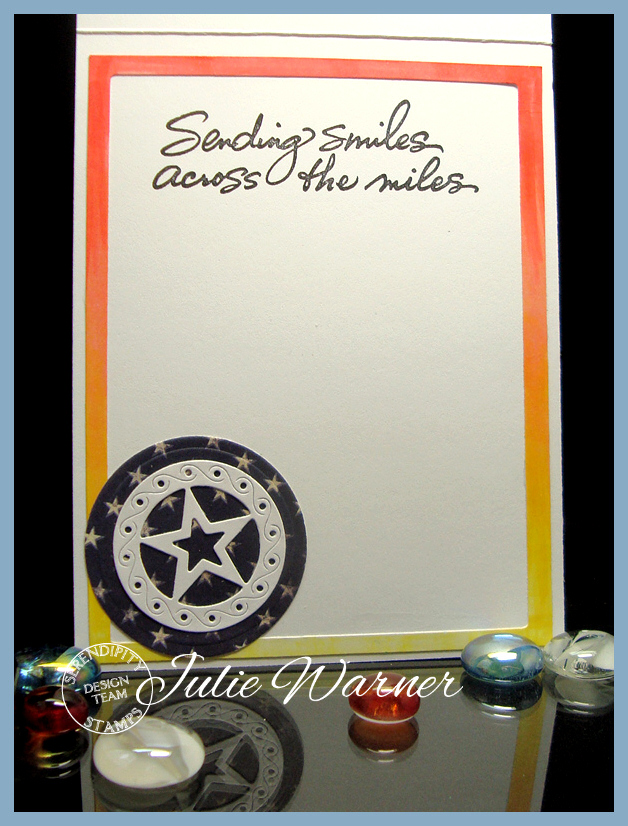
The inside is just a simple frame I colored to match along with an extra concho from the Bandana die.

Supplies:
| Stamps: Serendipity Stamps – When the Chips are Down Horizontal, Thinking of You (inside) |
| Paper: Neenah white, black, sparkle fleck red, sparkle fleck gray |
| Ink: Memento tuxedo black, Versafine onyx (to overstamp image after coloring) |
| Accessories: Serendipity Poker Chip & Bandana dies, Spellbinders A2 matting basics A & B, romantic rectangles 2, long rectangle dies, Copic markers, MISTI, embossing folder (Lifestyle -chevron set) |
Now I’ll send you on to Karen’s Blog..I know she’l have something wonderful to share!
Here is the list in case you get lost:
Julie Warner (you are here!)
Thanks so much for stopping by!