
• Tag Archives out of the box
  • ODBD Mid September Release Blog Hop!


    Beautiful Lily cu 07267
    Weekly-Favorite Best of 2015 SCSx 2
    Welcome to the Our Daily Bread designs Mid September Release! We have some gorgeous images & fabulous dies for you! You’re going to LOVE these


    Beautiful Lily 07263For my first card, I put the lily image in my Misti & stamped it first w/ Memento, colored it w/ Copics then stamped over it w/ Versafine. I repeated this on a second image & fussy cut 2 sets of petals to pop up on top of the original 2 flowers. The lily panel was first die cut w/ a matting basics die, then I used one of the fabulous Leafy Edged Border dies to cut the lower edge. I had to do a little out of the box on a few of the petals to keep from cutting them off. The lower white portion was trimmed down some to allow the blue layer to show through.  I also trimmed around several of the petals on the right to insert the greeting ovals.

    Beautiful Lily xcu 07270The blue dp was die cut w/ the largest Flourished Star Pattern die & I used a very narrow frame of the purplish dp I had left over to surround the white layers. The paper is actually not this fuchsia shade but I used a copic over it to make it match my flowers. I also die cut 2 strips to place behind the upper & lower curved edges.

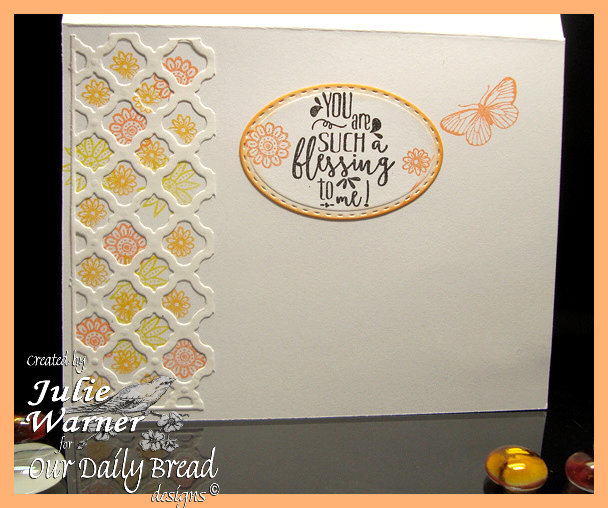
    Here’s a look at the inside using some leftover pieces & below it are the Copics I used.Beautiful Lily inside 07271
    Beautiful Lily copics 07262
    Supplies:

    Stamps: Our Daily Bread designs – Beauty
    Paper:  X-Press It white, dp (ODBD Christian Faith Collection)
    Ink:  Versafine onyx, Memento tuxedo black
    Accessories: ODBD Leafy Edged Borders, Ovals, Stitched Ovals, Flourished Star Pattern  dies, Copic markers, Spellbinders A2 matting basics A & B dies, stickles, Misti


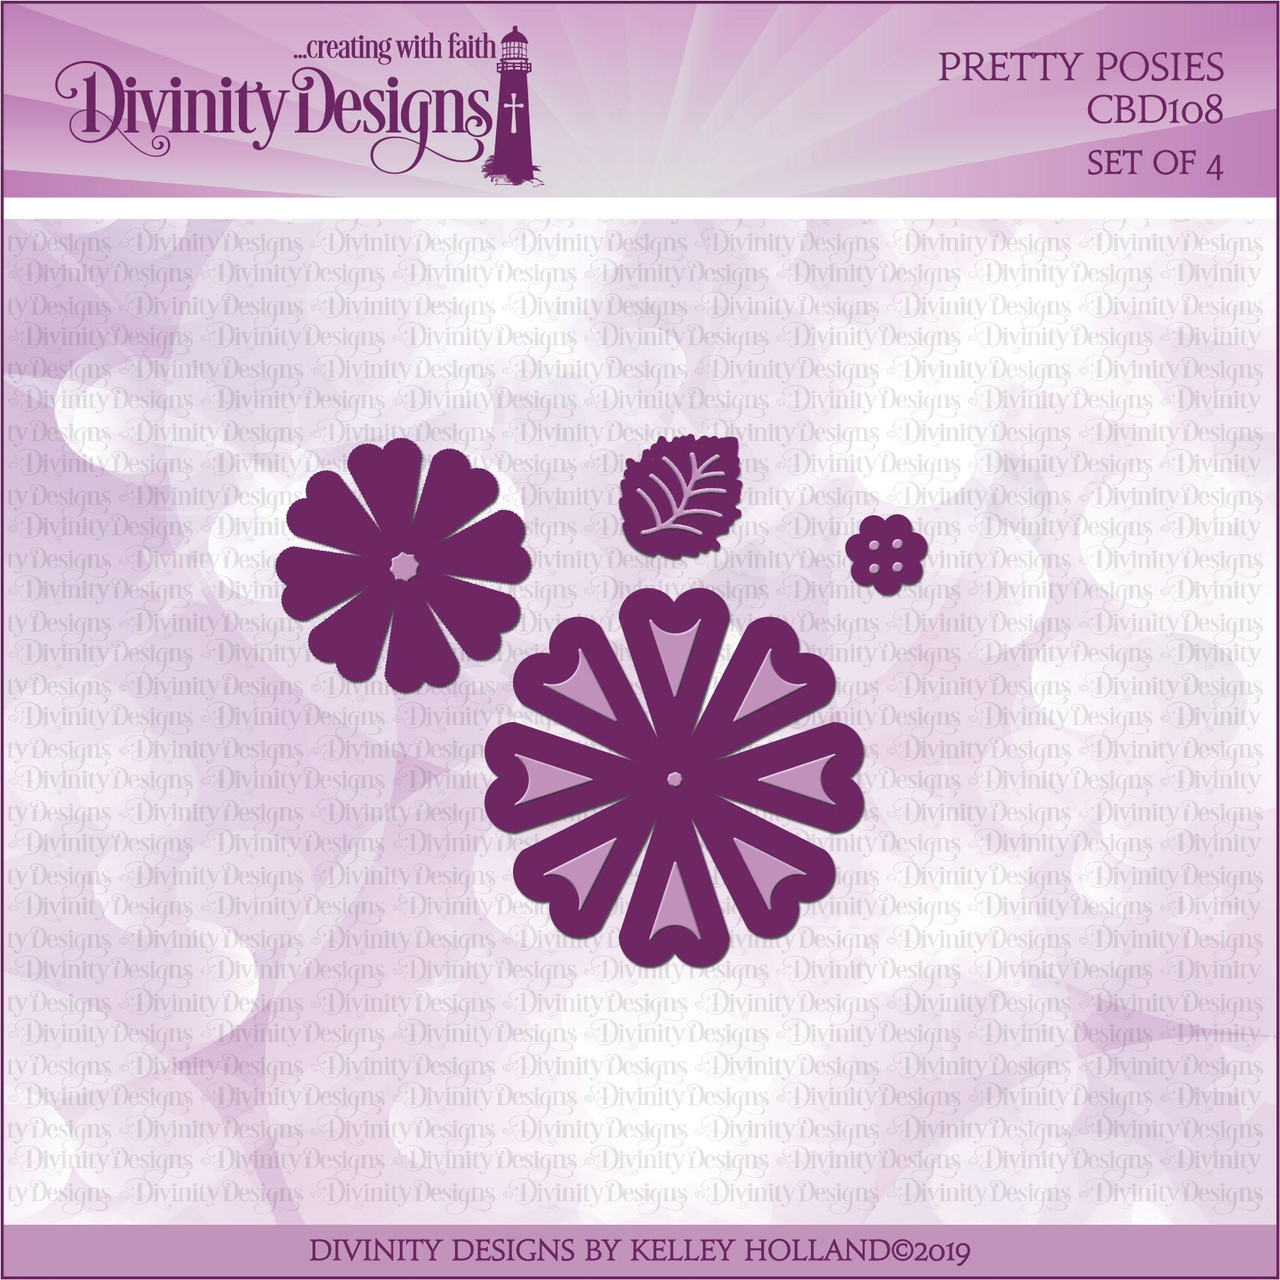
    Beauty xcu 07288My second card uses the greeting from the Beauty set and die cut flowers from the Pretty Posies set.  I also used the vine from the Fancy Foliage dies.
    Beauty 07280I did a negative/positive arrangement with the dies…the pink vine & top flower are negatives of the two die cuts & the background paper is showing through. The lower flower & top white flower are positive die cuts & were added on top. I started to shape them but changed my mind because I liked the clean, crisp look just the way they were. All I did was elevate the layers a bit.
    Beauty cu 07281The greeting was stamped in the upper left before it was all attached to my card. Here’s a look at the inside.

    Beauty inside 07287Supplies:

    Stamps: Our Daily Bread designs – Beauty
    Paper:  Neenah white, dp (DCWV- Royal Garden)
    Ink:  Versafine onyx
    Accessories: ODBD Pretty Posies, Flourished Star Pattern, Fancy Foliage dies, Spellbinders A2 matting basics A & B

    Please be sure to stop by and comment on all the DT Blogs! It will be much appreciated & will also increase your chance of winning!

    Sandee * Julie * Grace * Chris * Loretta * Angie * 

    Cathy * Robin T.* Sabrina * America * Robin C. *

     Paula * Silke * Amy * Lori * Dawn * Diana

    Thanks so much for stopping by!

    Julie2 sig


  • Serendipity SSCB#47 – Backgrounds!


    SS Button_design team_res
    Welcome to the September Challenge for Serendipity Stamps! This month the challenge is Stamp Your Own Background! You can get all the details over on the Serendipity Challenge Blog.  We have something new…a “Stamp of the Month”. Each month a different image will be 50% off. This month- it’s the Japanese Maple. You might want to check out the super deals on the Bo Bunny paper packs..there are some perfect papers for Christmas & Halloween. For all of you wanting that fabulous Hot Air Balloon Reverse die, they are back in stock so get yours now! And as always, we have a  have a gift certificate up for grabs to a random player.


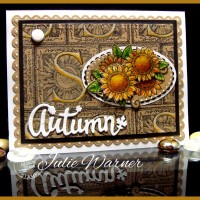
    My autumn sunflower card started with my stamped background. I love the Floral Alphabet S and I thought it would make a terrific background. I stamped it repeatedly across the kraft card stock with Versafine then added just a hint of color with a couple of Prismacolor pencils to the curvy letter S. The sunflowers (from the Fall Pops set) were stamped twice onto another piece of kraft c/s (using my Misti)..first with Memento, then colored with Prismacolor pencils…then over stamped with Versafine. I love how this brings back the details that I used to lose when using Prisma pencils. One image was die cut w/ an oval die & the other was fussy cut to add on top. I added a couple of layers behind it & on the large scallop kraft layer, I used a technique I devised way back in 2008 to “resize” the dies…I extended the length of the scallop rectangle. The original die is nowhere near as long as it is on my card. But as long as the original die is symmetrical, this technique will work. The Autumn die cut was added along with a white Candi dot. The white dots were added with a white gel pen.
    Here’s a look at the inside using some leftover pieces & a scallop frame.

    Autumn Sunflowers inside 07254
    Supplies:

    Stamps: Serendipity Stamps – Fall Pops (inside – Autumn is a Second Spring) (Serendipity Stamps is out of business)
    Paper: X-Press It white, textured white, black, kraft
    Ink:  Memento tuxedo black, Versafine onyx (to overstamp image after coloring)
    Accessories:  Serendipity Autumn die, Spellbinders A2 matting basics A & B,scallop petite oval, scallop rectangle, petite oval dies,  Prismacolor pencils, MISTI, Candi dot, white gel pen

    Please be sure to stop by & comment on all the DT blogs. It will be much appreciated & will also increase your chances of winning!

    Diane Jaquay (Sept Guest Designer)

    Marybeth Lopez

    Miriam Napier

    Vickie Zimmer

    Jeanne Jachna 

    Jenny Gropp

    Julie Warner (you are here!)

    Karen Amidon

    Thanks so much for stopping by!
    Julie2 sig


  • Mermaid Birthday

    Mermaid Birthday cu 06513
    Today’s Color Challenge (CC538) uses sand, melon & island indigo. So I created a little underwater scene  & put a large circle cut out frame around it.  I stamped the mermaid & octopus first, masked them then stamped the sand castle, sand lines, seaweed, bubbles and splatter (for sand). I added some dots of masking fluid to her tail section so when I colored it, they would stay white. After I was finished, I rubbed it off. I like how it looks like the sparkle of the scales.  I added a large circle frame, the greeting, shells and more sand.
    Mermaid Birthday 06512
    I cut around her tail and a few of the octopus tentacles to slide the edge of the circle frame under. It may be hard to see, but I also added some clear Wink of Stella here & there all over for some sparkle. In real life, it’s super sparkly! The finished card is 4.25 x 5.50 and these are the Copics I used.
    Mermaid Brithday copics06508
    Supplies:

    Stamps: DRS Designs –Mermaid, 4 in 1 Seashells, Octopus, Sand Castle
    Paper: Neenah white, X-Press It white
    Ink: Memento tuxedo black, toffee crunch, angel pink
    Accessories:  Copic markers, masking fluid, Wink of Stella, Spellbinders A2 matting basics A, circle dies

    Thanks so much for stopping by! Don’t forget to check out the DRS Thursday Challenge…Splatters! DRS images are not required & there’s a nice prize up for grabs!
    Julie2 sig